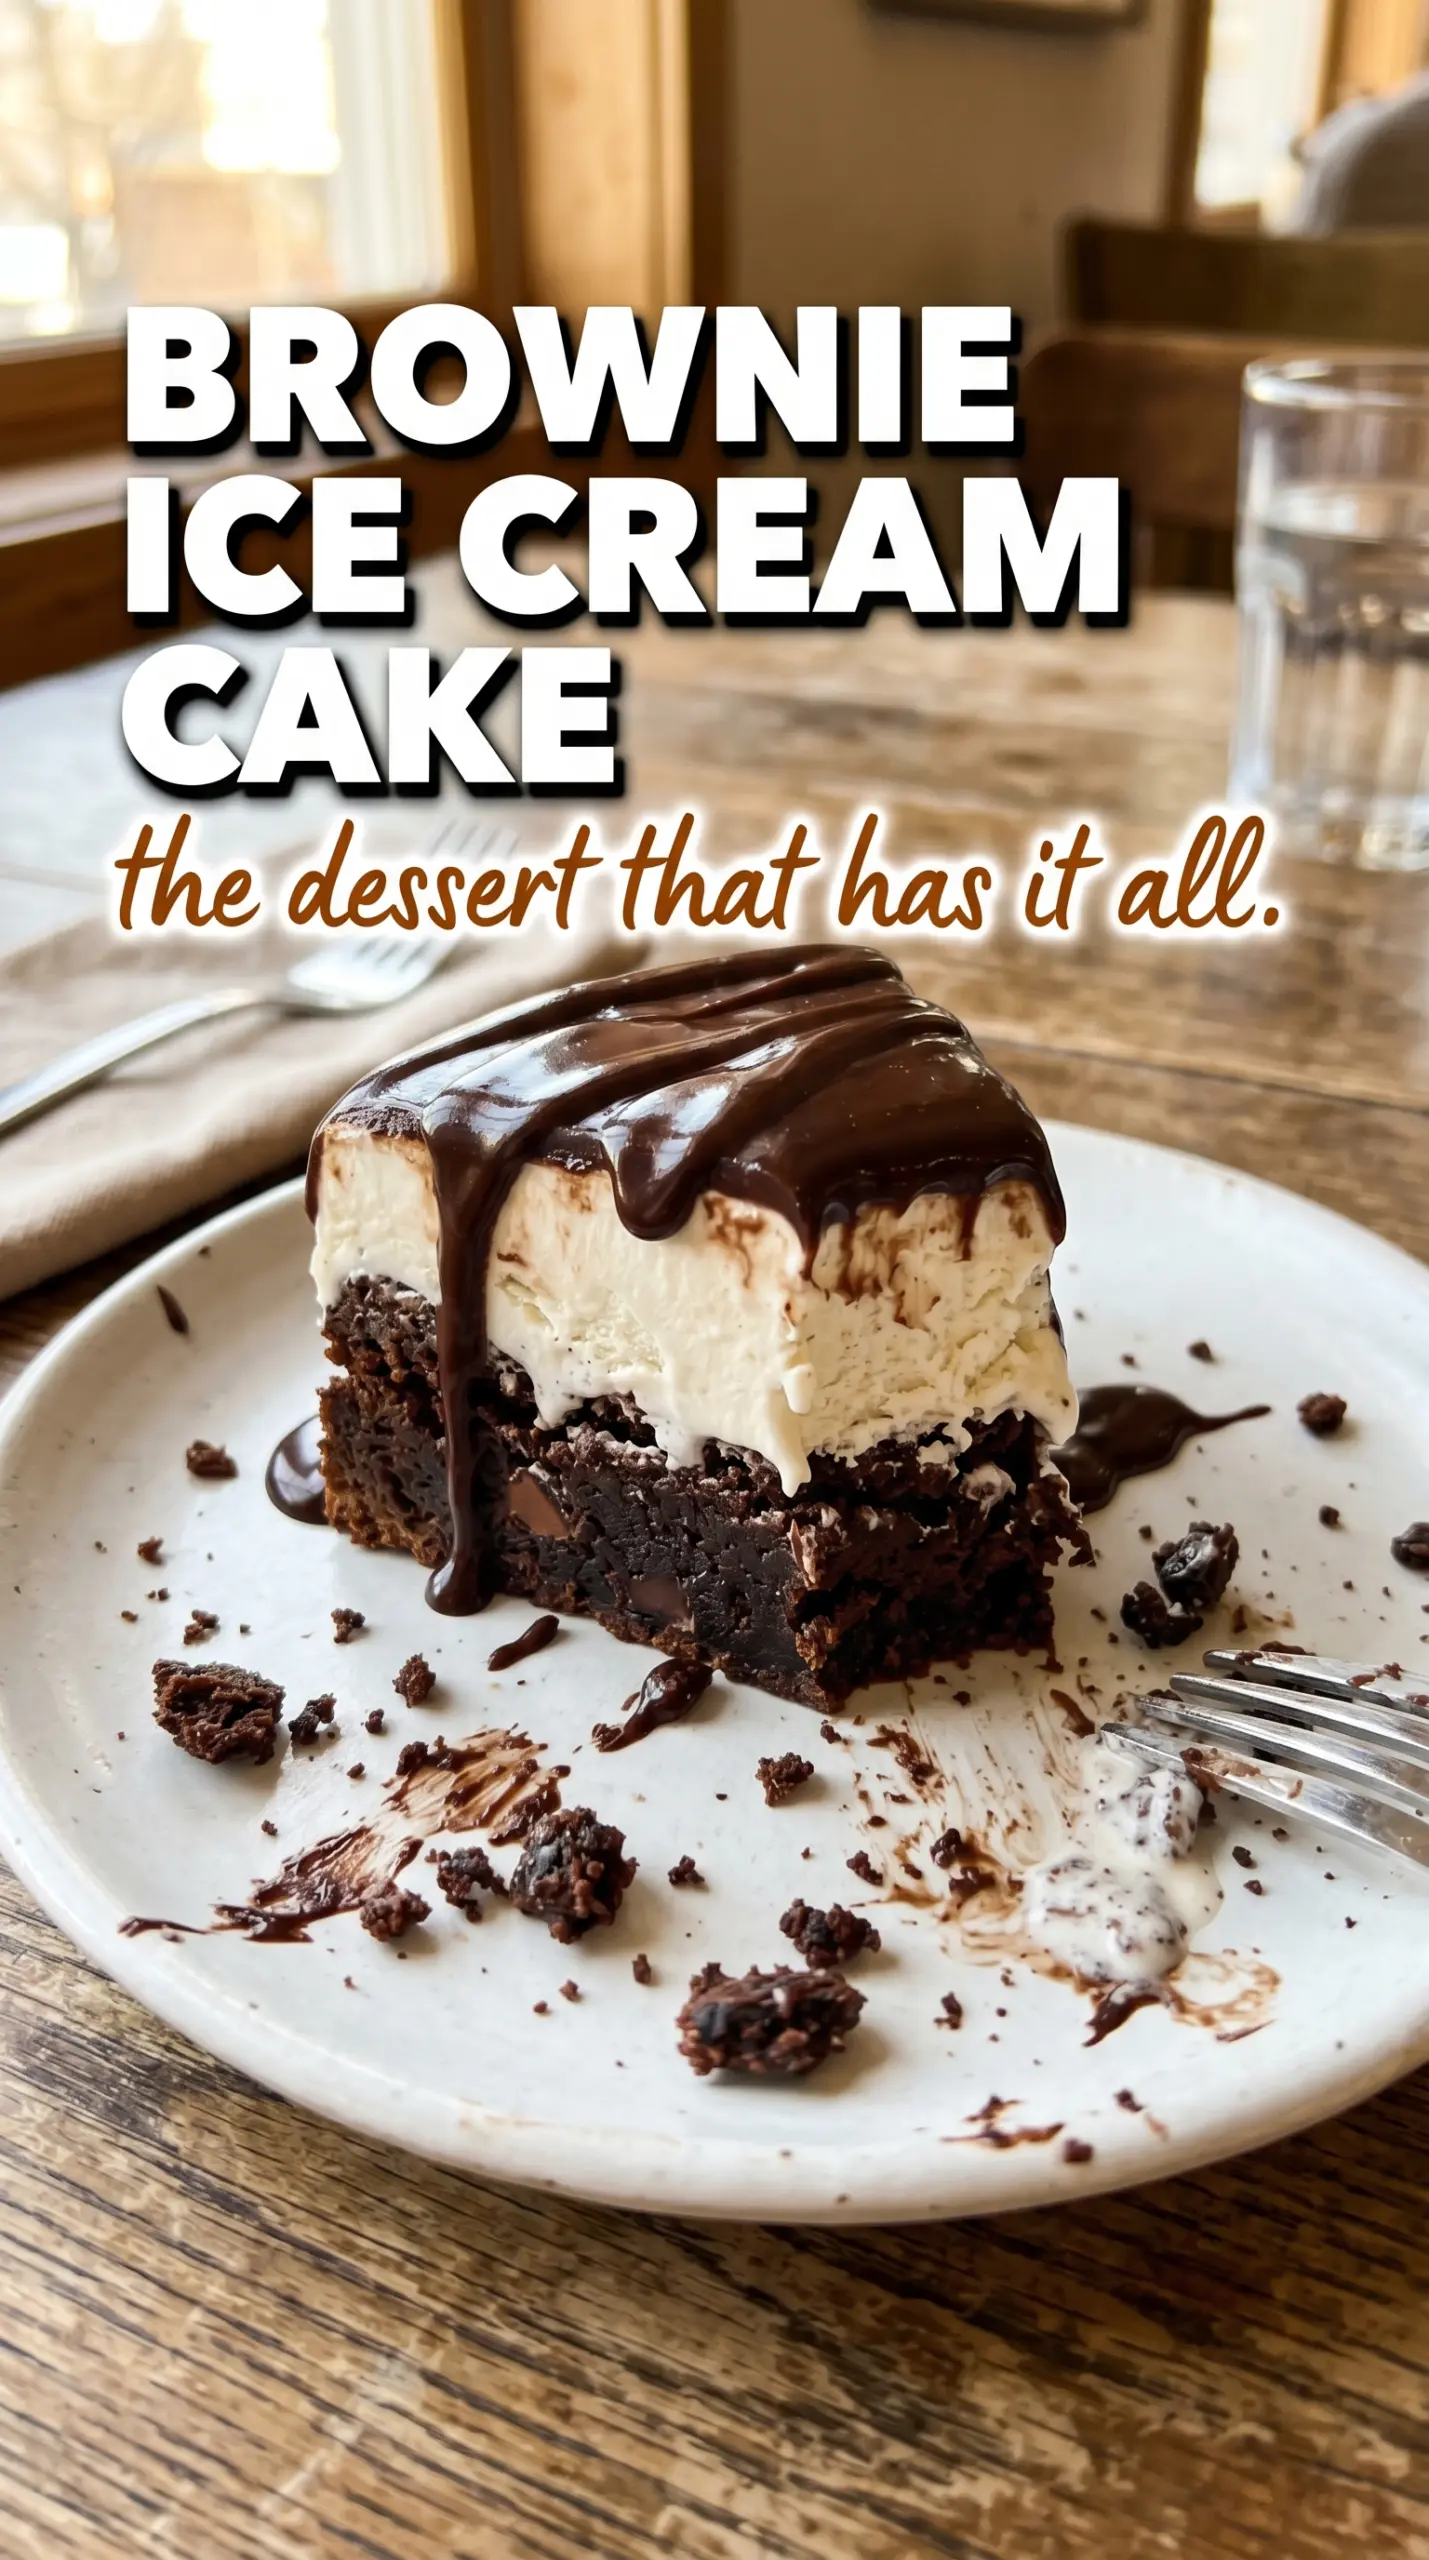
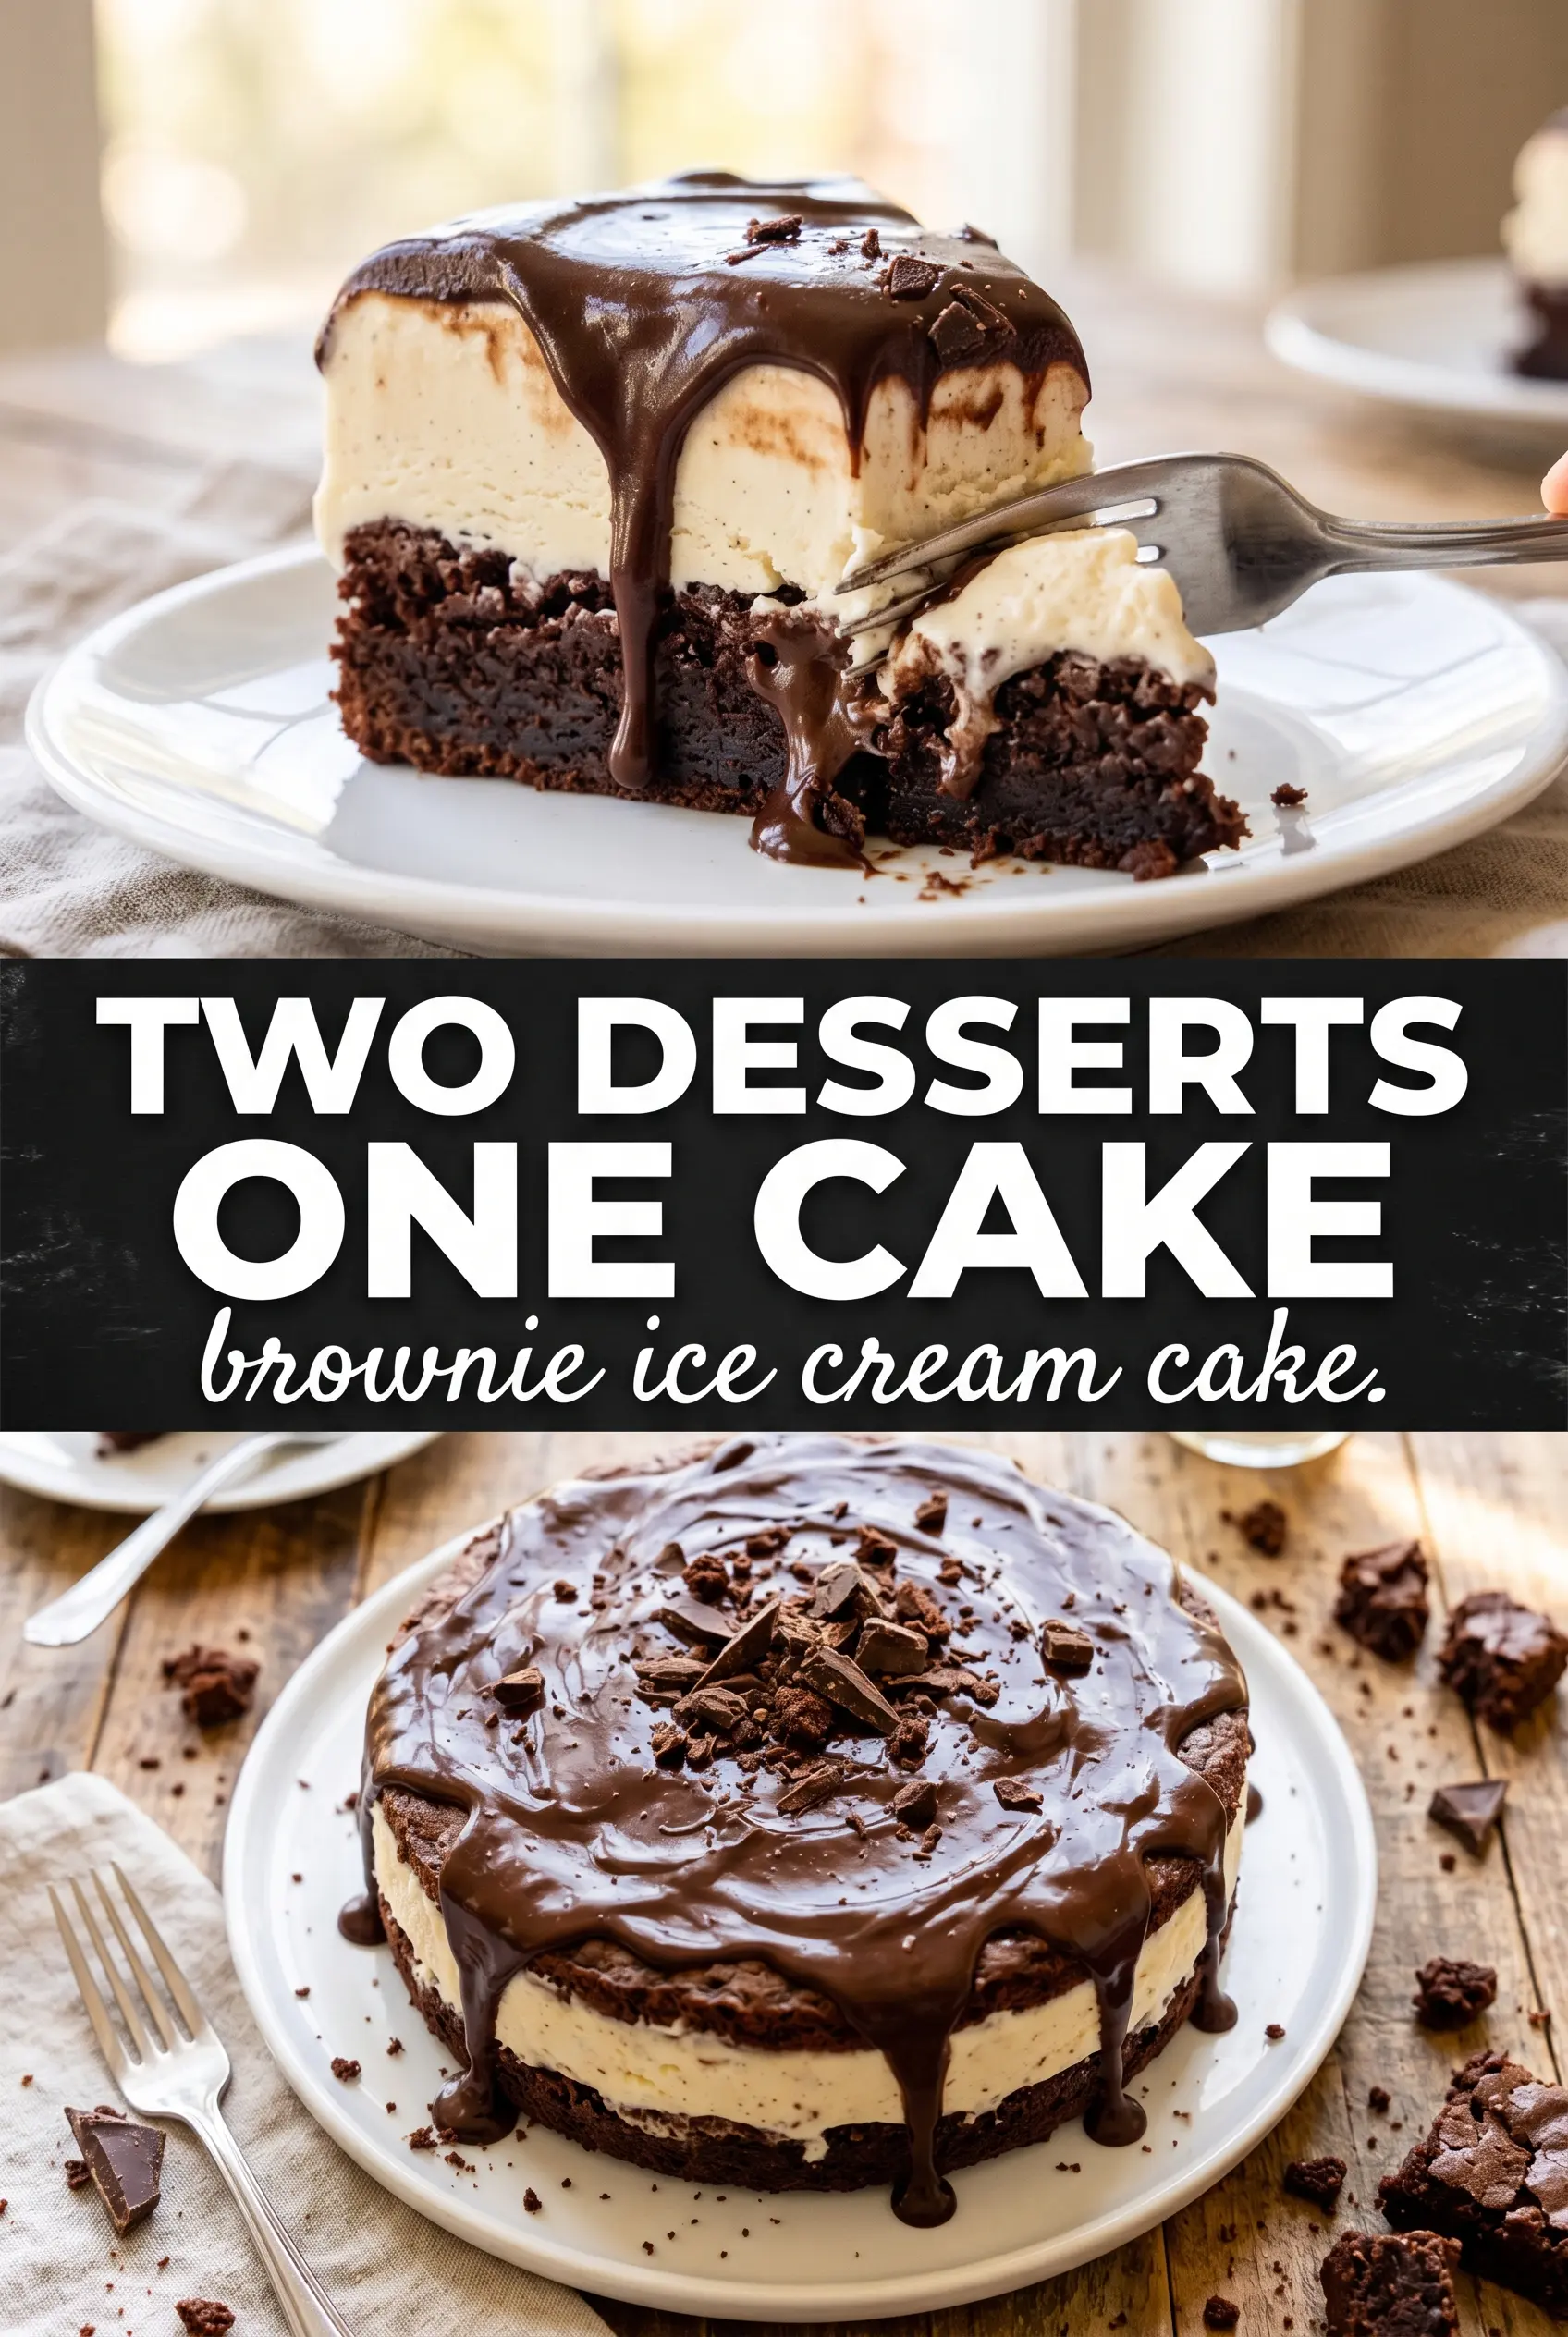
Fudgy brownie, cold ice cream, and a glossy layer of chocolate ganache hit the table all at once in this brownie ice cream cake, and the contrast is what makes it such a keeper. The brownie stays dense enough to slice cleanly, the ice cream gives you that soft, creamy middle, and the ganache sets into a thin shell that cracks just a little when your fork goes through it.
The trick is building the layers with temperature in mind. The brownie base has to be completely cool before the ice cream goes on, or the edges melt and turn slumpy instead of staying defined. The ganache also needs to cool until it’s pourable, not hot, so it spreads over the frozen ice cream without chewing up the layer underneath.
Below, I’ll walk through the few spots that matter most, plus the little timing details that keep this from turning into a mess when you slice it. There are also a few variations if you want to change the ice cream flavor or make the whole thing ahead for a party.
The brownie stayed chewy even after freezing, and the ganache set up smooth instead of cracking off in shards. I let it sit out for about 10 minutes before slicing and it came out in clean, bakery-style squares.
Save this brownie ice cream cake for birthdays, cookouts, or the nights when you want fudgy brownie layers under a thick chocolate shell.
The Freezer Timing That Keeps the Layers Clean
The biggest mistake with a brownie ice cream cake is rushing the freeze between layers. If the brownie is even a little warm, the ice cream starts melting the second it hits the pan and the bottom turns soft instead of distinct. If the ice cream isn’t firm enough before the ganache goes on, the topping sinks in instead of sitting on top in that neat, glossy layer everyone wants.
Working in a 9×13 pan gives you enough surface area for a generous brownie base without making the cake too thick to slice. A dense brownie mix works well here because it holds up after freezing; a lighter, cakier brownie tends to turn crumbly once it’s cold. The goal is clean layers, not a delicate crumb.
- Brownie base — Use a fudgier brownie if you can. Box mix is fine here as long as you bake it in a 9×13 pan and cool it all the way down before adding anything cold.
- Ice cream — Vanilla is the classic choice because it lets the chocolate layers stand out, but chocolate ice cream makes the whole cake deeper and more intense. Let it soften just enough to spread, not melt into soup.
- Ganache — Dark chocolate gives the cleanest finish because it stays balanced against the sweet ice cream. If you use semisweet chocolate, the topping will be a touch sweeter and a little softer when chilled.
- Heavy cream — Don’t swap this for milk. You need the fat in heavy cream to make a ganache that pours smoothly and sets with that soft, sliceable finish.
What Each Ingredient Is Actually Doing in This Ice Cream Cake
- Crust or base layer (cookies, brownies, or cake) — This provides structure and texture contrast. A sturdy base keeps the whole cake from crumbling when served.
- Ice cream (the main event) — Choose quality ice cream or frozen yogurt. Soft-serve or premium ice cream works better than hard-packed store brands.
- Cake layer (optional but recommended) — A thin cake layer adds substance and keeps the cake from being all frozen texture. Make it thin so it doesn’t overpower the ice cream.
- Sauce or syrup layer (fudge, caramel, or fruit) — This adds flavor depth and prevents the cake from tasting one-dimensional. Freeze between layers so sauces stay distinct.
- Toppings (chocolate chips, cookies, candy, or nuts) — These add texture and visual appeal. Mix-ins stay crispy longer if frozen separately first.
- Frosting or whipped cream (optional topping) — This adds richness to the outside. Keep it simple or it overwhelms the cake.
- Freezing time (the patience that pays off) — Each layer needs time to set so they stay distinct when sliced. Rushing this step means layers muddy together.
- Storage and serving technique (thaw 5 minutes before slicing) — A brief thaw makes slicing clean and easy. Serve slices immediately for best texture.
Building the Cake Without Melting the Middle
Bake the Brownie Base First
Bake the brownie mix in a 9×13 pan according to the package directions, or use your favorite homemade brownie batter if it bakes up dense and chewy. When it comes out of the oven, let it cool completely on the counter. If you move ahead while it’s still warm, the ice cream will slide into the crumbs and the bottom layer will lose its clean edge.
Spread the Ice Cream in a Firm Layer
Let the ice cream soften just until it’s spreadable, then work quickly to press it into an even layer over the cooled brownie. An offset spatula helps, but the back of a spoon works too if you keep it moving. Stop before the ice cream turns glossy and loose; if it gets too soft, freeze it for a few minutes and come back to it.
Pour the Ganache at the Right Temperature
Heat the cream until it’s steaming, then pour it over the chopped chocolate and butter and let it sit before stirring. The mixture should turn smooth and shiny, then cool until it’s pourable but not hot. If it’s too warm, it cuts into the ice cream layer; if it’s too cool, it turns thick and patchy before you can spread it evenly.
Finish with a Long Freeze
Freeze the cake until the ganache is fully set and the middle is firm enough to slice, at least two more hours after topping. For the cleanest slices, let the pan sit at room temperature for 8 to 10 minutes before cutting. A warm knife helps too, especially if you want those neat layers to show on the plate.
Ways to Change the Flavor Without Breaking the Structure
Chocolate Ice Cream Version
Swap vanilla ice cream for chocolate if you want a deeper, more indulgent cake. The brownie and ganache will blend into a nearly all-chocolate dessert, so it tastes richer and a little less sweet. This version works best with dark chocolate ganache so the whole cake doesn’t turn cloying.
Gluten-Free Brownie Ice Cream Cake
Use a gluten-free brownie mix or a trusted homemade gluten-free brownie recipe with the same dense texture. The rest of the cake stays the same, which makes this an easy swap. Just avoid a brownie that bakes up too cakey, since that kind of crumb tends to break apart once frozen.
Dairy-Free Version
Use a dairy-free brownie recipe or mix, then top it with a coconut-based or oat-based frozen dessert that softens and spreads like ice cream. For the ganache, choose a dairy-free dark chocolate and warm coconut cream in place of heavy cream. The flavor shifts a little, but the structure still works if the frozen layer is firm before the topping goes on.
Make-Ahead Party Version
Assemble the cake a full day ahead and leave the whipped cream and chocolate shavings off until just before serving. That keeps the top neat and prevents the garnish from sinking into the ganache. If you’re serving a crowd, cut the cake while it’s still slightly chilled, then transfer the slices to a tray and let them sit for a few minutes so they relax without losing their shape.
Storage and Reheating
- Refrigerator: Keep covered in the refrigerator for up to 3 days, but expect the ice cream layer to soften at the edges as it sits.
- Freezer: Freeze tightly wrapped for up to 2 weeks. Wrap the pan well or move slices to an airtight container so the cake doesn’t pick up freezer smells or icy edges.
- Reheating: No reheating needed. For serving, let the cake stand at room temperature for 8 to 10 minutes so the brownie cuts cleanly and the ice cream isn’t rock hard.
Questions I Get Asked About This Recipe
Brownie Ice Cream Cake
Ingredients
Equipment
Method
- Bake brownies in a 9x13 pan according to package instructions. Bake until set and a toothpick comes out with moist crumbs, then cool completely.
- Spread softened ice cream in an even thick layer over the cooled brownies. Press gently to level the surface without tearing the brownie.
- Freeze for 4 hours until completely firm. The ice cream should feel solid and sliceable with no soft spots.
- Heat heavy cream to steaming in a saucepan. Pour it over chopped dark chocolate and butter, then stir until smooth, glossy, and fully combined.
- Cool the ganache until pourable. It should flow off a spoon slowly without looking grainy.
- Pour ganache over the frozen ice cream layer and tilt the pan to cover evenly. Smooth the surface so the top is fully coated.
- Freeze at least 2 more hours until the ganache is set. The top should look firm and not wobble when the pan is moved.
- Top with whipped cream and chocolate shavings when serving. Slice cleanly for visible layers: dark brownie bottom, thick ice cream, and shiny chocolate top.


