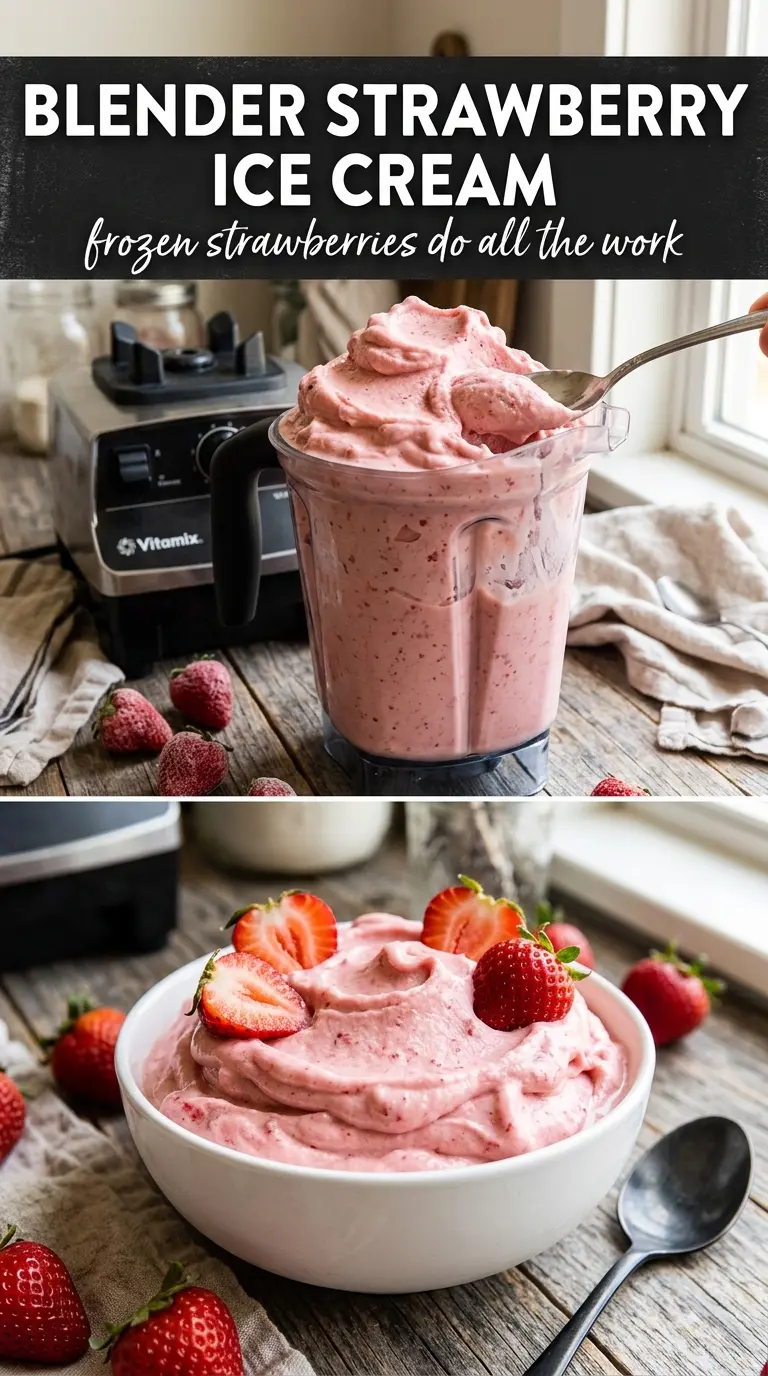
Blender strawberry ice cream hits that sweet spot between soft serve and full-on ice cream: thick, glossy, and cold enough to feel like a treat, but quick enough to make on a weeknight without pulling out a machine. The frozen strawberries do most of the work here, and the banana gives it body without turning it icy or thin. What you get is a bowl of bright pink strawberry flavor that tastes fresh, not heavy.
The trick is blending frozen fruit that has just enough give to move around the blades. If the fruit is rock-hard, the blender will fight you and the texture turns uneven. If it’s too soft, you lose that clean, creamy finish. A little cream adds richness, while honey or maple syrup keeps the fruit from tasting flat once it’s frozen. Vanilla rounds everything out, and the pinch of salt keeps the strawberries from reading one-note.
Below, I’ve included the one blending cue that matters most, plus a few smart swaps if you want to make this dairy-free or turn it into a firmer scoopable dessert.
The texture came out like soft serve in under 5 minutes, and the banana didn’t overpower the strawberries at all. I froze it for an hour after blending and it scooped perfectly.
Creamy blender strawberry ice cream that goes from frozen fruit to soft serve in minutes — perfect when you want something cold, pink, and spoonable without the churn.
The Freezer Time That Makes or Breaks the Texture
Blender strawberry ice cream sounds foolproof until the frozen fruit hits the blades like a brick. That’s where most people lose the texture. The goal is not to thaw the fruit fully; it just needs a few minutes at room temperature so the blender can catch it and turn it into a smooth, thick swirl instead of a choppy puree. If the mixture stalls, stop and scrape the sides. That little pause keeps the blades moving and prevents the bottom from turning liquid while the top stays frozen.
Banana matters here more than it would in a strawberry smoothie. It gives this dessert body, which helps it hold that ice cream feel instead of collapsing into a slushy drink. If your banana is very large, use a little less so the strawberry flavor stays front and center. The cream also helps the mixture emulsify, which is why this tastes richer than a straight fruit blend.
- Frozen strawberries — These need to be frozen solid for the right texture, but not ancient freezer-burned fruit. Smaller berries blend faster and give you a smoother finish.
- Frozen banana — This is the ingredient that turns the blend creamy. A ripe banana gives the best sweetness and softest texture.
- Heavy cream or coconut cream — Heavy cream makes the richest version. Coconut cream works well if you want dairy-free ice cream, but it will add a faint coconut note.
- Honey or maple syrup — Frozen fruit dulls sweetness, so this keeps the flavor bright. Honey tastes a little rounder; maple brings a softer finish.
What Each Ingredient Is Actually Doing in This Frozen Treat
- Base ingredient (cream, yogurt, or fruit) — This determines the texture and richness. Cream makes it scoopable; yogurt makes it tangy; fruit makes it refreshing.
- Sweetener (sugar or honey) — This prevents the mixture from freezing rock-solid and creates a smooth texture. Too much and it won’t freeze; too little and it’s icy.
- Egg yolks (if using custard method) — These create richness and a silky texture. Tempering is important so they don’t scramble.
- Thickener (cornstarch, gelatin, or egg) — This prevents ice crystals from forming and keeps the texture smooth instead of grainy.
- Flavoring (vanilla, chocolate, fruit, or spices) — Use quality flavorings because they’re essential to the taste. Dilute-tasting ice cream comes from cheap extract.
- Stabilizers (gum, gelatin, or dairy) — These keep the ice cream from becoming icy during storage. They prevent large ice crystals from forming.
- Mix-ins (nuts, chunks, or swirls) — These add texture and interest. Freeze-stable chocolate works better than regular chocolate, which gets hard.
- Proper chilling and churning (the technique) — This incorporates air and prevents ice crystals. An ice cream maker makes a huge difference in texture.
Getting the Frozen Fruit to Turn Silky Instead of Chunky
Softening the Fruit Just Enough
Let the strawberries and banana sit out for about 5 minutes before blending. You’re looking for the outside edge to lose its rock-hard feel, not for the fruit to start sweating or thawing into puddles. If you skip this pause, the blender will need extra liquid to move, and that’s how a thick dessert turns thin and icy.
Blending Into Soft Serve
Add everything to a high-powered blender and start on high. If the mixture stops circulating, pause and scrape the sides down, then keep going until the texture looks smooth, glossy, and thick enough to mound on a spoon. The biggest mistake here is adding too much liquid to “help” the blender. That usually leaves you with strawberry soup instead of ice cream.
Serving It Right Away or Firming It Up
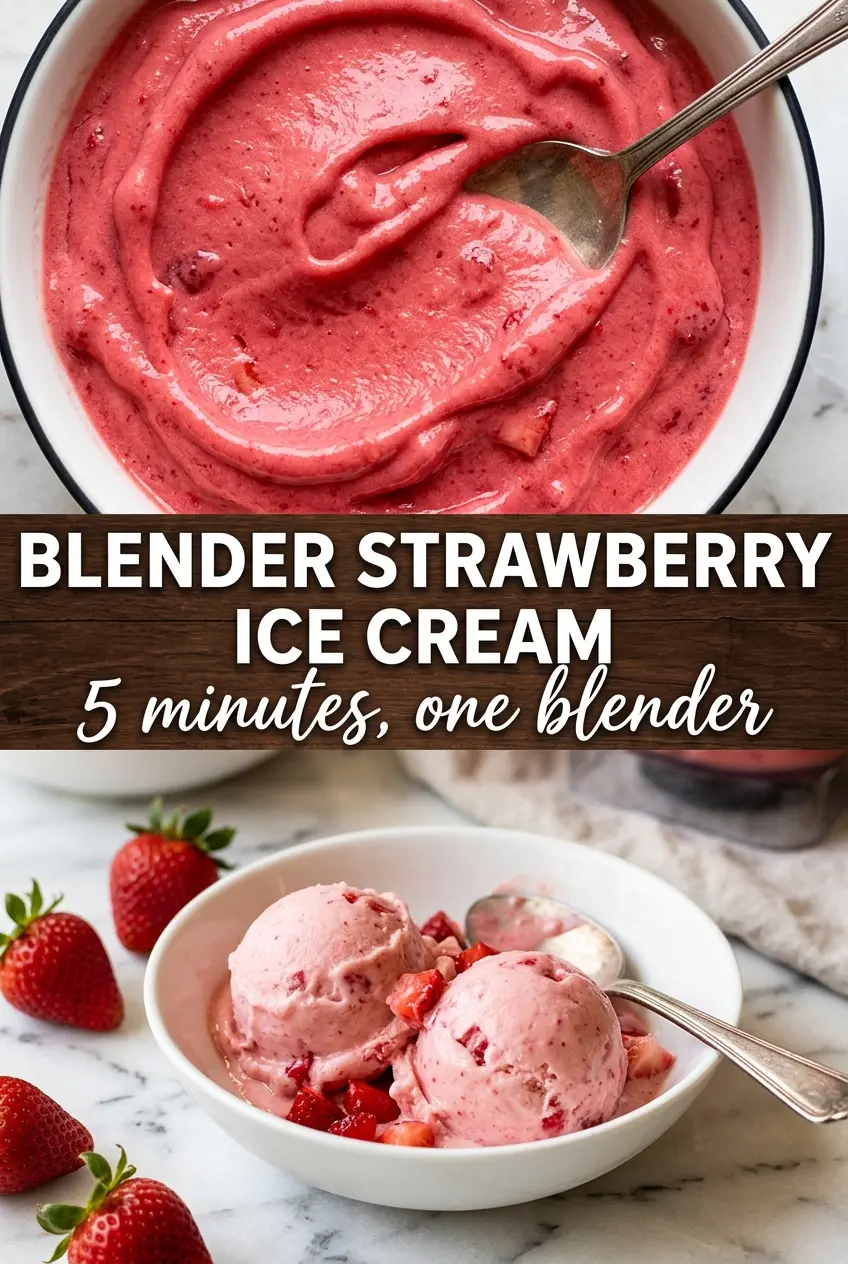
Scoop it out as soon as it’s smooth if you want a soft-serve texture. For firmer ice cream, spread it into a freezer-safe container and freeze for 1 to 2 hours. Longer than that and it starts to set hard around the edges, so if it goes too firm, let it sit at room temperature for a few minutes before scooping.
How to Change the Flavor Without Losing the Creamy Texture
Dairy-Free Coconut Version
Use coconut cream instead of heavy cream. It gives the mixture a lush, scoopable texture and keeps the recipe completely dairy-free, though you’ll taste a light coconut note in the background. If you want the strawberry to stay dominant, use the smallest amount of coconut cream that still lets the blender move freely.
More Banana-Forward Nice Cream
Increase the banana slightly and skip the added sweetener if your fruit is very ripe. The result is softer, more banana-heavy, and a little less intensely strawberry, but it still blends into a creamy frozen dessert with no churn required.
Stronger Strawberry Flavor
Use a little less banana and keep the honey or maple syrup in the mix. That gives you a brighter strawberry taste and a firmer finish, which is especially good if your berries are tart.
Storage and Reheating
- Refrigerator: This dessert doesn’t hold well in the fridge; it melts into a milkshake-like texture fast.
- Freezer: Freeze in an airtight container for up to 1 week, but expect it to set firm. The texture is best in the first day or two.
- Reheating: There’s no reheating here. If it freezes hard, let it sit on the counter for 5 to 10 minutes, then scoop before it gets too soft around the edges.
Questions I Get Asked About This Recipe
Blender Strawberry Ice Cream (No-Churn, Frozen Fruit)
Ingredients
Equipment
Method
- Let frozen strawberries and banana sit at room temperature for 5 minutes to soften slightly, then prepare your blender. Visual cue: the fruit should look just a little less rock-solid around the edges.
- Add strawberries, banana, cream, honey, vanilla, and salt to a high-powered blender. Visual cue: everything should be evenly distributed before blending.
- Blend on high, stopping to scrape down the sides as needed, until completely smooth and creamy—about 2 minutes. Visual cue: the mixture turns thick, uniform, and vibrantly pink with no visible chunks.
- Serve immediately as soft serve for a quick frozen dessert. Visual cue: it should hold swirls in a bowl without melting right away.
- Transfer to a freezer container and freeze 1-2 hours for a scoopable texture. Visual cue: it firms up and becomes spoonable like ice cream.


