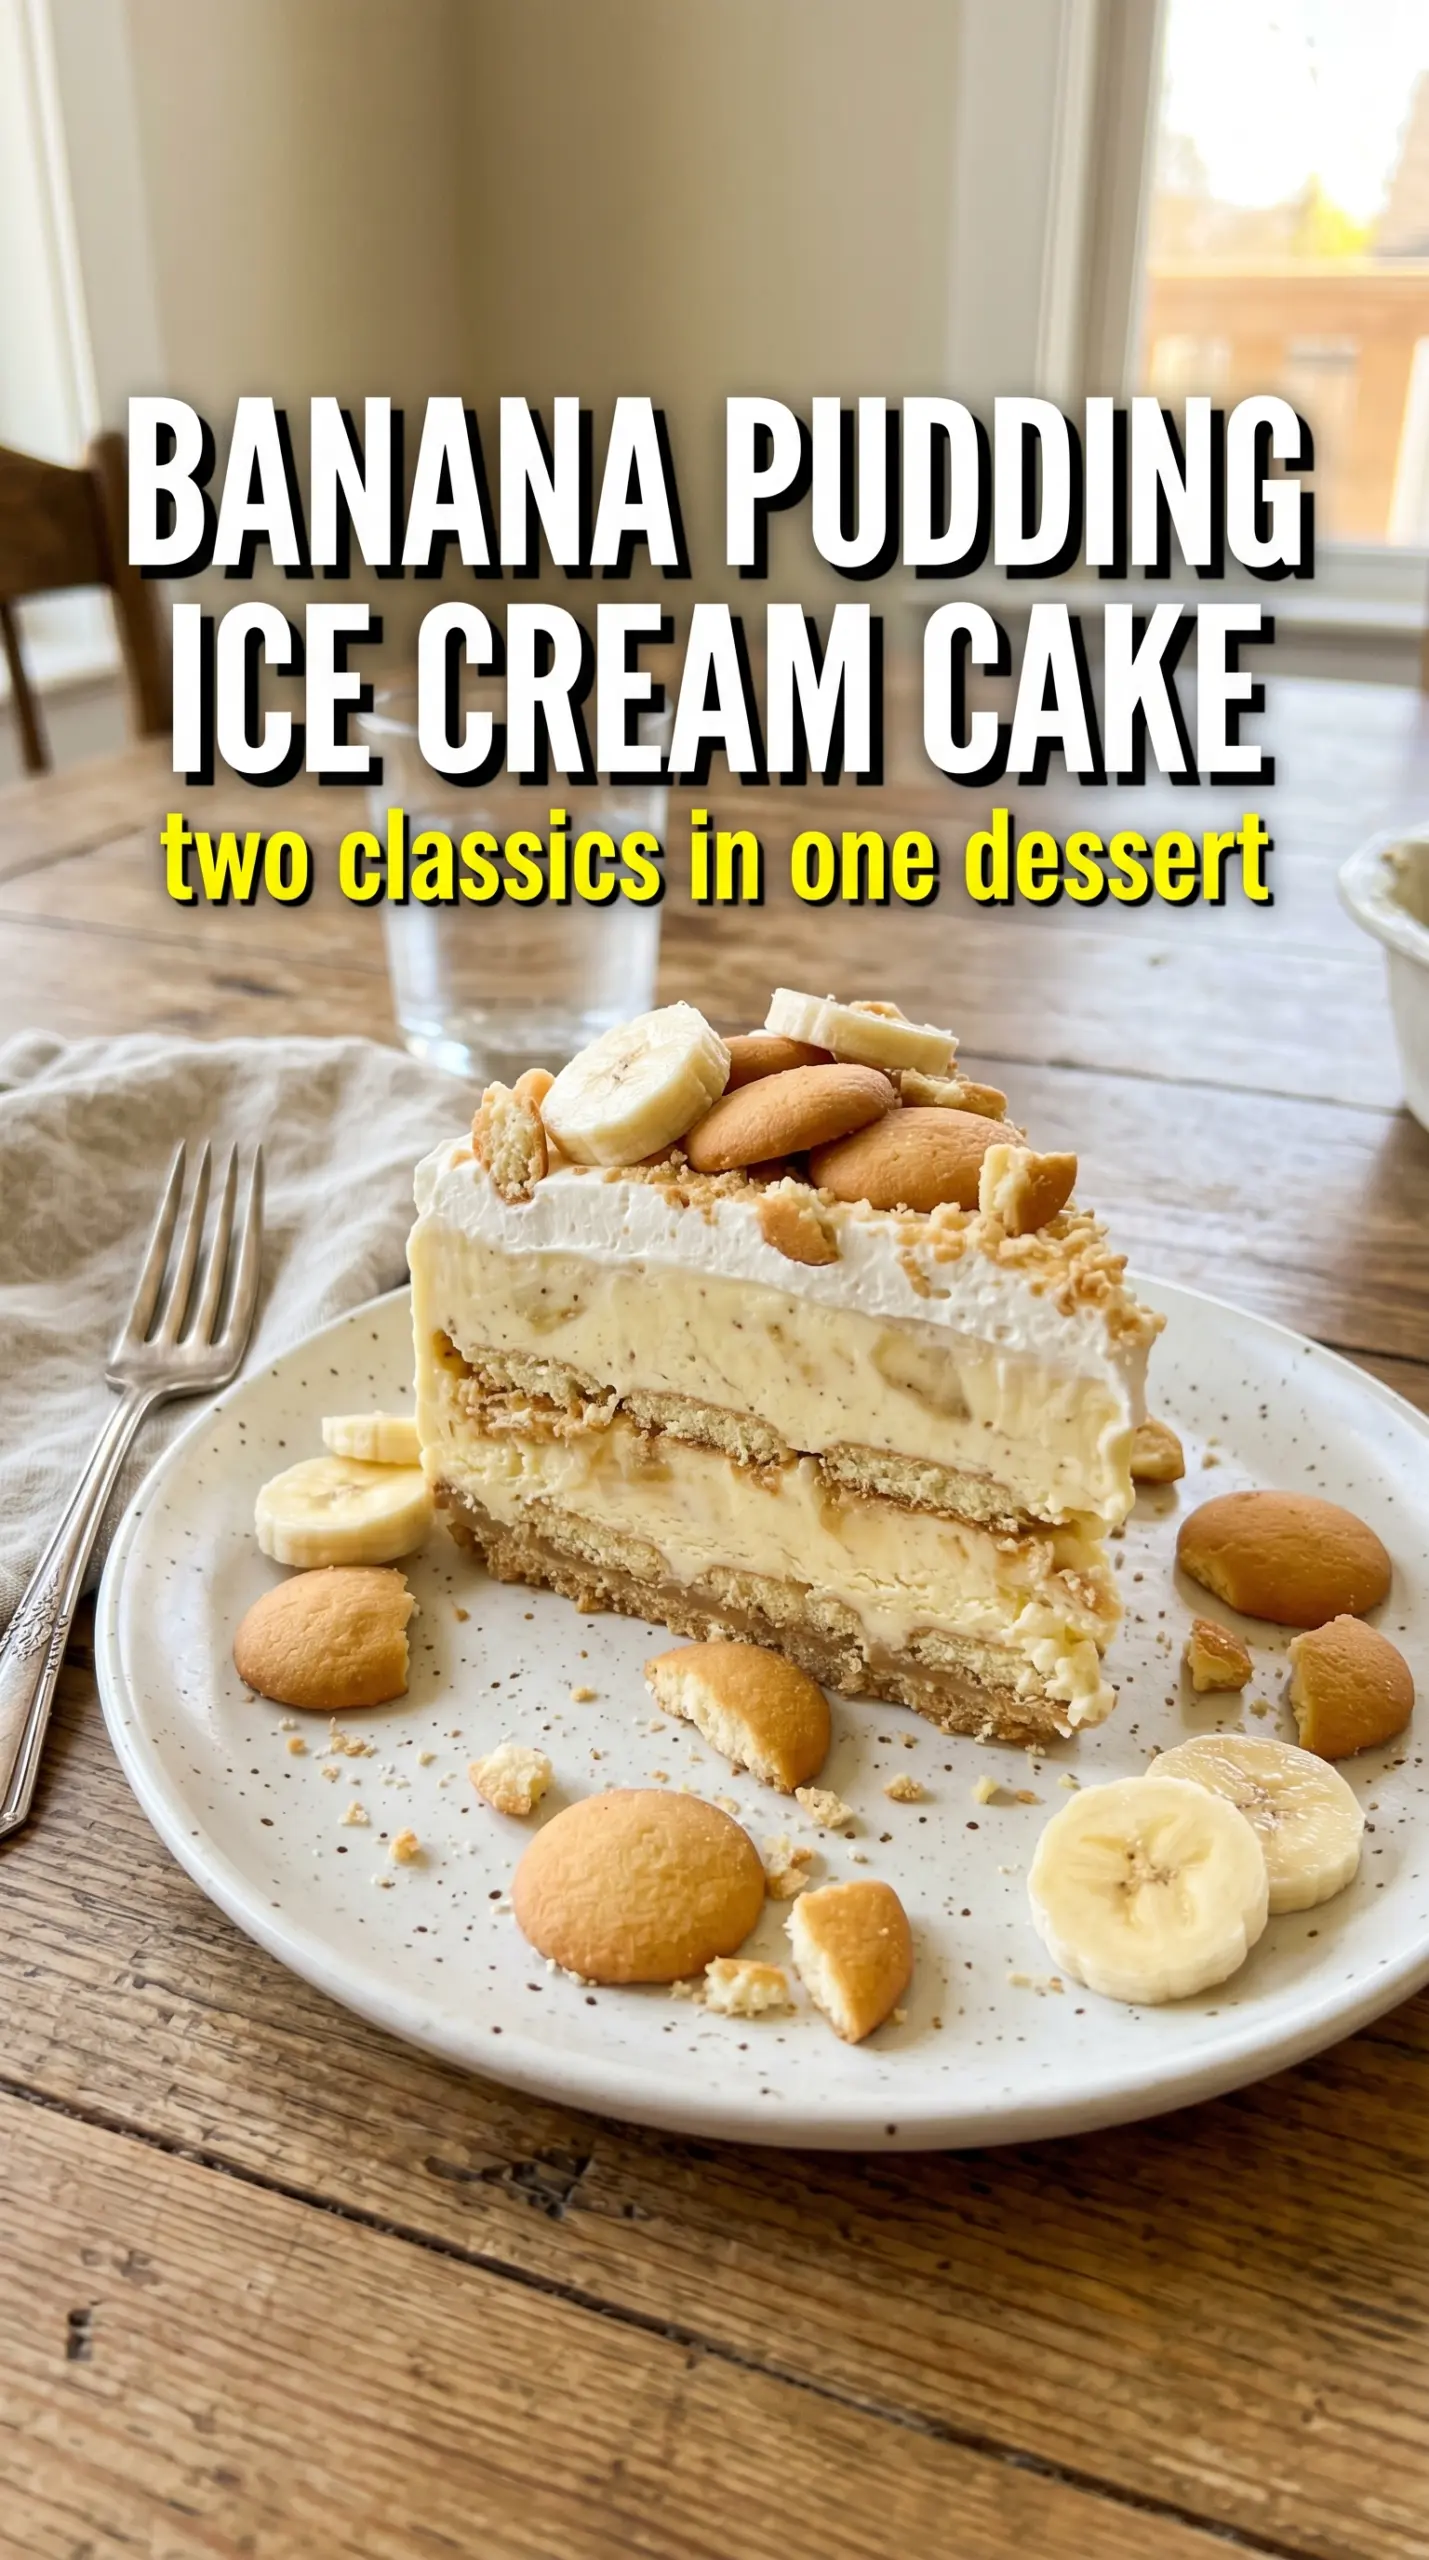
Banana pudding ice cream cake hits that sweet spot between nostalgic and celebration-worthy. The crust stays sandy and buttery instead of turning dense, the ice cream layer slices clean after a proper freeze, and the banana pudding brings the familiar custard-like flavor without making the whole dessert heavy. Every bite gives you cold creaminess, ripe banana, and that little vanilla snap from the wafers.
The part that makes this version work is balance. The Nilla wafer crust gets a short freeze before the filling goes in, which helps it hold its shape under the softened ice cream. The bananas are tucked between cold layers instead of being mixed throughout, so you still get clean slices and distinct layers instead of a muddy frozen block. Use bananas that are ripe with a few brown speckles, not overripe ones that collapse into the pudding.
Below, I’ve included the small details that keep this cake neat when you cut it, plus the swaps that work if you want to lean more banana, more vanilla, or make it a little lighter on the dairy.
The layers froze up clean and the banana pudding stayed creamy instead of icy. I let it sit for about 10 minutes before slicing and it came out in neat pieces with the wafers still crisp on top.
Like this banana pudding ice cream cake? Save it to Pinterest for the days when you want a frozen dessert with creamy layers and a crisp Nilla wafer crust.
The Freezer Time That Keeps the Layers Separate
The biggest mistake with a frozen layer cake like this is rushing the freeze between additions. If the crust isn’t firm before the ice cream goes in, the filling starts sinking into the crumbs and you lose that clean, sliceable base. The same goes for the finished cake: six hours is the minimum, but overnight gives you the sharpest edges and the most stable layers.
Softened ice cream matters here, but melted ice cream is the wrong move. You want it spreadable, not runny. If it’s too warm, it can seep into the banana layer and make the cake icy instead of creamy. Let it sit on the counter just until it gives under a spoon, then work quickly.
- Nilla wafers — These do double duty as crust and decoration, and their vanilla flavor is what makes the dessert taste like banana pudding instead of just a generic ice cream cake. A food processor makes the crust finer, but a zip-top bag and rolling pin work fine if you want a more rustic crumb.
- Butter — This is what helps the crumbs set up into a sliceable base after freezing. Don’t reduce it much or the crust will fall apart when you cut the cake.
- Vanilla or banana ice cream — Banana ice cream pushes the banana flavor further, while vanilla keeps the cake a little lighter and lets the pudding stand out. Either one works; just soften it enough to spread without tearing the crust.
- Instant banana pudding — Prepared pudding adds that familiar banana cream layer and helps hold the bananas in place. Use it as soon as it thickens so it doesn’t start setting too firmly in the bowl.
- Bananas — Slice them right before layering so they stay bright and don’t darken. The fruit should sit between the cold layers, not buried in the crust, or the cake can turn watery near the bottom.
What Each Ingredient Is Actually Doing in This Ice Cream Cake
- Crust or base layer (cookies, brownies, or cake) — This provides structure and texture contrast. A sturdy base keeps the whole cake from crumbling when served.
- Ice cream (the main event) — Choose quality ice cream or frozen yogurt. Soft-serve or premium ice cream works better than hard-packed store brands.
- Cake layer (optional but recommended) — A thin cake layer adds substance and keeps the cake from being all frozen texture. Make it thin so it doesn’t overpower the ice cream.
- Sauce or syrup layer (fudge, caramel, or fruit) — This adds flavor depth and prevents the cake from tasting one-dimensional. Freeze between layers so sauces stay distinct.
- Toppings (chocolate chips, cookies, candy, or nuts) — These add texture and visual appeal. Mix-ins stay crispy longer if frozen separately first.
- Frosting or whipped cream (optional topping) — This adds richness to the outside. Keep it simple or it overwhelms the cake.
- Freezing time (the patience that pays off) — Each layer needs time to set so they stay distinct when sliced. Rushing this step means layers muddy together.
- Storage and serving technique (thaw 5 minutes before slicing) — A brief thaw makes slicing clean and easy. Serve slices immediately for best texture.
Building the Cake So It Slices Cleanly
Pressing and Chilling the Crust
Crush 40 wafers into fine crumbs and mix them with the melted butter until every crumb looks evenly moistened. Press the mixture firmly into the bottom of a 9×13 pan, including the corners, because loose spots will crumble when you serve the cake. Freeze the crust for 15 minutes so it sets before the soft ice cream goes on top.
Layering the Cold Filling
Spread the softened ice cream in an even layer over the chilled crust. Work from the center out so you don’t drag the crumbs upward, and smooth it all the way to the edges. Add the banana slices in a single layer, then spread the prepared pudding over them; if you pile the bananas too thick, the cake gets hard to slice and the layers separate when you serve it.
Finishing and Freezing
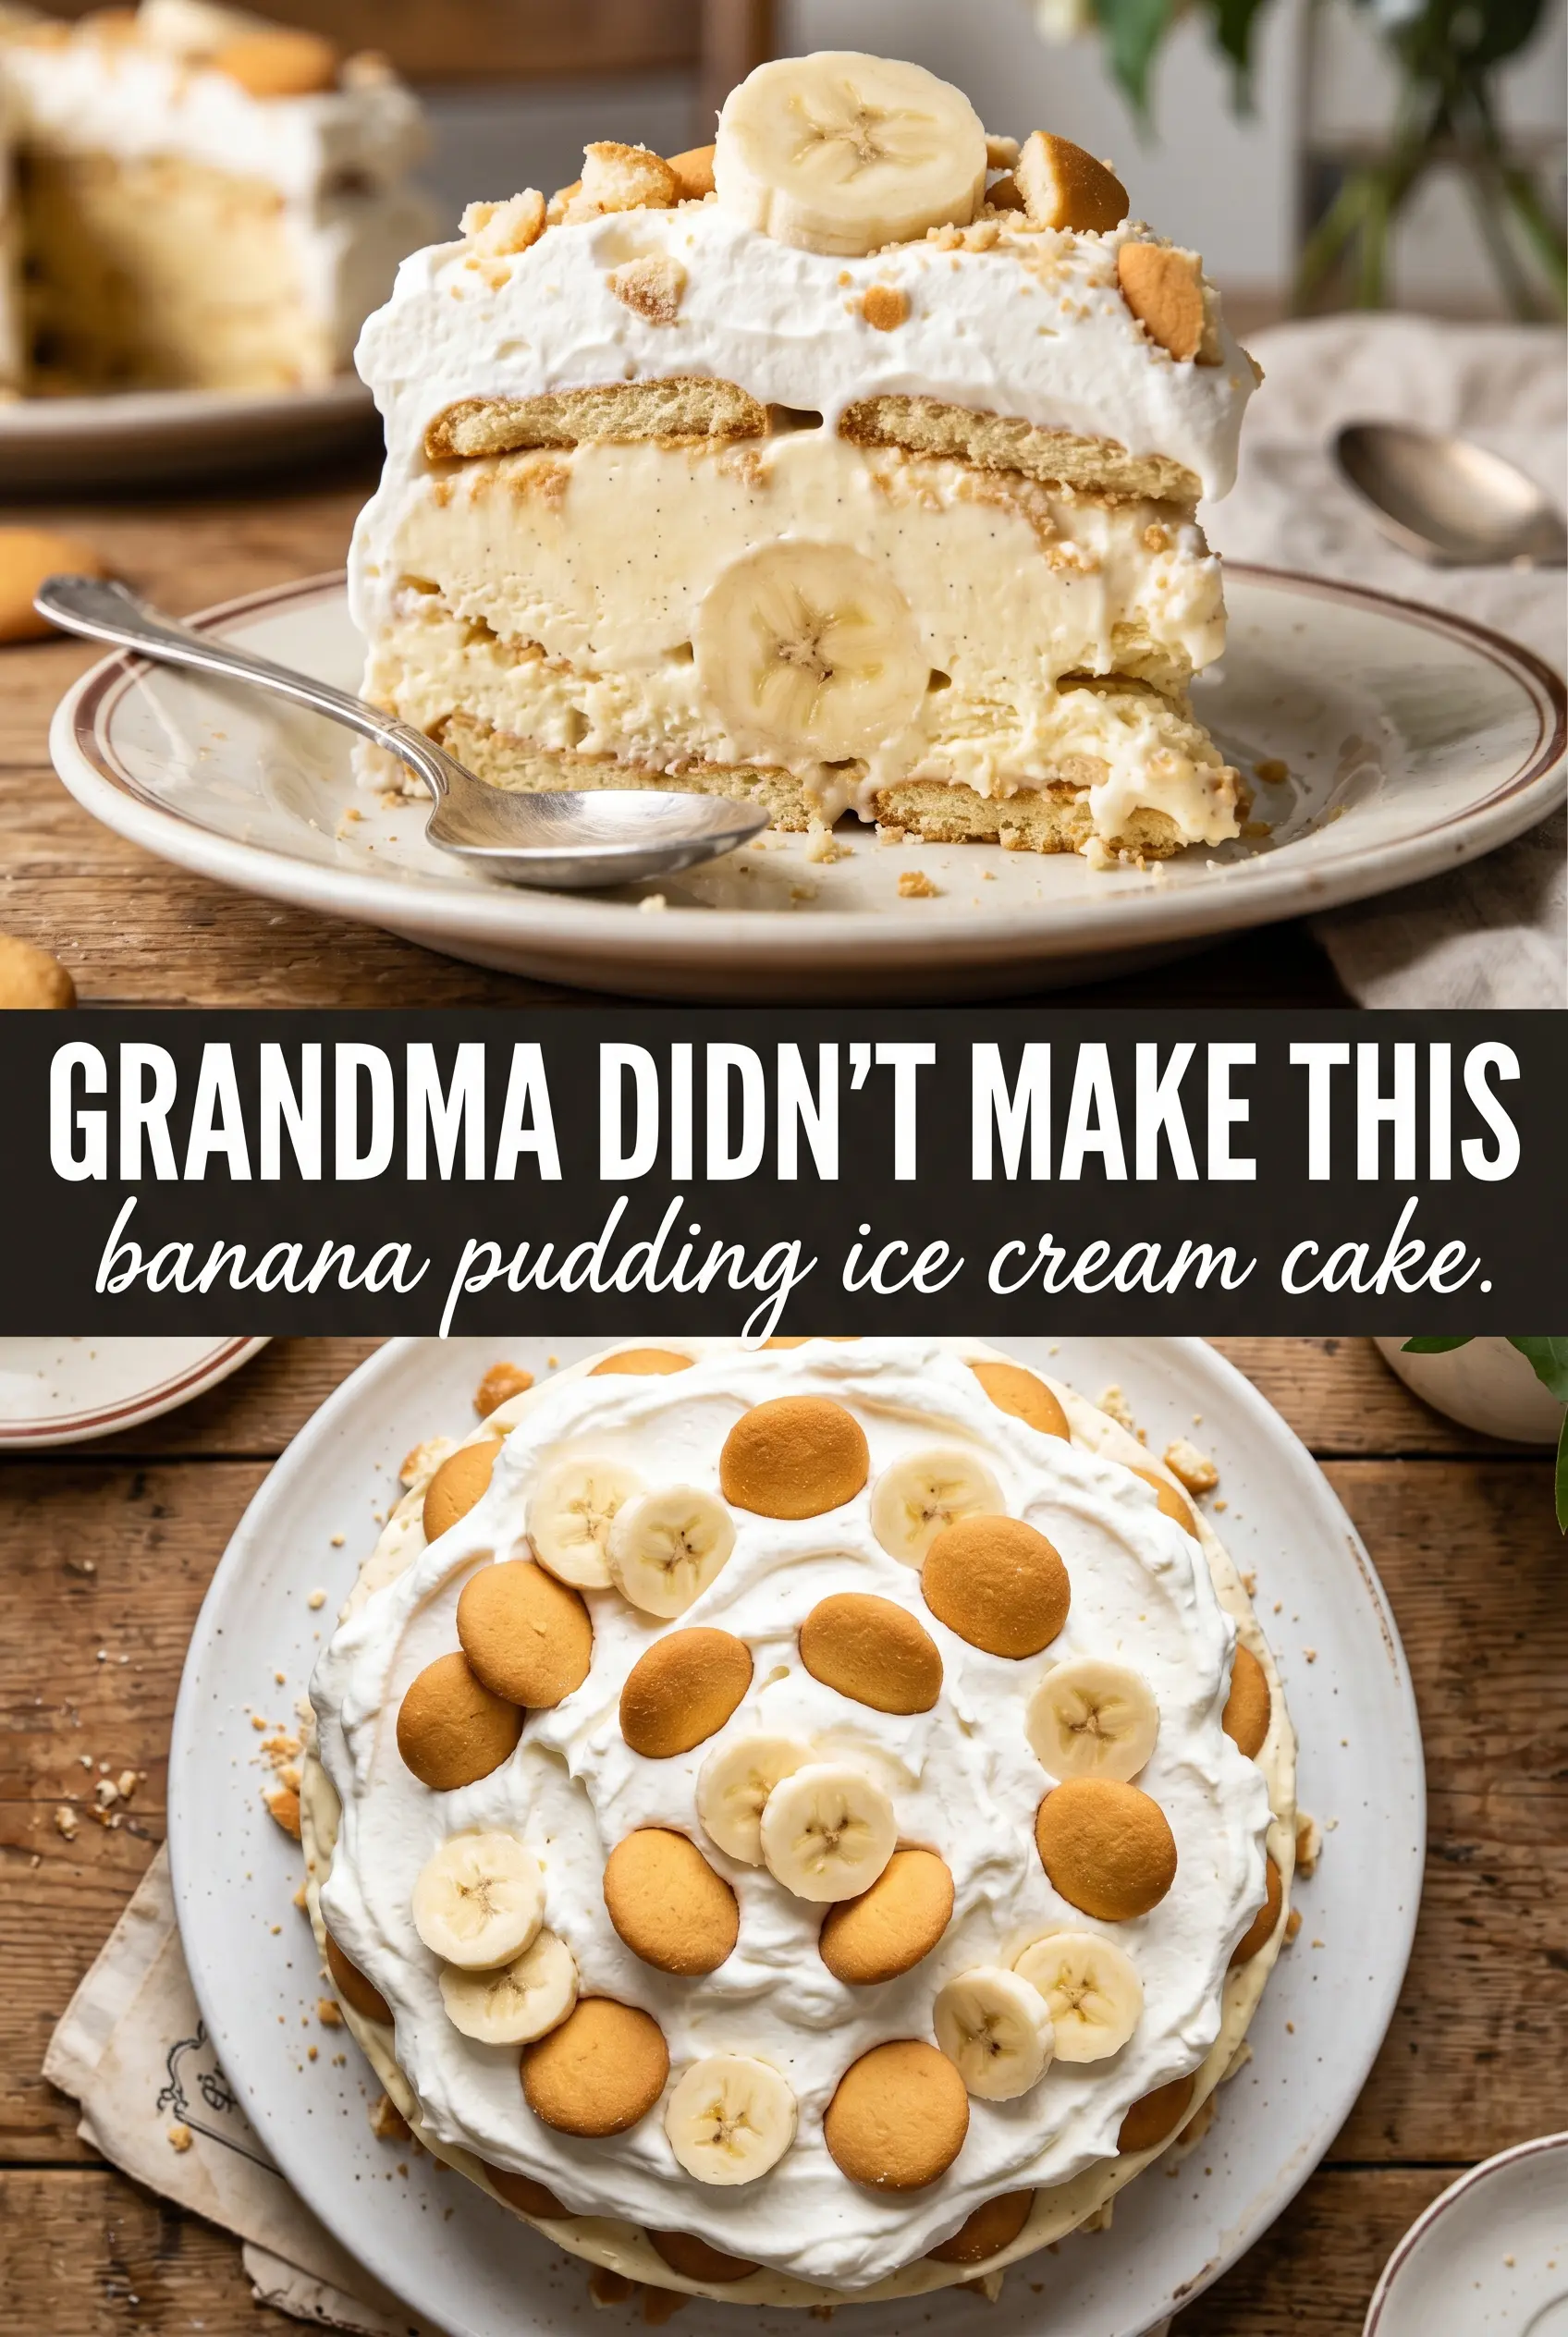
Top the pudding with whipped topping and smooth it into the corners. Decorate with the remaining wafers and fresh banana slices just before freezing, or the banana garnish will brown before the cake is served. Freeze the whole pan at least 6 hours, then let it sit at room temperature for about 10 minutes before cutting so the knife glides through without cracking the top.
How to Adapt This for a Bigger Crowd or a Different Finish
Use Banana Ice Cream for a Stronger Banana Flavor
Vanilla ice cream gives you a softer, more classic pudding flavor, but banana ice cream pushes the fruit forward and makes the whole cake taste more like frozen banana cream pie. The texture stays the same as long as the ice cream is only softened, not melted.
Make It Dairy-Free with a Few Smart Swaps
Use dairy-free vanilla frozen dessert, plant-based whipped topping, and a pudding mix made with your preferred non-dairy milk if your brand supports it. The flavor stays close, but the texture may freeze a little firmer, so give the cake a longer sit on the counter before slicing.
Swap in Homemade Whipped Cream for a Richer Top
Homemade whipped cream tastes fresher and a little less sweet than tub whipped topping, but it won’t hold quite as long in the freezer. Use it if you’re serving the cake the same day you finish it, and spread it all the way to the edges so the surface doesn’t dry out.
Storage and Reheating
- Refrigerator: This cake is best kept frozen, not refrigerated. If it thaws too much in the fridge, the layers soften and the crust loses its structure.
- Freezer: Store tightly covered for up to 1 week for the best texture. After that, the bananas can start to dull and the whipped topping may pick up freezer flavor.
- Reheating: There’s no reheating here. Let the cake sit at room temperature for 8 to 10 minutes before slicing; cutting it straight from the freezer is the mistake that cracks the top and shreds the layers.
Answers to the Questions Worth Asking
Banana Pudding Ice Cream Cake
Ingredients
Equipment
Method
- Crush 40 Nilla wafers and combine with melted unsalted butter, then press firmly into the bottom of a 9x13 pan (pressing cue: compact and level). Freeze for 15 minutes to set the crust.
- Spread the softened vanilla or banana ice cream over the chilled crust in an even layer (visual cue: smooth, straight surface with no gaps).
- Layer sliced ripe bananas over the ice cream (visual cue: distribute in a single even layer so each slice will have banana).
- Spread the prepared instant banana pudding over the banana slices (visual cue: cover completely with an even layer).
- Top with whipped topping and smooth the surface (visual cue: use gentle strokes so the top looks level).
- Decorate with the remaining Nilla wafers and fresh banana slices (visual cue: press wafers lightly so they adhere to the whipped topping).
- Freeze at least 6 hours before serving (visual cue: firm enough that a knife slices cleanly through the layers).


