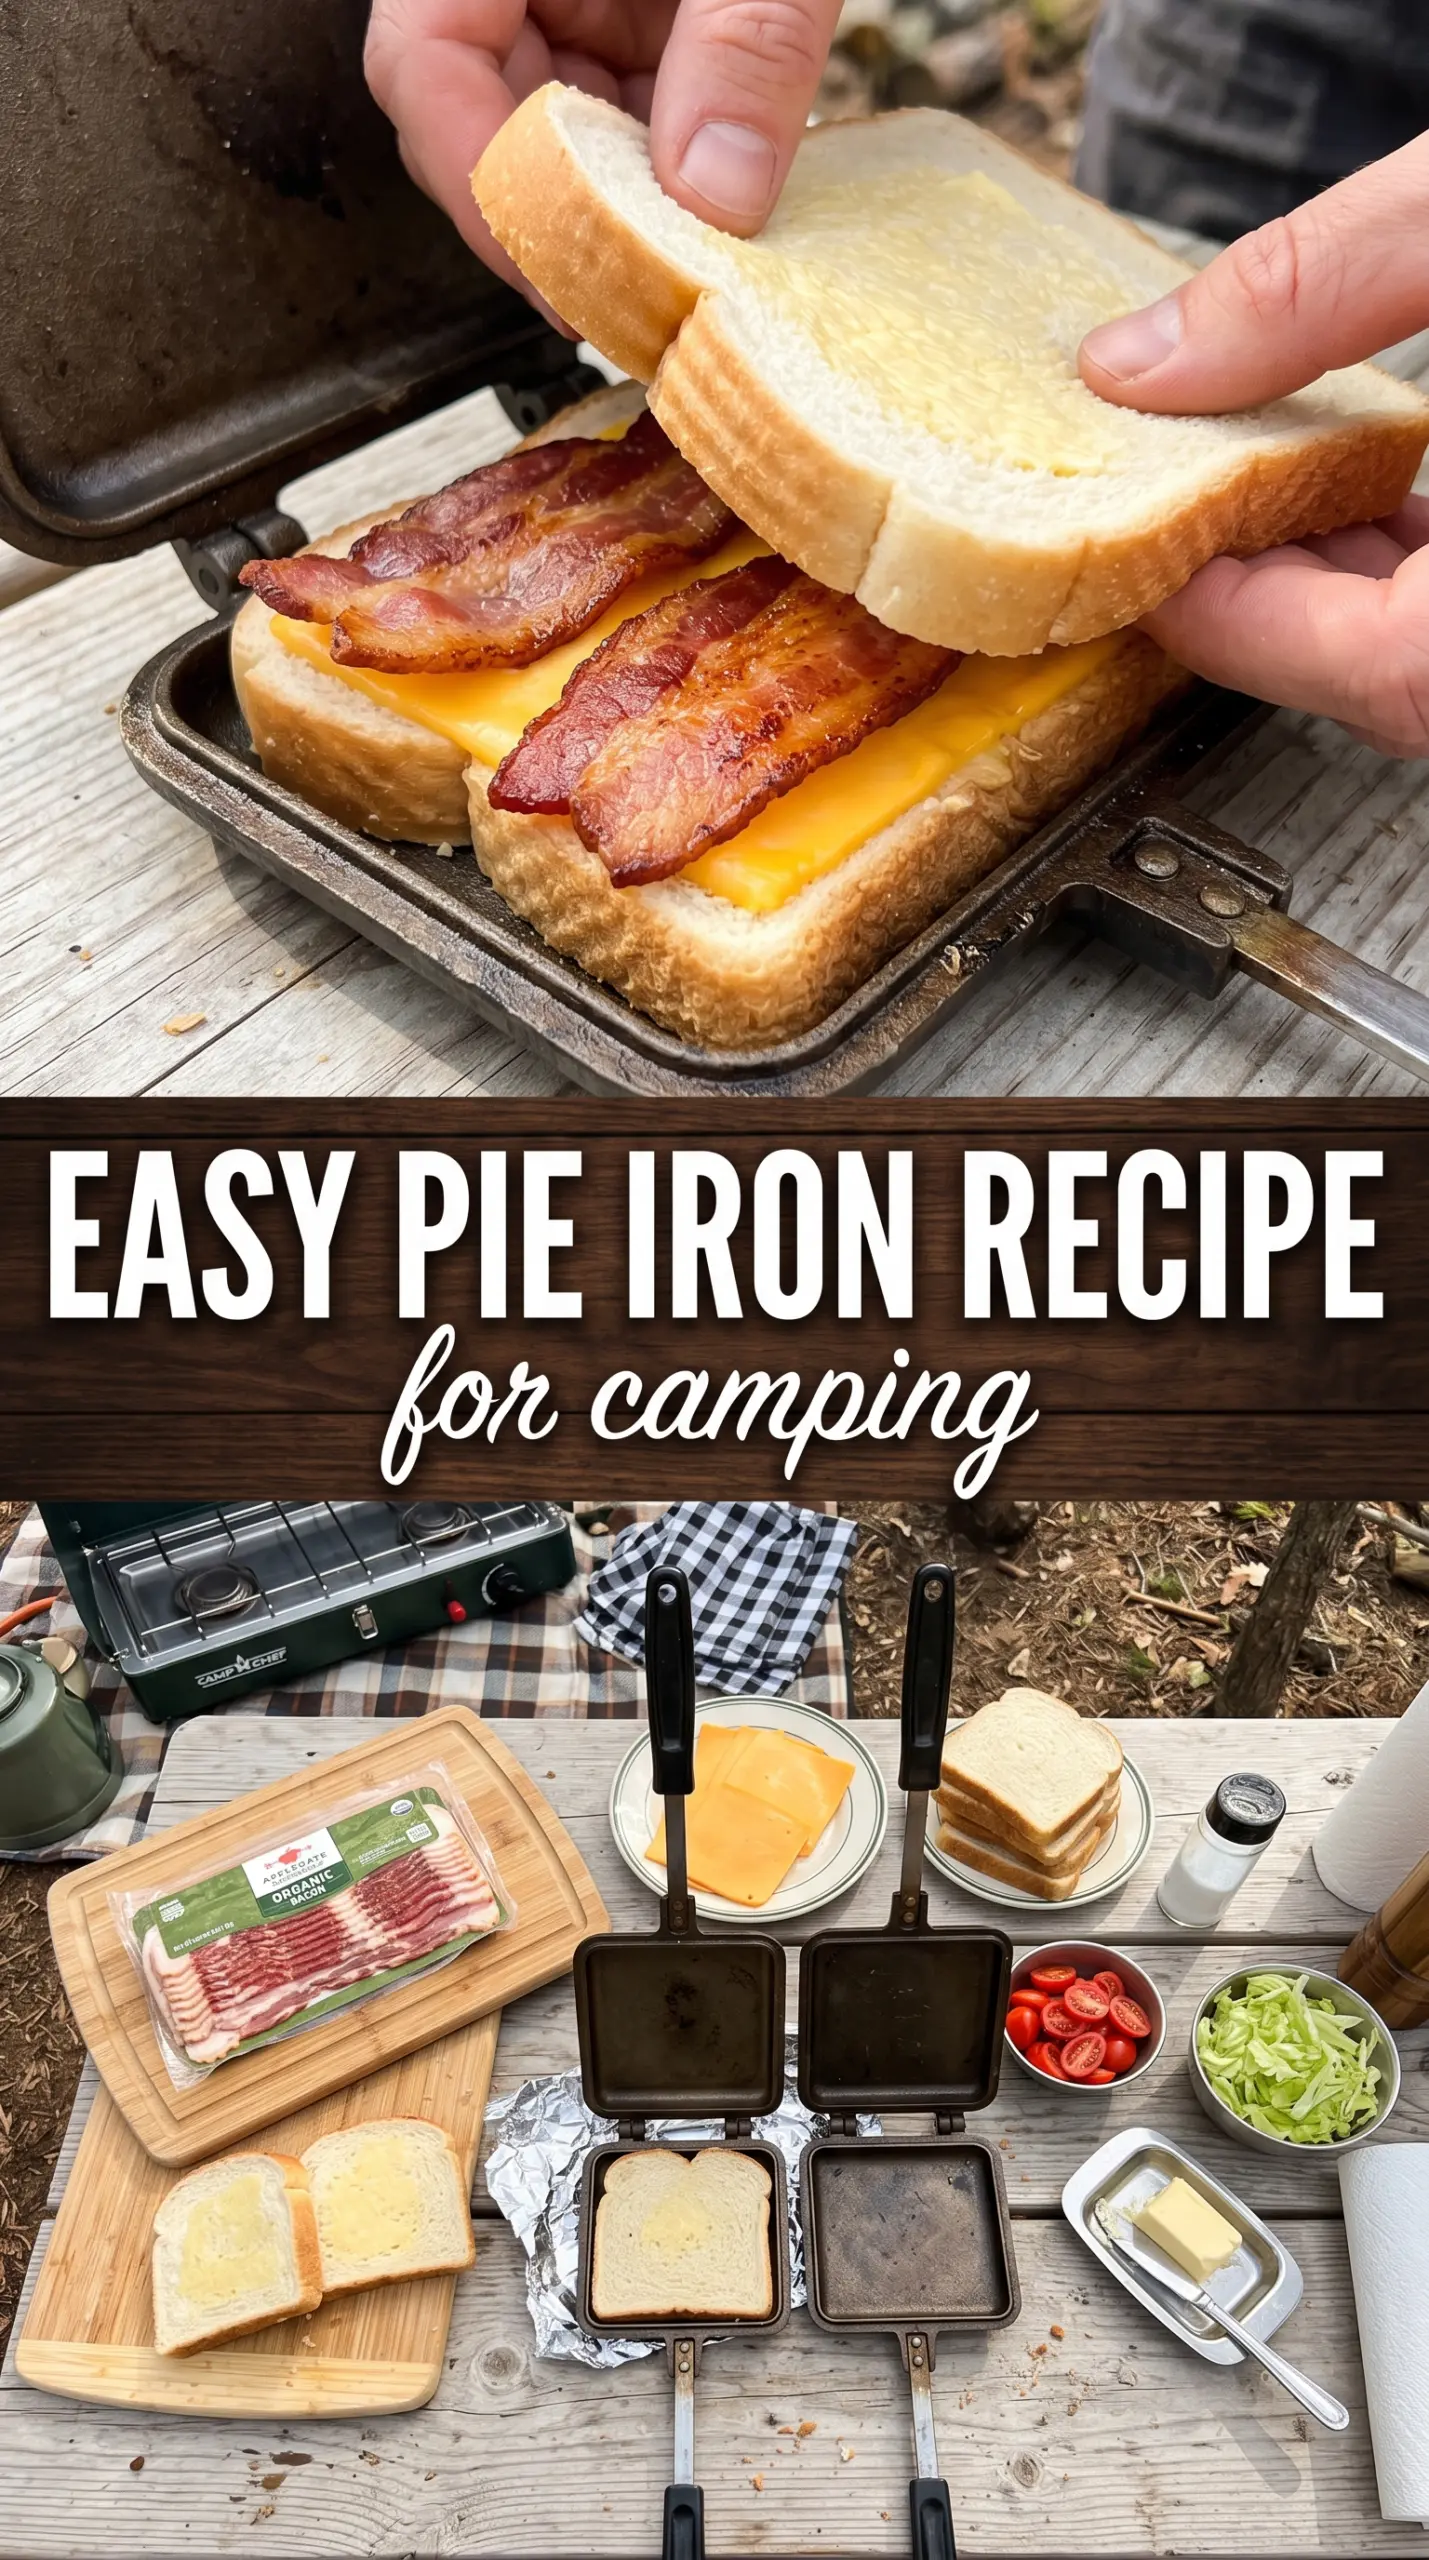
Bacon pie irons turn a handful of breakfast staples into a crisp, melty sandwich with buttery toast on the outside and smoky eggs, bacon, and cheddar tucked inside. The best part is the contrast: the bread gets deeply golden and the cheese softens just enough to hold everything together without leaking out the sides. It feels like campfire food should feel — hands-on, a little rustic, and worth the small effort.
What makes this version work is the order of the filling. Scrambled eggs go in already cooked, so they stay tender instead of turning watery in the pie iron. The bacon should be cooked before it goes in too, because the sandwich only has a few minutes over the coals and that’s not enough time to render raw bacon properly. Buttering the bread all the way to the edges helps it brown evenly and release cleanly from the iron.
Below, I’ve included the small details that keep the sandwich from sticking, plus a few easy ways to swap the cheese, bread, or filling when you’re cooking at a campsite and working with what you’ve got.
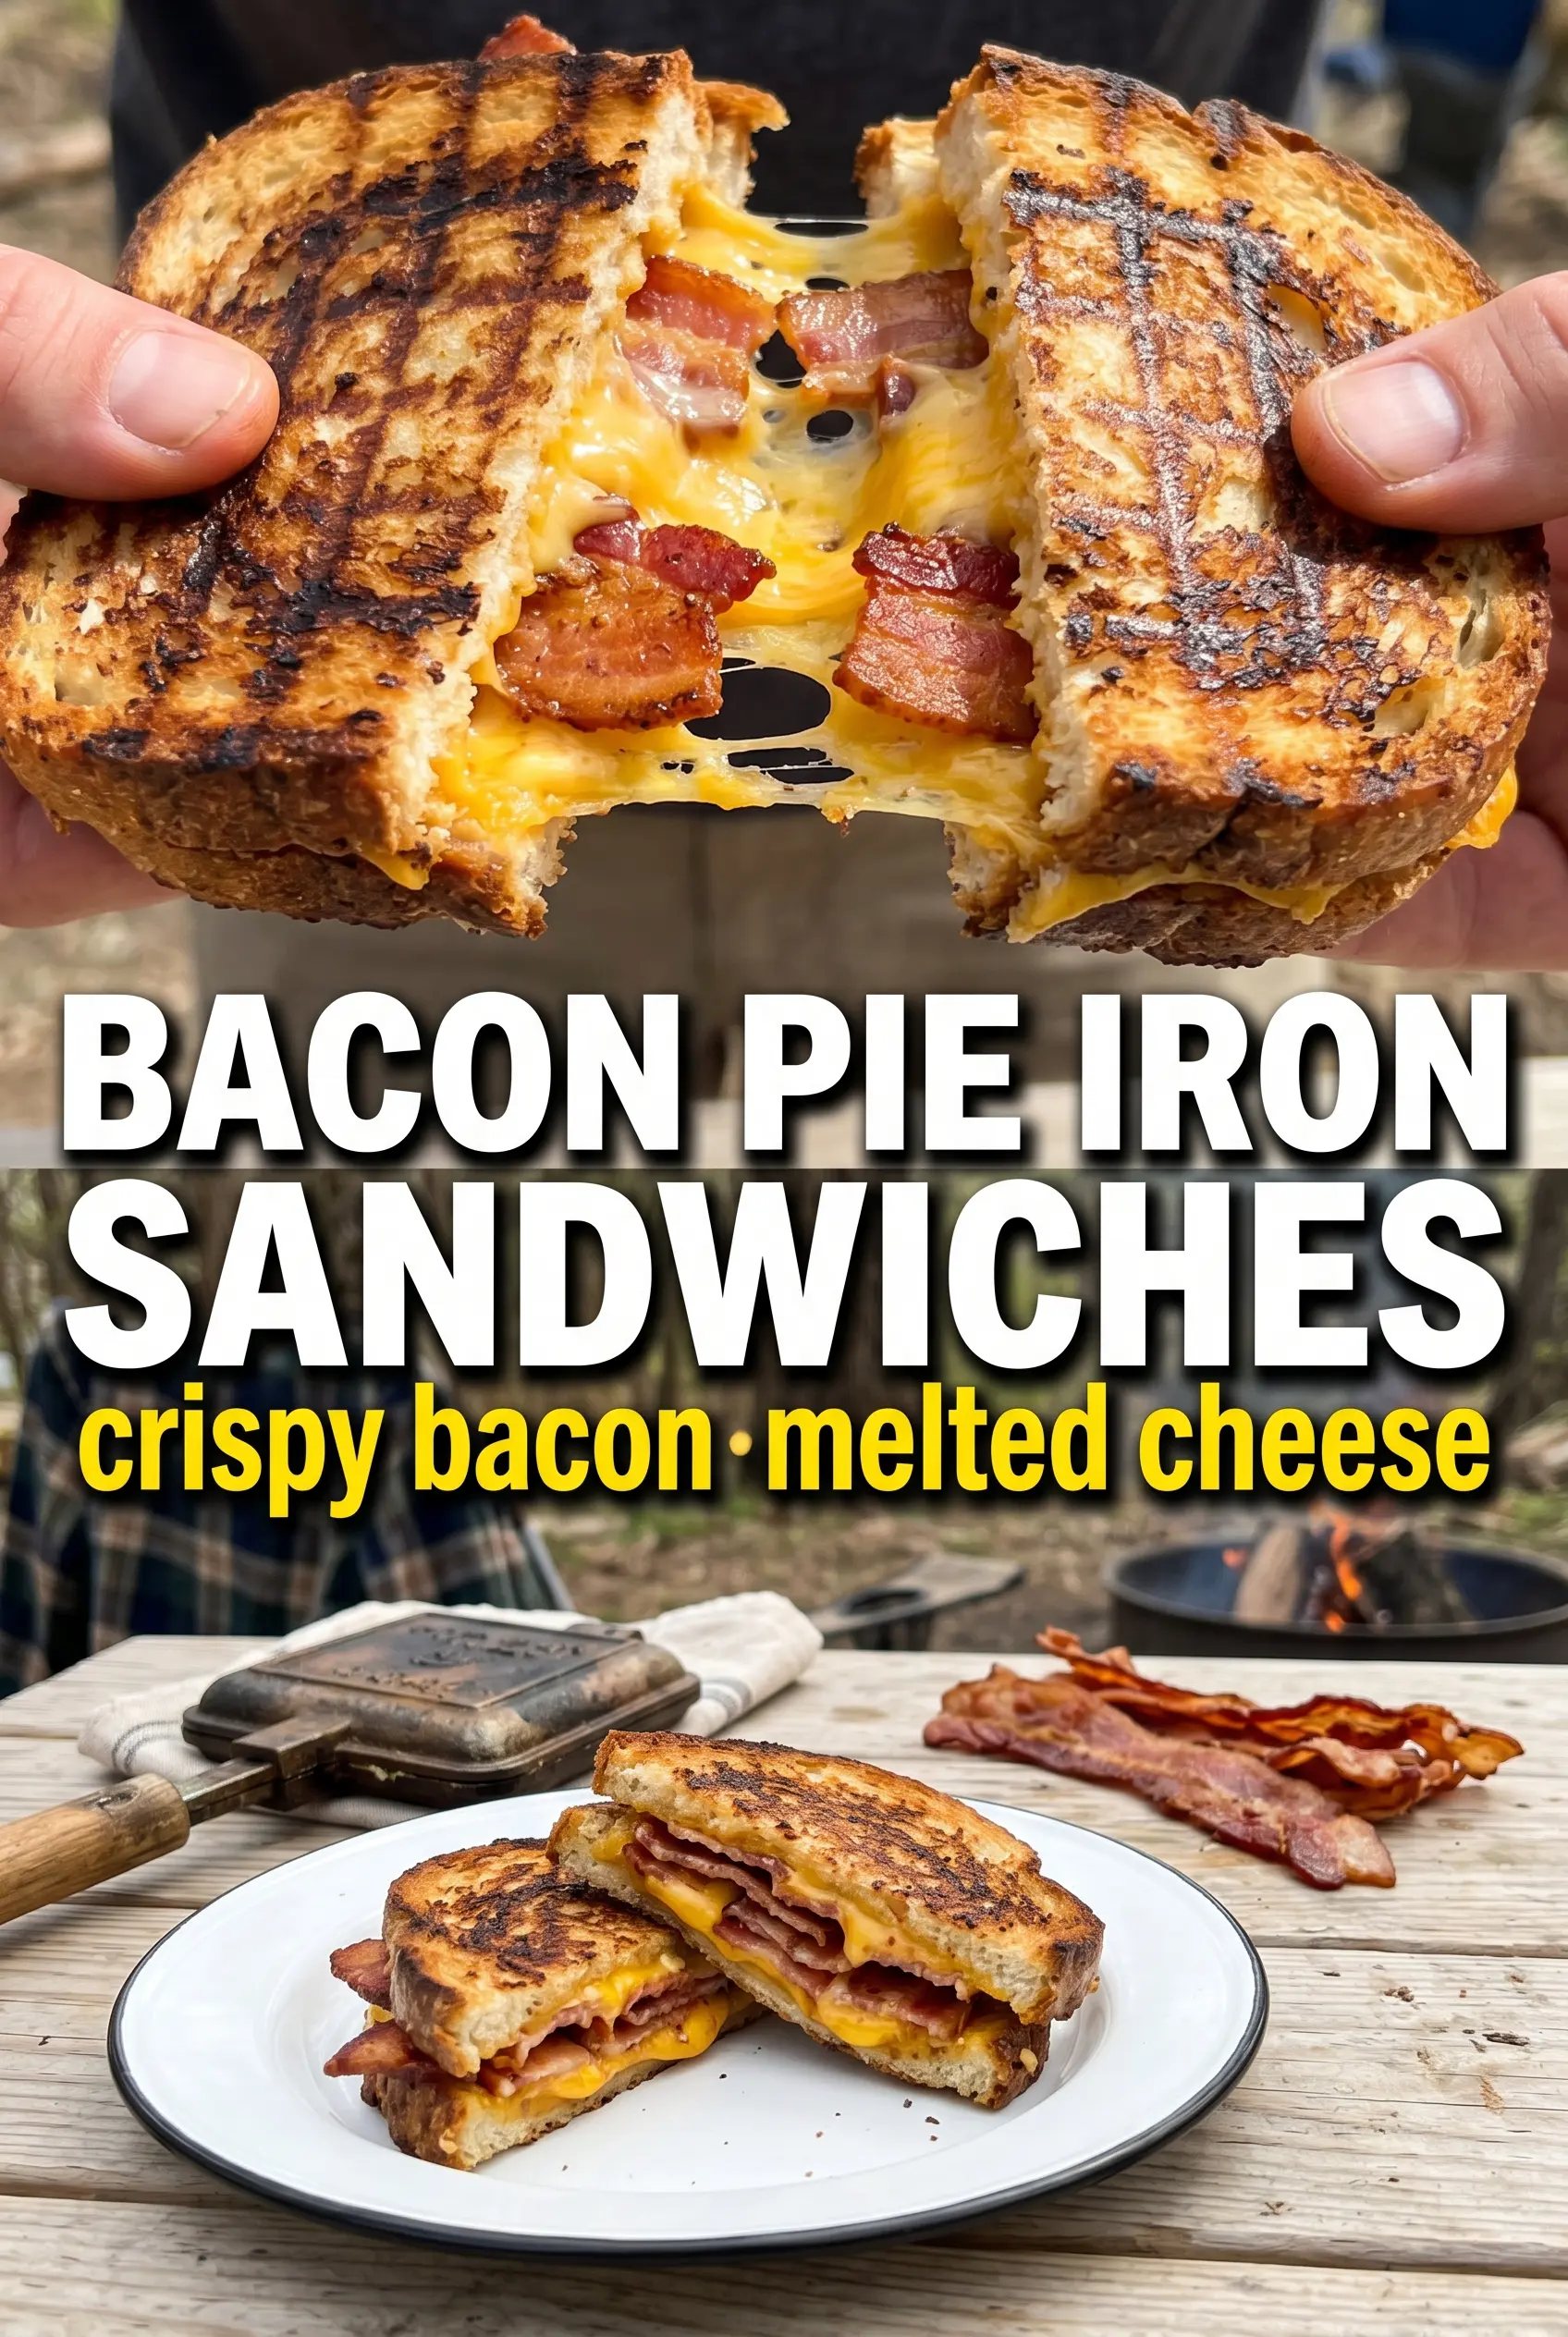
The bread came out crisp and the cheese melted around the eggs instead of running out the sides. I cooked each side for about 3 minutes over steady coals and the sandwich flipped out cleanly.
Save these bacon pie irons for campsite breakfasts with crisp bread, smoky bacon, and melted cheddar.
Why the Bread Burns Before the Filling Catches Up
Pie irons can burn fast because the metal holds heat right against the bread while the filling is still warming through. That’s why a fully cooked filling matters here. If you pack in raw eggs or thick slices of uncooked bacon, the outside will darken before the center has a chance to catch up.
The other mistake is overfilling. A pie iron sandwich needs room for the bread to seal and for the cheese to melt without forcing the sides open. Keep the layers modest, press the sandwich together gently, and cook it over hot coals rather than open flame for a steadier, more even toast.
What Each Ingredient Is Actually Doing in This Sandwich
- Bread — Plain sandwich bread works well because it seals neatly and browns evenly. Thicker bread can be used, but it needs a little more time in the iron and tends to give you a heftier crust.
- Bacon — Cook it first until it’s crisp enough to bite through cleanly. If you add soft bacon, the sandwich can turn greasy and the texture gets muddy.
- Scrambled eggs — These should be fully cooked before they go in. That keeps the filling creamy instead of runny and keeps moisture from soaking the bread.
- Cheddar — Cheddar melts well and brings enough sharpness to stand up to the bacon. American or Monterey Jack also work if you want a smoother melt.
- Butter — Butter on the outside of the bread is what gives you that toasted, golden crust and helps the sandwich release from the iron. Don’t skip the edges.
Cooking the Sandwich So It Releases Cleanly
Building the Layers
Lay the buttered bread in the pie iron with the buttered side facing out. Add the eggs first, then the bacon, then the cheese so the cheese sits close to the hot metal and starts melting right away. If you pile the filling too high, the top bread won’t seal and the sandwich will tear when you open the iron.
Locking in the Heat
Close the iron firmly, but don’t mash it flat. You want the edges to meet and seal, not squeeze the filling out. Cook over hot coals for 3 to 4 minutes per side, turning the iron once the first side is a deep golden brown. If the bread is browning too fast, move it farther from the coals; if it’s pale after several minutes, the fire is too cool.
The Flip and Finish
Open the iron only when the crust feels firm and the cheese has melted enough that the sandwich holds together. Let it sit for a minute before serving so the filling settles. If you try to pull it apart immediately, the cheese can drag and the sandwich may split open.
Use Sausage Instead of Bacon
Cooked breakfast sausage works well if you want a meatier, less smoky sandwich. Break it into small pieces so it spreads evenly; big chunks make the iron harder to close and can poke holes in the bread.
Make It Vegetarian
Skip the bacon and add sautéed mushrooms, spinach, or roasted peppers instead. You’ll lose the salty snap from the bacon, so a little extra cheddar or a pinch of smoked paprika helps bring the sandwich back into balance.
Use Gluten-Free Bread
A sturdy gluten-free sandwich bread can work, but it usually needs a gentler hand because it breaks more easily in the iron. Toasting the outside with a thin, even layer of butter helps it hold together better and brown more evenly.
Storage and Reheating
- Refrigerator: Store leftovers in an airtight container for up to 2 days. The bread softens, but the flavor still holds up.
- Freezer: I don’t recommend freezing these. The eggs and bread both change texture too much after thawing.
- Reheating: Reheat in a skillet over low heat or in a toaster oven until the bread crisps again and the center is hot. The common mistake is using the microwave, which makes the bread rubbery and the bacon chewy.
Answers to the Questions Worth Asking
Bacon Pie Irons
Ingredients
Equipment
Method
- Butter one side of each bread slice so the outside browns evenly.
- Place one bread slice, butter-side down, in the preheated pie iron.
- Layer the sandwich with scrambled eggs, cooked bacon, and cheddar cheese.
- Season with salt and pepper, then top with the second bread slice, butter-side up, to seal the filling inside.
- Close the pie iron and cook over campfire coals for 3-4 minutes per side, until golden and the cheese is fully melted.
- Open the pie iron, remove the sandwich, and serve hot while the cheese is still stretchy.


