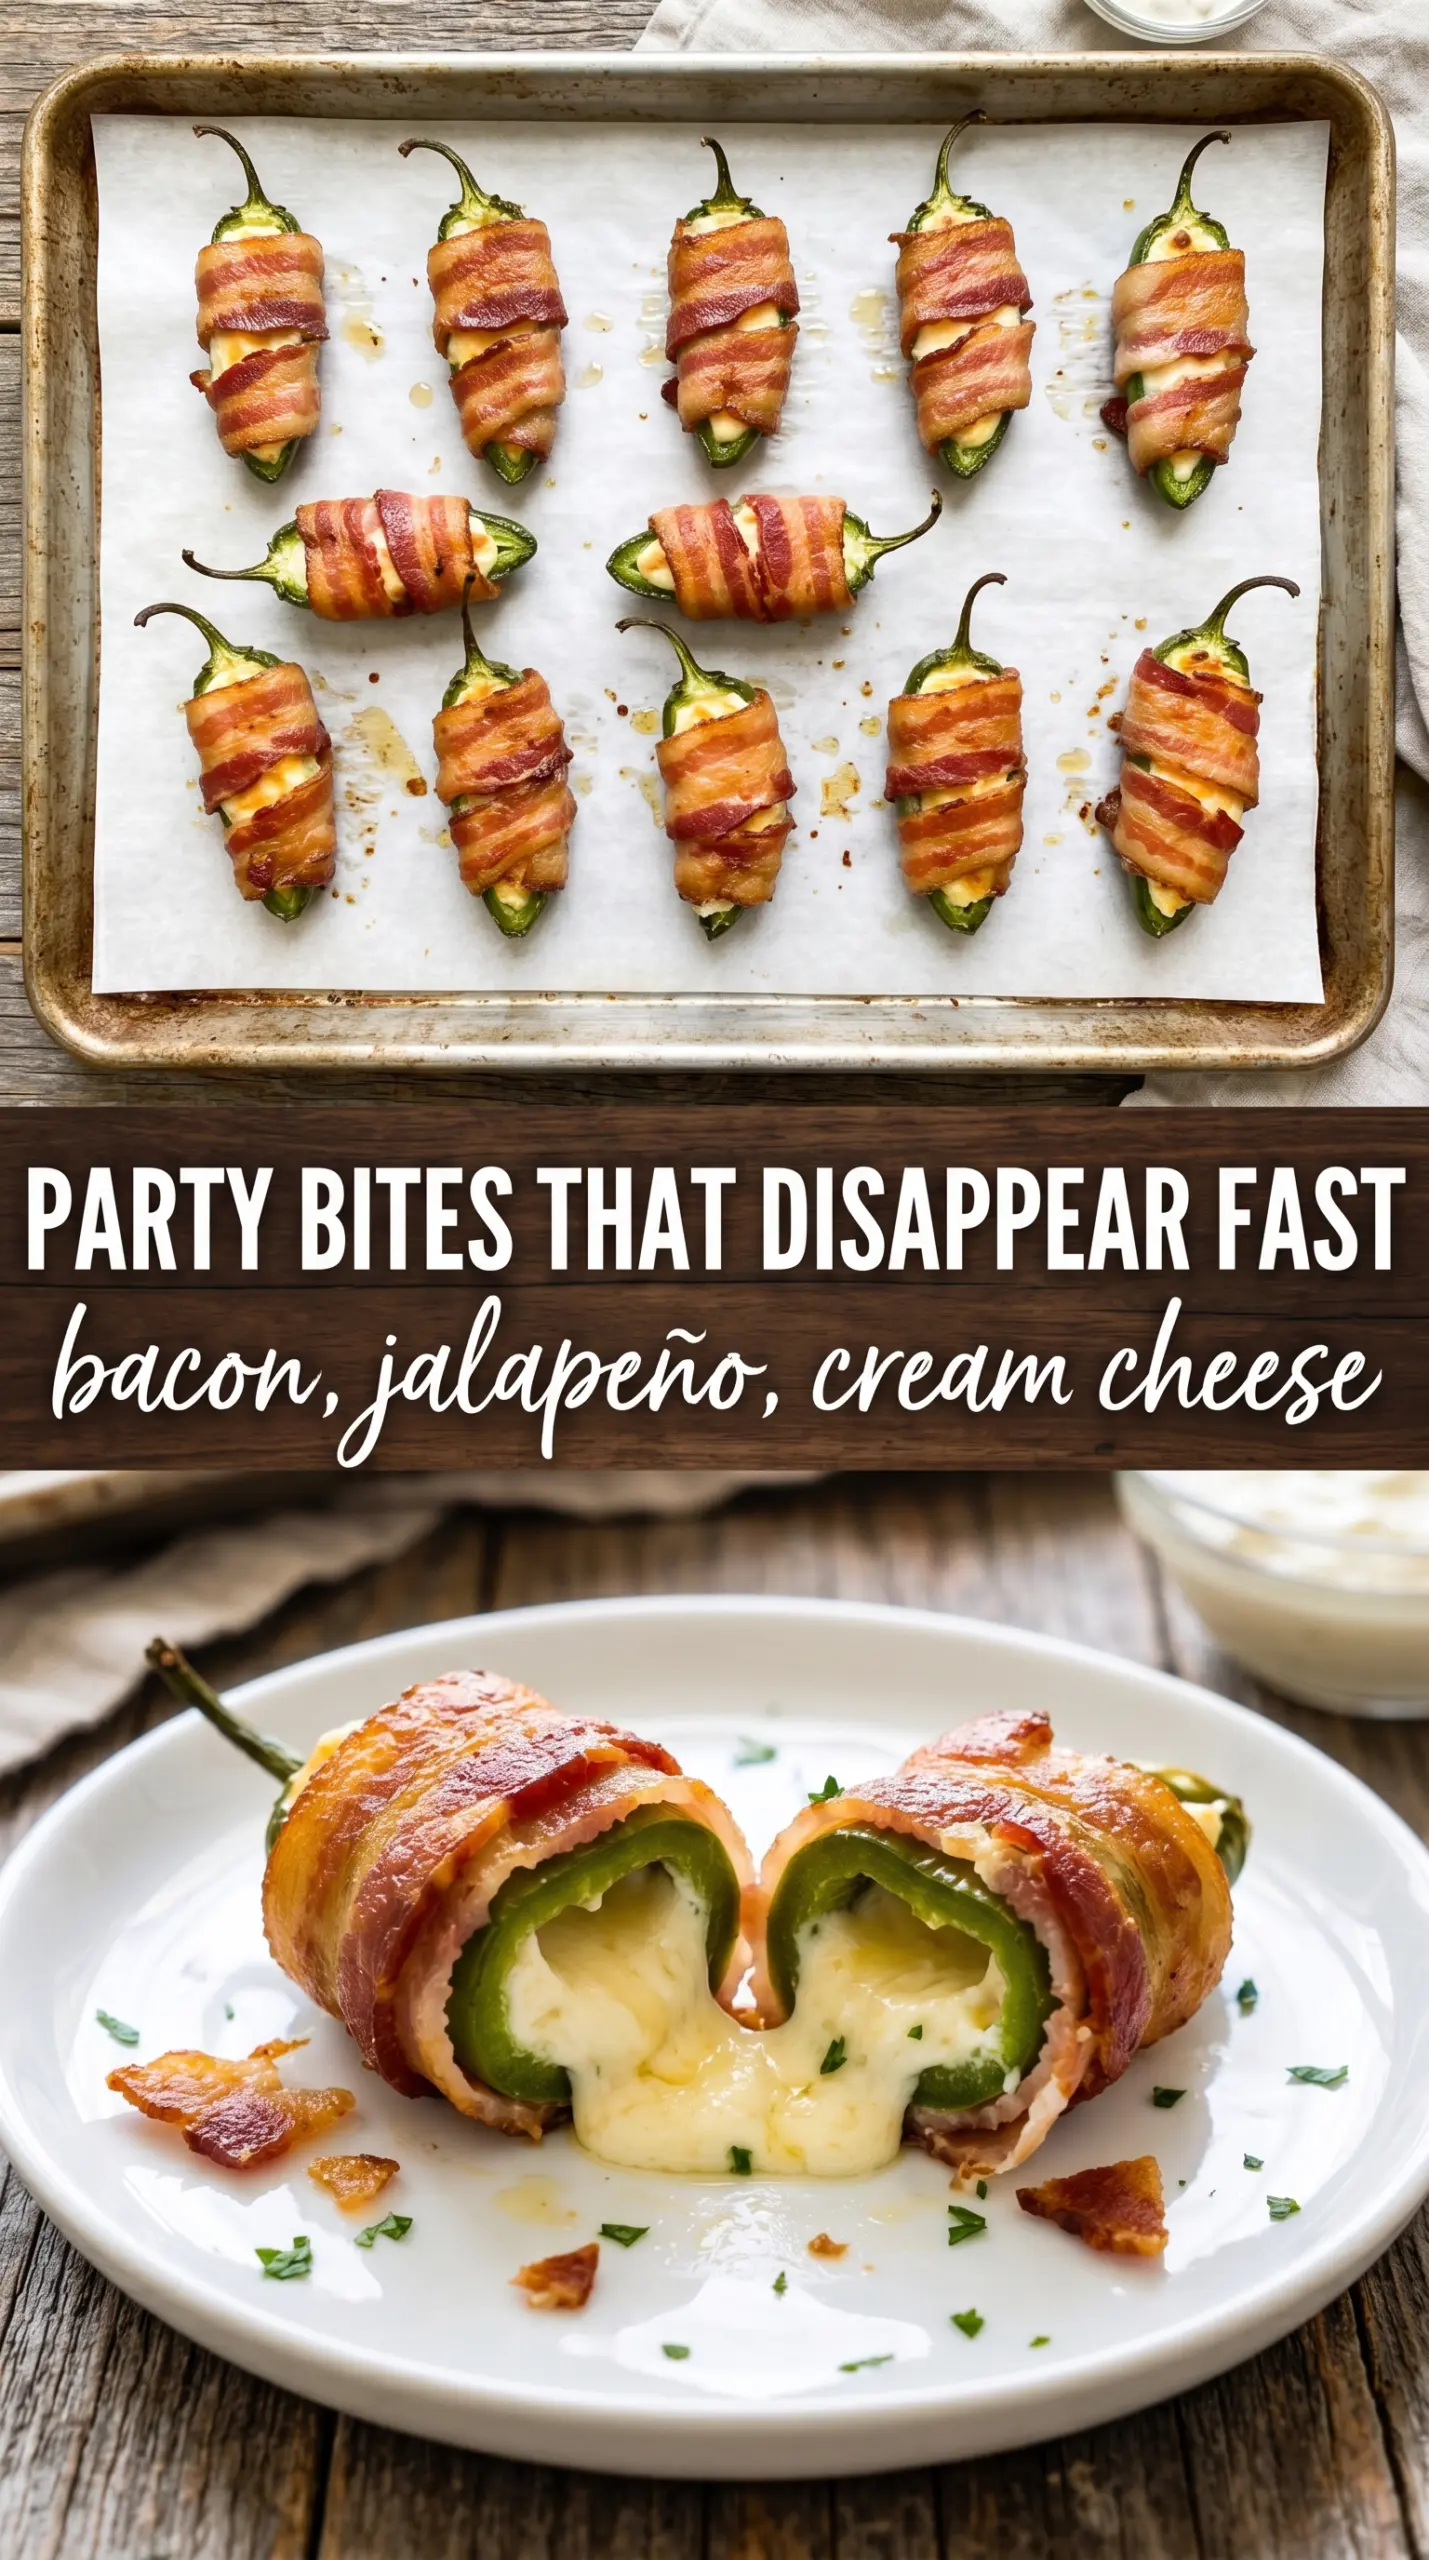
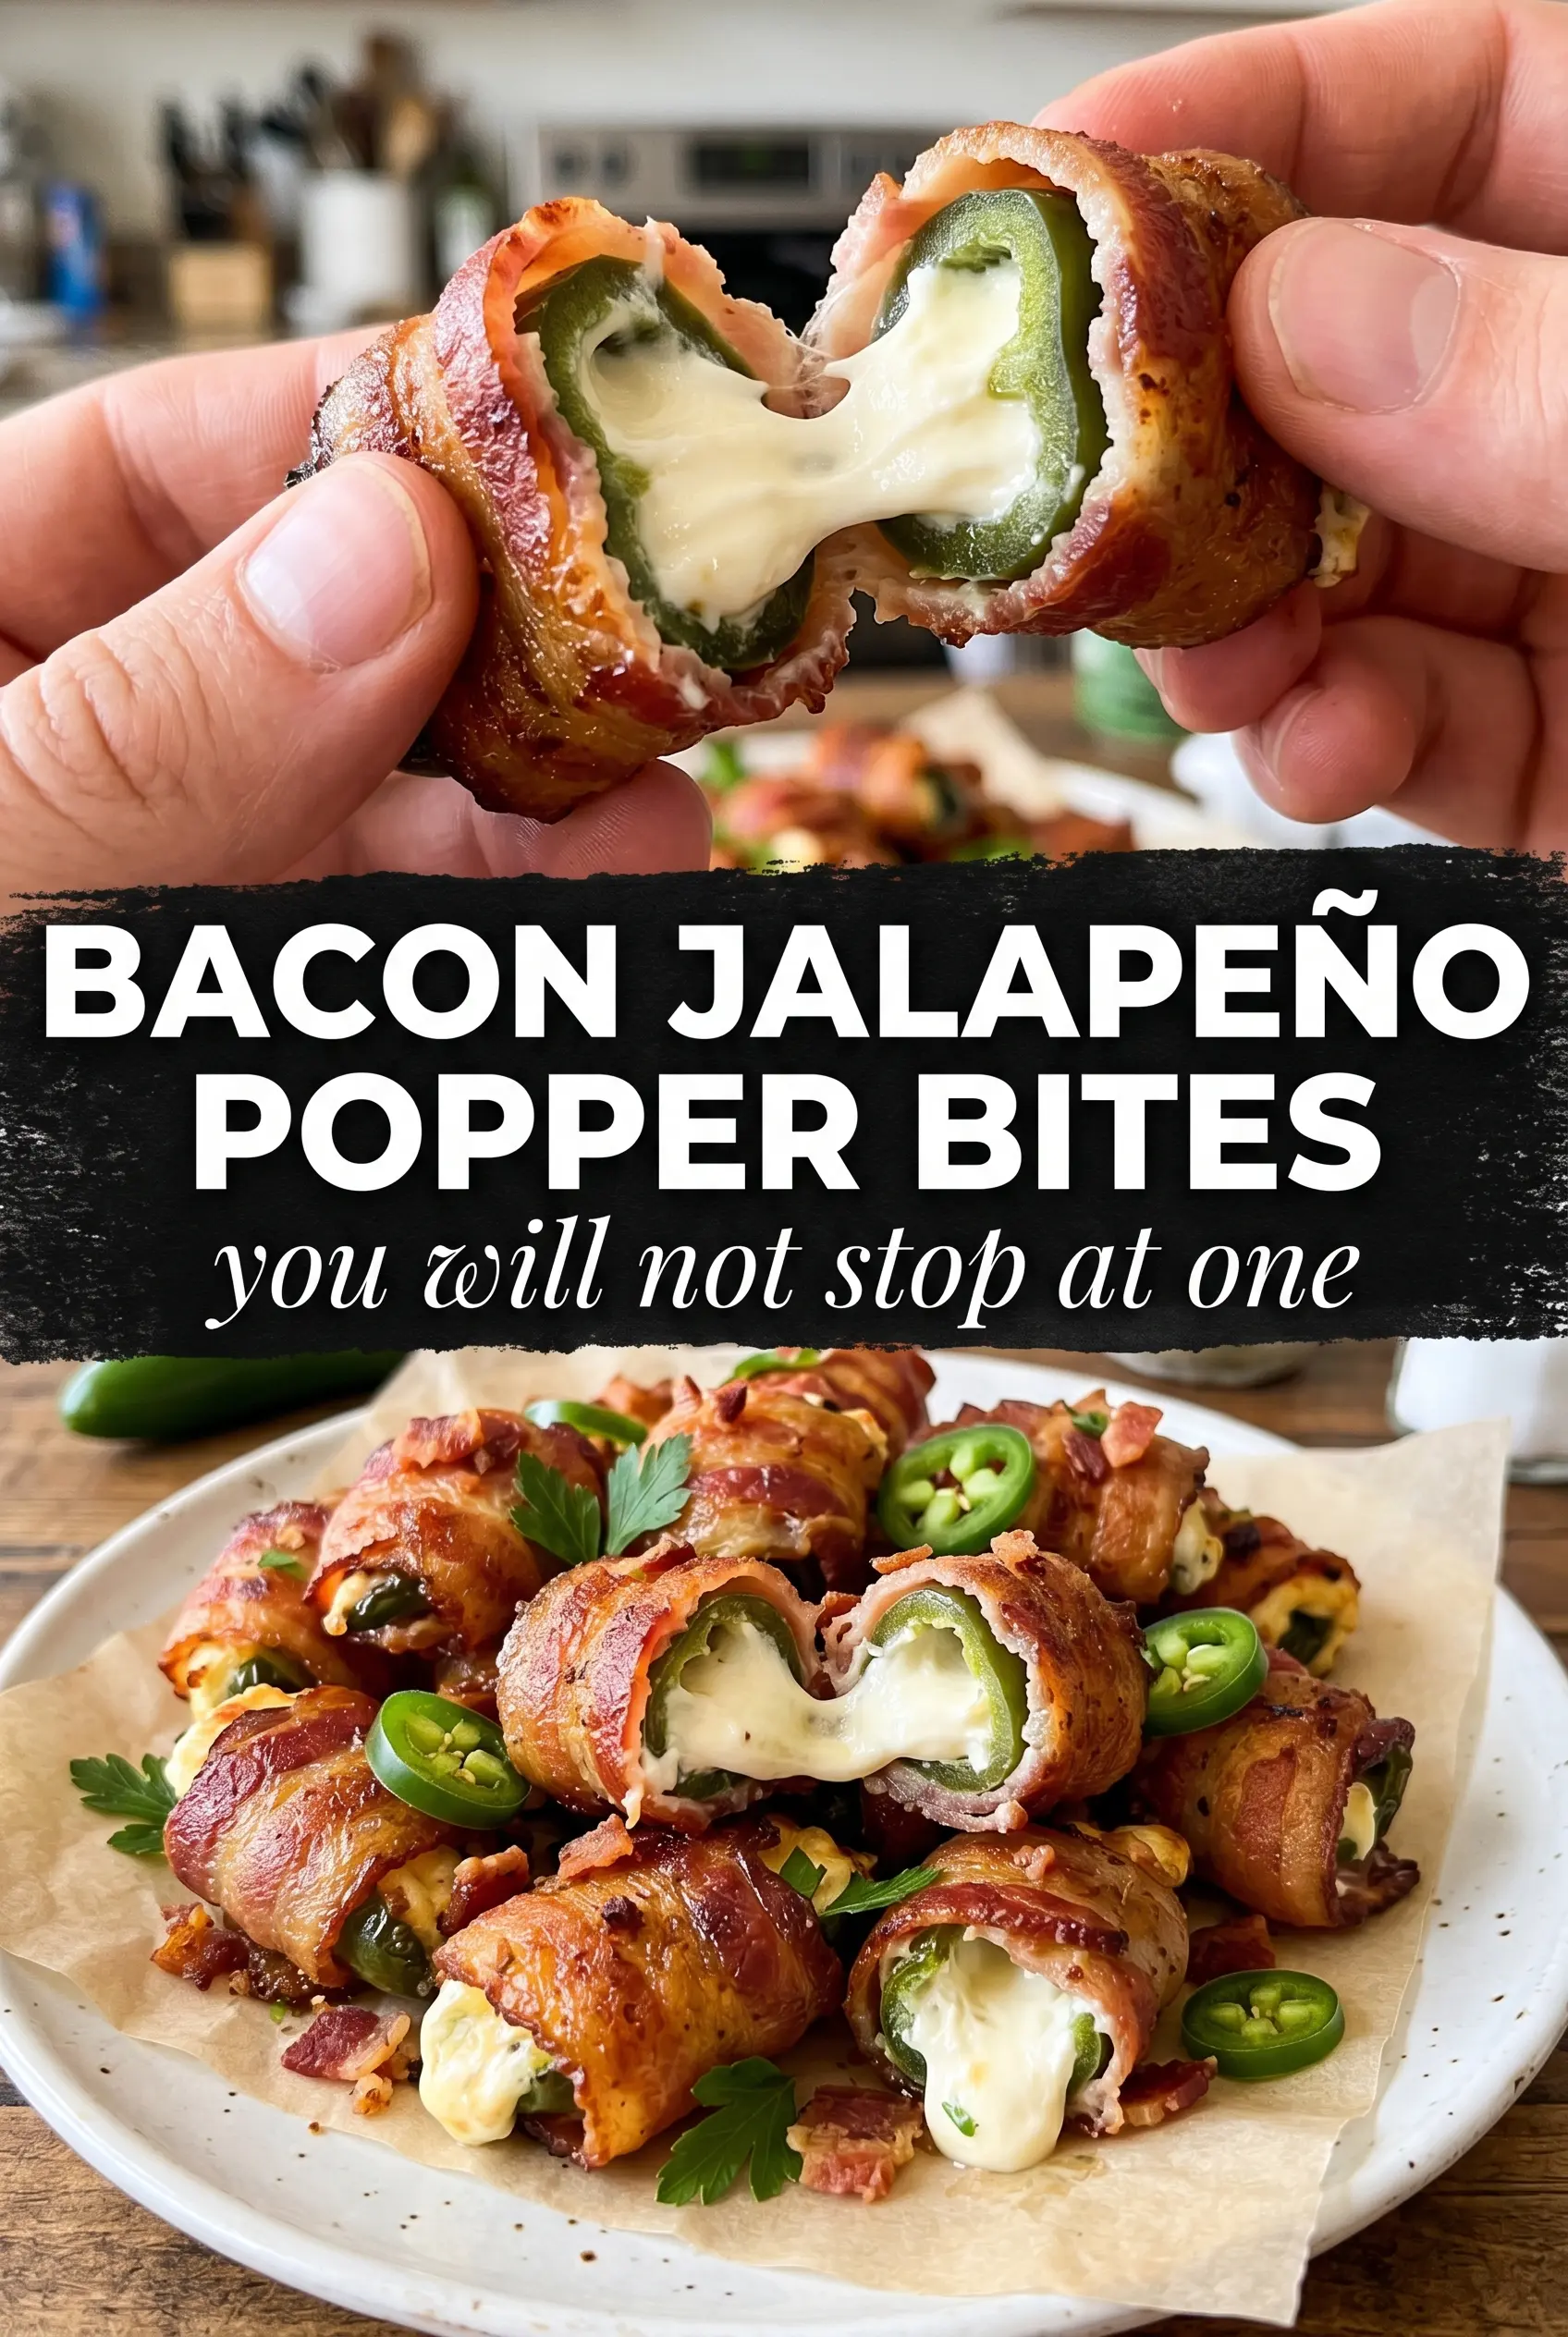
Golden bacon-wrapped jalapeño halves with a hot, creamy center disappear fast because they hit three things at once: crisp bacon, melted cheese, and just enough heat to keep people reaching for another one. The best versions don’t leak all over the pan or end up with floppy bacon. They hold their shape, brown evenly, and stay rich without tasting heavy.
This version works because the jalapeños are halved and seeded, then filled with a mixture that melts smoothly instead of turning greasy. Sharp cheddar brings a stronger cheese flavor than mild cheddar, and the smoked paprika adds a little depth without pulling attention away from the pepper and bacon. Baking them on a wire rack lets the fat drip away, which helps the bacon tighten up instead of steaming underneath.
Below, you’ll find the small details that matter here: how to keep the bacon wrapped tightly, what to watch for as the cheese starts bubbling, and why a honey drizzle can be worth adding at the end if you like that sweet-heat finish.
The bacon crisped up all the way around and the filling stayed creamy instead of running out everywhere. I made a double batch for game day and there were only two left by halftime.
Love the crispy bacon and creamy jalapeño filling? Save these bites to Pinterest for your next party spread or game day snack table.
The Trick to Bacon That Crisps Before the Filling Leaks
The common failure here is rushing the bake. If the oven is too hot or the bites sit flat in a pool of their own fat, the bacon can brown unevenly while the filling softens and spills out. A wire rack changes that by letting hot air move underneath and giving the bacon a chance to render cleanly.
Thin-cut bacon matters for the same reason. Thick slices take longer to crisp, which means the jalapeños have more time to overcook and turn soft. If your bacon seems loose after wrapping, overlap the end underneath the popper and use a toothpick to hold everything in place. That small bit of tension keeps the filling where it belongs.
What Each Ingredient Is Actually Doing in These Popper Bites
- Jalapeños — These bring the bite and the structure. Large peppers are easier to halve, seed, and fill, and they hold up better in the oven. If you want less heat, scrape out every bit of the white membrane; if you want more, leave a little behind.
- Cream cheese — This is the base that keeps the filling smooth and rich. Softened cream cheese blends without lumps, and that matters because cold cream cheese can leave little pockets that don’t melt evenly. Full-fat cream cheese gives the best texture here.
- Sharp cheddar — Sharp cheddar gives these poppers their edge. Mild cheddar works, but the flavor gets lost once the bacon and jalapeño kick in. Shred it yourself if you can; pre-shredded cheese has anti-caking agents that slow down melting.
- Thin-cut bacon — Thin bacon wraps tightly and crisps in the same window the peppers need to cook through. Thick-cut bacon often stays chewy before the filling is ready. If your strips are long, halving them crosswise gives you the right amount of coverage for each pepper half.
- Garlic powder and smoked paprika — These are the quiet background flavors that keep the filling from tasting flat. Smoked paprika plays well with the bacon’s rendered fat, while garlic powder rounds out the cheese. Fresh garlic is too sharp here and can taste harsh after baking.
- Honey — Optional, but useful if you like sweet heat. A light drizzle at the end sharpens the bacon’s salt and softens the jalapeño bite. Add it after baking so it stays glossy instead of burning.
How to Assemble and Bake Them Without Losing the Filling
Mixing the Filling Until It Flows, Not Clumps
Stir the softened cream cheese, cheddar, garlic powder, and smoked paprika until the mixture looks uniform and spreadable. You want it thick enough to hold its shape, but soft enough to spoon or pipe into the peppers without tearing them. If the cream cheese is cold, the mixture will fight you and won’t sit neatly inside the jalapeños. Let it soften fully first or the filling will bake unevenly.
Filling the Halves So They Stay Neat
Spoon the filling generously into each jalapeño half, but don’t mound it so high that it spills over the sides before the bacon goes on. A piping bag makes this quicker and cleaner, though a spoon works fine. Press the filling down lightly so there are no air pockets, because those pockets can expand and push the bacon loose.
Wrapping for a Tight, Even Crisp
Wrap each stuffed jalapeño with a half strip of bacon and overlap the end underneath the popper. That overlap keeps the bacon from curling open as the fat renders. If a piece looks loose, secure it with a toothpick, especially around the narrow end where bacon likes to shrink away first. The goal is a snug wrap, not a tight squeeze that squeezes the filling out.
Baking Until the Bacon Tightens and the Cheese Bubbles
Set the poppers on a wire rack over a lined baking sheet and bake at 400°F until the bacon is crisp and the filling is bubbling, about 18 to 22 minutes. The visual cue is more useful than the clock: the bacon should look browned and shrunken, and you should see the cheese just starting to bubble at the edges. If the bacon is still soft but the filling is already bubbling hard, give it a few more minutes. Pull them when the bacon has a deep golden finish, then let them sit briefly so the filling settles instead of running out on the first bite.
How to Adapt These for Different Tastes and Diets
Make Them Milder for a Mixed Crowd
Remove every seed and all of the white ribs from the jalapeños before filling them. That cuts the heat without changing the structure of the recipe. If you want them even gentler, soak the halved peppers in cold water for 10 minutes after seeding, then dry them well before filling.
Dairy-Free Version
Use a dairy-free cream cheese and a meltable dairy-free cheddar substitute. The texture will be a little softer and less rich, but the bacon still carries most of the flavor. Skip low-fat substitutes here; they usually bake watery and can seep out of the peppers.
No-Bacon Shortcut
If you want a vegetarian version, leave off the bacon and bake the stuffed jalapeños until the tops are browned and the filling is set. You lose the crisp salty shell, so serve them hot and add a pinch of flaky salt right before serving. The result is softer, but the pepper-and-cheese contrast still works.
Make Them Ahead for a Party
Assemble the poppers up to a day ahead, cover, and refrigerate them unbaked. Bake straight from the fridge, but add a few extra minutes because the filling starts cold. This is the cleanest way to handle a crowd without giving up the crisp bacon finish.
Storage and Reheating
- Refrigerator: Store leftovers in an airtight container for up to 4 days. The bacon will soften, but the filling stays good.
- Freezer: Freeze after baking on a tray, then transfer to a bag or container. They freeze well, though the pepper softens a little after thawing.
- Reheating: Reheat on a wire rack in a 375°F oven or air fryer until the bacon crisps back up. Microwaving makes the bacon rubbery and the filling oily, which is the main thing to avoid.
Answers to the Questions Worth Asking
Bacon Jalapeño Popper Bites
Ingredients
Equipment
Method
- Preheat the oven to 400°F and line a baking sheet with a wire rack.
- Arrange the wire rack so the poppers can bake without sticking and drain rendered fat.
- Mix together cream cheese, shredded cheddar, garlic powder, and smoked paprika until fully combined.
- Fill each jalapeño half generously with the cream cheese mixture using a spoon or piping bag.
- Wrap each filled jalapeño half tightly with a half-strip of bacon and secure with a toothpick.
- Arrange the bacon-wrapped jalapeño halves on the wire rack, spaced so bacon crisps evenly.
- Bake at 400°F for 18–22 minutes until the bacon is crispy and the filling is bubbling, with a light char on the edges.
- Drizzle with honey if desired and serve hot.