Cold, creamy vanilla ice cream with a soft, scoopable finish comes out of one jar and a few minutes of shaking. That’s the whole appeal here: no machine, no churning, no waiting around for a custard base to cool. The texture lands somewhere between soft serve and old-fashioned ice cream, with just enough body to feel homemade and just enough simplicity to make it a repeat trick.
The key is treating the mason jar like a tiny mixer. Heavy cream thickens fastest when it’s cold, so the jar needs a tight seal, a little headspace, and enough shaking to aerate the cream before it goes into the freezer. Sugar doesn’t just sweeten it; it helps keep the texture from freezing into a hard block. A small pinch of salt keeps the vanilla from tasting flat.
Below, I’ll walk through the one part that matters most during shaking, how to know when the cream has thickened enough, and which mix-ins work best if you want to turn a plain jar of vanilla into something a little more fun.
I used mini chocolate chips and shook it a full 5 minutes like you said. It froze up creamy instead of icy, and my kids loved eating it straight from the jar.
Make this mason jar ice cream when you want a no-churn vanilla treat that shakes up thick and freezes creamy.
The Shaking Step That Gives This Ice Cream Its Body
The biggest mistake with mason jar ice cream is under-shaking. If the cream still looks loose and sloshy, it hasn’t taken on enough air to freeze into a smooth spoonable texture. You want it visibly thicker before it goes into the freezer, almost like soft whipped cream that still moves when you tilt the jar.
Another common problem is overfilling the jar. A 16-ounce mason jar needs room for the mixture to move around so the shaking can do its job. If the jar is packed too full, the cream won’t aerate well and the final texture turns denser and icier.
- Cold heavy cream — This is what gives the ice cream its richness and body. Lower-fat dairy won’t thicken the same way and tends to freeze icy instead of creamy.
- Granulated sugar — Sugar sweetens the ice cream, but it also helps keep the texture softer after freezing. You can reduce it a little, but cutting it too much makes the final scoop harder.
- Vanilla extract — Use the real stuff here if you can. Since there are only a few ingredients, the vanilla has nowhere to hide.
- Pinch of salt — It keeps the vanilla from tasting flat and makes the sweetness cleaner.
- Mix-ins — Add sprinkles, mini chocolate chips, or crushed Oreos before freezing if you want them suspended through the ice cream. Bigger chunks can sink, so keep them small for the best texture.
What Each Ingredient Is Doing in a One-Jar Ice Cream
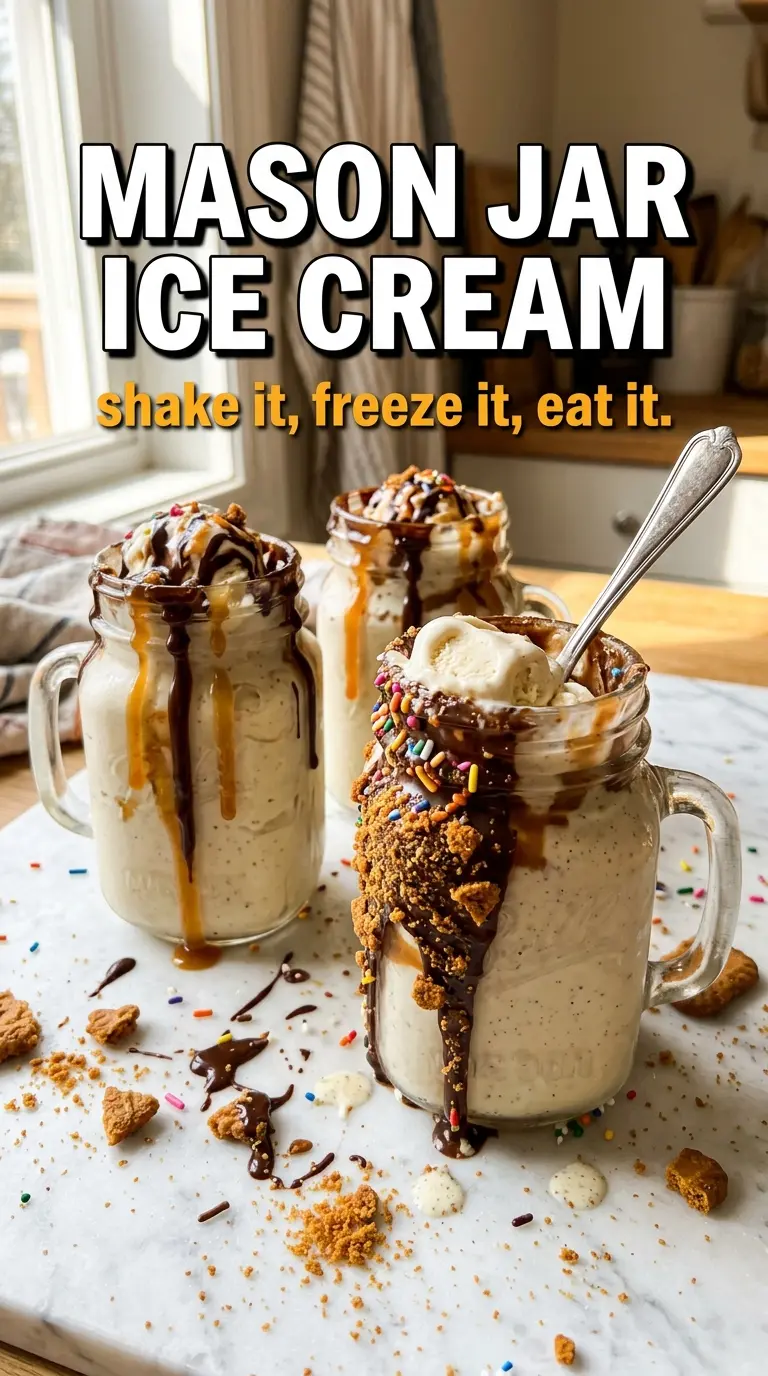
The cream is the base, and it needs to be heavy cream specifically. That higher fat content is what lets the mixture thicken while you shake it and stay soft after freezing. Half-and-half won’t give you the same result, and milk is too thin for this method.
Sugar matters more than people expect in such a short ingredient list. It doesn’t just sweeten the jar; it slows down the hard-freeze that makes homemade ice cream feel like a block. Vanilla gives you the classic ice cream flavor, but if yours is old or weak, the whole jar tastes dull, so use a fresh bottle. If you’re adding mix-ins, fold them in before freezing rather than after, because trying to stir into a fully frozen jar just breaks the texture.
Shaking It Thick, Then Freezing It Without Making It Grainy
Building the Base in the Jar
Pour the cream, sugar, vanilla, and salt directly into a 16-ounce mason jar and seal it tightly. Leave enough empty space for the liquid to move; that movement is what whips air into the cream. If the lid isn’t secure, you’ll know it fast because the jar will leak before the mixture starts to thicken.
The Vigor That Changes the Texture
Shake the jar hard for 3 to 5 minutes. At first it sounds thin and loose, then the sound changes as the cream starts to thicken and coat the sides. Stop when it looks noticeably fuller and slightly frothy; if you keep shaking until it turns into butter, you’ve gone too far and the texture will be grainy after freezing.
The Freeze That Sets It Up for Scooping
Set the jar in the freezer for about 4 hours until firm. The center should hold its shape but still give a little when you press a spoon into it. If you freeze it overnight, let it sit at room temperature for a few minutes before eating so it softens enough to scoop cleanly.
Adding Mix-Ins Without Sinking Them
If you want sprinkles, mini chips, or crushed cookies, stir them in before freezing while the cream is still fluid enough to suspend them. Large chunks can settle toward the bottom, so keep the pieces small. For the cleanest look, shake the base first, then add mix-ins and give the jar a few gentle turns instead of another hard shake.
How to Adapt This Little Jar of Ice Cream for Different Moods
Dairy-Free Coconut Version
Swap the heavy cream for full-fat canned coconut cream and shake the jar the same way. The texture stays rich, but the flavor shifts toward coconut, so it works best with chocolate chips, crushed cookies, or a little extra vanilla.
Cookie-and-Cream Jar
Stir in crushed Oreos before freezing for a cookies-and-cream version. The cookie pieces soften a little in the freezer, which gives the ice cream a more classic homemade texture instead of hard chunks.
Lower-Sugar Vanilla
You can cut the sugar slightly, but don’t remove it completely. Less sugar means a firmer, icier freeze, so expect a more rustic texture and plan to let it sit out longer before scooping.
Storage and Reheating
- Refrigerator: This isn’t a fridge dessert; it melts fast and won’t hold its texture cold for long outside the freezer.
- Freezer: Best eaten within 1 week. After that, the texture gets icier and the mix-ins can become harder.
- Reheating: No reheating needed. Let the jar sit at room temperature for 3 to 5 minutes before eating so the edges loosen first and the spoon goes in cleanly.
Questions I Get Asked About This Recipe
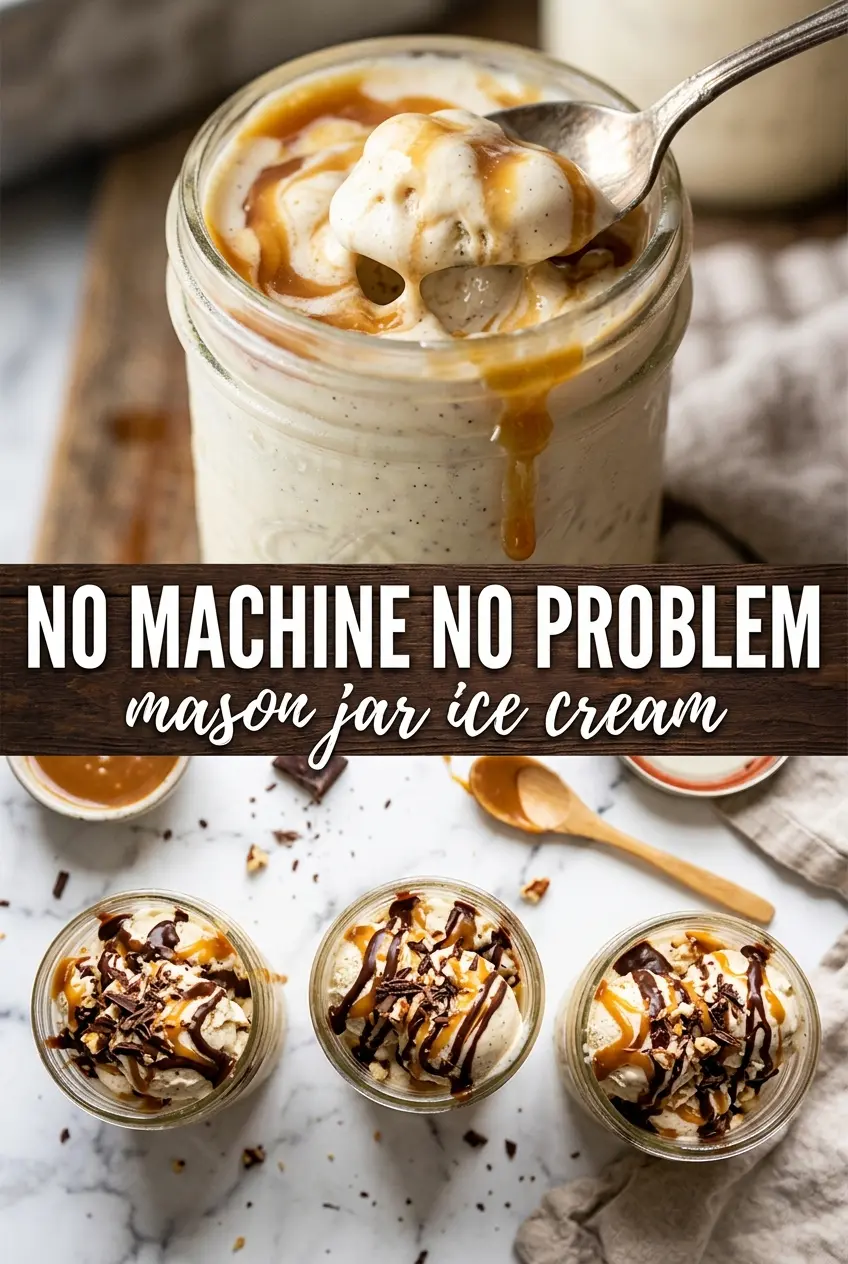
Mason Jar Ice Cream (No-Churn, Single Serve Vanilla)
Ingredients
Method
- Add heavy cream, granulated sugar, vanilla extract, and salt to a 16-oz mason jar.
- Seal the lid tightly and shake vigorously for 3-5 minutes until the cream thickens noticeably, creating a more custard-like texture.
- Stir in optional mix-ins (sprinkles, mini chocolate chips, or crushed Oreos) if desired.
- Place the jar in the freezer for 4 hours until firm.
- Let the jar sit at room temperature for 3-5 minutes before eating directly from the jar.