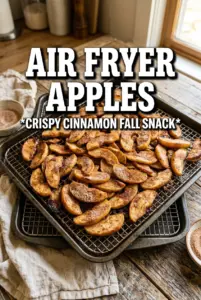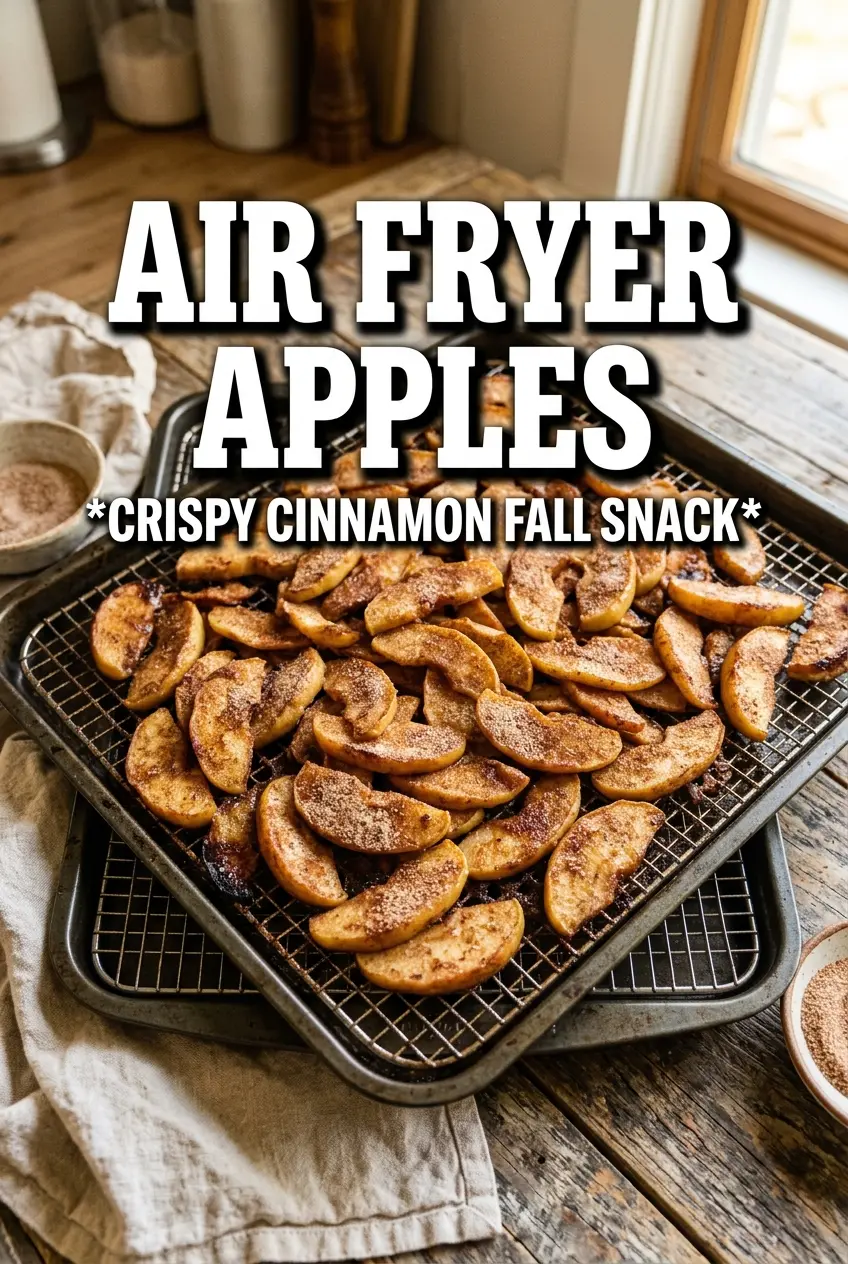
Warm air fryer apples come out tender in the middle with caramelized edges that cling to every cinnamon-sugar speck. They taste like the filling of a homemade apple crisp, only faster, with none of the oven waiting or extra dishes. Served over vanilla ice cream, they hit that sweet spot between simple and special.
The trick is keeping the apple wedges in a single layer so they roast instead of steam. Butter helps the sugar melt into a glossy coating, while a little brown sugar gives deeper caramel notes and granulated sugar keeps the finish from tasting heavy. Cinnamon and nutmeg do the obvious work, but the vanilla is what makes the apples taste round and dessert-like instead of just spiced.
Below, you’ll find the small details that make the slices come out tender without collapsing, plus a few smart swaps if you’re working with a different apple or need a dairy-free version.
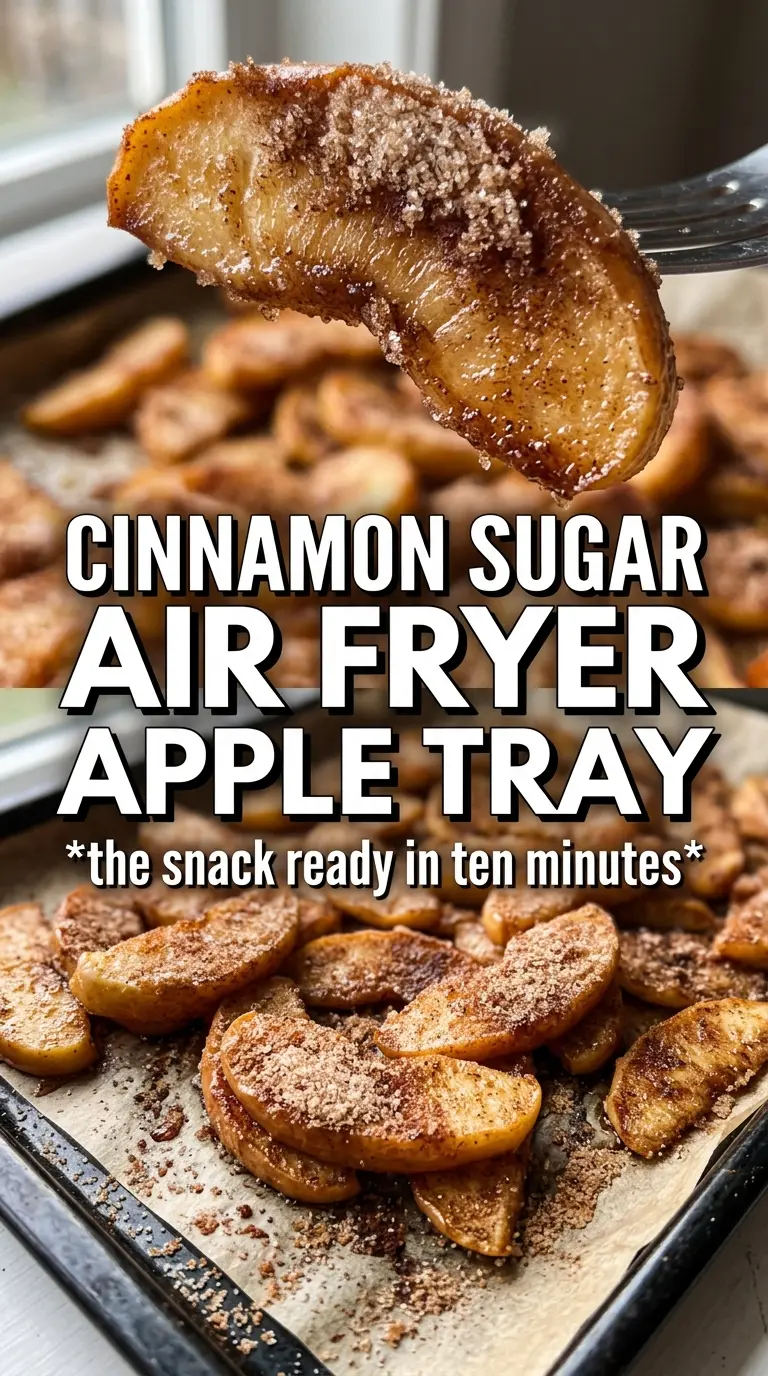
The apples stayed tender but still held their shape, and the cinnamon sugar turned into this glossy coating instead of pooling in the bottom of the basket. I served them over ice cream and my husband asked if I could make them again the next night.
Love how these air fryer apples turn glossy and caramelized? Save them for the nights when you want a fast dessert with crispy edges and melted ice cream.
The Part That Stops the Apples From Going Mushy
The biggest mistake with air fryer apples is crowding the basket. When the wedges overlap, they trap steam and soften before the sugar has a chance to caramelize, which leaves you with hot apples but not much texture. A single layer gives the cut edges direct contact with moving air, and that is what turns the coating glossy and the corners lightly crisp.
Apple choice matters too. Firm varieties like Honeycrisp, Fuji, Pink Lady, or Granny Smith hold their shape better than softer apples, which can slump after a few extra minutes. If your apples are very sweet already, lean a little heavier on the cinnamon and nutmeg rather than adding more sugar. The goal is a warm, spiced finish, not a syrupy one.
What Each Ingredient Is Doing in the Basket
- Apples — Use firm apples that can take the heat. Soft varieties break down too fast and lose that tender-but-intact bite. Cut the wedges evenly so they finish at the same time.
- Butter — Melted butter helps the sugars cling and encourages browning. If you need a dairy-free version, use melted coconut oil or a neutral plant-based butter, but expect a slightly different flavor and a less rich finish.
- Brown sugar — This brings the deeper caramel note. It also melts into the butter and forms that sticky coating on the apple surface. Packed brown sugar works best because loose sugar can measure unevenly.
- Granulated sugar — A smaller amount keeps the coating from tasting heavy and helps create a little crispness at the edges. If you only have brown sugar, the apples will still work, but the finish will be softer and more molasses-forward.
- Cinnamon and nutmeg — Cinnamon carries the main spice, while nutmeg adds warmth underneath. Freshly grated nutmeg is great here, but the pre-ground kind is perfectly fine. Don’t overdo nutmeg; it can take over fast.
- Vanilla extract — Vanilla rounds out the spices and makes the apples taste more like a dessert filling. Stir it into the butter mixture so it coats the fruit evenly instead of disappearing in one spot.
Getting the Apples Tender Without Losing the Edges
Coating the Wedges Evenly
Toss the apple wedges with the melted butter, sugars, cinnamon, nutmeg, and vanilla until every surface looks lightly glazed. If dry sugar is sitting in the bottom of the bowl, keep tossing a little longer. Uneven coating gives you some slices that caramelize beautifully and others that taste underseasoned.
Heating the Basket First
Preheat the air fryer to 375°F before the apples go in. A hot basket starts the browning right away, which matters because apples release moisture as they cook. If you skip the preheat, the fruit tends to soften before the outside catches up.
Air Frying in a Single Layer
Arrange the apples in one layer and cook for 10 to 12 minutes, shaking the basket halfway through. The shake helps the slices brown on different sides, but don’t wait until the very end or the sugar can glue them to the basket. They’re done when the edges are caramelized and the centers yield easily with a fork but still hold their shape.
Serving Them While They’re Hot
Spoon the apples into bowls right away and top with vanilla ice cream and caramel sauce. The heat from the apples starts melting the ice cream almost immediately, which is part of the appeal. If you let them sit too long, the coating thickens in the basket and the texture turns softer than it should.
How to Adapt These Air Fryer Apples for Different Needs
Dairy-Free Apples
Swap the butter for melted coconut oil or a dairy-free butter substitute. Coconut oil gives a faint coconut note and a slightly lighter coating, while plant-based butter keeps the flavor closer to the original. Use the same amount and toss well so the sugar still melts into a glaze.
Lower-Sugar Version
Cut both sugars by about one-third if your apples are naturally sweet. The result will be less syrupy and a little more fruit-forward, but you’ll still get browning from the butter and the air fryer. Don’t reduce the butter too much or the spices won’t cling properly.
Different Apple Varieties
Granny Smith gives you the tartest result, while Fuji and Honeycrisp lean sweeter and softer in flavor. If you use a softer apple, shave a minute or two off the cook time and check early so the wedges don’t collapse. A mix of tart and sweet apples gives the most balanced bowl.
Storage and Reheating
- Refrigerator: Store leftovers in an airtight container for up to 4 days. The coating will loosen a little as the apples sit.
- Freezer: These don’t freeze well for serving as-is because the apples turn soft and watery after thawing.
- Reheating: Rewarm in the air fryer at 325°F for 2 to 3 minutes or in a skillet over low heat. Microwaving works in a pinch, but it softens the edges and mutes the caramelized finish.