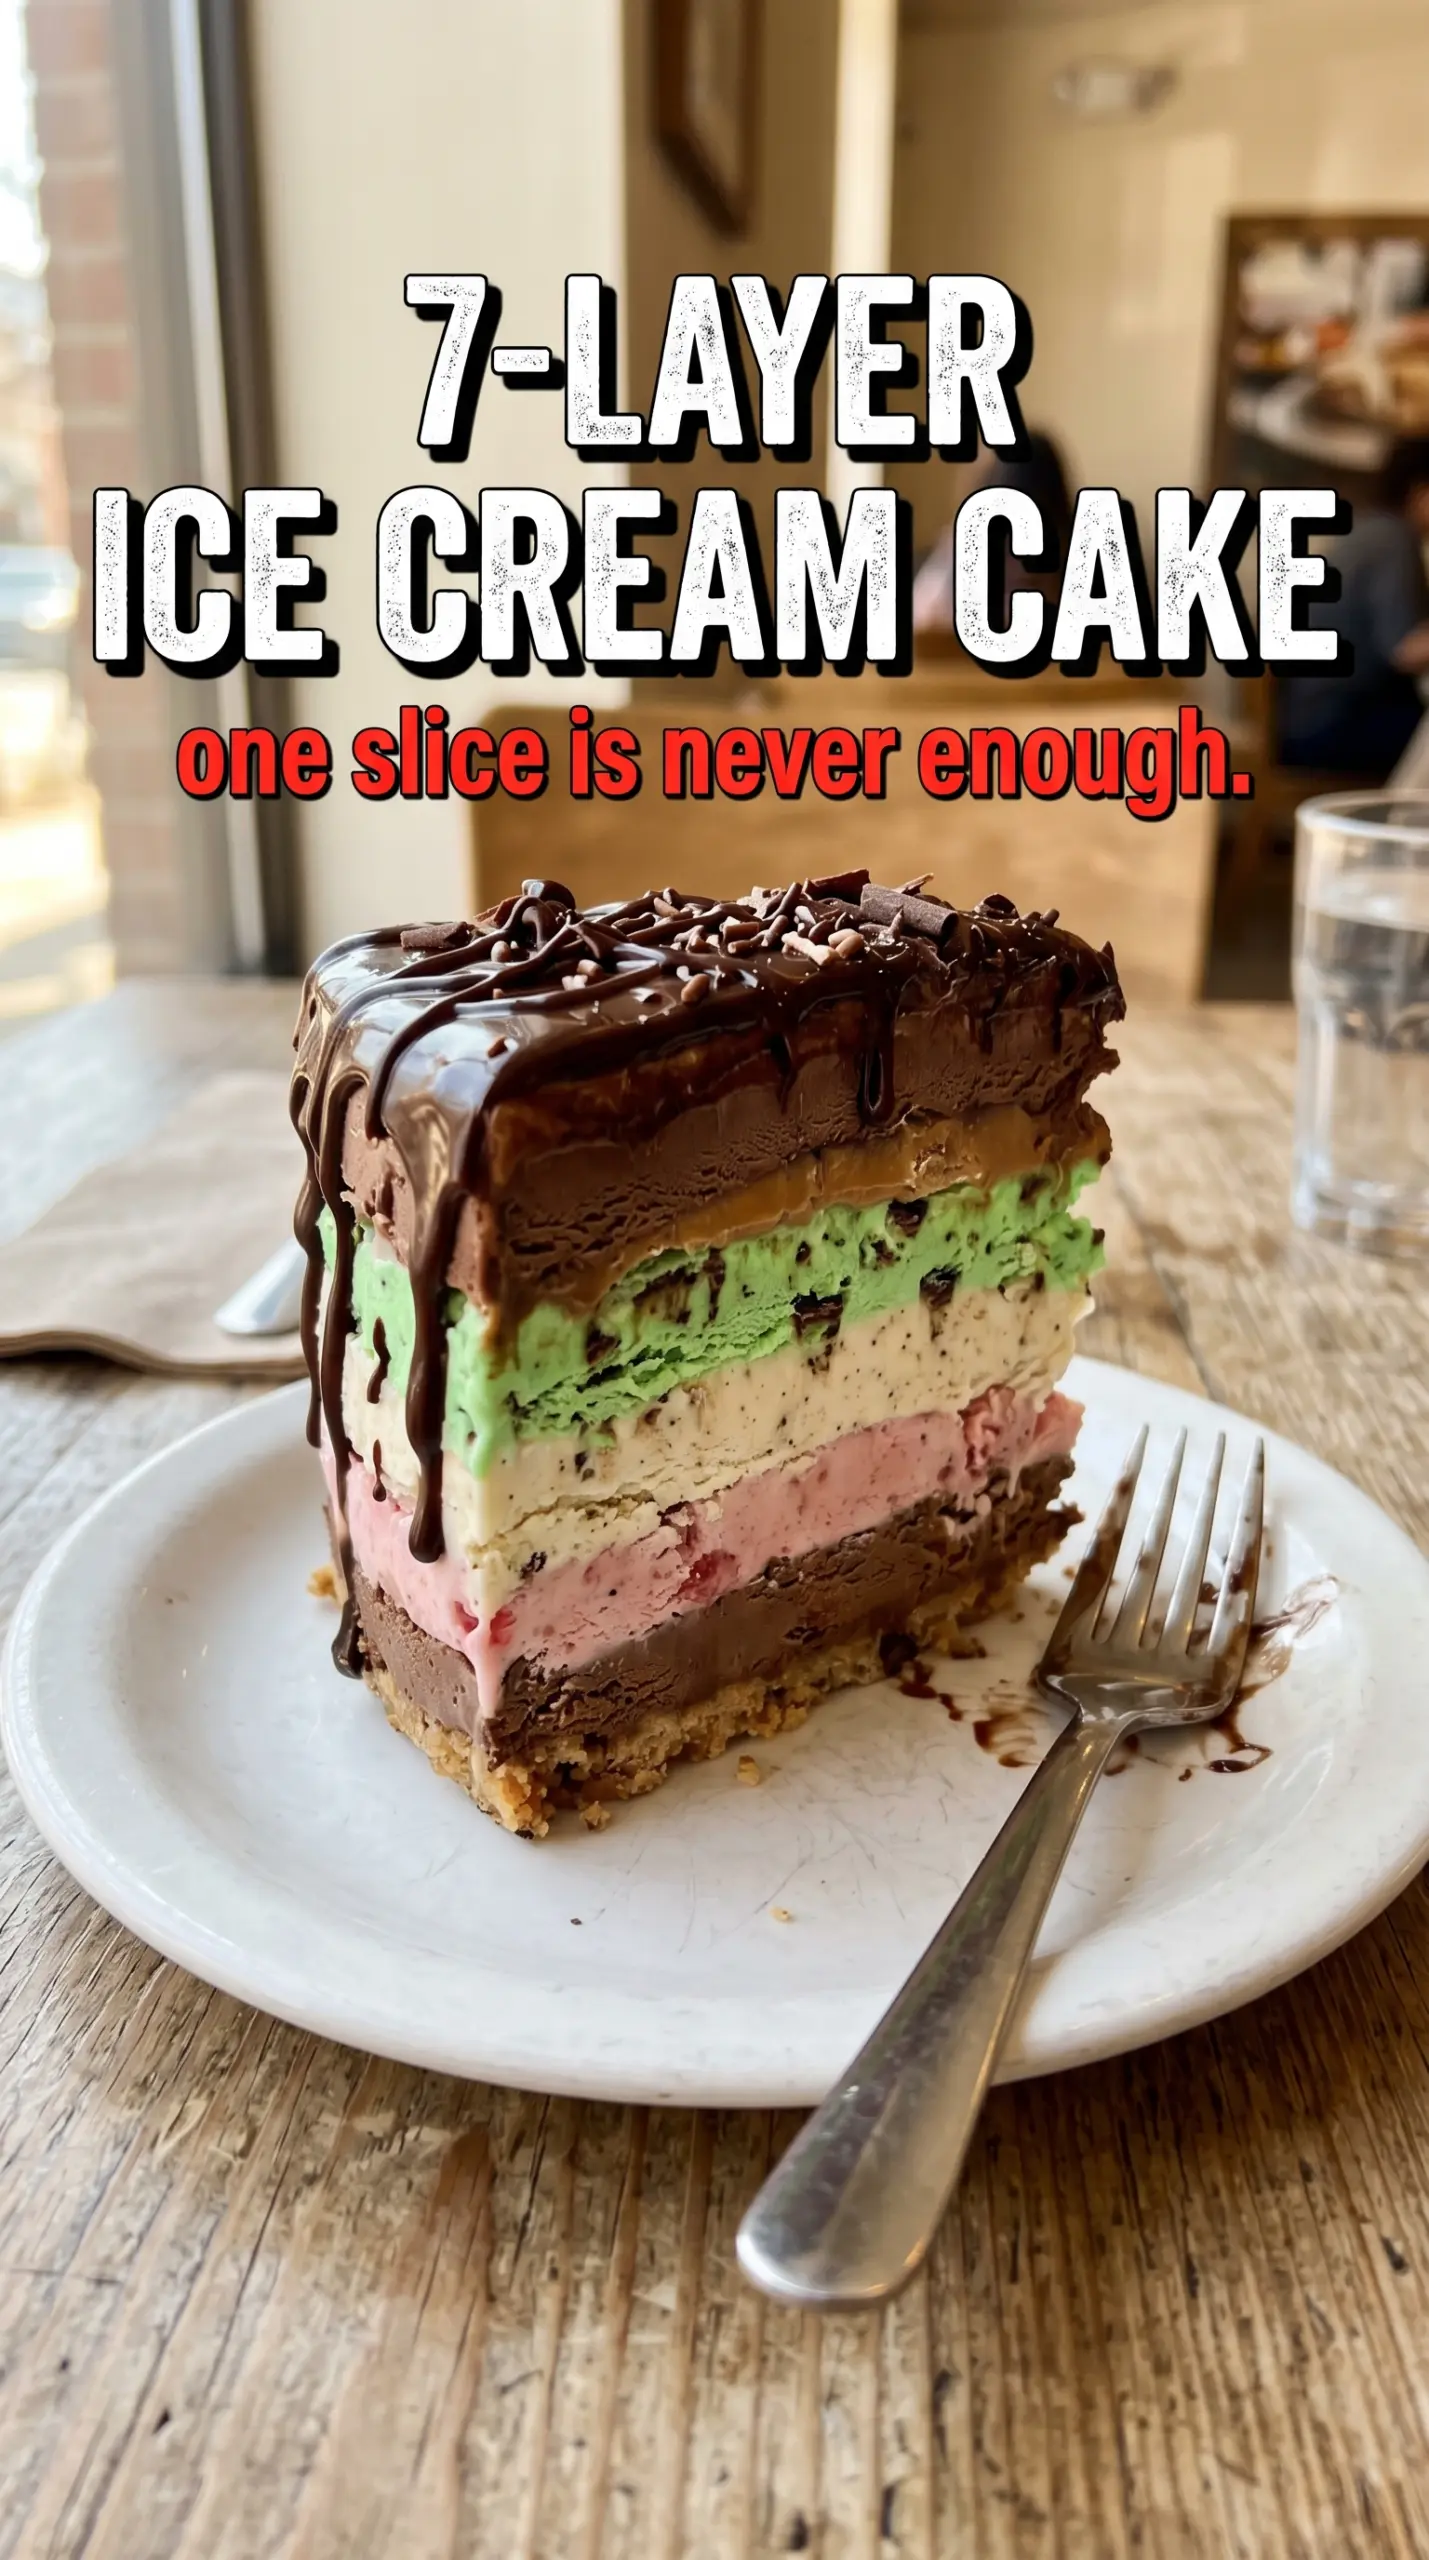
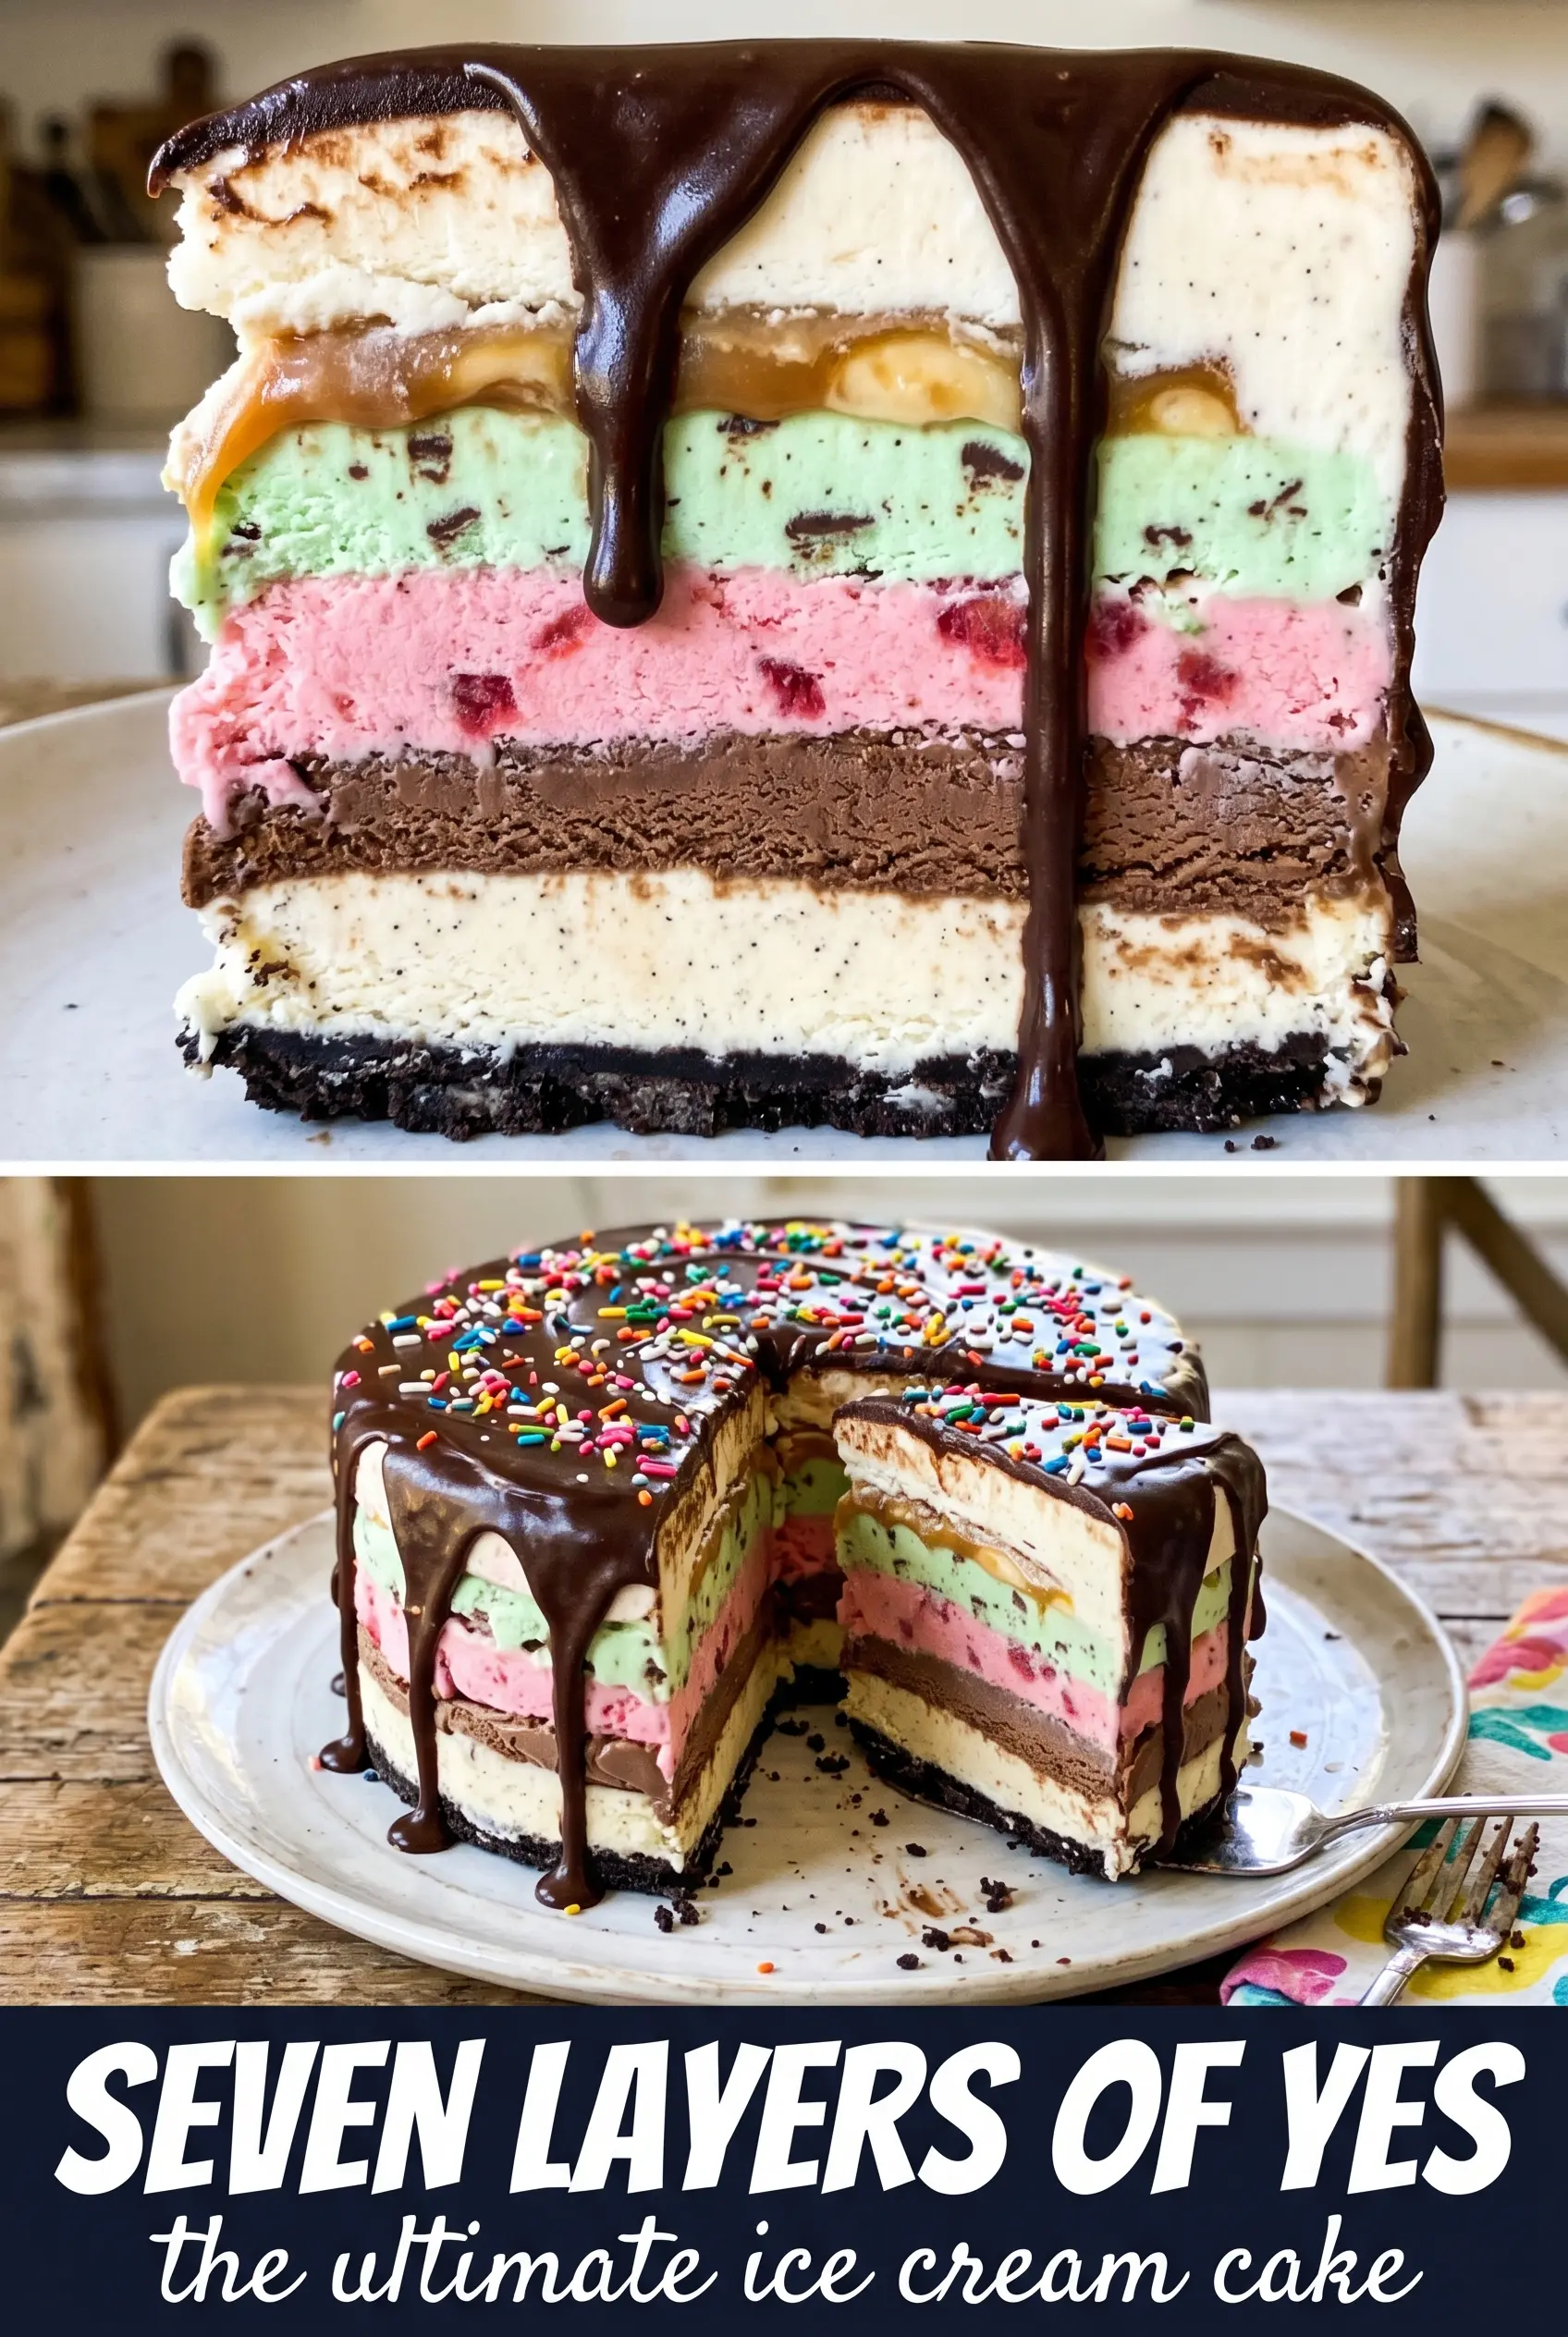
Seven-layer ice cream cake slices cleanly when each layer is frozen at the right moment, and that clean cut is what makes the whole dessert land. You get a chocolate cookie crust, firm bands of chocolate, vanilla, and strawberry ice cream, and two sauces that stay distinct instead of sinking into a muddy middle. The final swirl of whipped topping and sprinkles turns it into a birthday cake that looks like it took far more effort than it did.
The trick is patience between layers. Soft ice cream spreads easily, but it also needs time to set before the next layer goes on, or the whole cake starts leaning and smearing. The sauces go in thin layers and get frozen before the next ice cream layer arrives, which keeps the color contrast sharp and the slices neat. A springform pan helps a lot here because you can lift the sides away instead of wrestling the cake out of a standard pan.
Below you’ll find the exact freezing rhythm that keeps the layers separated, plus a few swaps if you want to change the flavors without losing the structure.
The layers stayed separate and the slices looked gorgeous. I followed the freezing times exactly, and even the caramel stayed put instead of soaking into the vanilla.
Save this seven-layer ice cream cake for birthdays when you want those clean chocolate, vanilla, and strawberry stripes to wow the table.
The Freeze Times That Keep Seven Layers From Turning Muddy
The biggest mistake with a layered ice cream cake is rushing the freezer time between layers. If the base is still soft when the sauce goes on, the sauce sinks. If the sauce is still soft when the next ice cream layer lands, everything smears together and the cross-section loses that dramatic stripe effect. The layer-by-layer freezing is not extra work; it’s what gives you clean lines when the cake is sliced.
Softened ice cream should spread, not pour. That means it should give under the spoon but still hold its shape in the bowl. If it’s melted, it will freeze with air pockets and uneven ridges. The sauces should be thick and spreadable too; runny fudge or caramel will slide to the edges before they set.
- Freeze each layer until firm enough to support the next one. That’s how you keep the cake tall and neat instead of collapsing in the center.
- Use a springform pan. The removable sides protect the cake when you release it, and they keep the layers square while everything sets.
- Don’t overheat the sauces. Warm is fine. Hot is how you melt the layer underneath and lose the clean separation.
What Each Layer Is Actually Doing in This Cake
- Oreo crust: This gives the cake structure and a little crunch against all the soft layers. The butter is what holds the crumbs together, so don’t cut it too far or the base will crumble when sliced.
- Chocolate ice cream: This is the first full layer of body and flavor. Slight softening matters here because cold-hard ice cream tears up the crust; if it’s too soft, it won’t set into a clean band.
- Hot fudge sauce: Use a thick fudge sauce, not a thin sundae syrup. Thick fudge stays visible after freezing and gives you that dark stripe between layers.
- Vanilla ice cream: This is the neutral middle that lets the caramel stand out. Good vanilla tastes clean and creamy, but even a standard store-bought tub works here because the texture matters more than complexity.
- Caramel sauce: A thicker caramel gives you the best contrast and a little chew when frozen. Thin caramel tends to seep, so if yours is loose, chill it briefly before spreading.
- Strawberry ice cream: This top ice cream layer brings color and a little brightness to keep the cake from tasting one-note. Let it soften just enough to spread smoothly, then freeze it until completely solid before decorating.
- Whipped topping and sprinkles: They finish the cake without weighing it down. Whipped topping holds up better than homemade whipped cream for a long freezer time, and sprinkles add a clean, fun top that won’t bleed color if the cake sits out for a few minutes.
Building the Cake One Firm Layer at a Time
Pressing the Crust
Mix the crushed Oreos with melted butter until every crumb looks damp, then press the mixture firmly into the bottom of a 9-inch springform pan. Use the bottom of a measuring cup to pack it down evenly. If the crust feels loose or sandy, it will break apart when you slice the cake, so really compress it before it goes into the freezer.
Stacking the Ice Cream and Sauce
Spread the chocolate ice cream over the frozen crust and freeze it until firm enough to handle the next layer. Add the hot fudge in a thin, even layer, then freeze again before spreading the vanilla ice cream on top. Repeat with the caramel and strawberry layers, freezing between each one; that pause is what keeps the stripes clean instead of blended. Work gently with an offset spatula or the back of a spoon so you don’t dig into the layer underneath.
Finishing the Top
Once the strawberry layer is fully solid, spread the whipped topping over the top and add sprinkles right away so they stick. Freeze the finished cake for at least two more hours before serving. If you cut it too early, the top layer will drag and the slices won’t hold their shape, even if the inside feels cold.
Chocolate-Mint Version
Swap the chocolate ice cream for mint chip and use chocolate fudge as written. The result tastes cooler and a little sharper, but the layers still freeze cleanly because mint chip has the same sturdy texture as standard chocolate.
Dairy-Free Ice Cream Cake
Use dairy-free ice cream, coconut-based whipped topping, and a dairy-free fudge and caramel sauce. The cake still freezes beautifully, but some non-dairy ice creams soften faster, so keep the freezer time on the long side between layers.
Gluten-Free Crust Swap
Use certified gluten-free chocolate sandwich cookies in place of the Oreos. The flavor and texture stay close to the original, and the butter ratio doesn’t need to change, so this is the easiest swap in the whole cake.
Make It Ahead for a Party
This cake is better made ahead than rushed on the same day. Build it the day before, freeze it overnight, and add the final sprinkles just before serving if you want them to stay crisp and bright.
Storage and Serving
- Freezer: Store tightly wrapped for up to 2 weeks. After that, the layers can pick up freezer flavor and the whipped topping may dry out at the edges.
- Serving: Let the cake sit at room temperature for 8 to 10 minutes before slicing. That short rest softens the edges just enough to cut clean wedges without cracking the crust.
- Leftovers: Rewrap individual slices and keep them frozen. Separate slices with parchment if you want to pull out one piece at a time without chipping the topping.
Answers to the Questions Worth Asking
7-Layer Ice Cream Cake
Ingredients
Equipment
Method
- Press the crushed Oreos mixed with butter firmly into a 9-inch springform pan, then place in the freezer for 20 minutes until set and fully chilled.
- Spread softened chocolate ice cream evenly over the chilled crust, smoothing the top, then freeze for 45 minutes until firm.
- Spread hot fudge sauce over the chocolate ice cream in an even layer, then freeze for 20 minutes until the sauce layer is set.
- Spread softened vanilla ice cream over the hot fudge layer and smooth to the edges, then freeze for 45 minutes until firm.
- Drizzle caramel sauce over the vanilla ice cream, then freeze for 20 minutes until set and no longer loose.
- Spread softened strawberry ice cream as the final ice cream layer, covering completely and leveling the surface, then freeze 4 hours until completely solid.
- Spread whipped topping over the fully frozen cake and decorate with sprinkles for a crisp, colorful finish.
- Freeze the cake for 2 hours before serving so the layers slice cleanly when cut.


