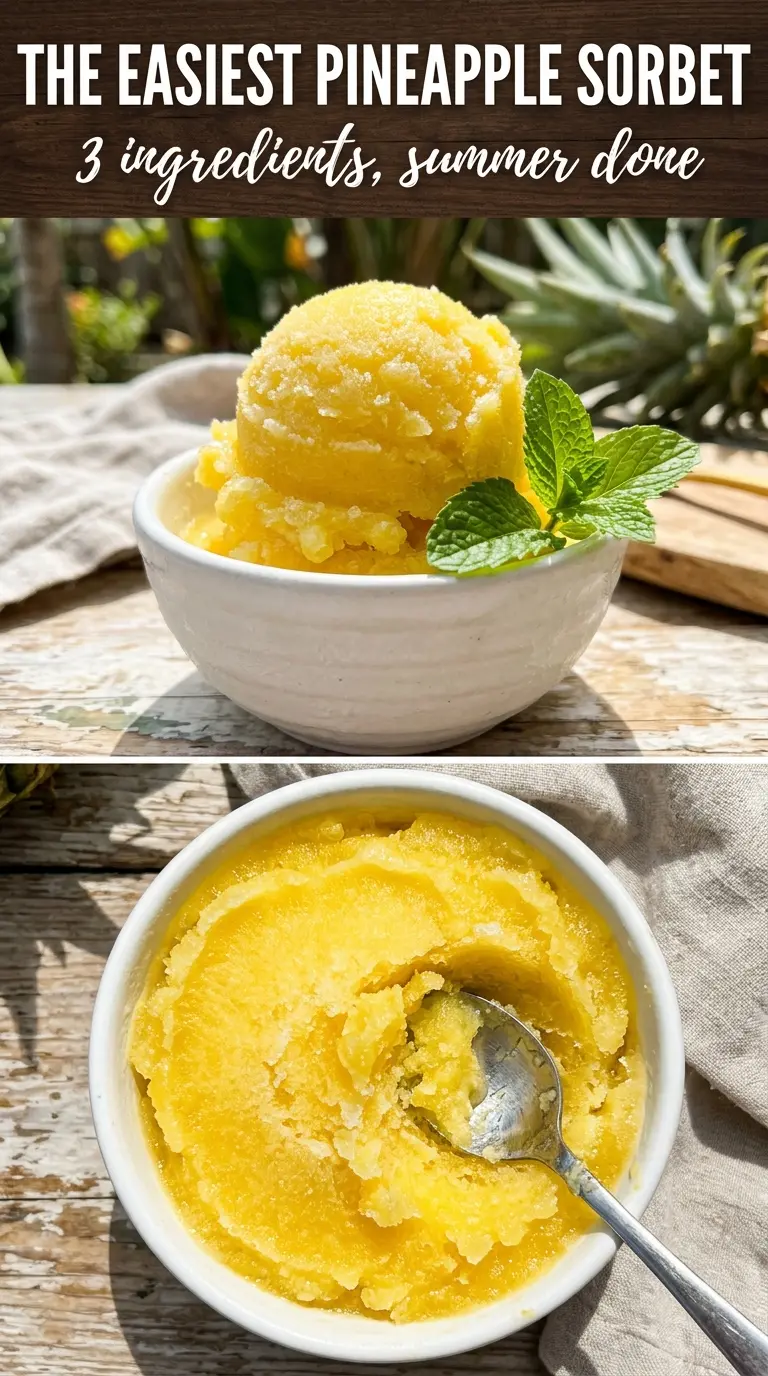
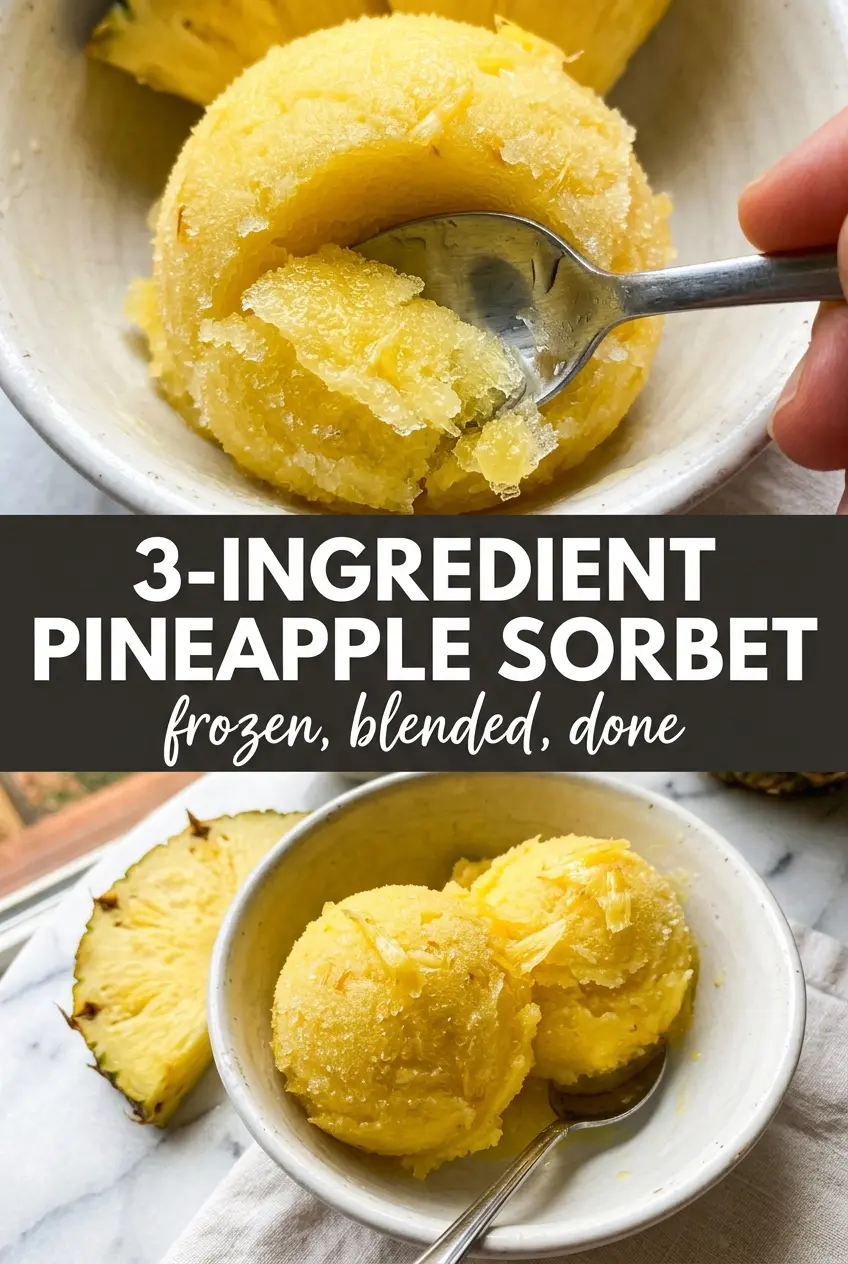
Bright pineapple sorbet made from just three ingredients lands with a clean, icy snap and a burst of tropical sweetness that feels bigger than the recipe behind it. The texture walks that perfect line between spoonable and slushy, with enough acidity from lime to keep every bite sharp instead of candy-sweet. It’s the kind of dessert that disappears fast because it tastes like work, even though the blender does almost all of it.
The trick is starting with frozen pineapple that’s softened just enough to let the blades catch. Too hard, and the blender struggles; too warm, and the sorbet turns loose instead of thick. A small amount of honey or agave smooths out the fruit’s edges without burying the pineapple flavor, and the lime juice keeps the finish bright and clean. If your pineapple is especially sweet, the lime matters even more.
Below, I’ve included the texture cue I use to know when to stop blending, plus the easiest way to turn this into a firmer scoop if you want it straight from the freezer.
The blender needed a little pause to get going, but once the pineapple loosened up it turned silky fast. I froze it for two hours and it scooped like a dream — bright, tangy, and not icy at all.
This pineapple sorbet is the one to keep for hot afternoons when you want something frozen, bright, and done in minutes.
The Reason Pineapple Sorbet Turns Icy Instead of Smooth
The difference between a silky sorbet and a crunchy frozen block comes down to water content, blade power, and when you stop blending. Pineapple carries plenty of juice on its own, which is great for flavor but easy to overdo if you add too much liquid too soon. Here, the small amount of lime juice helps the mixture move without flooding it, and the honey or agave lowers the freezing point just enough to keep the texture softer.
If your blender is struggling, the pineapple probably needs that short five-minute rest. You’re not thawing it; you’re just taking the ice-hard edge off so the fruit can break down into a smooth puree instead of bouncing around the jar. If the mixture starts to look glossy and thick like soft-serve, stop there. Blending too long warms it up, and that’s how you lose the clean, frozen texture you want.
What Each Ingredient Is Actually Doing in This Frozen Treat
- Base ingredient (cream, yogurt, or fruit) — This determines the texture and richness. Cream makes it scoopable; yogurt makes it tangy; fruit makes it refreshing.
- Sweetener (sugar or honey) — This prevents the mixture from freezing rock-solid and creates a smooth texture. Too much and it won’t freeze; too little and it’s icy.
- Egg yolks (if using custard method) — These create richness and a silky texture. Tempering is important so they don’t scramble.
- Thickener (cornstarch, gelatin, or egg) — This prevents ice crystals from forming and keeps the texture smooth instead of grainy.
- Flavoring (vanilla, chocolate, fruit, or spices) — Use quality flavorings because they’re essential to the taste. Dilute-tasting ice cream comes from cheap extract.
- Stabilizers (gum, gelatin, or dairy) — These keep the ice cream from becoming icy during storage. They prevent large ice crystals from forming.
- Mix-ins (nuts, chunks, or swirls) — These add texture and interest. Freeze-stable chocolate works better than regular chocolate, which gets hard.
- Proper chilling and churning (the technique) — This incorporates air and prevents ice crystals. An ice cream maker makes a huge difference in texture.
What the Pineapple, Lime, and Sweetener Each Do Here
- Frozen pineapple chunks — This is the whole body of the sorbet, so use good fruit with strong flavor. Fresh pineapple that you freeze yourself works, but store-bought frozen chunks are the easiest path because they’re already cut evenly and ready for the blender.
- Lime juice — Lime keeps the pineapple tasting bright instead of flat. If you swap in lemon, the sorbet gets a sharper edge; that can work, but lime is the cleaner match for pineapple.
- Honey or agave — Either one softens the freeze and rounds out the fruit. Agave keeps the flavor neutral and works well if you want the pineapple to stay front and center, while honey adds a little floral note that plays nicely with the lime.
Blending the Fruit Without Turning It Watery
Letting the Pineapple Loosen First
Set the frozen pineapple out for about five minutes before blending. That short rest keeps the fruit from shredding the blender blades and helps the mixture catch quickly once it starts moving. If the chunks are still rock-hard, the blender will stall and you’ll be tempted to add more liquid, which is what makes sorbet soupy instead of thick.
Starting the Blend
Add the pineapple, lime juice, and honey or agave to a high-powered blender and pulse or blend until the mixture starts breaking down. Use the tamper if your blender has one, or stop and scrape down the sides as needed. At first it will look crumbly, then it will turn into a thick, pale puree. That change happens fast once the fruit begins to release its own moisture.
Stopping at the Right Texture
Keep blending just until completely smooth. You want it thick enough to mound on a spoon, not run like a smoothie. Taste it now, because once it freezes, adjustments get harder. Add a little more lime if it tastes dull, or a touch more honey if the pineapple is especially tart.
Serving Soft or Freezing Firm
You can eat it right away for a soft sorbet texture, which is my favorite on the first day. For a firmer scoop, transfer it to a freezer container and freeze for two to four hours. If it gets too hard, let it sit on the counter for a few minutes, then scrape it with a fork for a granita-style texture or blend it again briefly to bring it back to smooth sorbet.
How to Adapt This Pineapple Sorbet for Different Freezers and Preferences
Make it dairy-free without changing a thing
This recipe is naturally dairy-free as written, which is part of why the pineapple flavor stays so clean. There’s no need to add coconut milk or cream unless you want a different dessert entirely; those will turn it richer and heavier, more like a frozen mousse than a sharp sorbet.
Swap honey for agave if you want a cleaner fruit finish
Agave dissolves easily and stays almost invisible in the final flavor, which lets the pineapple taste a little brighter. Honey adds a softer, rounder note. Both work well, but agave is the better pick if you want the sorbet to taste extra crisp and tropical.
Use it as a freezer-friendly make-ahead dessert
This sorbet holds well in the freezer for a few hours, but the texture is best on the day it’s made. If you freeze it overnight, it will firm up a lot, so let it sit out briefly before scooping or break it up with a fork and re-blend for a smoother texture.
Turn it into a granita instead of a sorbet
Freeze the blended mixture in a shallow container, then scrape it with a fork every 30 to 45 minutes as it sets. That breaks the ice into light crystals and gives you a fluffier, spoonable texture with less blender work. It’s a good fallback if your blender isn’t strong enough to get the mixture perfectly smooth.
Questions I Get Asked About This Recipe
3-Ingredient Pineapple Sorbet
Ingredients
Equipment
Method
- Let frozen pineapple chunks sit at room temperature for 5 minutes to soften slightly so they blend smoothly.
- Add pineapple chunks, lime juice, and honey or agave to a high-powered blender and blend until completely smooth, with no visible fruit pieces.
- Taste the mixture and adjust sweetness or acidity by blending again briefly after any changes.
- Serve immediately as a soft sorbet, or transfer to a freezer container if you want a firmer scoop.
- Freeze for 2-4 hours, until cold and scoopable, then scrape and serve.
- For granita texture, scrape with a fork to create icy crystals, or blend again for a smoother sorbet after freezing.


