Golden, buttery peach cobbler earns its place on the table when the top bakes into a tender crust and the fruit underneath turns syrupy enough to spoon over ice cream. The best versions don’t bury the peaches in a heavy batter. They let the filling stay bright and juicy while the crust rises around it, catching the edges where the sugar and butter caramelize.
This version keeps the method simple, but the order matters. Melting the butter in the pan first gives you that rich, crisp edge without extra work, and pouring the batter over it without stirring creates the kind of layered bake people remember. The peaches get a short rest with sugar, cinnamon, nutmeg, and lemon juice so they release enough syrup to flavor the whole dish without turning watery.
Below you’ll find the timing cue that keeps the crust from going pale, the small ingredient choices that change the texture, and a few ways to adapt it when fresh peaches aren’t at their peak.
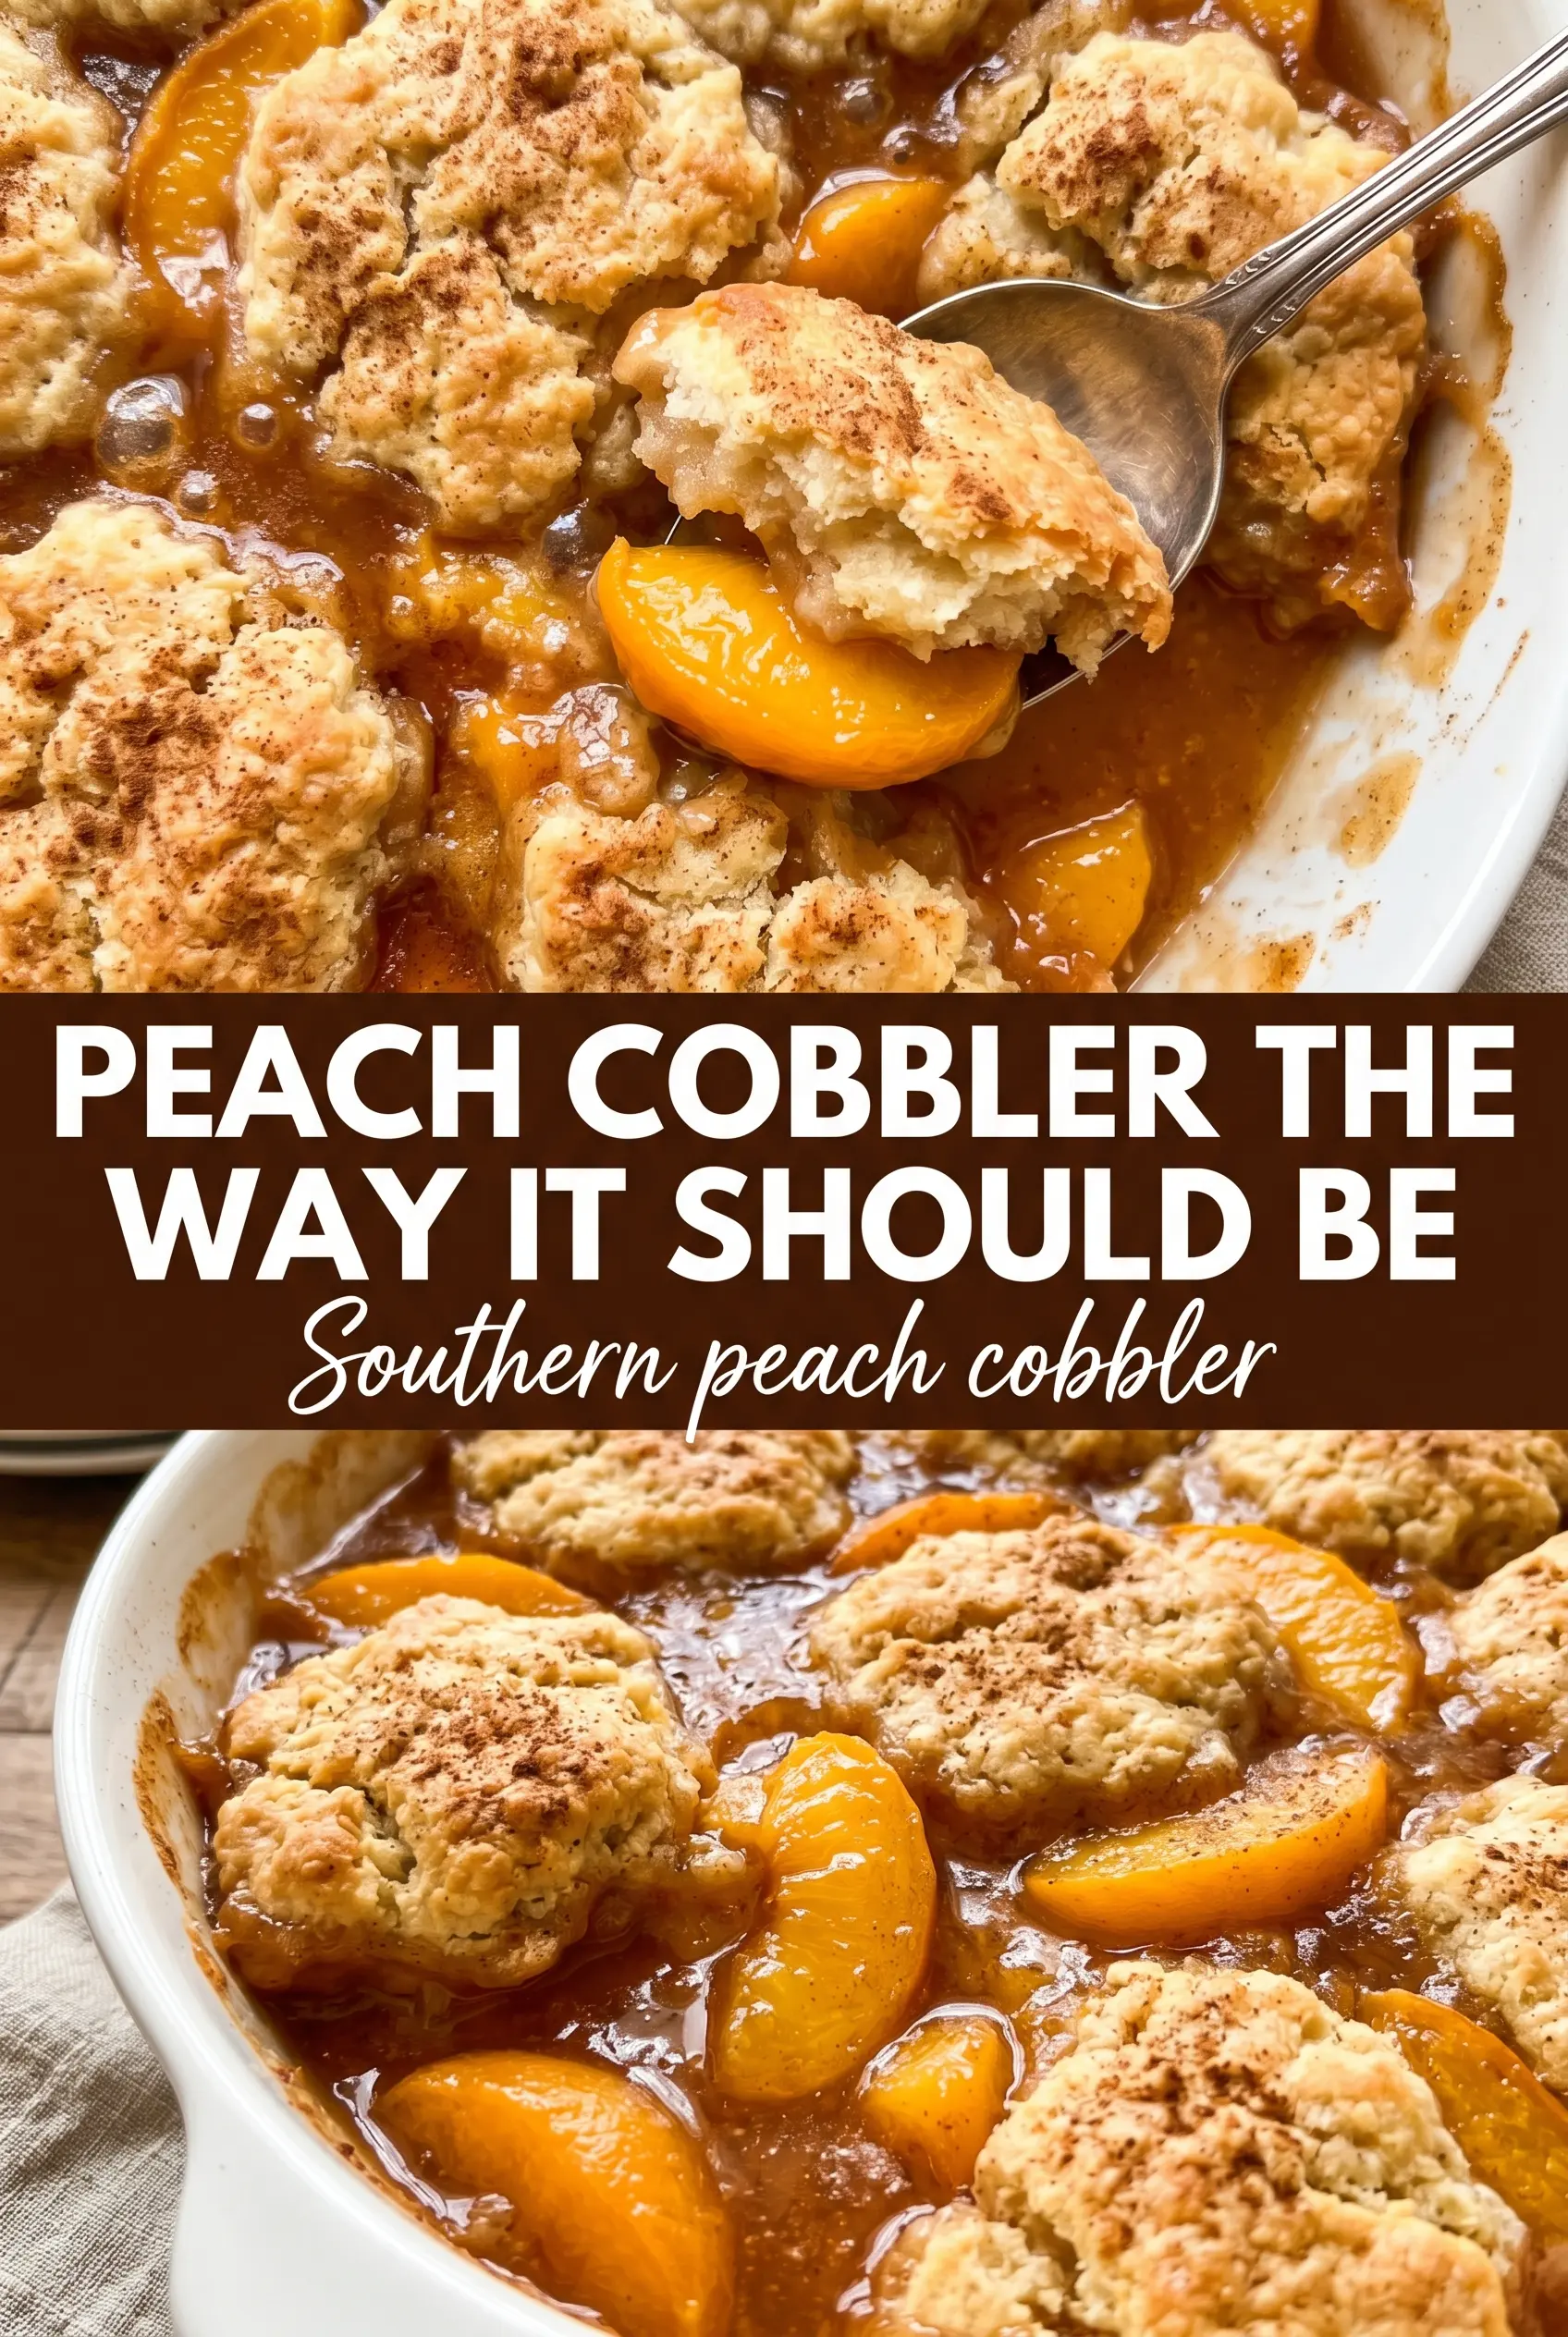
The batter rose right up around the peaches and the edges turned crisp instead of soggy. I loved that the fruit stayed syrupy without getting watery, and it was even better the next day warmed up with ice cream.
Save this Southern peach cobbler for the nights when you want bubbling peaches, a browned biscuit-style crust, and vanilla ice cream melting into every warm spoonful.
The Reason the Crust Rises Instead of Sinking
Peach cobbler goes wrong when the batter and fruit get mixed together. That sounds harmless, but it turns the whole dish dense and keeps the crust from forming the separate, lifted layer that makes cobbler worth baking. Here, the butter goes in first, then the batter, then the peaches on top. As the cobbler bakes, the batter pushes up around the fruit and sets into a soft, golden top while the butter fries the edges underneath.
The other key is the peach juice. Letting the fruit sit with sugar, cinnamon, nutmeg, and lemon juice pulls out enough liquid to create a glossy sauce, but not so much that the dish turns soupy. If your peaches are especially ripe and juicy, use all the syrup in the bowl and don’t drain it. That syrup is part of the dessert.
What Each Ingredient Is Doing in This Cobbler

- Fresh peaches — Use ripe peaches with a little give, not rock-hard fruit. They soften enough in the oven to stay intact while turning syrupy. If fresh peaches aren’t available, thawed frozen peaches work, but drain off only the excess liquid so the filling still has body.
- Butter — This is where the crisp, rich bottom edge comes from. Unsalted butter gives you control over the seasoning, and it should be fully melted in the baking dish before the batter goes in. That hot butter is what helps the crust brown instead of bake up pale.
- Whole milk — Whole milk gives the batter enough fat to bake tender and lets it rise without becoming cake-like. Lower-fat milk works in a pinch, but the crust will be less rich and a little drier at the edges.
- Flour and baking powder — This is the lift. Don’t overmix after the milk goes in or the batter tightens up and bakes heavier than it should. Stop as soon as the dry streaks disappear.
- Lemon juice — It wakes up the peaches and keeps the filling from tasting flat. The amount here is small, but it makes the fruit taste fresher and balances the sugar.
Building the Cobbler So the Layers Stay Distinct
Letting the Peaches Macerate
Toss the sliced peaches with half the sugar, the cinnamon, nutmeg, and lemon juice, then let them sit for 10 minutes. You’re looking for a glossy bowl with juice pooling at the bottom. That syrup carries the flavor through the whole cobbler, and it also helps the fruit soften evenly in the oven. If you skip this rest, the filling can taste separate from the crust instead of woven through it.
Melting the Butter in the Pan
Put the butter in the baking dish and let it melt in the oven while it preheats. The butter should be fully liquid, but not browned. This step keeps the dish simple and gives the batter a hot surface to start cooking on the second it hits the pan. If the butter cools and starts to set before you pour in the batter, the crust won’t get the same crisp edge.
Pouring and Not Stirring
Whisk the batter just until combined, then pour it over the melted butter and leave it alone. The batter will look thin, and that’s correct. Spoon the peaches and all their juices over the top, again without stirring, so the layers bake in place. If you mix it now, the cobbler turns muddy instead of rising into those distinct buttery pockets around the fruit.
Baking Until the Top Is Deeply Set
Bake until the top is deeply golden and the peach filling is bubbling up through the cracks, about 45 to 50 minutes. The center should look set but still soft under the surface, not wet and sloshy. If the top is browning too fast before the filling bubbles, lay a piece of foil loosely over the dish for the last 10 minutes. That keeps the crust from overdarkening while the peaches finish thickening.
How to Adjust This Cobbler When the Pantry Changes
Use Frozen Peaches When Fresh Aren’t Sweet Enough
Frozen peaches are a good backup, especially when fresh fruit is bland or out of season. Thaw them first and pour off only the excess water, then season and bake as written. You’ll lose a little of the fresh-fruit snap, but the cobbler still comes out juicy and full flavored.
Make It Dairy-Free Without Losing the Cobbled Top
Swap the butter for a plant-based baking stick and use unsweetened oat milk in place of whole milk. You’ll still get a browned top and a soft crumb, though the edges won’t taste quite as rich as the original. Choose a dairy-free butter that melts cleanly instead of one with a strong salted flavor.
Turn It Into a Smaller Cast Iron Cobbler
Halve the recipe and bake it in a 10-inch cast iron skillet for a more rustic presentation and more browned edges. Cast iron holds heat well, so start checking a few minutes early to keep the crust from overbaking. The filling will bubble harder at the rim, which gives you those caramelized spots people go after first.
Use Less Sugar for Very Ripe Peaches
If your peaches are exceptionally sweet, reduce the sugar in the fruit mixture by a couple of tablespoons. Keep the full amount in the batter so the crust still browns properly. The dessert will taste cleaner and more peach-forward instead of leaning candy-sweet.
Storage and Reheating
- Refrigerator: Store covered for up to 4 days. The crust softens as it sits, but the flavor deepens.
- Freezer: Freeze baked cobbler in portions for up to 2 months. Wrap it well and thaw in the refrigerator before reheating.
- Reheating: Warm individual servings in a 325F oven until the fruit is bubbling again, or microwave short bursts if you’re not worried about the crust staying crisp. Reheating too hot dries the edges before the center gets warm.
Questions I Get Asked About This Recipe
Southern Peach Cobbler
Ingredients
Equipment
Method
- Preheat the oven to 350F, so it’s fully ready before the cobbler goes in. Aim for an evenly heated oven for consistent crust browning.
- Toss the sliced fresh peaches with 1/2 cup granulated sugar, cinnamon, nutmeg, and lemon juice, then let sit for 10 minutes. Look for syrup pooling as the juices release.
- Place the unsalted butter in a 9x13 baking dish and set it in the oven to melt. Watch until it turns glossy and fully melted.
- Whisk all-purpose flour, remaining 1/2 cup granulated sugar, baking powder, salt, and whole milk until just combined. Stop when no dry pockets remain for a tender biscuit-like crust.
- Pour the batter over the melted butter and do not stir. The butter should stay pooled underneath the batter.
- Spoon the peach mixture and all its juices over the batter and do not stir. You should see peach pieces resting on top with juices ready to bubble.
- Bake for 45-50 minutes at 350F until the crust is deeply golden and the peach filling is bubbling up through the top. The edges should look caramelized and the biscuit crust should rise with a rustic cracked surface.
- Serve warm with vanilla ice cream. Let it cool for a couple minutes so the syrup thickens slightly before the first scoop.


