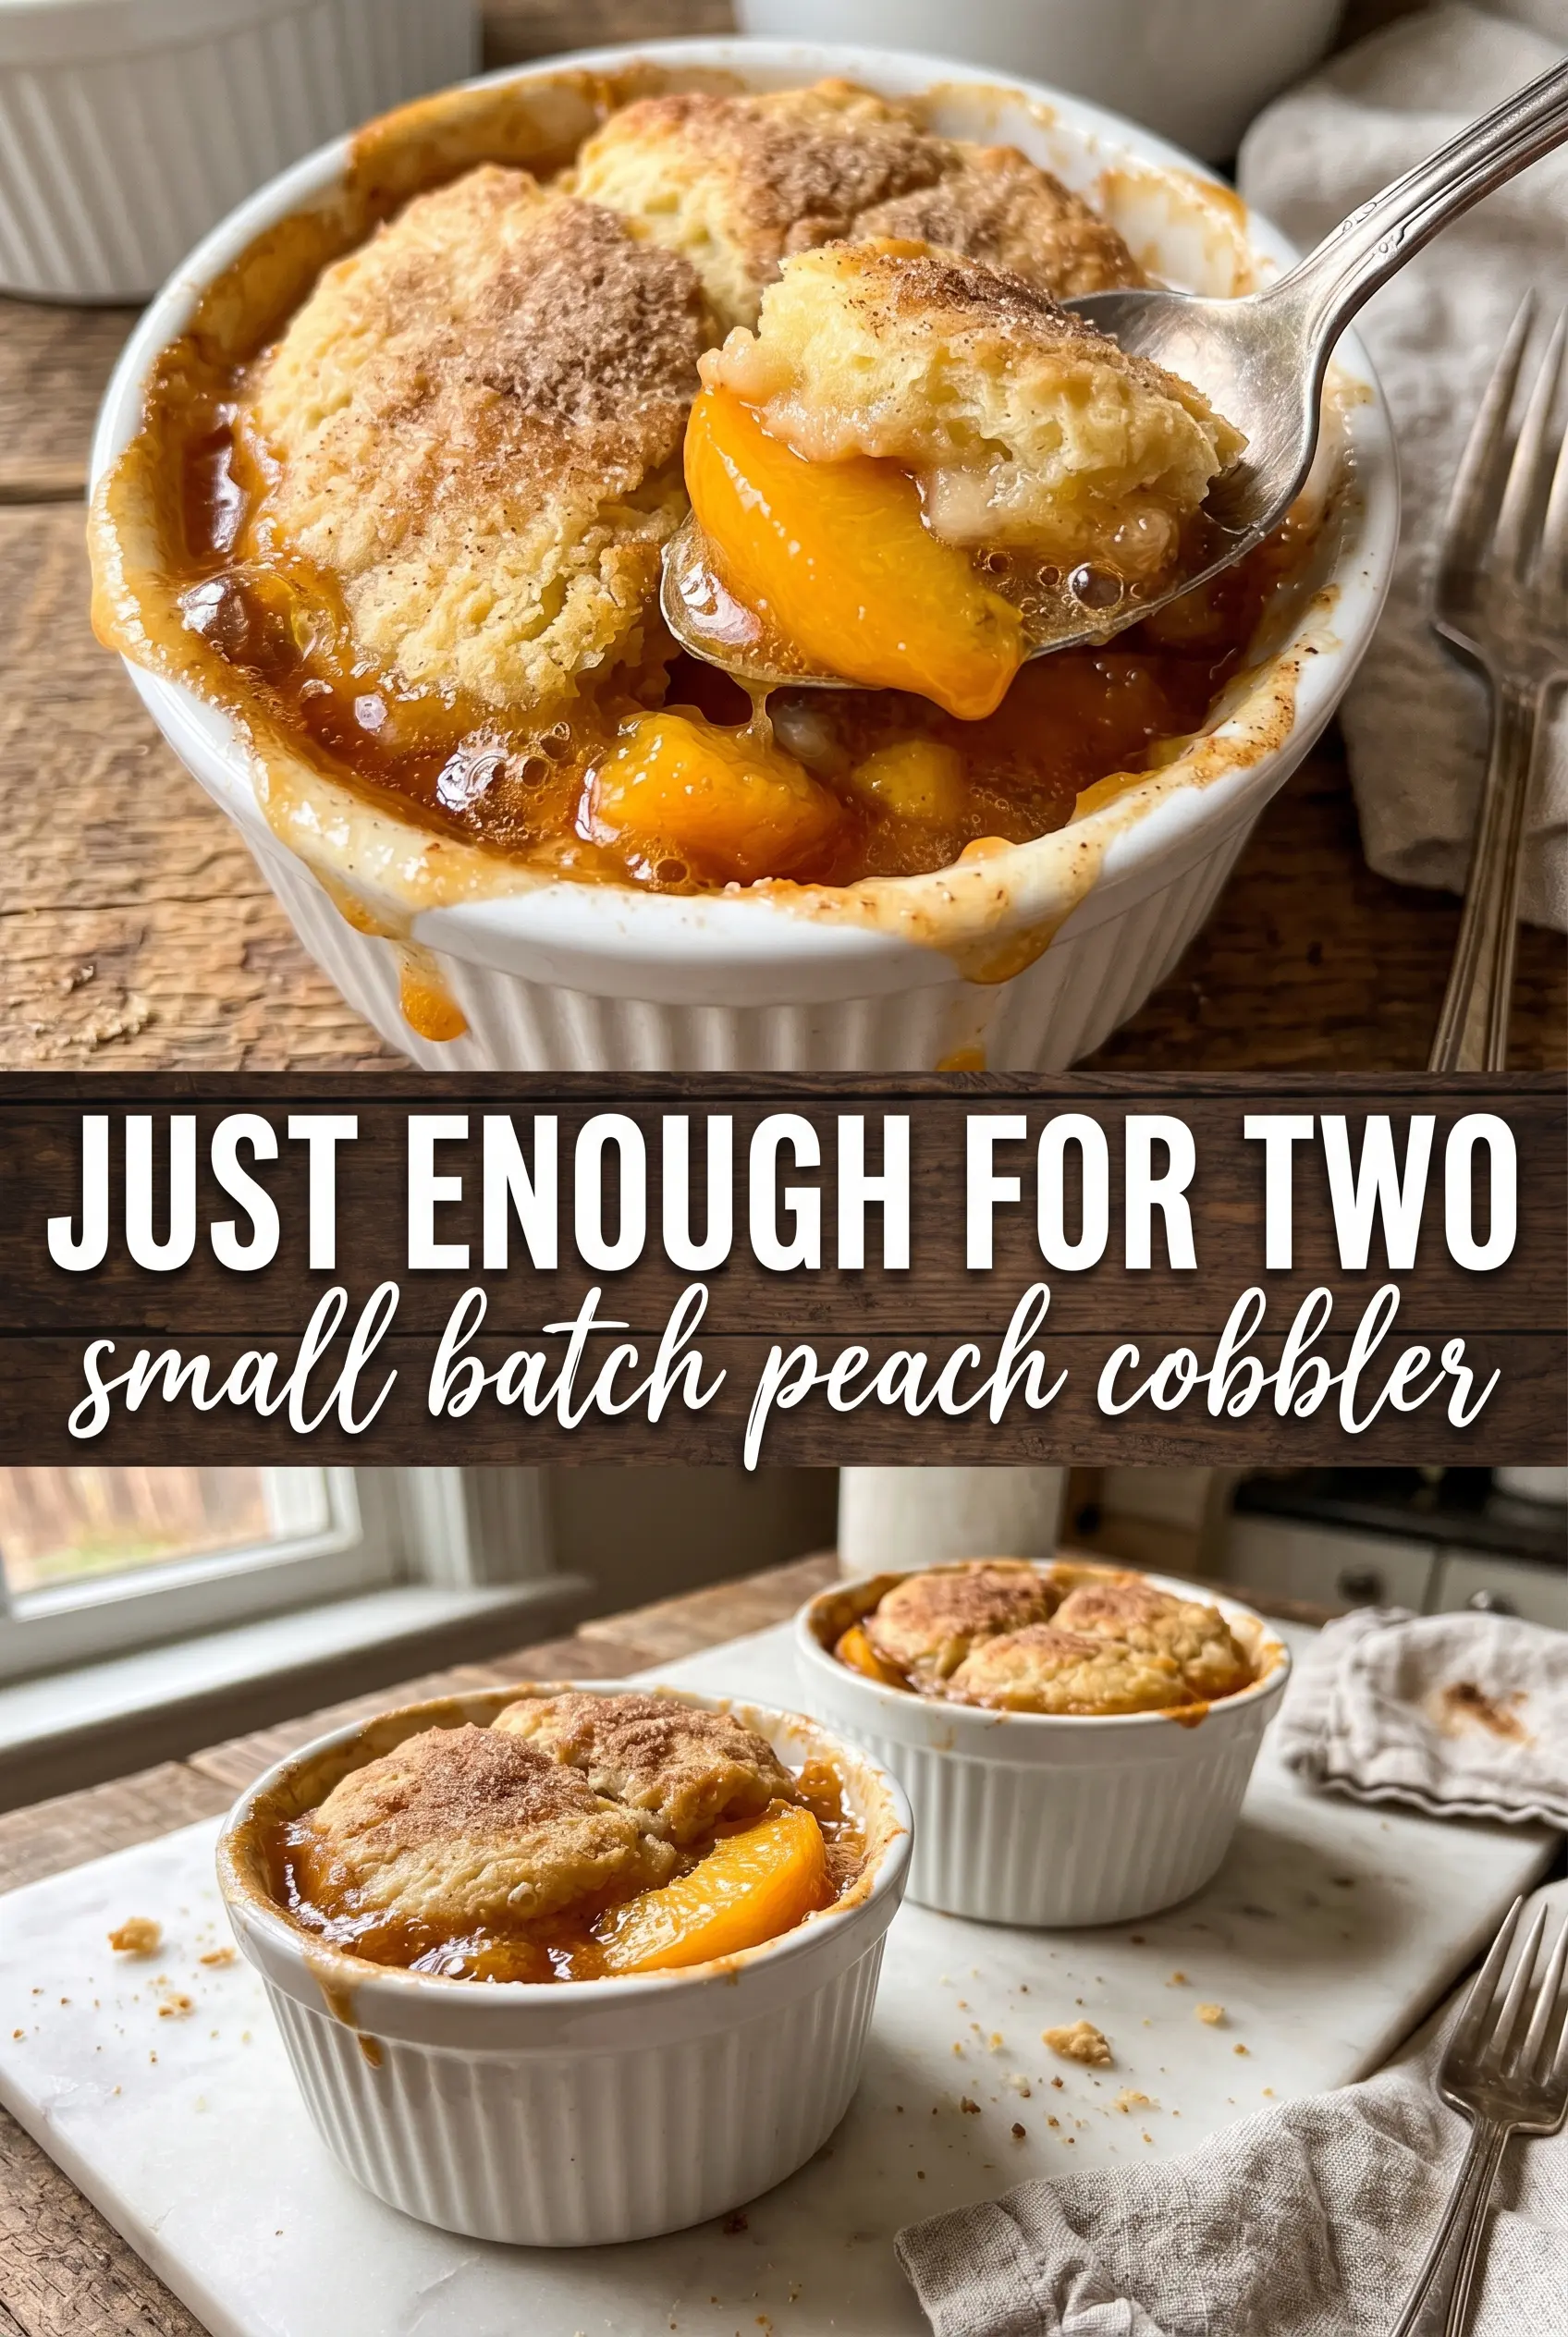
Golden, bubbling, and just the right size for two, this small batch peach cobbler lands with the kind of buttery crust that crackles at the edges and stays tender underneath. The peaches sink down into the batter as it bakes, which means you get jammy fruit in every spoonful without having to babysit a full casserole dish or eat leftovers for days.
What makes this version work is the simple layering: melted butter goes in the ramekins first, then the batter, then the peaches and all their juices. That order gives the cobbler its crisp bottom edge and keeps the topping from turning soggy. Fresh peaches bring the brightest flavor here, but the batter is sturdy enough to handle a little extra juice without collapsing.
Below, I’ve included the small details that matter most, from how to keep the topping light to what to do if your peaches are firmer than you expected. If you’ve been looking for a peach dessert that feels complete without making a giant pan, this one earns its place.
The peaches stayed juicy and the top baked up crisp around the edges instead of getting gummy. I loved that the butter pooled underneath and made the bottom taste like a shortcut pie crust.
Save this small batch peach cobbler for when you want bubbling peaches, a buttery crust, and just enough dessert for two ramekins.
The trick to getting a crisp top without drowning the batter
The biggest mistake with cobbler in small ramekins is stirring once the layers are in place. That seems harmless, but it mixes the butter into the batter and pushes the peaches too far down, which leaves you with a cakier dessert instead of distinct layers. The batter needs to sit on top of the melted butter and bake through from the edges up.
The other detail that matters is the peach juice. Those juices are part of the dessert, but they need enough sugar and starch-free structure around them to stay glossy instead of turning the whole dish watery. This recipe keeps the batter fairly simple so it can absorb some liquid and still set into a soft crumb underneath the fruit.
- Melted butter — This is what gives the bottom its rich, almost fried edge. Cold butter won’t do the same job because you want the batter to hit a hot fat layer as soon as it goes in.
- Fresh peaches — They bring the best texture and flavor here. If yours are a little firm, that’s fine; they soften in the oven. If they’re underripe, let them sit with the sugar and lemon for a few extra minutes before baking.
- Lemon juice — Just enough to wake up the peaches and keep the filling from tasting flat. Don’t skip it if your fruit is sweet but not especially fragrant.
- Whole milk — It keeps the batter tender. Lower-fat milk works in a pinch, but the crumb won’t be as soft or rich.
What Each Ingredient Is Actually Doing in This Peach Cobbler

- Fresh peaches (the star fruit) — Use ripe but firm peaches so they hold their shape. Overripe peaches turn to mush; underripe ones taste mealy.
- Sugar (the sweetness and sauce base) — This draws juices from the peaches and creates the syrupy base. Adjust sugar based on peach ripeness.
- Lemon juice (the brightness and acid) — This prevents the filling from tasting one-dimensional or cloying. It also keeps the peaches from browning.
- Thickener (flour, cornstarch, or tapioca) — This keeps the filling from being too runny while the cobbler bakes. Don’t skip this or filling runs everywhere.
- Biscuit or crumble topping (the texture element) — This creates contrast with the soft fruit. Biscuits are cake-like; crumbles are crispy and buttery.
- Butter in the topping (the richness) — This creates a golden brown finish and adds flavor. Cold butter creates flakier biscuits.
- Spices (cinnamon, nutmeg, or ginger) — These warm up the peach flavor without overwhelming it. Use sparingly so peach stays the star.
- Baking temperature and time (375-400°F, 40-50 minutes) — Hot enough to cook the filling through and brown the topping. Not so hot it burns before peaches soften.
How the batter and fruit layer in the ramekin
Warming the ramekins with butter
Divide the butter between the ramekins and set them in the oven until it melts completely. You want the butter hot and glossy, not browned. That hot layer is what helps the cobbler release cleanly and gives the underside a little caramelized edge.
Mixing the batter just until it comes together
Whisk the flour, sugar, baking powder, salt, and milk only until you no longer see dry streaks. If you beat it smooth for too long, the batter gets tight and less tender. A few small lumps are better than an overmixed batter, and they’ll disappear as it bakes.
Layering without stirring
Pour the batter over the melted butter and leave it alone. Spoon the peaches and their juices over the top the same way. The oven does the work of sorting the layers out, and if you stir now, you lose the contrast between the soft cake and the jammy fruit.
Baking until the center sets
Bake until the tops are deeply golden and the fruit is bubbling around the edges. In a small dessert like this, the center can look done before the batter underneath has fully set, so give it the full time and check for a firm top with a little bounce when you tap the ramekin. If the crust looks pale, it needs a few more minutes.
What to change when you only have the peaches you have
Use frozen peaches when fresh ones aren’t available
Thaw them first and drain off excess liquid so the filling doesn’t go thin. Frozen peaches won’t taste quite as bright as fresh, but the texture still works well in a baked cobbler.
Make it dairy-free
Use a neutral plant-based butter and an unsweetened non-dairy milk like oat or almond milk. The crust will still bake up nicely, though it won’t have quite the same rich butter flavor on the bottom.
Add a warmer spice note
A tiny pinch of nutmeg or cardamom plays well with the peaches if you want something a little deeper than cinnamon alone. Keep it restrained so the fruit stays front and center.
Bake it in one small dish instead of two ramekins
A single 8-ounce baking dish works if that’s what you have, but the top will bake a little less evenly and the edges won’t crisp as fast. Watch the center closely and keep baking until the fruit is bubbling through the middle.
Storage and Reheating
- Refrigerator: Store covered for up to 3 days. The topping softens as it sits, but the flavor stays good.
- Freezer: It freezes best after baking and cooling completely. Wrap tightly and freeze for up to 2 months, then thaw in the fridge before reheating.
- Reheating: Warm in a 325F oven until the fruit is bubbling again and the top firms back up. The microwave makes the crust soft, so use it only if you don’t mind losing that crisp edge.
Answers to the questions worth asking
Small Batch Peach Cobbler
Ingredients
Equipment
Method
- Preheat oven to 350F. Set out two 6-oz ramekins so you can assemble quickly.
- Toss sliced peaches with 1 tablespoon sugar, cinnamon, and lemon juice. Stir until the peaches look glossy and evenly coated.
- Divide butter between two 6-oz ramekins and melt in the oven for 3 to 5 minutes, until bubbling at the edges. Watch for melted butter pooling at the bottom.
- Whisk flour, remaining 2 tablespoons sugar, baking powder, salt, and milk until just combined. The batter should look thick and lumpy with no dry pockets.
- Pour batter evenly over the melted butter in each ramekin—do not stir. Leave the top surface mostly smooth.
- Spoon peaches and their juices over the batter in each ramekin—do not stir. Spread so peaches sit just beneath the top layer and juices fill the gaps.
- Bake for 30 to 35 minutes at 350F until golden and bubbling. Look for a cracked, buttery crust and peach filling bubbling at the edges.
- Serve immediately with a scoop of vanilla ice cream. Aim for the ice cream to begin melting over the warm cobbler.


