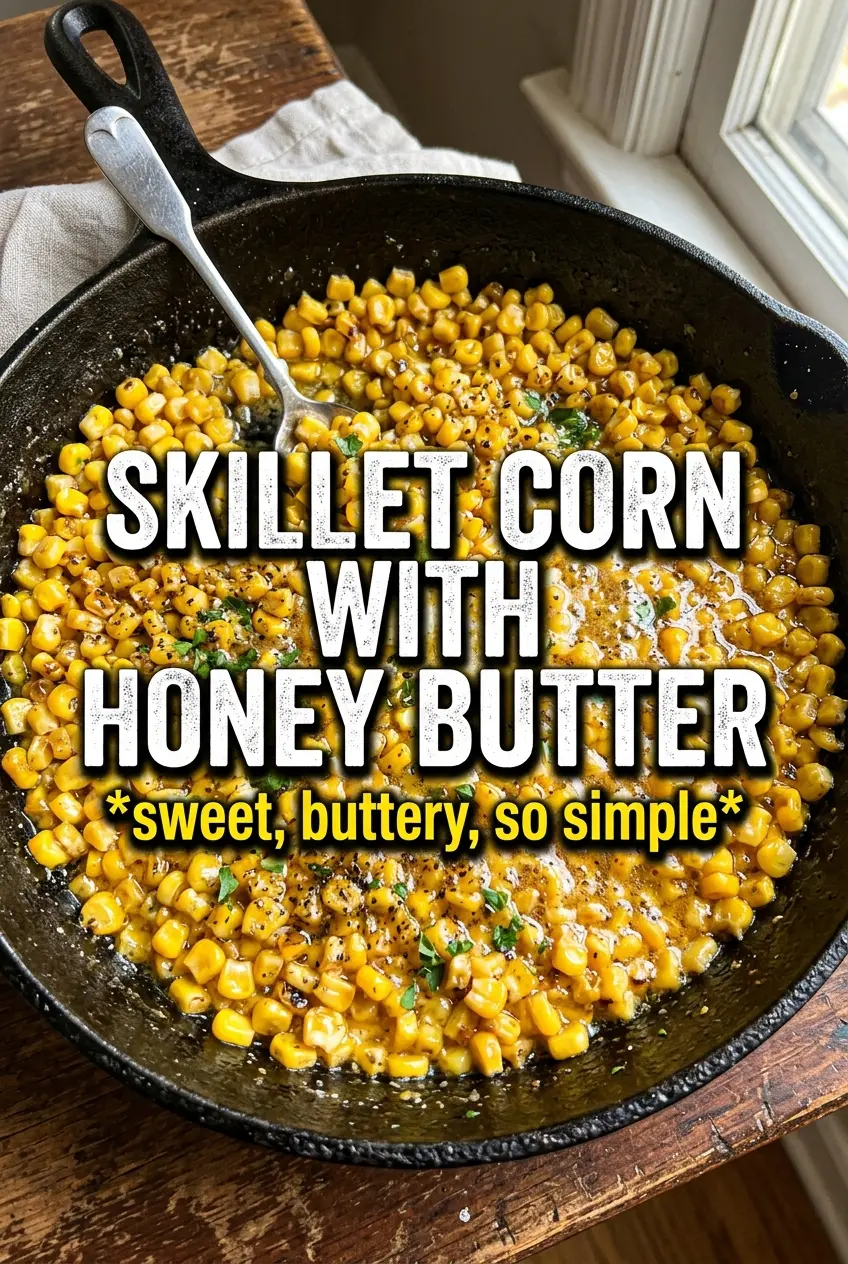
Skillet corn with honey butter earns its place because it gives you the best parts of summer-style corn in a fast side dish: sweet kernels, caramelized edges, and a glossy butter sauce that clings instead of pooling in the pan. The cast iron does more than heat the corn; it helps the kernels blister and pick up a little smokiness before the honey goes in, which keeps the final dish from tasting flat or one-note.
The trick is letting the corn sit still long enough to brown. If you stir too early, you steam it and lose the char that makes this recipe taste cooked in a good way, not just heated through. The garlic and spices go in after the first round of browning so they bloom in the butter without burning, and the honey gets added at the end so it coats the corn without turning sticky and hard.
Below, I’ve included the timing that matters most, the ingredients worth paying attention to, and a few easy swaps if you’re working with frozen corn or need to adjust the heat level.
The corn got those little browned spots in the skillet, and the honey butter glazed every kernel without making it soggy. My husband kept sneaking bites straight from the pan.
Skillet Corn With Honey Butter gets its best texture from the pan-seared kernels and glossy honey finish.
The Browning Step That Gives This Corn Its Backbeat
The biggest mistake with skillet corn is moving it too soon. Corn releases steam as it heats, and if you keep tossing it, that steam has nowhere to go. A cast iron skillet helps by holding high heat long enough to blister the kernels, but only if you let the first side sit untouched for a few minutes. That browning is where the deep flavor comes from; without it, the honey butter tastes pleasant but a little plain.
Another thing worth knowing: frozen corn works, but it needs a little extra patience. Any moisture clinging to the kernels has to cook off before browning can happen. If the pan starts sounding wet instead of sharp and active, keep going until that sound changes. That’s the moment the skillet is finally ready to do its job.
What Each Ingredient Is Actually Doing In This Dish
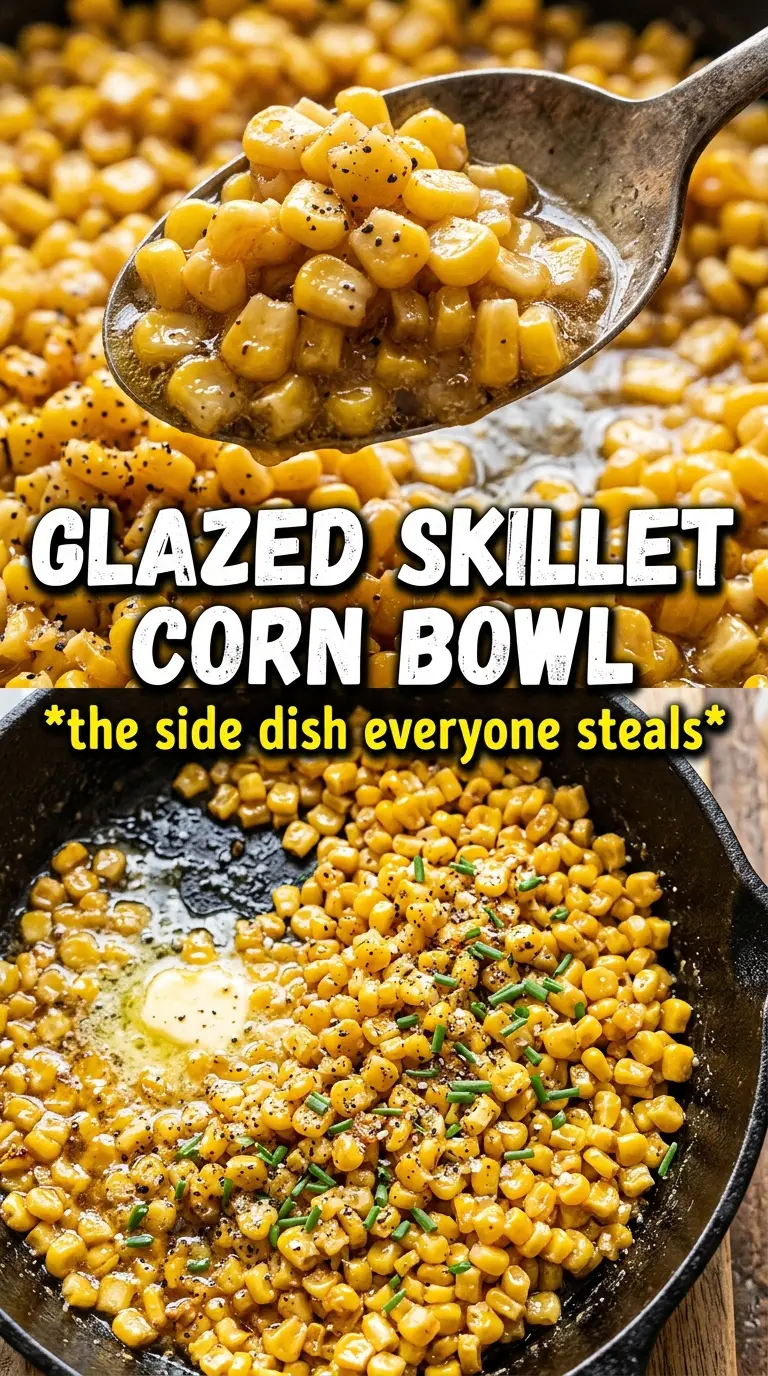
- Corn — Fresh corn gives you the sweetest flavor and the best pop, but thawed frozen kernels work well because they stay separate in the skillet and brown more evenly than canned corn. If you use frozen, thaw and drain it first so excess water doesn’t keep it from caramelizing.
- Butter — This is the base of the sauce and the thing that carries the spices. Unsalted butter gives you control over the seasoning, and dividing it lets you build flavor in two stages: one part for browning the corn, the rest for the finishing glaze.
- Honey — Honey adds shine and a soft sweetness that balances the char. Add it at the end so it coats the kernels instead of reducing too far and sticking to the skillet.
- Garlic, smoked paprika, and cayenne — Garlic brings depth, smoked paprika echoes the skillet char, and cayenne keeps the sweetness from getting too mellow. The garlic should go in after the corn has browned; if it hits the pan too early, it can burn before the kernels are done.
- Chives and flaky sea salt — Chives give a fresh finish and the flaky salt sharpens the sweet-butter contrast right at the end. Don’t skip the final sprinkle if you want the corn to taste complete rather than just coated.
Building the Char Before the Honey Goes In
Let the Skillet Get Properly Hot
Melt half the butter in a large cast iron skillet over high heat and wait until it foams and settles before adding the corn. That first burst of heat is what starts the browning. If the pan is only lukewarm, the kernels soften before they color, and you lose the roasted flavor that makes this side dish stand out.
Give the Corn Time to Sit
Add the corn in a single layer and leave it alone for 3 to 4 minutes. You want to hear a steady sizzle and see the bottom side pick up brown spots before you stir. If you keep tossing it, the kernels steam each other and the pan never gets the chance to create those crisp edges.
Finish With Butter, Honey, and Spice
Once the corn has some char, lower the heat and stir in the garlic, smoked paprika, and cayenne for about a minute. Then add the remaining butter and honey and toss until every kernel looks glossy and coated. The lower heat matters here because honey can tighten up fast, and garlic can go bitter if it sits in hard heat for too long.
Season at the End, Not the Middle
Taste before serving and add salt and black pepper until the corn tastes full and balanced. A final dusting of flaky salt and fresh chives gives the dish lift. If it tastes flat, it almost always needs more salt, not more honey.
How to Adapt Skillet Corn Without Losing the Good Parts
Use frozen corn for a year-round version
Thawed frozen corn is the easiest swap and it still browns well as long as you dry it after thawing. You lose a little of the fresh corn sweetness, but the skillet char and honey butter bring the flavor right back into focus.
Make it dairy-free with olive oil and a little extra salt
Use a good olive oil or plant-based butter in place of the butter. The dish won’t taste as rich, but the browned corn and honey still carry it, especially if you finish with a careful pinch of flaky salt.
Dial the heat up or down
The cayenne is there for a small kick, not a burn. Leave it out for a milder side dish, or add a pinch more if you want the sweetness of the honey to stand out against a little heat.
Storage and Reheating
- Refrigerator: Store in an airtight container for up to 4 days. The corn softens a little as it sits, but the flavor stays good.
- Freezer: Freeze for up to 2 months, though the texture is better fresh. Cool completely first, then pack tightly and thaw in the fridge before reheating.
- Reheating: Warm in a skillet over medium heat with a small knob of butter until hot. The mistake to avoid is microwaving it too long, which turns the corn watery and mutes the browned edges.