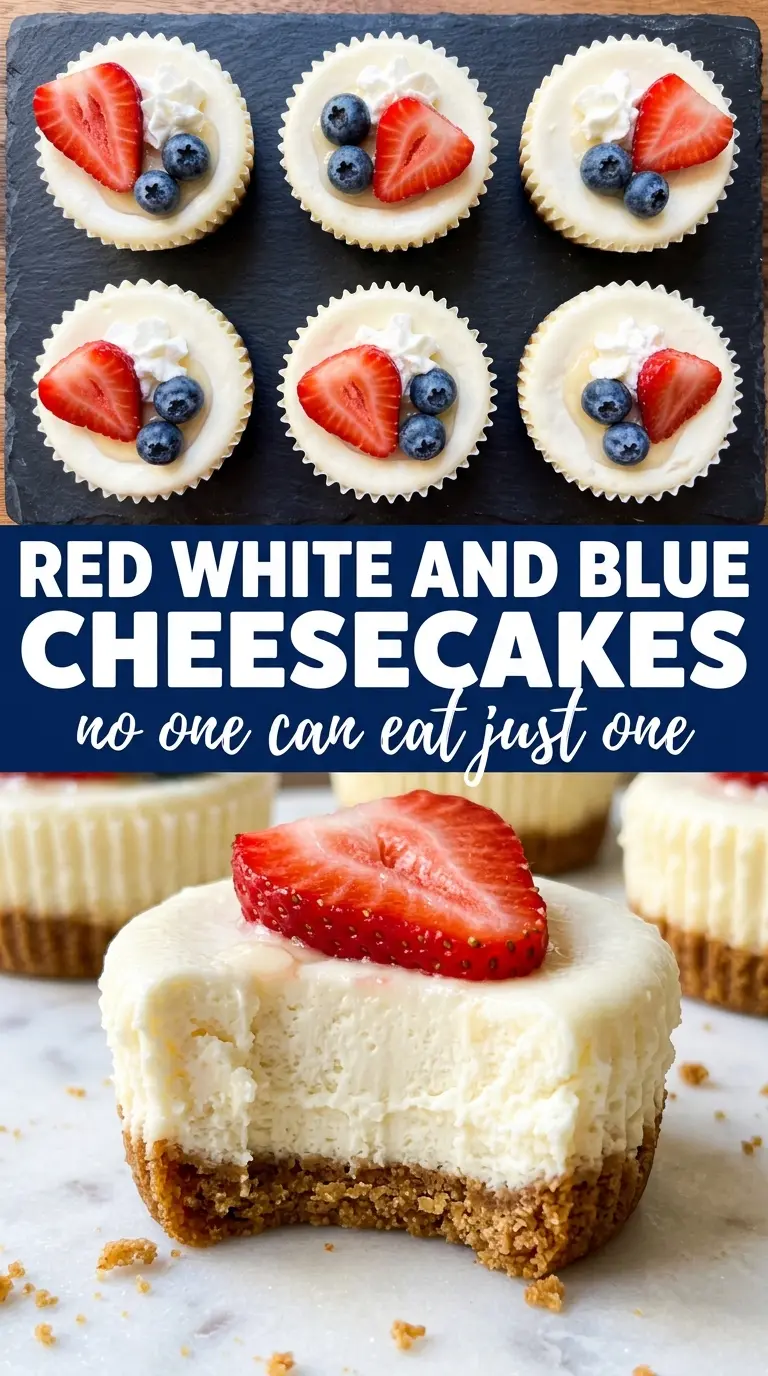
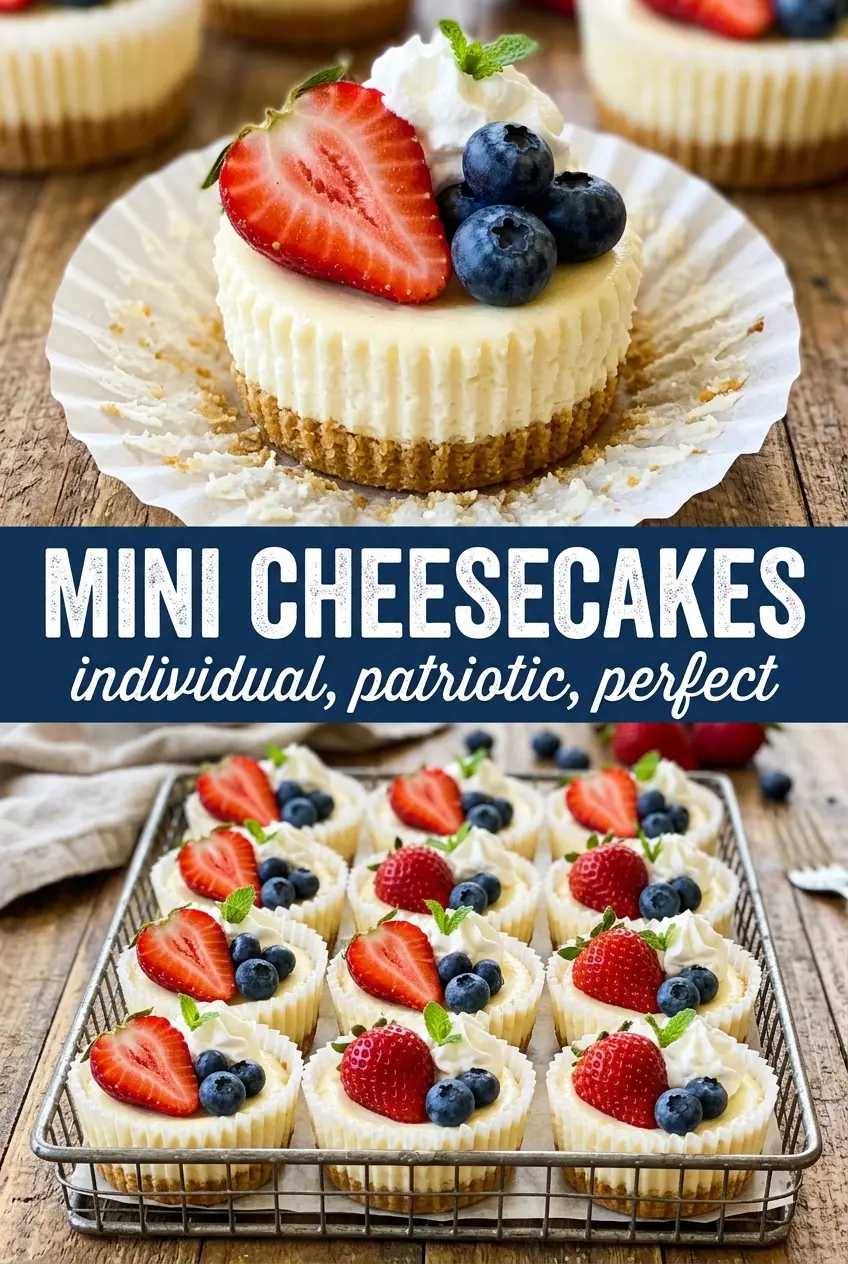
Golden Oreo crust, creamy vanilla cheesecake, and a fresh berry finish make these mini cheesecakes the kind of dessert people reach for first. They hold their shape beautifully in paper liners, so you get the clean look of a bakery-style individual cheesecake without the fuss of a springform pan. The texture is the best part: a crisp cookie base under a smooth center that sets up in the fridge instead of baking into something dry or grainy.
The trick here is restraint. The filling only needs to be beaten until smooth, not whipped into a cloud, because too much air leads to puffing and sinking. A short bake at a moderate temperature keeps the centers pale and just barely set, which is what gives you that creamy bite after chilling. The fruit and whipped cream go on at the end so the tops stay bright and the cookies below never get soggy.
The filling baked up smooth and creamy, and the Oreo crust stayed firm even after chilling overnight. I topped them with strawberries and blueberries just before serving and they disappeared fast.
Love these red, white, and blue mini cheesecakes? Save them to Pinterest for the next time you need a patriotic dessert with a creamy center and a berry topping.
The Small-Batch Trick That Keeps Mini Cheesecakes Creamy, Not Dense
Mini cheesecakes punish overmixing faster than a full-size cake. Once the eggs go in, every extra minute on the mixer adds air, and air turns into puffing, cracking, and a texture that feels more like sponge than cheesecake. The batter should look smooth and thick, not fluffy. That’s the line to watch.
The other place people lose the texture is baking too long because the centers still look soft when they come out. They should jiggle slightly in the middle when you nudge the pan. They finish setting as they cool and chill, which is why the refrigeration step matters just as much as the oven time. Pull them early and trust the carryover.
What Each Ingredient Is Doing in These Red, White, and Blue Mini Cheesecakes
- Golden Oreos or regular Oreos — These do double duty as crust and flavor. Golden Oreos keep the base sweeter and more classic for cheesecake, while regular Oreos give you a darker, more chocolatey bottom. Use a whole cookie in each liner so you don’t need to fuss with a crumb crust or melted butter.
- Cream cheese — This is the backbone of the filling, and it needs to be softened all the way through. Cold cream cheese leaves tiny lumps that never fully smooth out. If you’re short on time, cut it into cubes and let it sit at room temperature until it gives easily when pressed.
- Sour cream — A small amount keeps the filling tangy and softens the richness. Full-fat sour cream gives the best texture, but plain Greek yogurt works in a pinch. The result will be a little brighter and slightly less lush.
- Fresh strawberries and blueberries — Fresh fruit matters here because the topping is part of the whole bite. Frozen berries leak juice and soften the whipped cream fast. Slice the strawberries right before serving so they stay neat and glossy.
- Whipped cream and sprinkles — These are the finishing touches, not just decoration. Add them after the cheesecakes are fully chilled so they don’t melt or bleed into the top. A light hand with the sprinkles keeps the look clean instead of turning muddy.
How to Bake Mini Cheesecakes So the Centers Set Without Cracking
Building the Crust in the Liners
Set one cookie flat in the bottom of each cupcake liner and press it down gently so it sits level. There’s no need to crush it into crumbs. The whole-cookie base bakes into a sturdy, tender crust that holds together when you peel back the paper. If the cookies are tilted or cracked, the filling can slide around the edges instead of sitting neatly on top.
Mixing the Filling Without Whipping Air Into It
Beat the cream cheese and sugar first until the mixture turns smooth and glossy, then add the eggs one at a time. Stop the mixer as soon as each egg disappears. Overbeating at this stage is the fastest way to make the tops rise and then collapse. Vanilla and sour cream go in last, and the batter should look thick enough to mound slightly on a spoon.
Knowing Exactly When to Pull Them From the Oven
Spoon the batter into the liners, filling each one about three-quarters full, then bake until the edges are set and the centers still wobble a little when you tap the pan. That faint jiggle matters. If the middle looks completely firm in the oven, the cheesecakes will bake dry by the time they chill. Cool them in the pan first so they finish setting without shrinking too fast.
Finishing After the Chill
Let the cheesecakes cool for 30 minutes in the pan, then refrigerate for at least 2 hours before topping. The chill time gives them the structure they need for clean, bakery-style presentation. Add whipped cream, berries, and sprinkles at the end so the decorations stay bright and the crust stays crisp. If you top them early, the fruit softens the cream and the whole surface starts to slide.
Three Ways to Adjust These Mini Cheesecakes Without Losing the Texture
Make Them Gluten-Free With a Simple Cookie Swap
Use certified gluten-free chocolate or vanilla sandwich cookies in place of the Oreos. The texture stays nearly identical because the cookie still acts as its own crust. Just avoid graham-style crumbs here unless you want a softer, looser base.
Swap the Toppings for a More Uniform Red, White, and Blue Look
If you want a cleaner patriotic finish, pipe a small swirl of whipped cream first, then tuck the strawberry slices and blueberries into the cream instead of scattering them. That keeps the berries from rolling off the tops and gives each mini cheesecake a more polished look.
Use Greek Yogurt for a Slightly Lighter Filling
Plain Greek yogurt can replace the sour cream one-for-one. It brings the same tang, but the filling firms up a little more and tastes a touch sharper. Use full-fat yogurt if you can, because low-fat versions can thin the batter and make the centers bake less evenly.
Make Them Ahead for a Crowd
Bake and chill the cheesecakes a day in advance, then add the whipped cream and fruit just before serving. That’s the best way to keep the tops neat and the crust from softening. For a party platter, hold the sprinkles until the very end so the colors stay sharp.
Storage and Reheating
- Refrigerator: Store covered for up to 4 days. The crust stays best in the first 2 days, while the fruit topping is freshest on day one.
- Freezer: Freeze the cheesecakes without toppings for up to 1 month. Wrap each one tightly and thaw overnight in the refrigerator before decorating.
- Reheating: These aren’t meant to be reheated. Serve them chilled straight from the fridge. If they sit out too long, the filling softens and the whipped cream loses its shape.
Answers to the Questions Worth Asking
Red, White and Blue Mini Cheesecakes
Ingredients
Equipment
Method
- Preheat the oven to 325°F and line a 12-cup muffin tin with cupcake liners.
- Place one Oreo cookie flat in the bottom of each liner.
- Beat the cream cheese and granulated sugar until smooth.
- Add the eggs one at a time, mixing well after each addition.
- Beat in the vanilla extract and sour cream until the batter is smooth.
- Divide the batter evenly among the 12 cups, filling each about 3/4 full.
- Bake for 18–20 minutes at 325°F, until the centers are just barely set (they will firm as they cool).
- Cool in the pan for 30 minutes.
- Refrigerate for at least 2 hours to fully chill and set the cheesecakes.
- Before serving, top each cheesecake with a swirl of whipped cream, a strawberry slice, a few blueberries, and a pinch of red and blue sprinkles.