Pistachio ice cream should taste like roasted nuts first and sweet cream second, with a pale green color that comes from the pistachios themselves, not a bottle. The best batches have a dense, custardy body and tiny flecks of nuts in every scoop, which gives each bite a little crunch against the smooth base. When it’s done right, it tastes elegant without feeling fussy.
The trick here is building a custard base that stays smooth, then blending the toasted pistachios into it while the mixture is still warm enough to release their flavor. That’s where the depth comes from. Almond extract pulls the pistachio note forward without making the ice cream taste like marzipan, and a small amount of salt keeps the sweetness from flattening everything out.
Below, I’ll walk through the part that matters most: how to get a silky custard without scrambling the yolks, plus the one step that gives you a stronger pistachio flavor than most homemade versions.
The custard turned out silky and the toasted pistachio flavor came through in every bite. I added the chopped pistachios at the end and they stayed crunchy even after freezing overnight.
Love the roasted pistachio flavor and custardy texture? Save this pistachio ice cream for the times when you want a scoop that tastes rich, nutty, and homemade.
The Reason Pistachio Ice Cream Gets Grainy, and How This Base Avoids It
Grainy pistachio ice cream usually starts with the nuts themselves. If they’re under-toasted or ground too coarsely, the flavor stays flat and the base never gets that deep, roasted note. If they’re over-processed without enough fat around them, they can turn pasty instead of smooth, which gives you little specks instead of an even, nutty body.
This version avoids that by blending the toasted pistachios into a fine paste before they ever meet the custard. Warm custard helps carry the flavor through the base, and cooking it to 175°F thickens the yolks enough to freeze into a creamy scoop instead of an icy one. Don’t rush the chilling time either; a cold base churns cleaner and freezes with less air churned in from overworking the machine.
What the Pistachios, Egg Yolks, and Extracts Are Each Doing
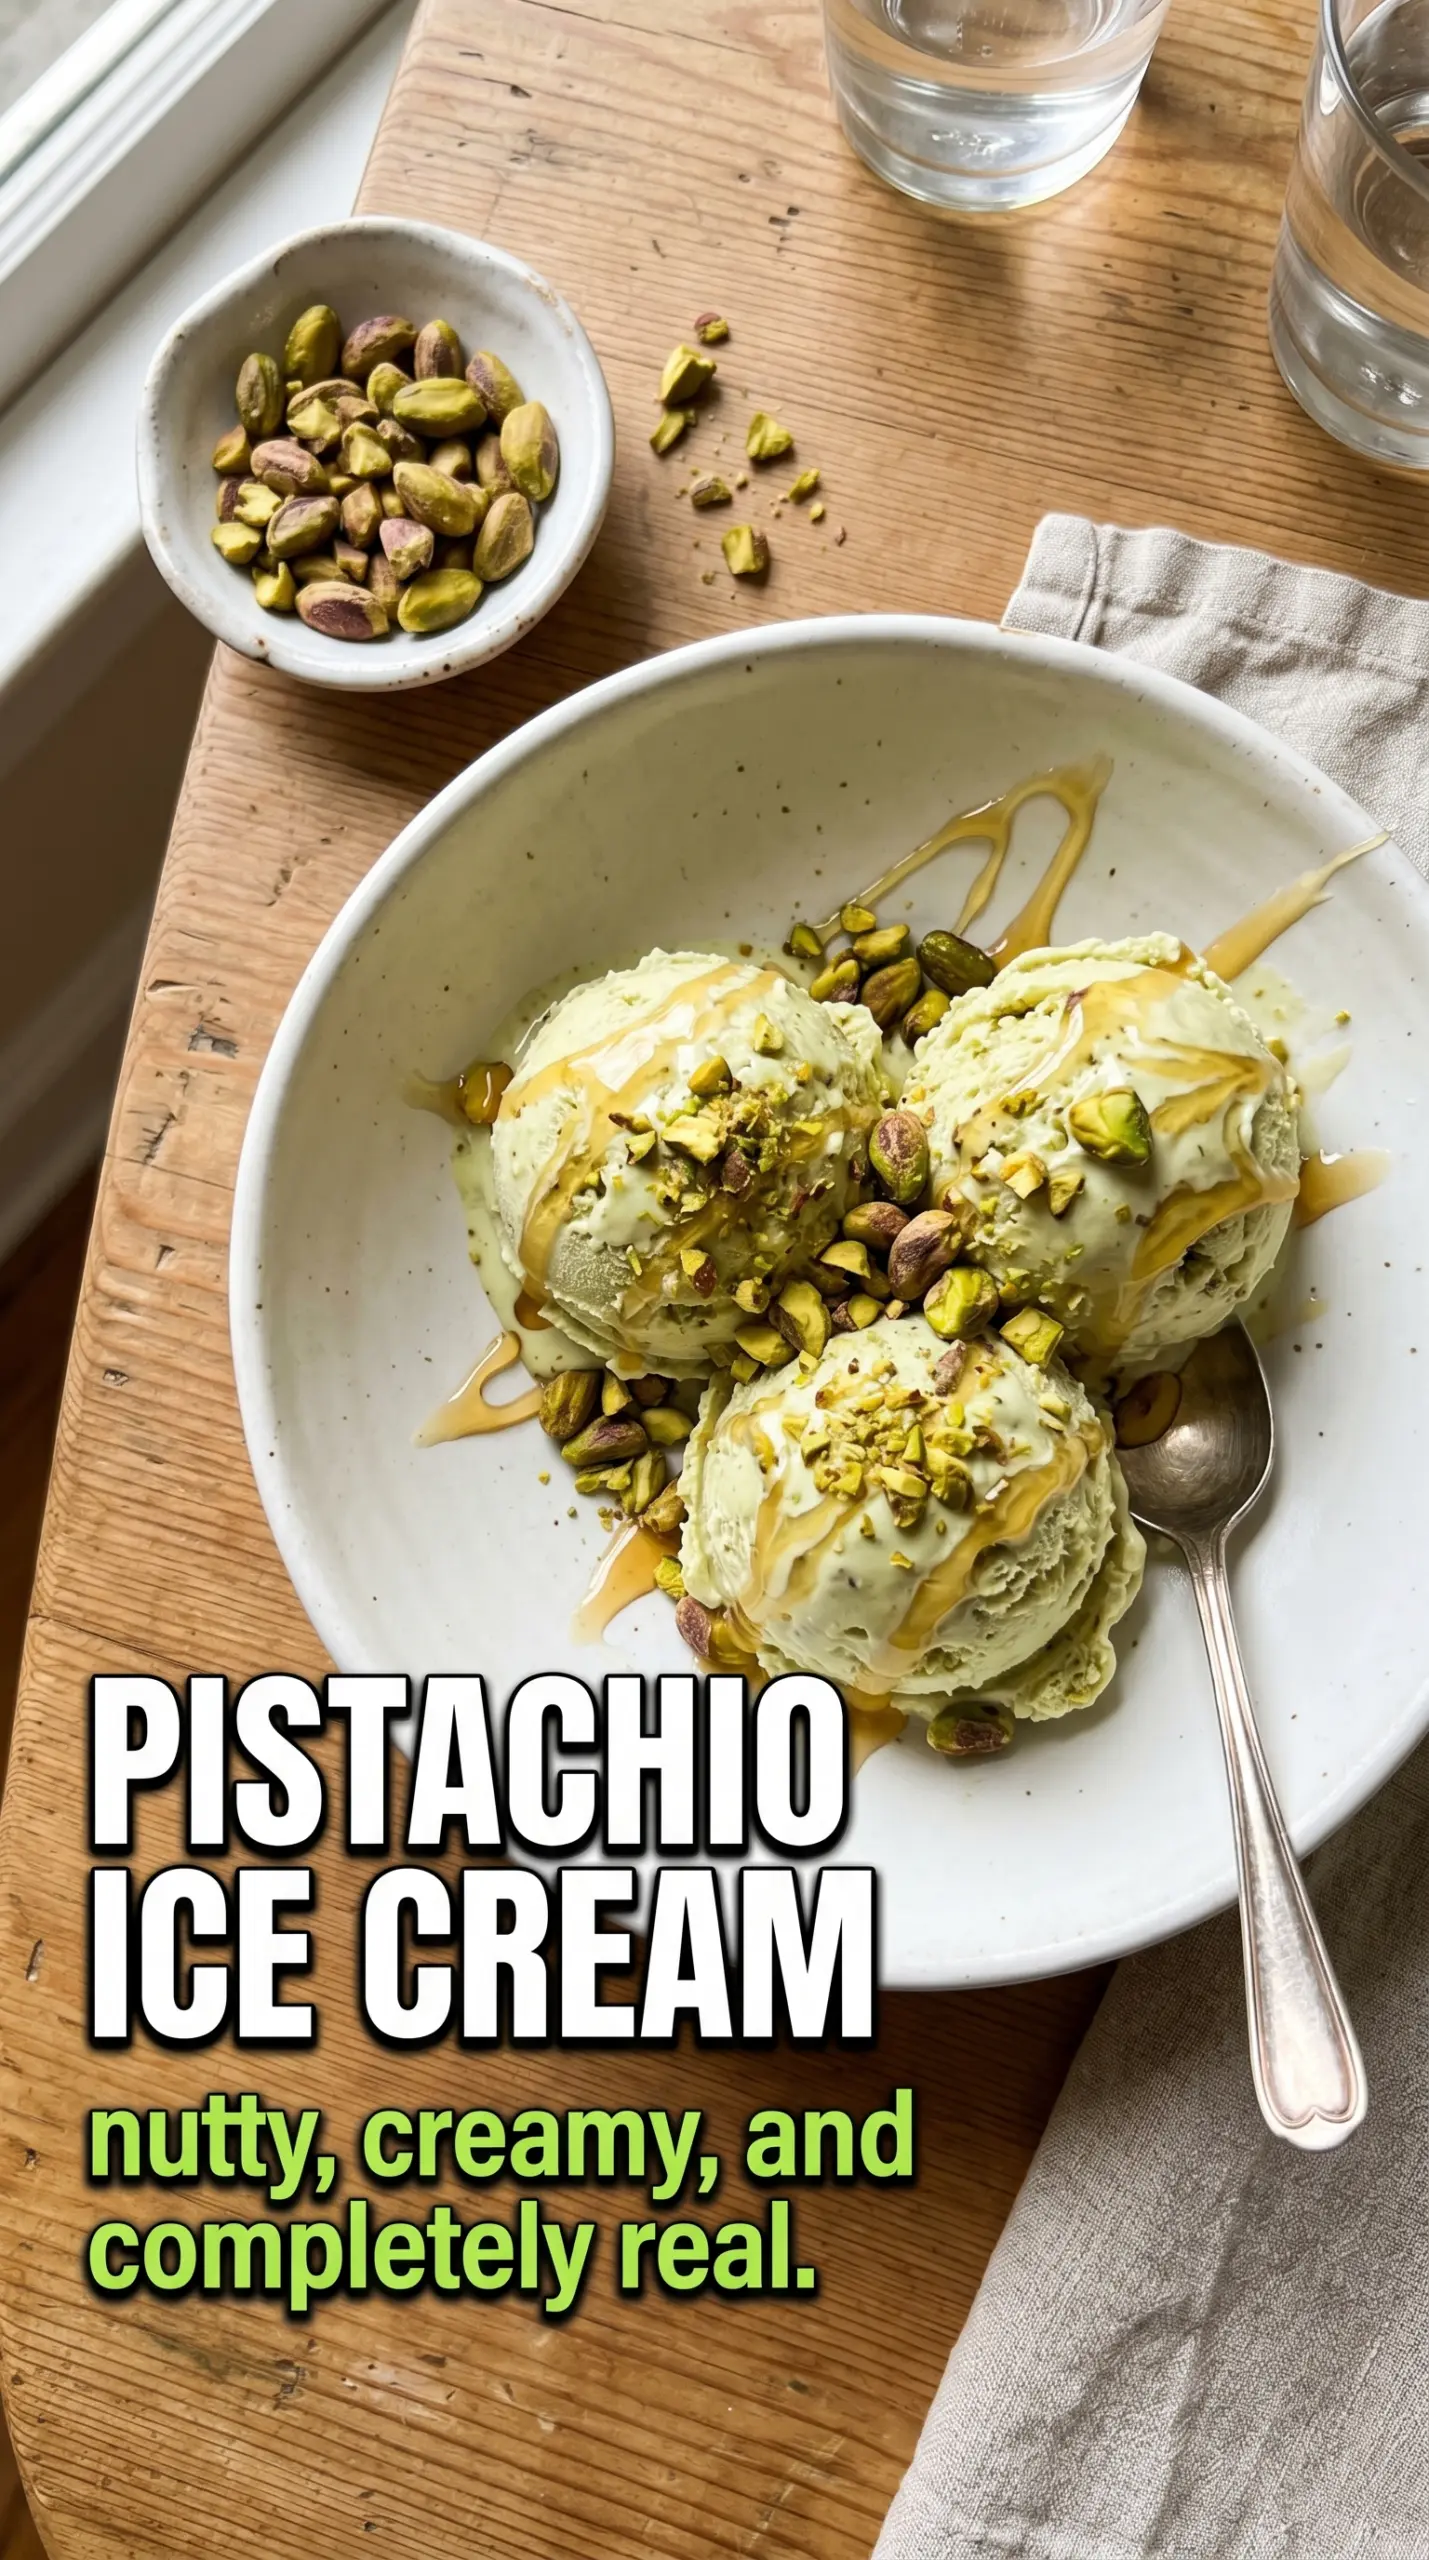
- Toasted pistachios — Toasting wakes up the oils and gives you the roasted, almost buttery flavor that makes this ice cream taste finished. Raw pistachios can work in a pinch, but they’ll taste greener and less layered.
- Heavy cream and whole milk — The cream gives body and a soft scoop, while the milk keeps the base from becoming cloying. You need both here; swapping in all cream makes the texture heavy, and using low-fat milk makes the ice cream icy.
- Egg yolks — These are what turn the base into a true custard. They thicken the mixture and help the ice cream hold a smoother texture after freezing, which is why this tastes richer than a no-cook version.
- Almond extract — Pistachio and almond sit close together in flavor, and a small amount of almond extract sharpens the pistachio note without drowning it out. Use the full teaspoon, but don’t add more or it starts to taste like a bakery cookie instead of ice cream.
- Chopped pistachios for folding in — These add the crunch that the blended paste can’t give you. Chop them after toasting if you want the cleanest bite and fold them in after churning so they stay distinct.
- Green food coloring — This is purely for appearance. The ice cream will still taste the same without it, and honestly I skip it most of the time unless I want that classic pale pistachio look.
How to Build a Custard That Stays Smooth in the Freezer
Grinding the Pistachios First
Pulse the toasted pistachios until they become a fine paste, stopping to scrape down the bowl so the oily bits don’t cling to the sides. You want a spreadable texture, not sandy crumbs. If the nuts look dry and dusty, keep going; the paste is what gives the ice cream its flavor and color all the way through.
Tempering the Yolks Without Scrambling Them
Whisk the hot cream and milk into the yolks and sugar gradually so the eggs warm up in stages. If you dump everything together at once, you’ll get sweet scrambled egg instead of custard. Once the mixture goes back on the heat, stir constantly and keep the burner at medium-low; the custard should coat the back of a spoon and reach 175°F, not boil.
Finishing the Base and Chilling It Completely
Whisk in the pistachio paste while the custard is still warm so the mixture turns smooth and uniform. Add the almond extract, vanilla, and salt off the heat, then strain if you want an extra-silky finish. The base needs the full chill time in the fridge before it goes into the machine; if it’s even slightly warm, it churns poorly and freezes with a looser, icier texture.
Folding in the Crunch at the End
Add the chopped pistachios after churning, not before. If they go in too early, they soften and lose their contrast in the freezer. Pack the churned ice cream into a container, press a piece of parchment or plastic wrap directly on the surface, and freeze until firm enough to scoop cleanly.
Three Ways to Adjust This Pistachio Ice Cream Without Losing the Good Parts
Dairy-Free Version With Coconut Cream
Swap the heavy cream for full-fat coconut cream and use an unsweetened plant milk with some body, like oat milk. The texture will be a little softer and the flavor will lean slightly coconut, but the pistachio paste still comes through. Keep the almond extract in place; it helps bridge the gap between the coconut and the nuts.
No-Churn Shortcut for a Softer Spoon
If you don’t have an ice cream maker, fold the cooled pistachio custard base into whipped cream and freeze it in a lined loaf pan. You’ll lose some of the dense, gelato-style body, but the flavor stays rich and the method is easier for casual batches. Stir in the chopped pistachios at the very end so they don’t sink.
Stronger Green Color Without Changing the Flavor
The food coloring is optional, but if you want that classic pistachio look, add it one drop at a time after the custard comes off the heat. Keep it subtle; too much color makes the ice cream look artificial fast. The flavor won’t change, but the color will read as more familiar on the spoon.
Storage and Reheating
- Refrigerator: The churned base isn’t meant to sit in the fridge once frozen, but the uncooked custard base can be held there for up to 2 days before churning. It will thicken a little more as it chills.
- Freezer: Freeze the finished ice cream in an airtight container for up to 2 weeks for the best texture. After that, it still tastes good, but ice crystals start to show up around the edges.
- Reheating: Let it sit at room temperature for 5 to 10 minutes before scooping. If it’s rock hard, people usually try to force the scoop through too soon and tear up the surface instead of letting the ice cream soften just enough.
Answers to the Questions Worth Asking
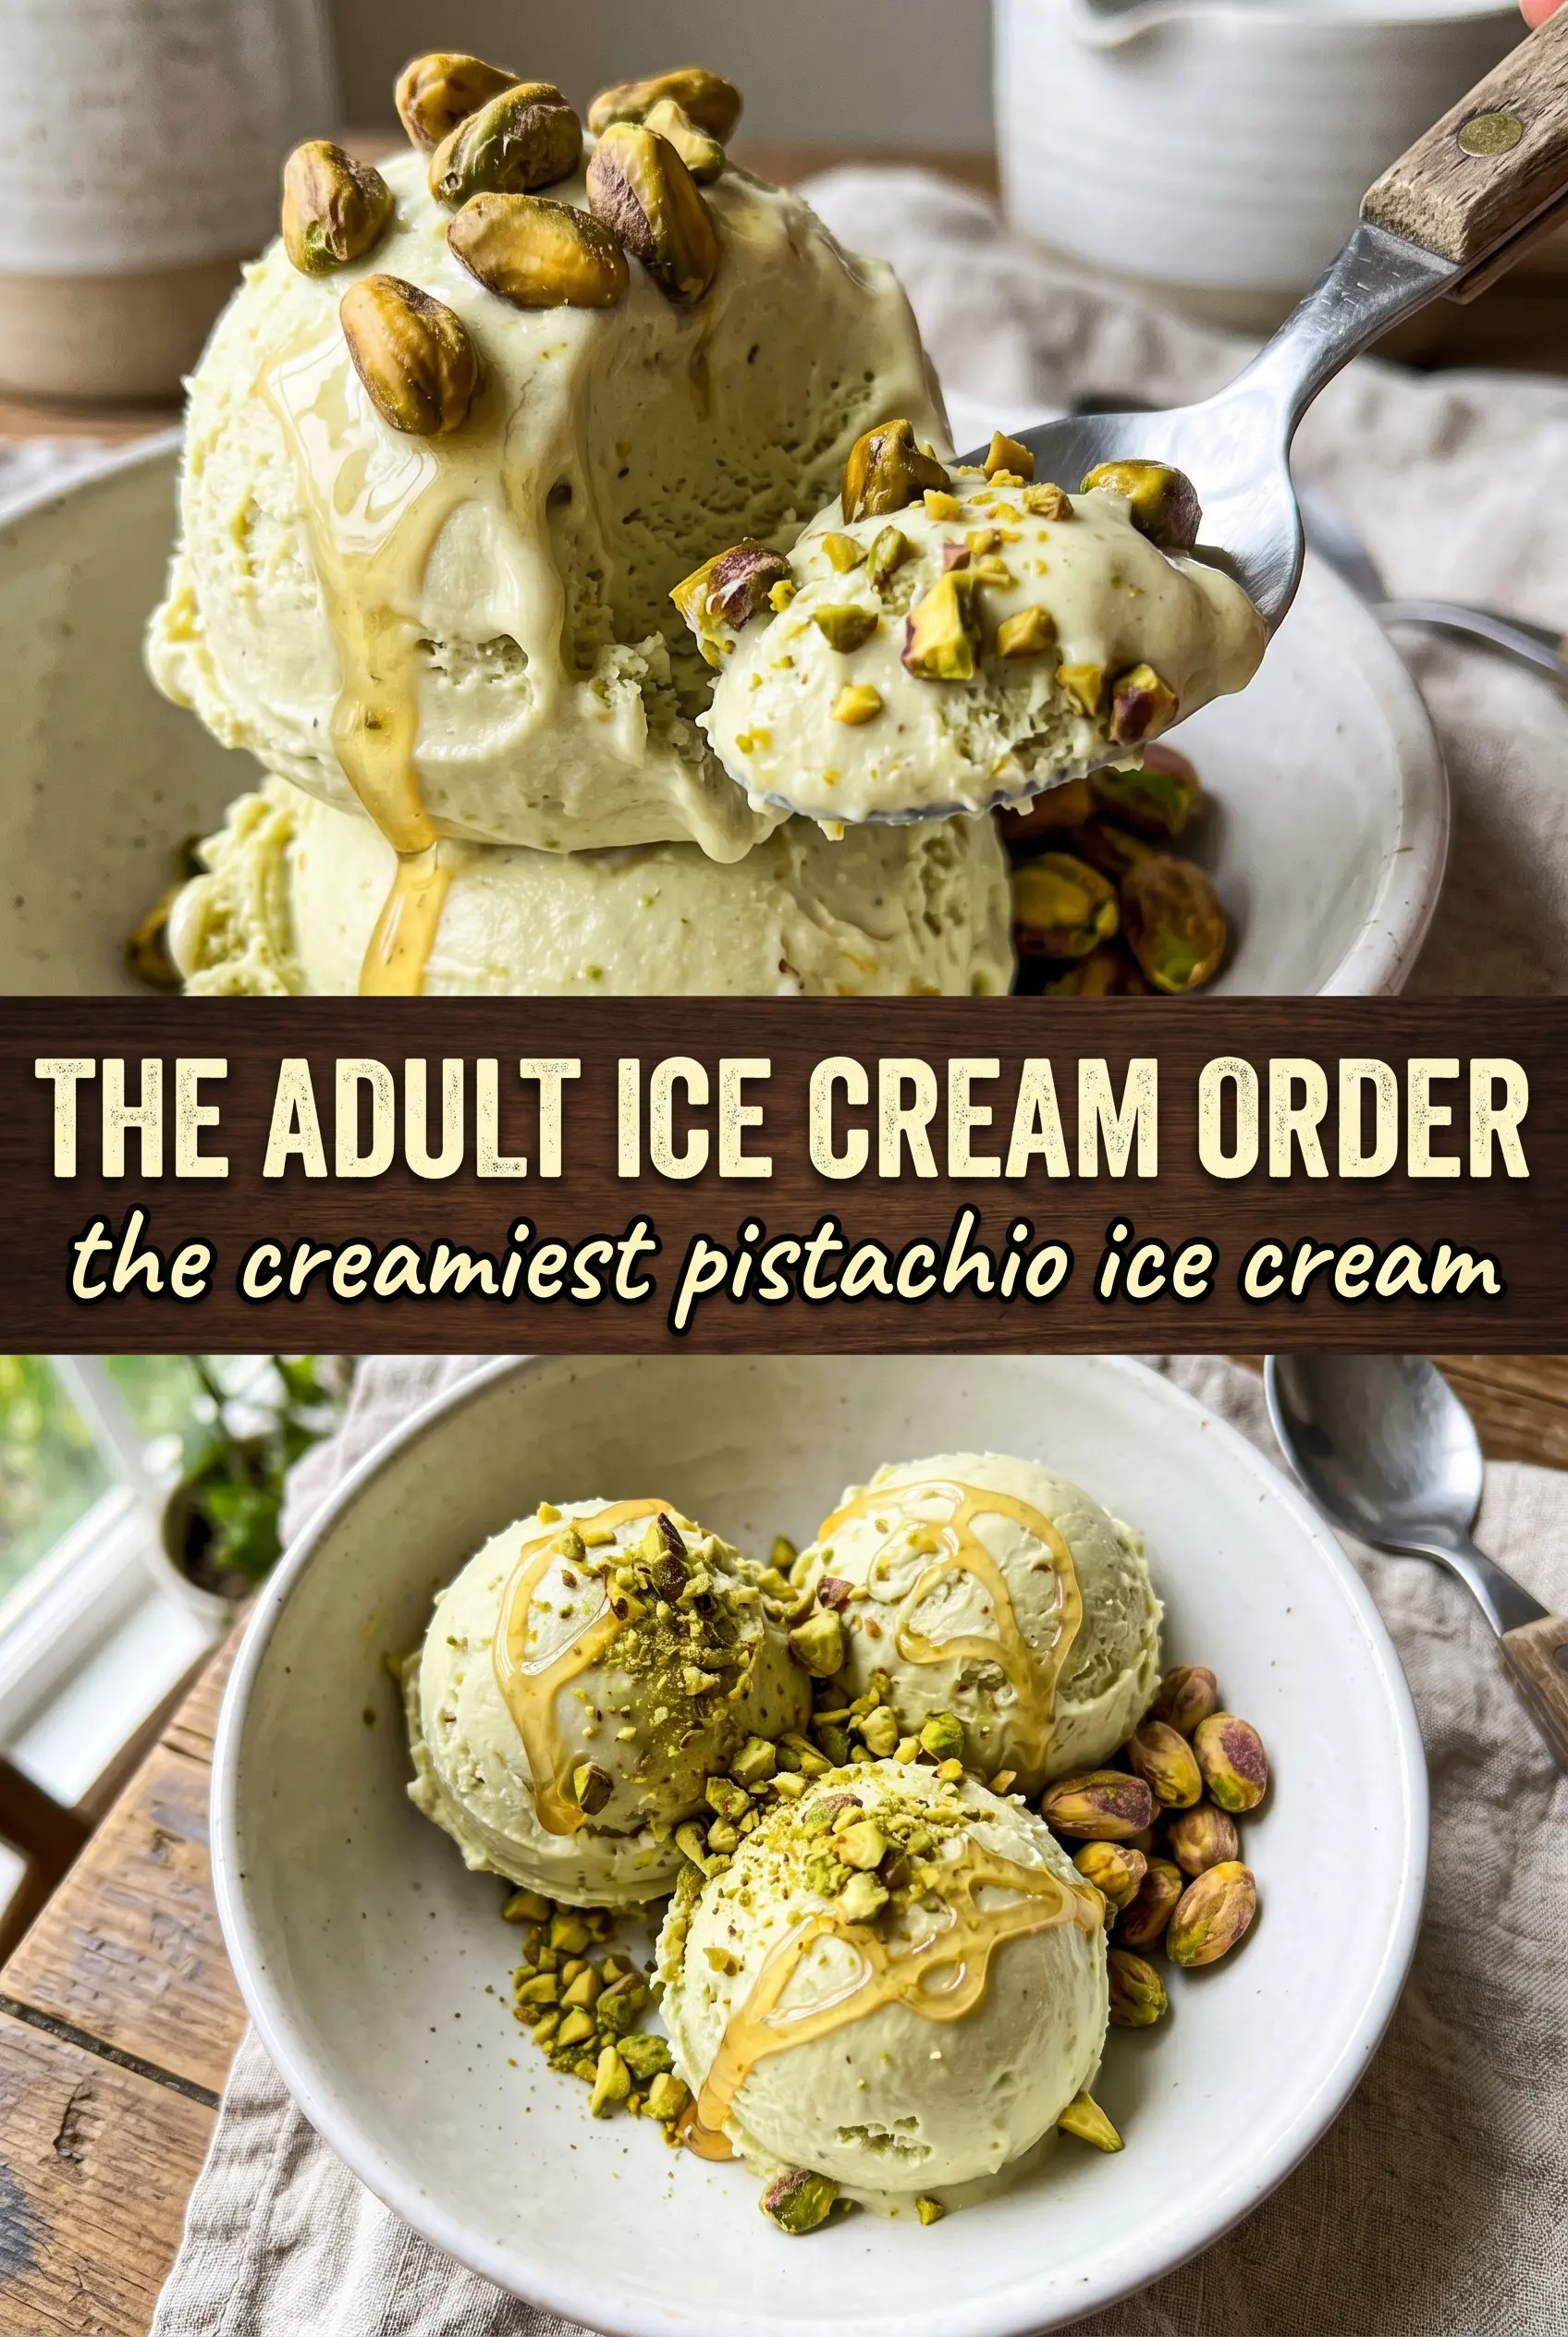
Pistachio Ice Cream
Ingredients
Equipment
Method
- Blend 1 cup toasted shelled pistachios in a food processor until a fine paste forms, with no gritty bits left. Set the paste aside so it’s ready for the custard.
- Heat heavy cream and whole milk in a saucepan until steaming but not boiling, about 3 to 5 minutes. Slowly whisk the hot dairy into the beaten egg yolks with granulated sugar to prevent scrambling.
- Return the mixture to the saucepan and cook while stirring until it reaches 175F. Remove promptly when thick enough to coat the back of a spoon, typically 10 to 12 minutes.
- Whisk the pistachio paste into the hot custard until smooth and evenly colored. This should look glossy and cohesive after 1 to 2 minutes of whisking.
- Stir in almond extract, vanilla extract, and salt, and add a drop of green food coloring if desired. Whisk until the flavor is uniform, then strain the custard through a fine strainer for extra smoothness.
- Chill the strained pistachio custard in the refrigerator for 4 hours, until thoroughly cold. A skin may form—stir gently before churning if needed.
- Churn the chilled custard in an ice cream maker until thickened to the texture of soft-serve, about 20 to 25 minutes. Fold in roughly chopped pistachios at the end so the pieces stay visible.
- Transfer to a freezer-safe container and freeze until firm, at least 4 hours. The surface should be scoopable with a dense, creamy interior once fully set.