Bright green peas with pancetta hit the sweet spot between simple and special: the peas stay tender and fresh tasting, the pancetta brings a salty crunch, and the butter and lemon zest pull everything into one glossy side dish that lands on the plate with real purpose. It’s the kind of dish that can sit next to roast chicken, pork, fish, or pasta and still manage to steal a little attention.
The key is building flavor in the pan before the peas go in. Pancetta renders its fat first, so the shallot softens in something flavorful instead of plain oil, and a splash of broth gives the peas just enough steam and moisture without making them waterlogged. Frozen peas are the right choice here because they’re picked at peak sweetness and cook quickly enough to keep their color.
Below, I’ve included the timing that keeps the peas bright instead of dull, plus a few smart swaps if you need to work with bacon, prosciutto, or an herb change.
The peas stayed bright and sweet, and the pancetta stayed crisp even after I tossed everything together. The lemon zest at the end made the whole pan taste fresh instead of heavy.
Save these bright peas with pancetta for a fast Italian side dish with crispy pancetta, sweet peas, and a fresh lemon finish.
The Trick Is Saving Some Pancetta for the Top
Most pea side dishes taste flat because everything softens together and the best texture disappears by the time it reaches the table. Here, half the pancetta gets reserved before the peas go in, which gives you something crisp and salty to scatter on top at the end. That final layer matters. It keeps the dish from reading as one-note and gives each bite a little snap against the soft peas.
The other important move is using just enough broth to create steam without turning the pan soupy. Frozen peas already bring moisture, so the goal is to heat them through quickly and stop as soon as they turn vivid green. If they simmer too long, they lose both sweetness and color.
What Each Ingredient Is Actually Doing in the Pan
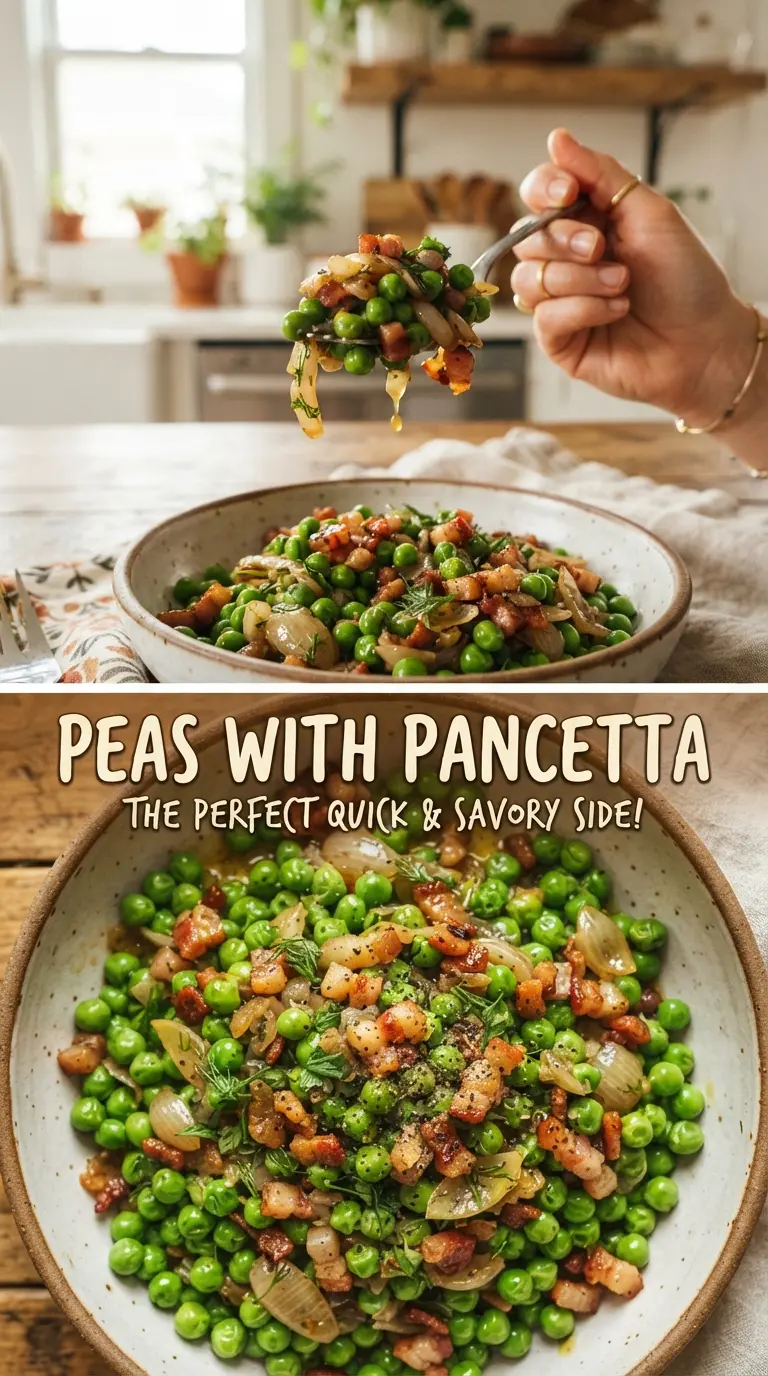
- Pancetta — This is the backbone of the dish. It renders a gentle, porky fat that flavors the shallot and garlic, then crisps up into the salty topping. Bacon works in a pinch, but it brings more smoke and can overpower the sweet peas.
- Frozen sweet peas — Use frozen, not canned. Frozen peas are picked and packed quickly, so they stay sweet and bright after a short cook. Thawing isn’t necessary; they go straight into the pan.
- Shallot — Shallot softens into the pancetta fat and gives the dish a mild onion sweetness. A small yellow onion can substitute, but slice it finely so it cooks down fast and doesn’t crowd the peas.
- Chicken broth — This creates enough steam to heat the peas without drying them out. Water will work in an emergency, but the broth adds depth that keeps the dish from tasting thin.
- Butter, lemon zest, and mint — Butter rounds out the salty edges, lemon zest wakes up the peas, and mint keeps the finish fresh. Parsley is the easier swap if you want a more neutral herb, but mint gives the brightest result.
Building the Sweet Peas Without Overcooking Them
Rendering the Pancetta
Start the pancetta in olive oil over medium heat and give it time to slowly crisp. You want golden edges and rendered fat in the pan, not a rushed sear that leaves chewy cubes behind. If the heat runs too high, the outside will darken before the fat has time to melt out, and the result tastes greasy instead of crisp. Pull out about half once it’s done so you have a topping with real crunch.
Softening the Shallot and Garlic
Add the minced shallot to the fat left in the pan and cook just until it turns translucent and smells sweet. Garlic goes in only for the last 30 seconds; any longer and it can turn bitter. This stage should smell savory and mellow, not browned. If the pan looks dry, the olive oil you started with is doing its job, and that’s enough.
Heating the Peas Fast
Stir in the frozen peas and broth and let the liquid come up around them for 4 to 5 minutes. The peas should turn bright green and feel hot through, but they should still hold their shape. If the pan keeps simmering after the peas are hot, they’ll go dull and lose that clean sweetness. Listen for a gentle bubble, not a hard boil.
Finishing With Butter and Zest
Take the pan off the heat before stirring in the butter and lemon zest. That off-heat finish gives you a glossy coating instead of a broken, greasy look, and it keeps the lemon fragrant. Season only after the butter goes in, since the pancetta already brings salt. Finish with the reserved pancetta and herbs right before serving so the top stays crisp.
Small Changes That Still Keep the Dish Worth Making
Make it with bacon instead of pancetta
Bacon works if that’s what you have, but it tastes smokier and a little more assertive. Cut it into small pieces and drain off extra fat if the pan looks crowded, since bacon can release more grease than pancetta. The final dish will be saltier and less delicate, but still good.
Go dairy-free without losing the finish
Skip the butter and use an extra teaspoon of olive oil at the end. You’ll lose a little roundness, but the lemon zest and pancetta fat still carry the dish. This version stays naturally dairy-free without changing the cooking method.
Swap the herbs for parsley or tarragon
Mint gives the brightest contrast, but parsley makes the flavor more classic and tarragon leans a little more elegant. Use less tarragon than mint because it can take over fast. Either way, add the herbs at the end so they stay fresh and don’t wilt into the peas.
Make it ahead for a dinner party
Cook everything except the final herb garnish, then cool and refrigerate. Reheat gently in a skillet with a splash of broth so the peas warm through without turning soft. Reserve a little pancetta to re-crisp in the pan or under the broiler if you want the topping to stay sharp.
Storage and Reheating
- Refrigerator: Store for up to 3 days. The peas will soften a little, but the flavor holds.
- Freezer: Freezing isn’t ideal because the peas can go mealy and the pancetta loses its crisp texture.
- Reheating: Warm gently in a skillet over low heat with a splash of broth or water. High heat will push the peas past tender and make the pancetta rubbery.
Questions I Get Asked About This Recipe
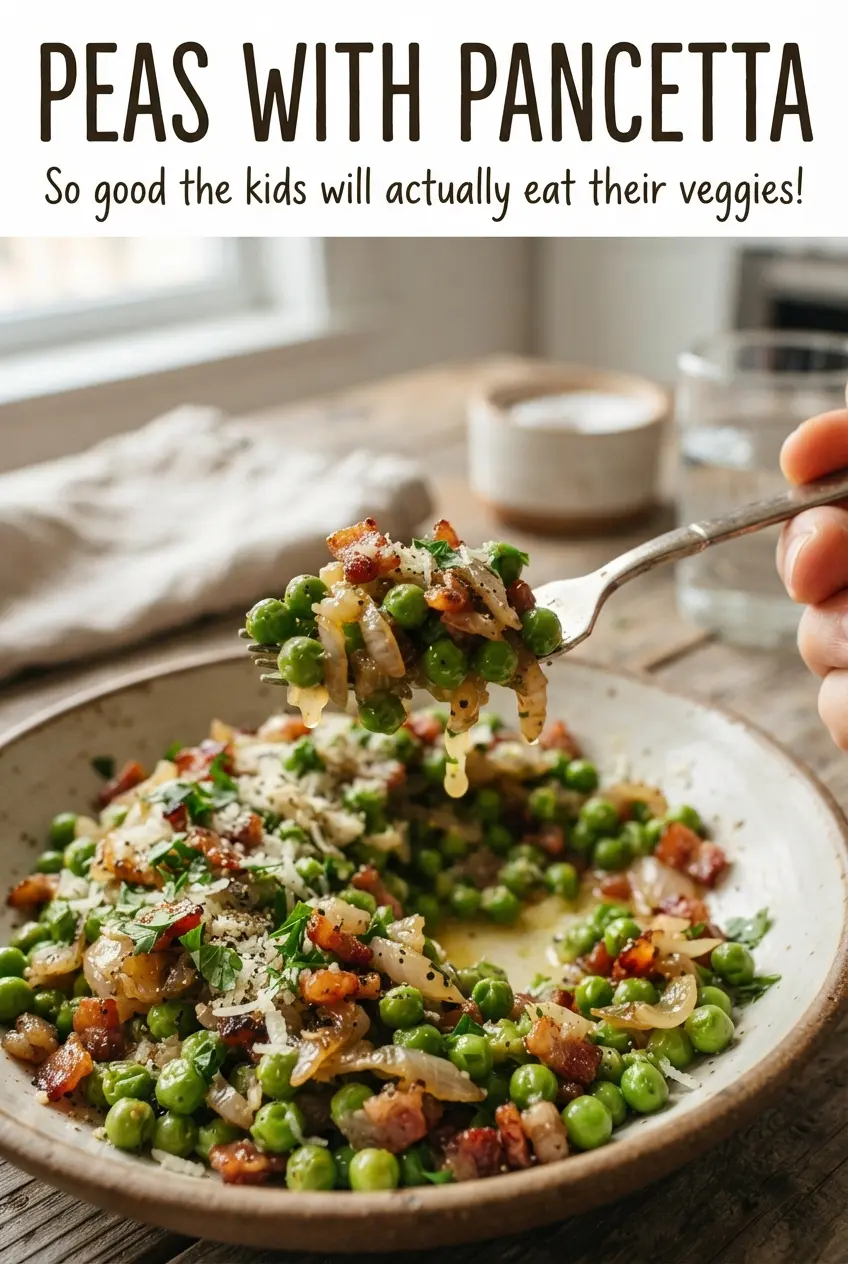
Peas with Pancetta
Ingredients
Equipment
Method
- Heat olive oil in a cast iron skillet over medium heat, then add the pancetta and cook 6-8 minutes until crisp and golden, stirring occasionally. Visual cue: the cubes should look browned and some fat should render out; remove half to a small bowl for topping.
- Add the minced shallot to the skillet and cook 2 minutes until softened. Stir in the minced garlic and cook 30 seconds, just until fragrant—do not brown.
- Add frozen sweet peas and chicken broth, then cook 4-5 minutes until the peas are bright green and hot. Stir once or twice so the peas heat evenly.
- Stir in butter and lemon zest, then season with salt and pepper to taste. Visual cue: the peas should look glossy as the butter melts and lightly coats them.
- Top with the reserved pancetta and the chopped fresh mint or parsley, then serve right away.