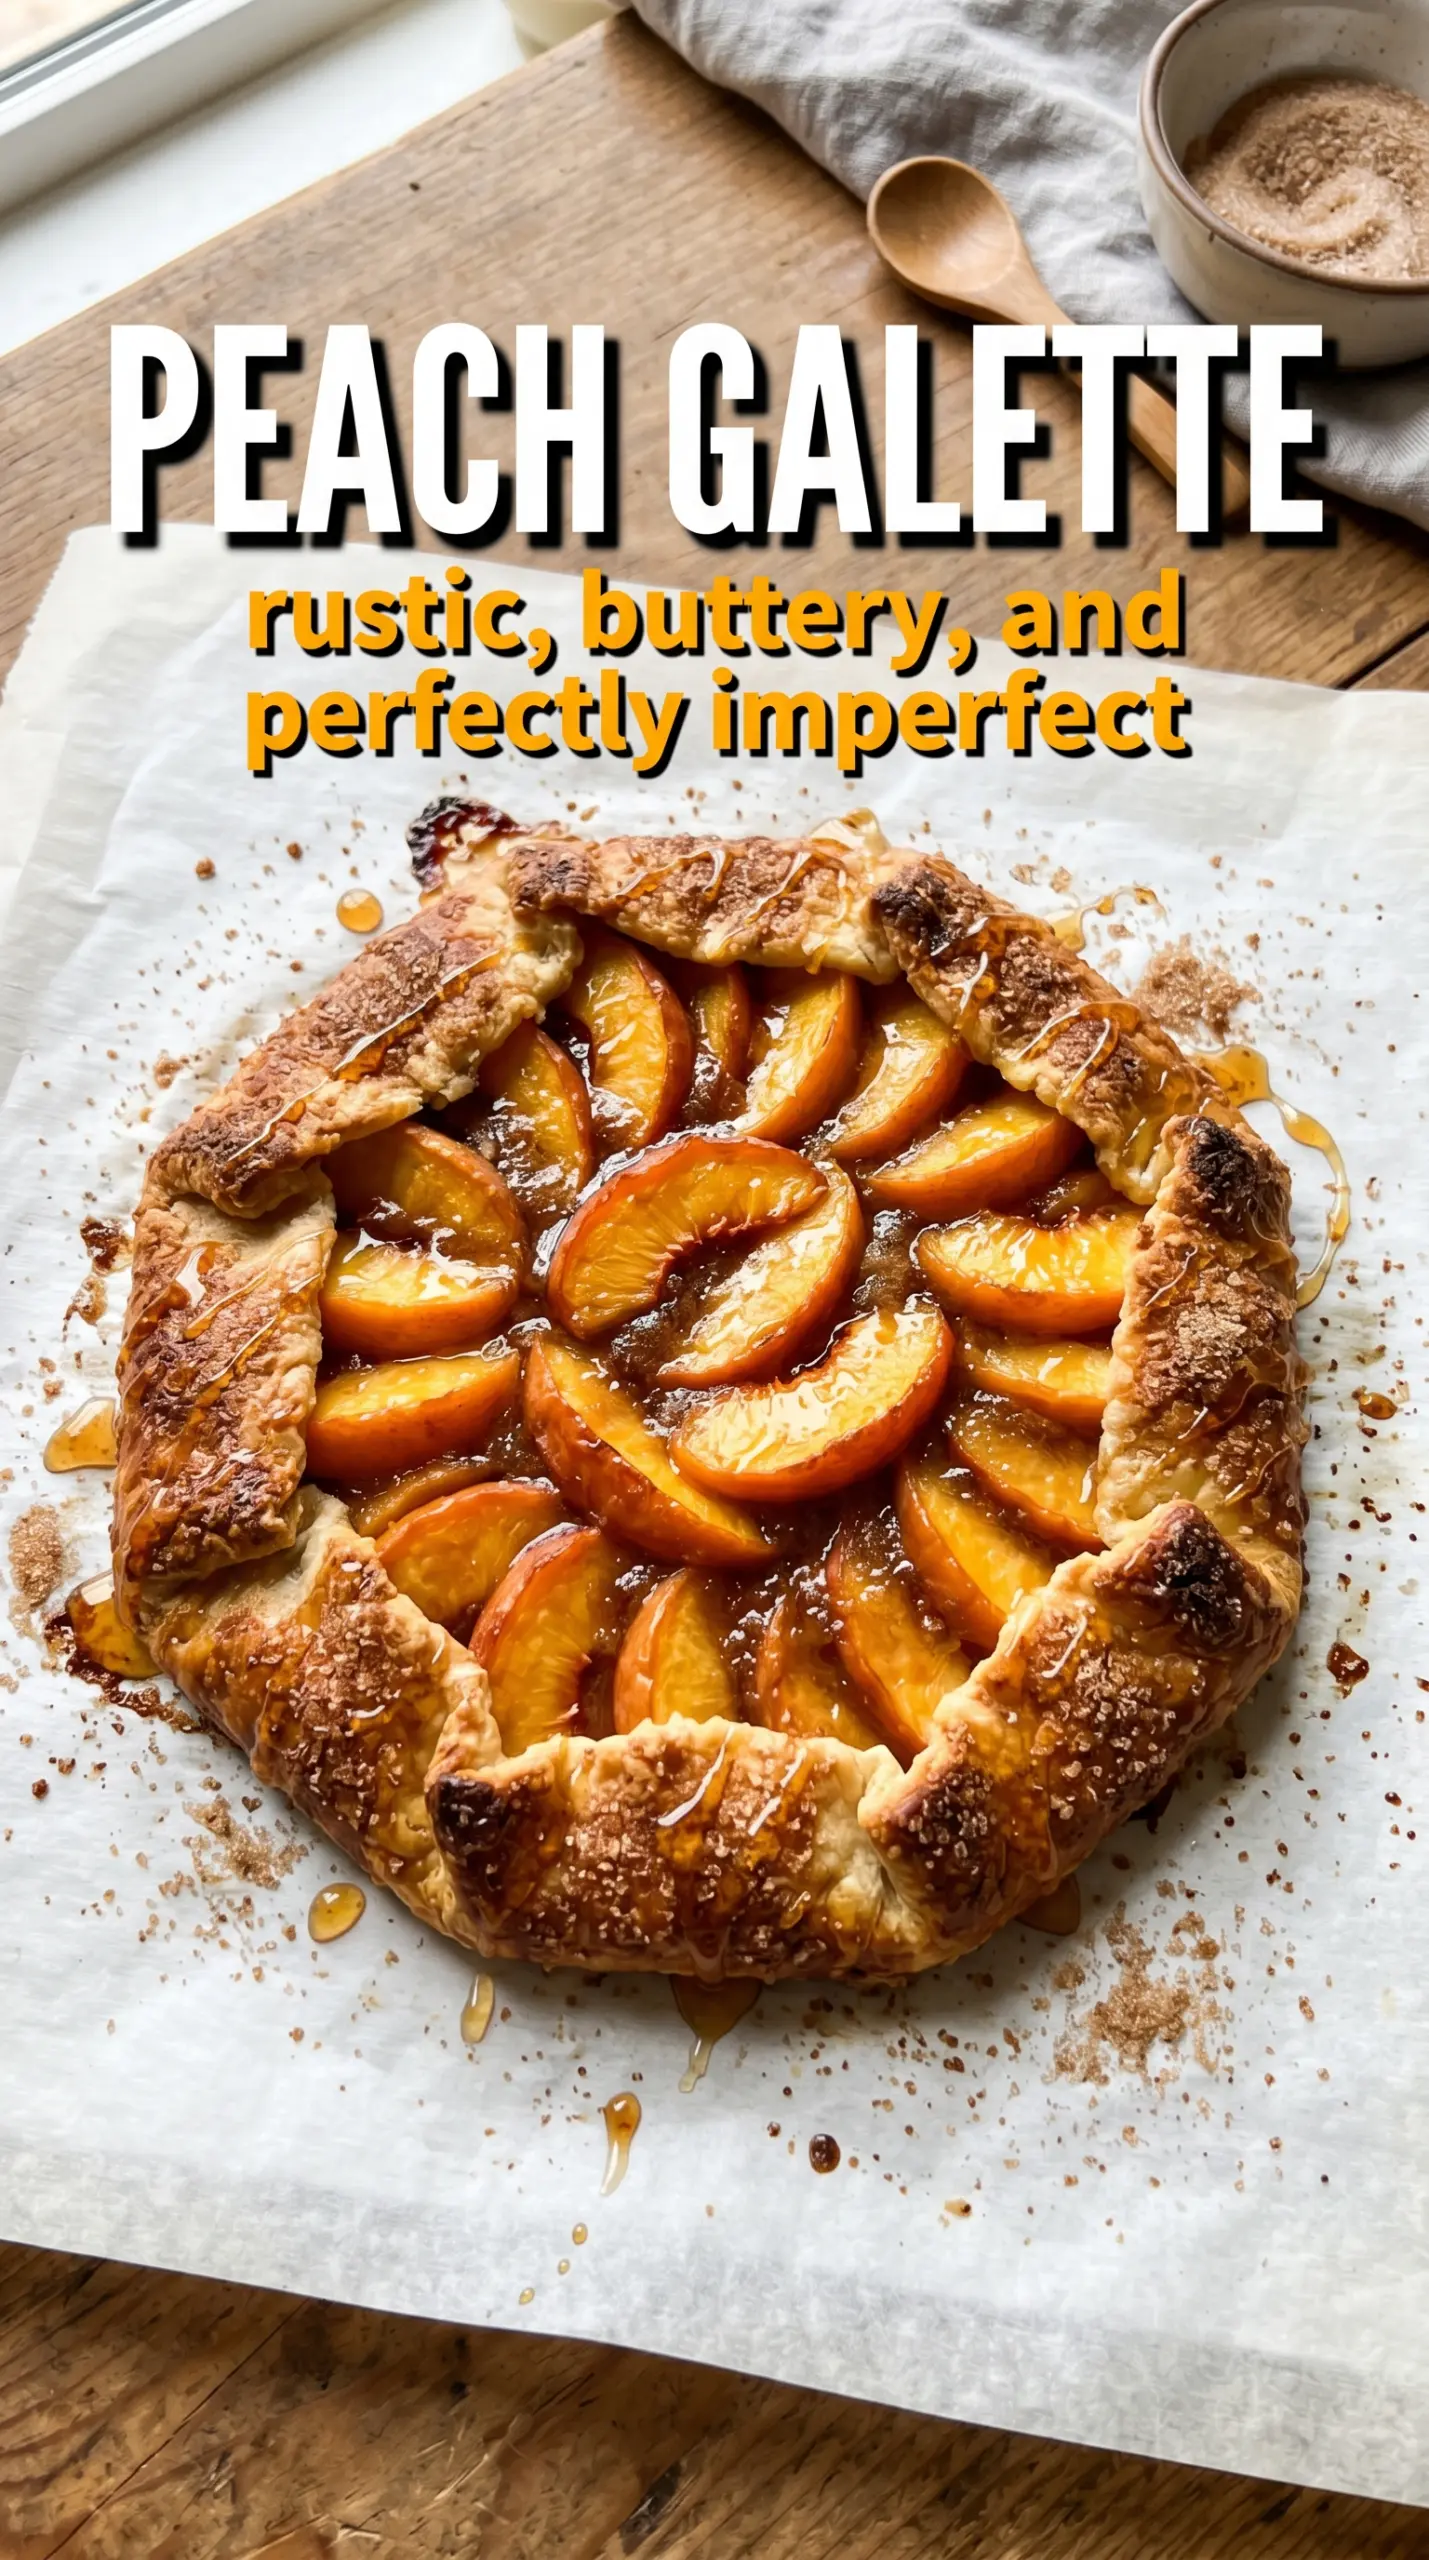
Buttery, flaky crust and softly caramelized peaches make a peach galette one of those desserts that looks rustic in the best way and tastes like you spent far more effort than you did. The folded edges catch the fruit juices, the center stays tender and jammy, and every slice gets that sweet-tart balance from lemon, cinnamon, and ripe peaches. It’s the kind of dessert I reach for when I want something unfussy but still special enough to set down in the middle of the table.
The part that makes this version work is the contrast: cold butter for a crust that shatters, cornstarch to keep the peach juices from running everywhere, and just enough sugar to help the fruit turn glossy and concentrated in the oven. The dough doesn’t need to be perfect. In fact, a rough circle and uneven folds are part of what gives a galette its charm, as long as the butter stays cold and the dough gets its rest.
Below, I’ve included the small details that keep the crust crisp instead of soggy, plus the glaze that gives the peaches that bakery-style shine without making the top sticky.
The crust came out shatteringly flaky and the peaches stayed in neat layers instead of sliding all over the pan. That apricot glaze on top was the perfect finish.
Save this peach galette for the days when you want a flaky crust, glossy peaches, and a dessert that looks effortlessly beautiful.
The Trick to Keeping the Bottom Crust Crisp Under Juicy Peaches
Peach galette fails in one predictable way: the fruit gives off more juice than the crust can handle, and the middle turns damp before the edges finish browning. Cornstarch helps, but the real insurance is how you assemble it. Keep the peaches in a shallow layer, leave that border wide enough to fold cleanly, and don’t let the filling sit around long after it’s tossed.
Cold butter matters here more than almost anywhere else. If the butter softens before the galette goes into the oven, the dough spreads instead of lifting into those crisp layers that make each bite worth it. Chilling the shaped dough before baking gives the flour time to hydrate and the butter time to firm back up, which is what keeps the crust from baking up dense.
What Each Ingredient Is Actually Doing in This Peach Galette
- All-purpose flour — This gives the galette its structure without turning the crust tough. A pastry flour can work, but all-purpose has enough strength to hold the folds and still bake up tender.
- Cold unsalted butter — Butter is the flavor and the flake. Keep it cubed and cold so it melts in the oven, not in your bowl; that’s what creates the layered, shattery crust.
- Ice water — Use just enough to bring the dough together. Too much water makes the crust chewy, and if the dough looks slightly shaggy when you stop mixing, that’s better than overworking it smooth.
- Fresh peaches — Ripe peaches give the best perfume and juiciness, but they should still be firm enough to slice cleanly. If they’re very soft, the galette can get watery before it bakes.
- Cornstarch — This thickens the peach juices as they bake so the filling turns glossy instead of runny. If you swap in flour, use a little more and expect a cloudier, less polished finish.
- Apricot jam or honey — This is the finish that makes the fruit look bakery-glossy. Apricot jam gives the cleanest shine and a little tang; honey leans floral and softer.
Building the Galette So the Crust Browns Before the Fruit Muddles
Mixing the Dough Just Enough
Cut the butter into the flour, sugar, and salt until the pieces look like peas with a few larger flakes still visible. Those uneven bits are what bake into layers. Add the ice water a tablespoon at a time and stop as soon as the dough holds together when pressed; if it looks a little rough, that’s fine. Overmixing here is what takes a crisp crust and turns it bready.
Preparing the Peaches for the Oven
Toss the sliced peaches with sugar, cornstarch, cinnamon, and lemon juice until every piece looks lightly coated. The mixture should glisten, not pool. If your peaches are extremely juicy, don’t let them sit after tossing or the sugar will pull out too much liquid before they ever hit the crust. You want the filling ready to go the moment the dough is rolled out.
Folding and Baking for Deep Color
Roll the dough on parchment into a rough circle, then arrange the peaches in the center, leaving that 2-inch border clean. Fold the edges up and over in sections, pressing the pleats just enough to hold. Brush the crust with egg wash and finish with turbinado sugar for that crackly, caramelized edge. Bake until the crust is deeply golden and the peach juices look thick and bubbling; pale crust means the galette is still underdone even if the fruit looks soft.
Finishing with Shine
Warm the apricot jam or honey and brush it over the hot peaches as soon as the galette comes out. That thin glaze catches the light and makes the fruit taste a little more concentrated. Let it cool for at least 15 minutes before slicing so the juices settle instead of spilling across the pan.
How to Adapt This Galette When the Pantry Is Missing a Few Things
Make It Dairy-Free Without Losing the Flake
Swap the butter for a solid plant-based baking stick that’s meant for pastry, not tub margarine. You’ll still get layers, but the flavor will be a little less rich, so the peach glaze matters even more for the finish.
Use Nectarines or Plums for a Different Kind of Sweetness
Nectarines work exactly like peaches, and plums give you a deeper tart edge. If you use plums, keep the sugar on the fruit as written, since they usually need a little help to taste balanced after baking.
Gluten-Free Dough That Still Holds Its Shape
A gluten-free 1:1 baking blend can work here if it includes xanthan gum. The dough will be a little more delicate to roll, so chill it well and roll it between parchment sheets to keep it from tearing.
Storage and Reheating
- Refrigerator: Store covered for up to 3 days. The crust softens a bit under the fruit, but the flavor stays good.
- Freezer: Freeze baked slices tightly wrapped for up to 1 month. The texture won’t be quite as crisp after thawing, but it works well for a quick dessert.
- Reheating: Warm slices on a baking sheet in a 325°F oven until the crust re-crisps and the filling loosens slightly. The microwave will soften the crust and make the fruit collapse.
Answers to the Questions Worth Asking

Peach Galette
Ingredients
Equipment
Method
- In a mixing bowl, combine all-purpose flour, sugar, and salt, then cut in cold unsalted butter until the mixture looks like pea-sized crumbs with small buttery bits. Drizzle in ice water and mix just until the dough comes together, with no dry flour left behind.
- Shape the dough into a disk, wrap, and refrigerate for 30 minutes to firm up for easier folding.
- In a bowl, toss the fresh peaches with granulated sugar, cornstarch, cinnamon, and lemon juice until the slices look evenly coated and glossy.
- On parchment paper, roll the chilled dough into a rough 12-inch circle and transfer it to a baking sheet so it’s ready to fold without stretching.
- Fan the peach slices in the center, leaving about a 2-inch border, so the edges can brown while the fruit stays piled in the middle.
- Fold the 2-inch border up and over the peaches, pleating as you go, to form a rustic crust rim around the filling.
- Brush the crust with beaten egg and sprinkle turbinado sugar over it so the edges bake into a deeply golden finish.
- Bake at 400°F for 35–40 minutes until the crust is deeply golden and the peaches look caramelized with syrup pooling beneath.
- Warm apricot jam or honey and brush it over the hot peaches for a glaze, then cool for 15 minutes before serving so the juices thicken slightly.


