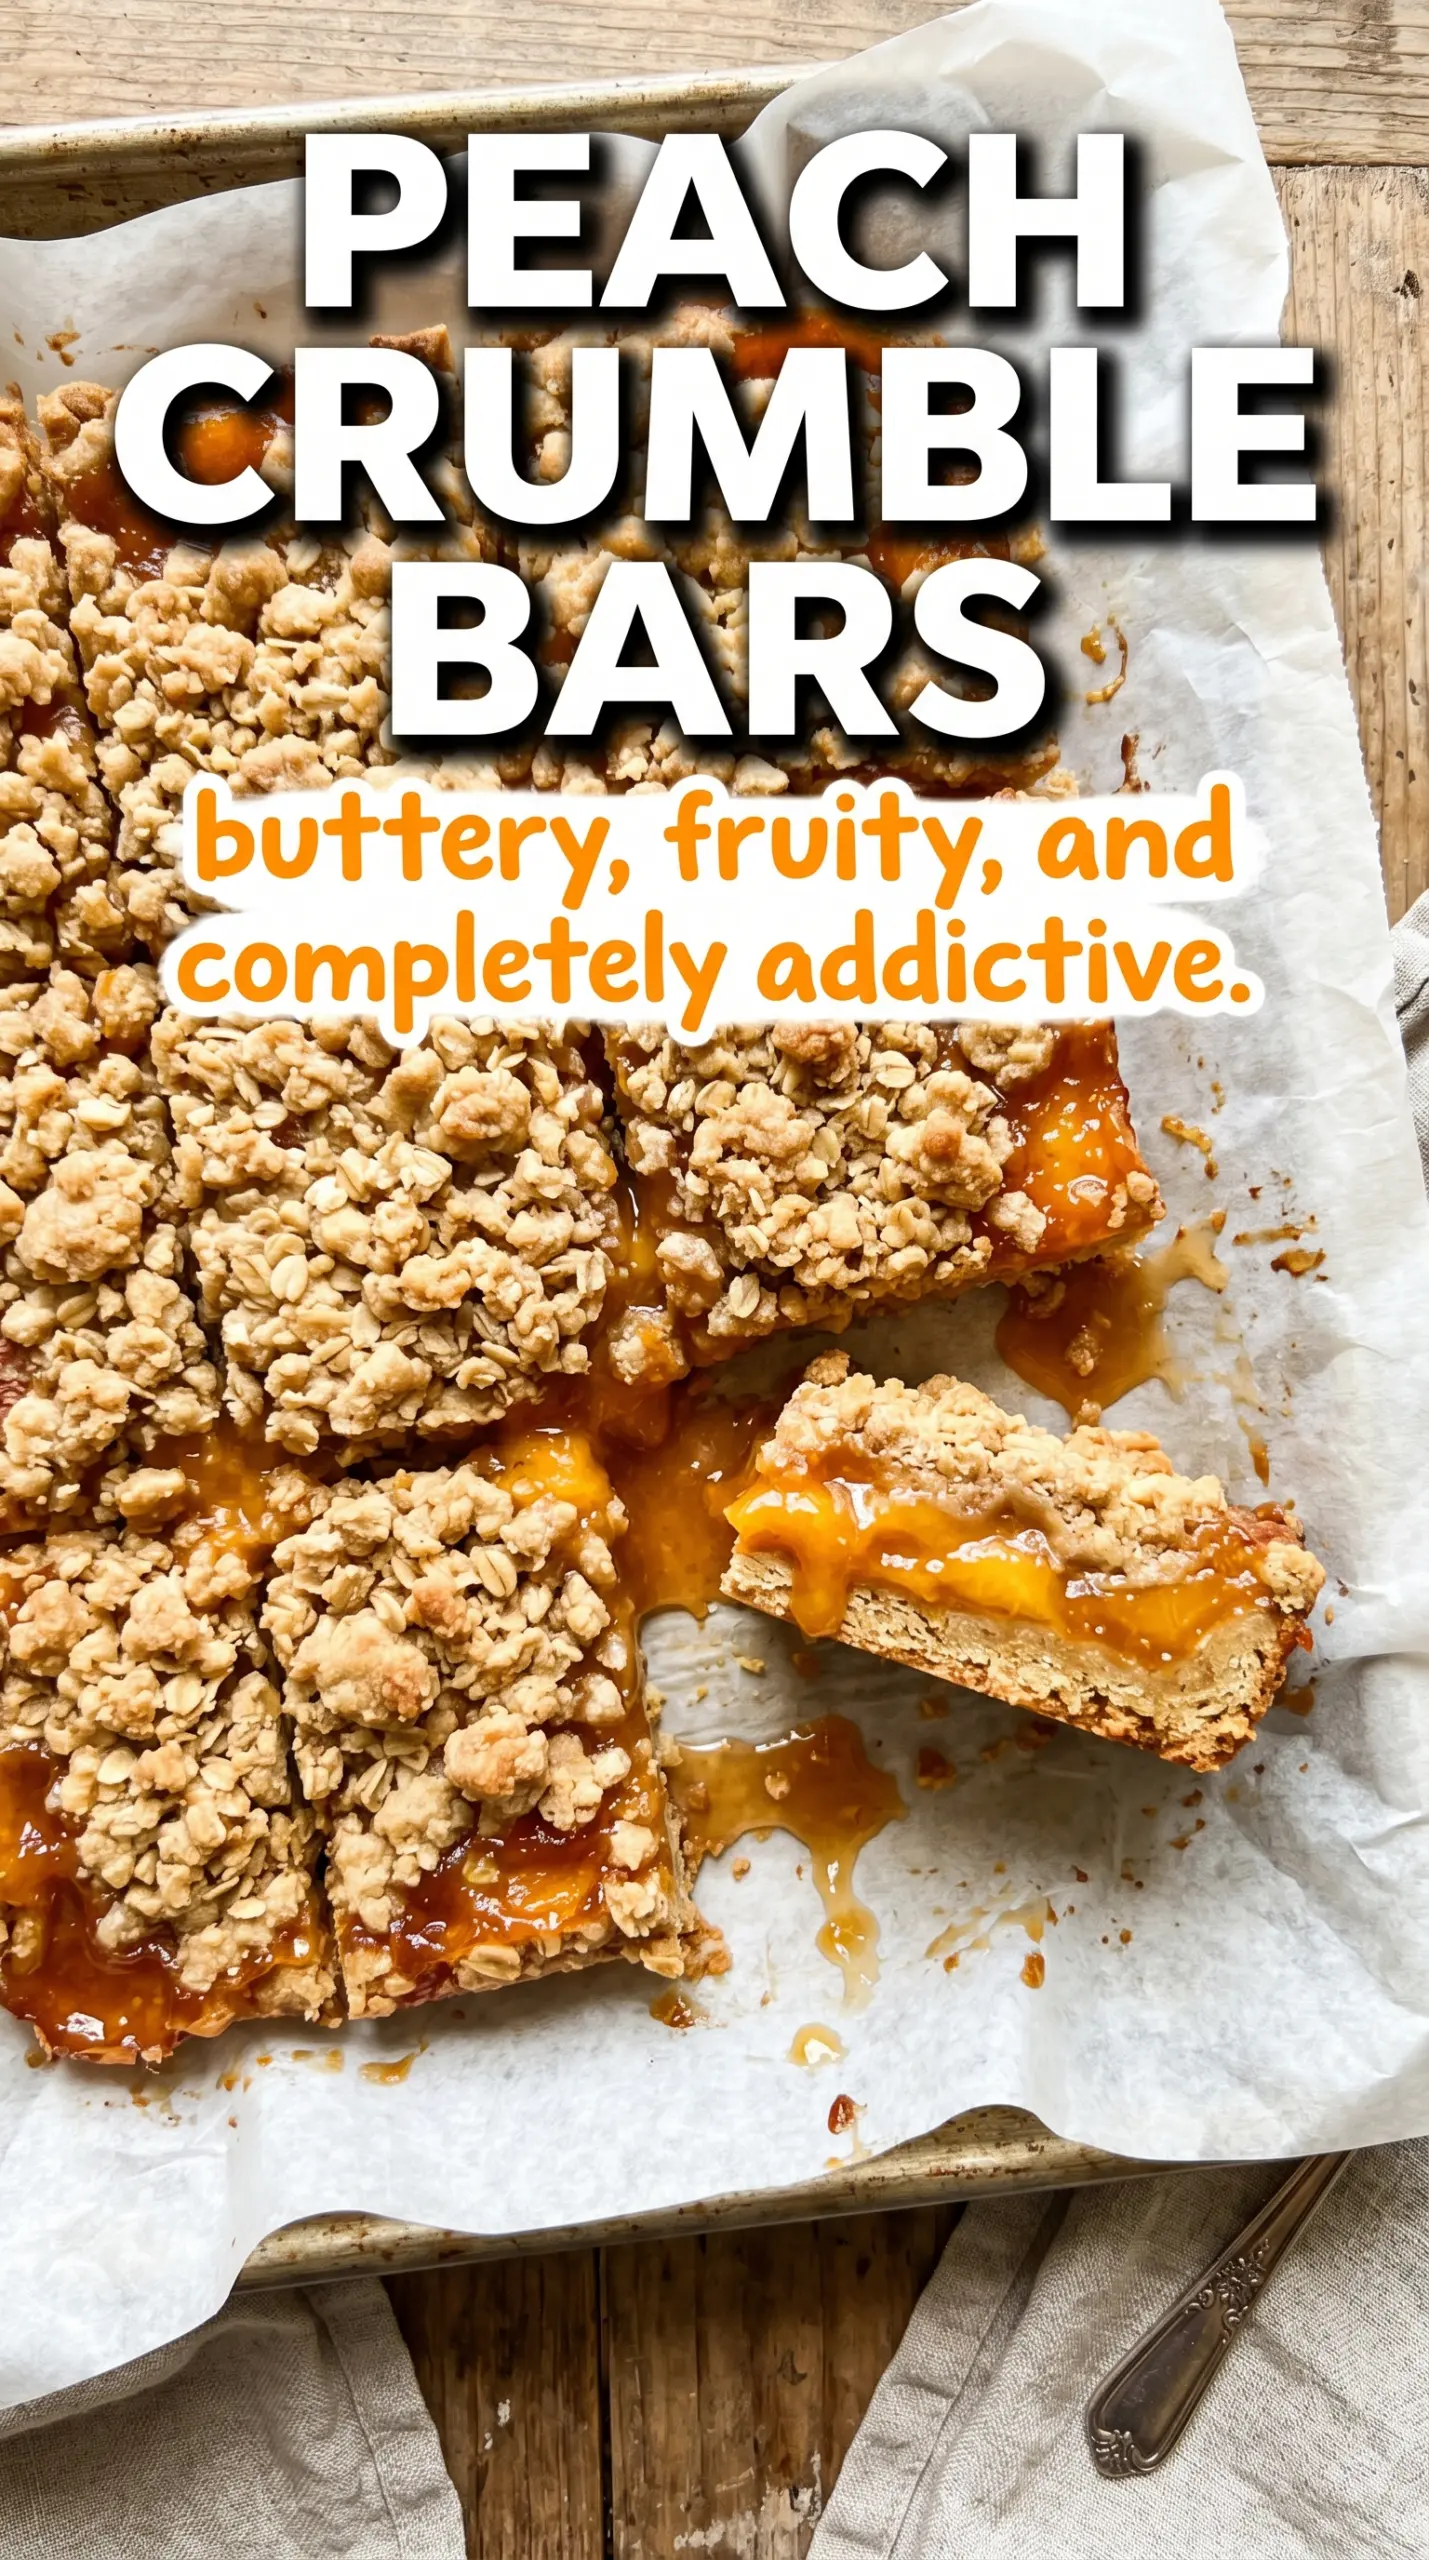
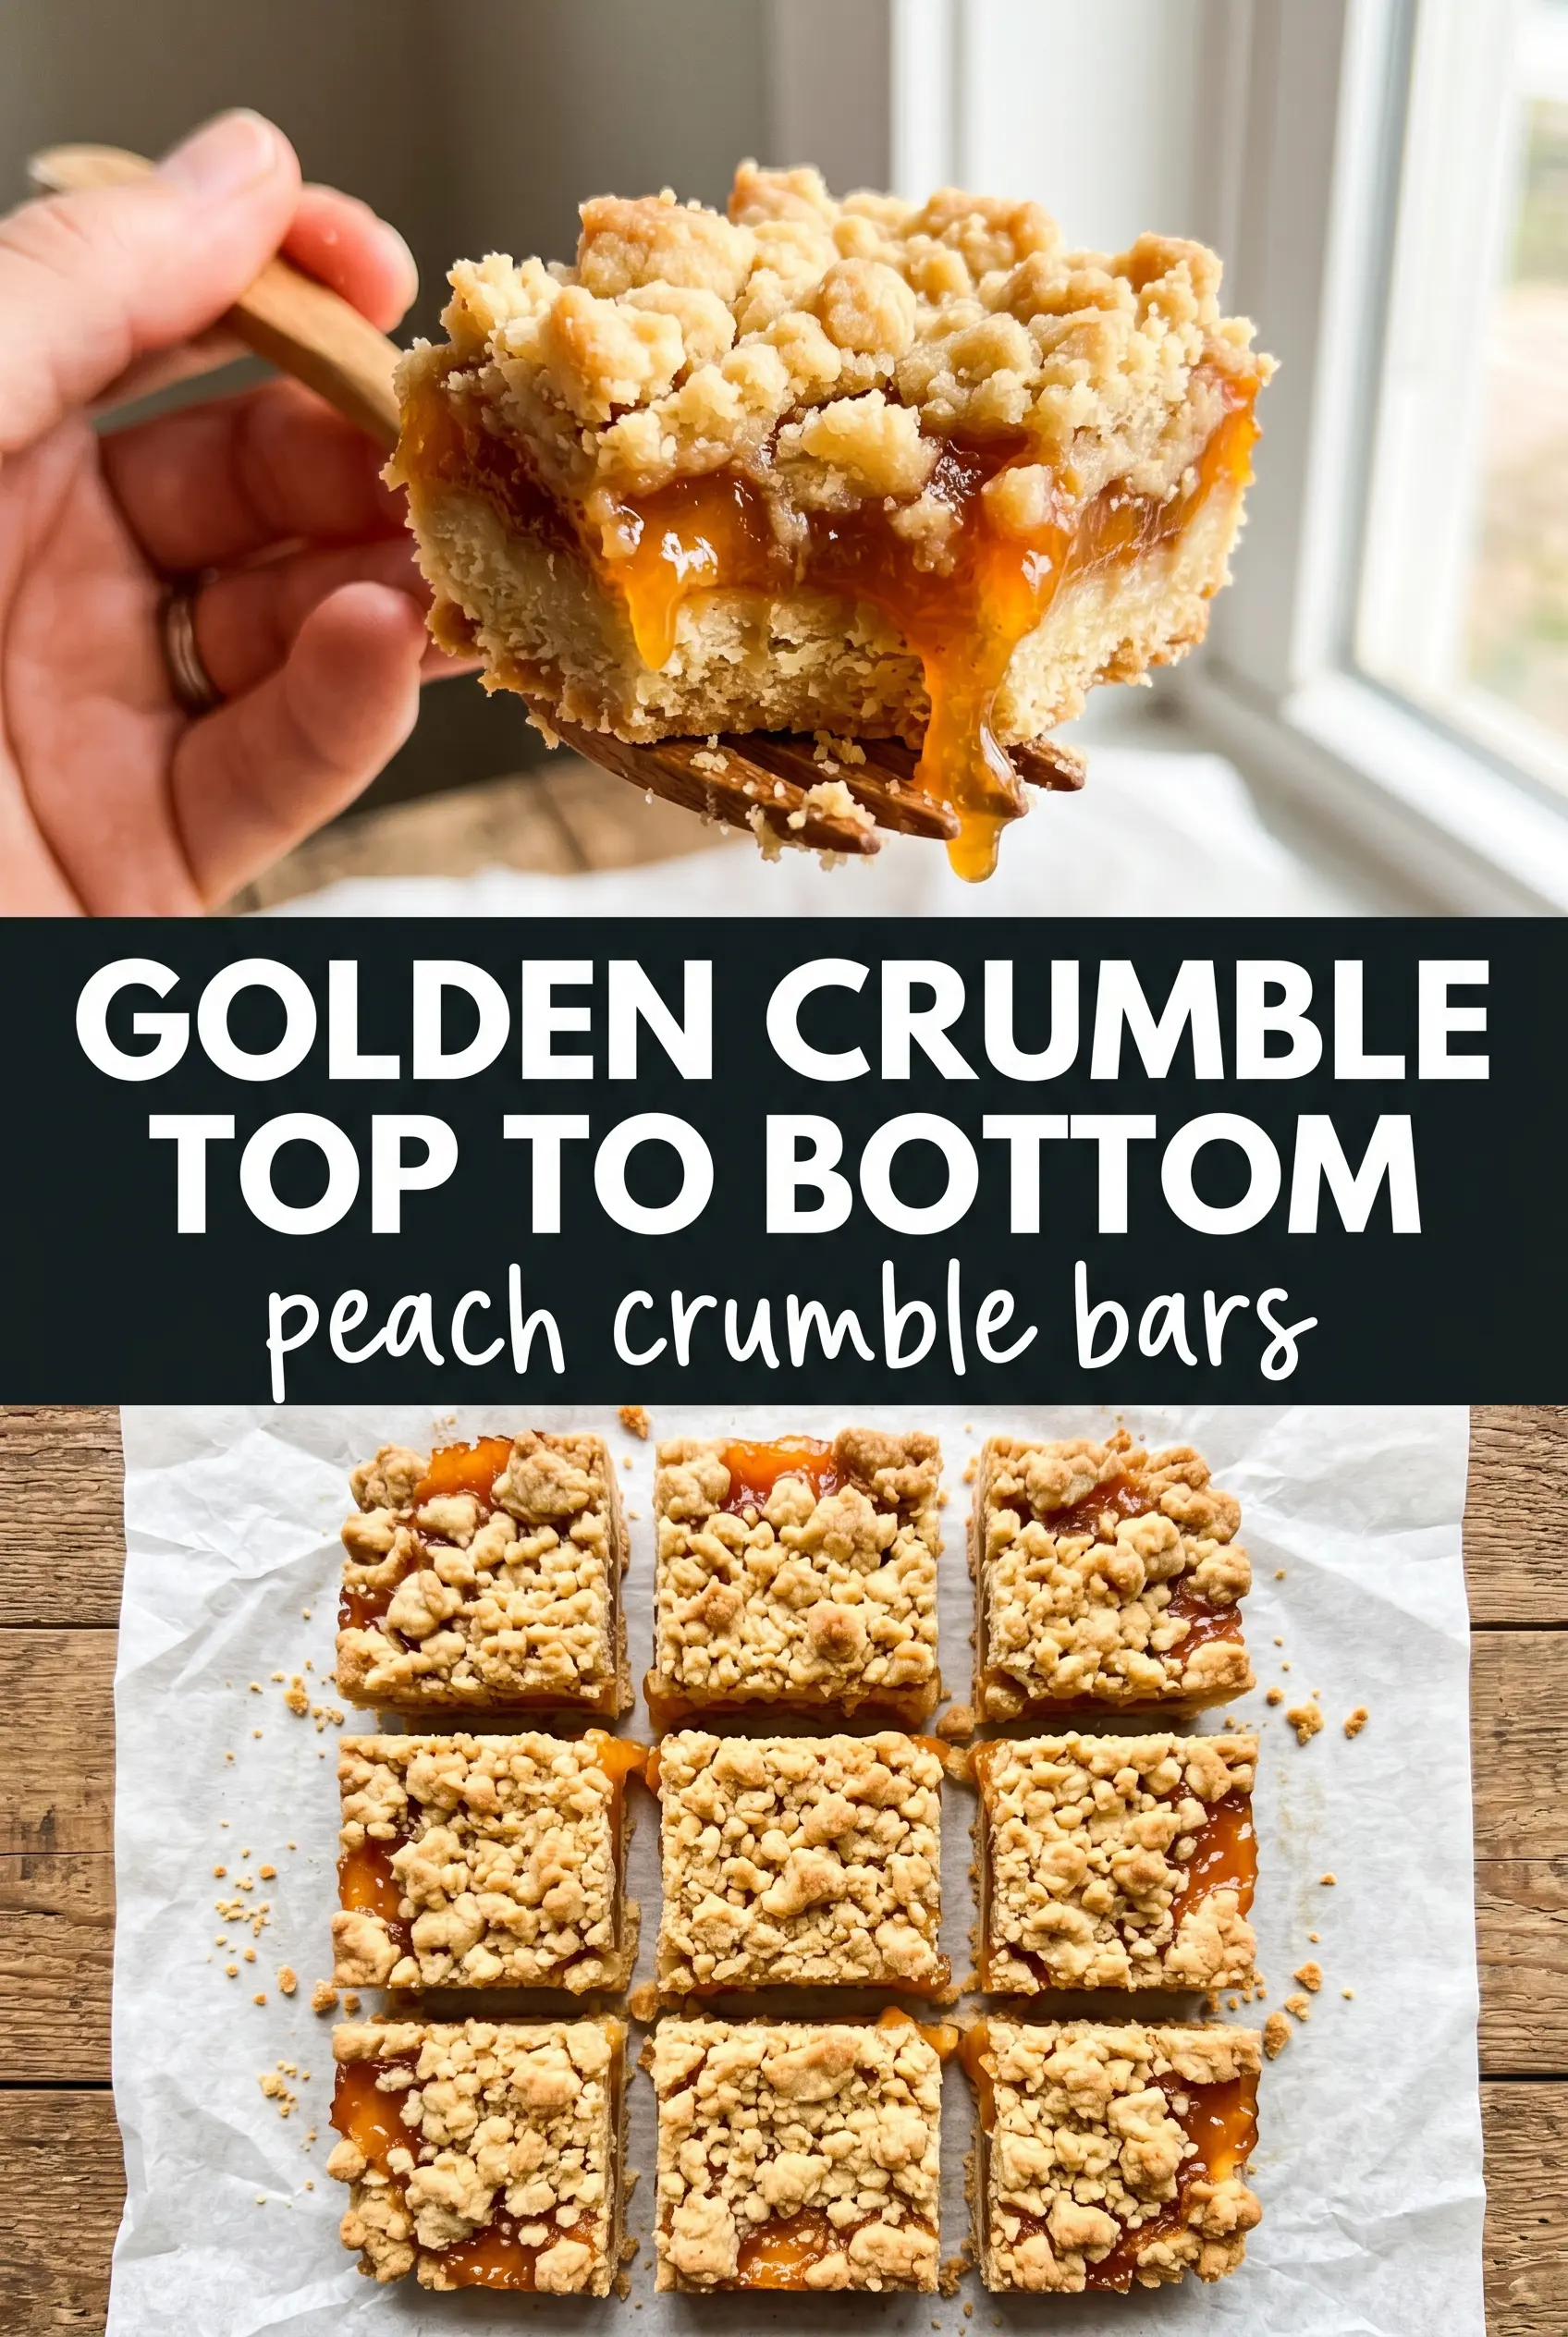
Peach crumble bars are at their best when the bottom stays firm, the middle turns jammy, and the top bakes into a sandy, golden crust that cuts cleanly instead of collapsing into a scoopable mess. This version does that balance well. You get a thick shortbread-like base, a bright peach layer, and enough oat crumble on top to give every bite a little crunch.
The trick is using cold butter and pressing the base firmly before it goes into the oven. That first bake sets the structure so the peach juices don’t soak straight through and turn the bars soggy. A little cornstarch in the filling keeps the fruit thick enough to hold its shape, and the lemon juice keeps the peaches tasting fresh instead of flat.
Below you’ll find the small details that matter: how to tell when the crumble is baked enough, what to do if your peaches are extra juicy, and the easiest swaps if you need to work with what you have on hand.
The peach layer set up perfectly and the bars held their shape once they cooled. I was worried the bottom would get soggy, but it stayed buttery and firm all the way through.
Save these peach crumble bars for the days when you want a buttery oat topping, jammy peaches, and clean slices from a 9×9 pan.
The Mistake That Makes Peach Bars Collapse When You Cut Them
The filling isn’t the part that ruins peach bars. It’s the base. If the bottom layer goes into the oven too loose or too pale, the peach juice softens it before the bars have a chance to set, and you’ll end up with a crumbly square that can’t hold together.
Press two-thirds of the mixture in firmly enough that it looks compact, not fluffy. Then give it that short first bake until the surface looks dry and set around the edges. That head start is what lets the fruit sit on top instead of sinking into the crust. The final cool-down matters just as much; if you slice these while warm, the filling will still be moving.
What Each Ingredient Is Doing in These Peach Crumble Bars
- All-purpose flour — This gives the base and crumble enough structure to bake into bars instead of staying sandy and loose. A 1:1 gluten-free blend can work here if it includes xanthan gum.
- Rolled oats — They bring the crumble topping and a little chew. Quick oats will work in a pinch, but the texture gets tighter and less nubby.
- Brown sugar — This is what makes the topping taste warm and caramelly. Packed brown sugar also helps the crumble brown and cling together.
- Cold butter — Cold butter is nonnegotiable here. It creates those little pockets that melt in the oven and turn into a crisp, sandy topping instead of a greasy paste.
- Fresh peaches — Fresh peaches give the cleanest flavor and the prettiest filling. If yours are very juicy, dice them and let them sit for a minute, then spoon off any extra liquid before adding the sugar and cornstarch.
- Cornstarch — This thickens the peach juices as the bars bake. Without it, the filling can run when you cut into the pan.
- Lemon juice — It sharpens the peaches and keeps the filling from tasting heavy. Bottled lemon juice works, but fresh tastes brighter.
- Vanilla extract — Just a little rounds out the fruit and gives the bars a bakery-style finish without taking over.
Building the Layers So the Bars Bake Cleanly
Mixing the Crumble
Stir the dry ingredients first so the cinnamon and salt are evenly distributed, then cut in the cold butter until you have a mix of fine crumbs and a few larger clumps. Those larger clumps are what give the top its craggy, streusel-like finish. If the butter starts softening as you work, stop and chill the bowl for a few minutes. Melted butter at this stage makes the mixture greasy instead of crumbly.
Setting the Base
Press two-thirds of the mixture into the parchment-lined pan with steady pressure, especially into the corners. You want a compact layer with no loose patches, because thin spots are the first places that break when you slice the bars. Bake it just until the surface looks set and slightly matte. It doesn’t need to brown much yet; it just needs to firm up enough to support the filling.
Cooking the Peach Filling
Toss the peaches with sugar, cornstarch, lemon juice, and vanilla until every piece looks lightly coated, then spread them over the warm base. The cornstarch won’t fully thicken until the oven heat activates it, so don’t worry if the mixture looks loose going in. If your peaches are underripe, the filling may need an extra minute or two in the oven before the juices start bubbling around the edges. That’s your sign the thickening has begun.
Baking Until Golden
Scatter the remaining crumble over the top in an even layer, but don’t press it down. The loose topping lets hot air move through the surface and gives you those crisp, golden ridges instead of a packed crust. Bake until the top is deep golden and the peach filling is bubbling in the center, not just around the edges. Then cool the pan completely before lifting it out. Cutting too soon is the fastest way to lose those clean bar edges.
How to Adapt These Bars for Different Peach Situations
Make Them Gluten-Free
Use a cup-for-cup gluten-free flour blend in place of the all-purpose flour and keep the oats certified gluten-free. The bars will still hold together well, though the crumble may be a little more tender and less sturdy than the original.
Turn Them Into Nectarine Bars
Nectarines swap in one-for-one and don’t need peeling, which saves time and keeps the filling a little brighter in color. Use the same cornstarch amount, since nectarines can release just as much juice as peaches once they bake.
Add a Little Spice
A pinch of nutmeg or cardamom works well if you want the peach flavor to lean warmer and more aromatic. Keep it light; too much spice can cover the fresh fruit and make the bars taste like pie filling instead of peaches.
Storage and Reheating
- Refrigerator: Store in an airtight container for up to 5 days. The topping softens a bit, but the bars stay neatly sliceable.
- Freezer: These freeze well. Wrap individual bars tightly and freeze for up to 2 months, then thaw in the refrigerator so the filling doesn’t weep.
- Reheating: Serve at room temperature or warm briefly in a low oven. The mistake to avoid is microwaving until hot, which can make the crust turn soft and the filling runny.
Questions I Get Asked About These Peach Crumble Bars
Peach Crumble Bars
Ingredients
Equipment
Method
- Preheat oven to 375F and line a 9x9 pan with parchment, leaving overhang for lifting.
- Mix all-purpose flour, rolled oats, brown sugar, cinnamon, and salt together until evenly combined.
- Cut in cold unsalted butter until large crumbles form, with no large dry patches remaining.
- Press two-thirds of the mixture firmly into the bottom of the prepared pan to compact it.
- Bake for 10 minutes at 375F until the base is just set.
- Toss fresh peaches with granulated sugar, cornstarch, lemon juice, and vanilla extract until the peaches look glossy and evenly coated.
- Spread the peach mixture over the warm base in an even layer.
- Scatter the remaining crumble evenly on top, leaving a fairly even distribution across the surface.
- Bake 25-28 minutes at 375F until the top is golden and the edges look set.
- Cool completely before lifting from the pan and slicing so the bars hold their shape cleanly.


