Bold espresso ice cream, a thick fudge ribbon, and toasted almonds make this one of those desserts that disappears fast once it hits the table. The base is rich without being heavy, with a deep coffee flavor that stays clear and balanced instead of turning bitter. Every spoonful gives you cold creaminess first, then a hit of chocolate, then a little crunch from the almonds.
The part that makes this version worth making at home is the layering. The ice cream base gets cooked just enough to turn silky and custardy, which gives it a smoother body after churning. Then the fudge goes in at the end in thin ribbons, so it stays distinct instead of blending into the base. Toasted almonds matter here too; raw almonds taste flat in frozen desserts, but toasted ones hold their flavor and keep their crunch.
If you’ve ever had homemade ice cream turn icy, grainy, or too soft, the notes below will help you avoid that. I’ve included the small details that keep the espresso flavor bold, the custard smooth, and the fudge ribbon visible all the way through freezing.
The custard churned up creamy, and the fudge stayed in ribbons instead of disappearing. My husband kept scooping out “just one more” bowl because the coffee and almond combo was spot on.
Save this mocha almond fudge ice cream for the nights when you want bold coffee flavor, a thick fudge swirl, and real almond crunch in every scoop.
The Custard Stage That Keeps This Ice Cream Smooth Instead of Icy
Homemade ice cream goes wrong most often when the base is rushed. If the custard is pulled too early, it won’t have enough body; if it’s cooked too hot, the yolks can turn grainy. For this recipe, 175F is the sweet spot. The mixture should coat the back of a spoon and look glossy, not scrambled or foamy.
The espresso powder also matters here because it dissolves directly into the warm dairy. That gives you a cleaner coffee flavor than brewed coffee would, and it won’t water down the base. Straining the custard after cooking catches any tiny bits of overcooked egg before they can ruin the texture.
What the Espresso, Yolks, and Fudge Each Bring to the Bowl
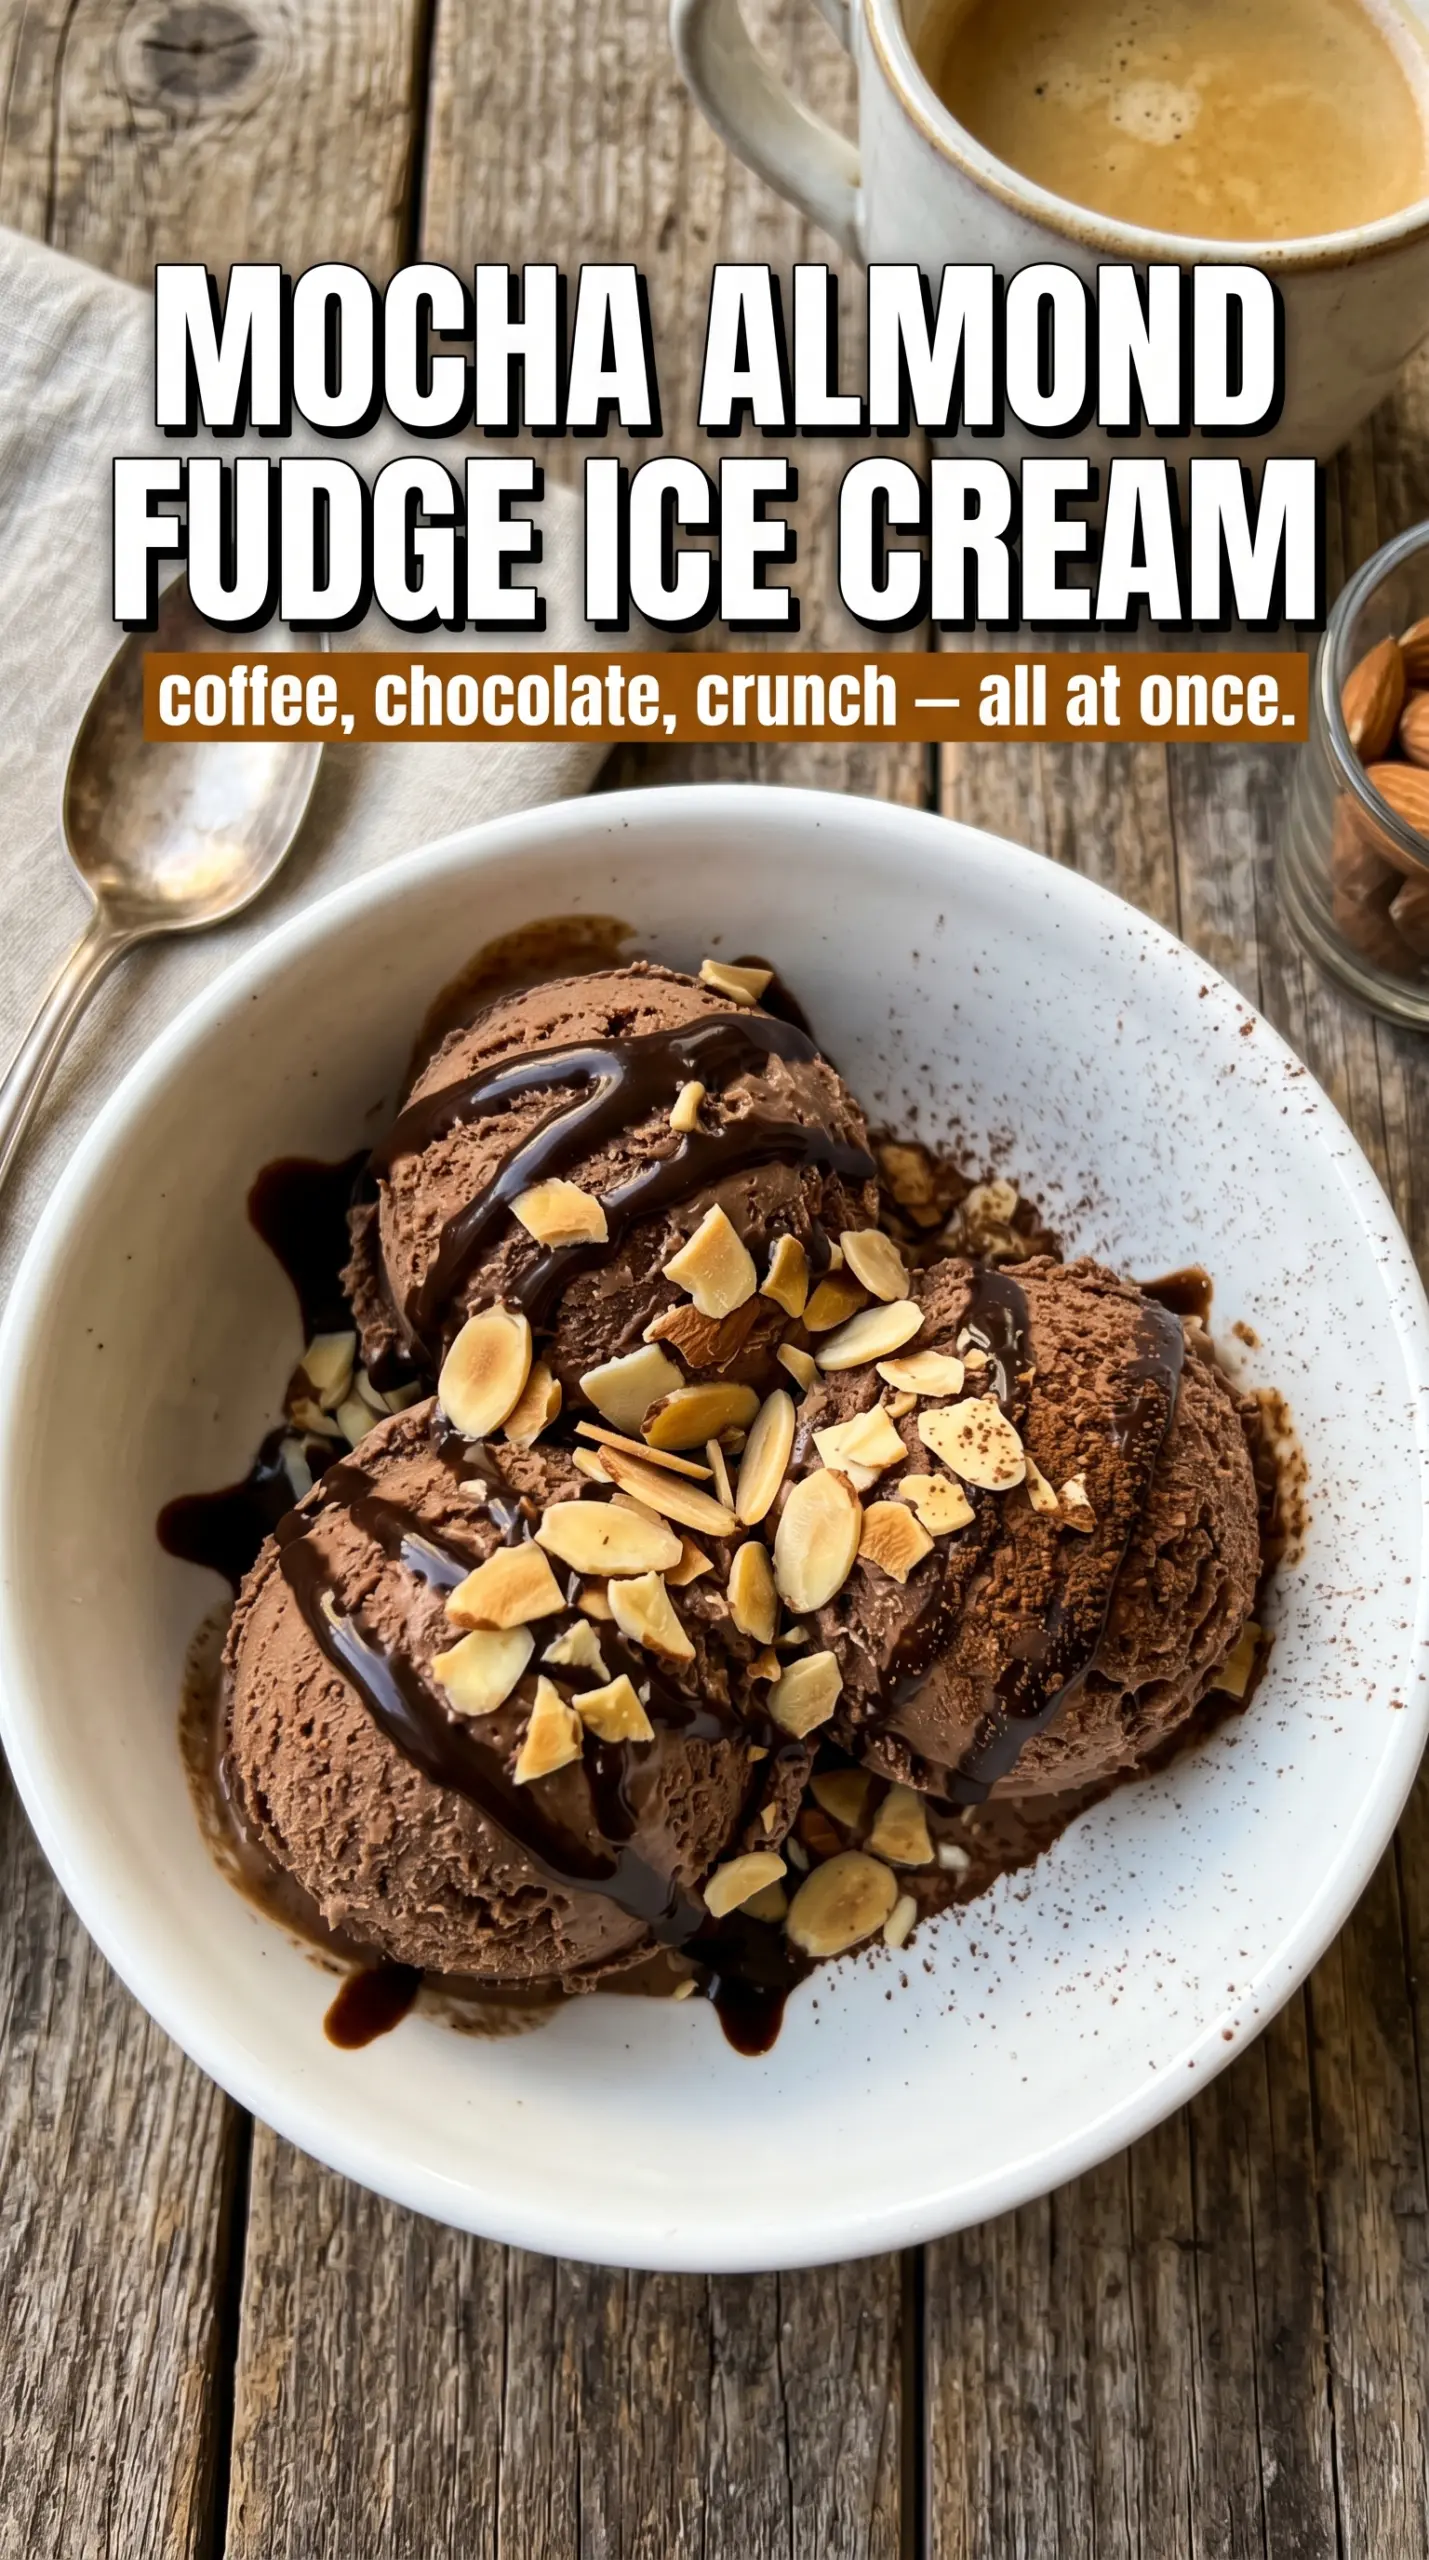
- Instant espresso powder — This gives you strong coffee flavor without adding extra liquid. Use a good, fresh jar if you can; stale espresso powder tastes flat in frozen desserts. If you only have instant coffee, use it in a pinch, but the mocha note will be softer.
- Egg yolks — The yolks are what turn this from flavored cream into true custard ice cream. They make the texture richer and help the base freeze with less iciness. There isn’t a clean substitute here if you want the same mouthfeel.
- Heavy cream and whole milk — The mix of both keeps the ice cream rich but still scoopable. All cream will taste heavier and freeze denser; all milk won’t give enough body. Stick with the ratio here unless you’re deliberately changing the texture.
- Toasted almonds — Toasting wakes up the flavor and keeps the nuts from tasting dusty in the freezer. Let them cool before folding them in so they don’t soften the churned ice cream. Almond slices work, but whole toasted almonds chopped roughly give the best crunch.
- Warm fudge sauce — Warm it just enough to drizzle, not so hot that it melts the churned ice cream on contact. The sauce should sit in ribbons between layers, not disappear into the base. A thick jarred hot fudge sauce works fine here.
From Hot Custard to Fudge Swirls Without Losing the Texture
Heating the Dairy
Warm the cream and milk together until they’re steaming and the espresso powder has dissolved completely. You don’t want a hard boil here; that can push the dairy toward a cooked taste before the yolks even go in. The liquid should be hot enough to temper the eggs smoothly, with no gritty specks of powder left behind.
Tempering the Yolks
Whisk the sugar into the yolks until they look pale, then stream in the hot dairy slowly while whisking constantly. That gradual addition keeps the eggs from tightening up into bits. If the bowl starts getting too hot to hold, you’re on the right track; if you dump the dairy in all at once, you’ll end up with scrambled edges.
Cooking to the Right Nap
Return everything to the saucepan and cook over medium-low heat, stirring constantly, until it reaches 175F. The custard should thicken enough to coat a spoon and leave a clear path when you run your finger through it. Pull it off the heat as soon as it reaches temperature; going much past that makes the yolks curdle and gives you a slightly grainy finish.
Chilling, Churning, and Layering
Cool the custard completely before it goes into the ice cream maker. If it’s still warm, the machine takes longer to churn and the texture stays softer. Add the almonds during the last few minutes of churning so they distribute evenly, then layer the ice cream into a container with warm fudge sauce drizzled between scoops. A knife or skewer makes clean swirls; a rough stir just blends the fudge into the base.
How to Change This Without Losing the Mocha-Almond Balance
Dairy-Free Version with Full Flavor
Use full-fat coconut milk in place of the cream and milk, and expect a faint coconut note in the finished ice cream. The texture will be a little less custardy but still creamy if you chill the base fully before churning. Skip the dairy-free swap if you want a pure coffee-and-chocolate taste with no background flavor.
Chocolate Chip Instead of a Fudge Ribbon
If you want a cleaner scoop and less swirling, fold in chopped chocolate or mini chips at the end of churning. You’ll lose the dramatic ribbon, but you’ll get little bursts of chocolate throughout the ice cream and a firmer freeze. This version is easier for scooping straight from the freezer.
Nut-Free Version
Leave out the almonds and add a little extra fudge or crushed chocolate cookies for texture. The ice cream will still taste balanced, but it won’t have that roasted nut finish that makes this version stand out. If you need a tree-nut-free dessert, check the labels on the espresso powder and fudge sauce too.
Storage and Reheating
- Refrigerator: Not applicable once the ice cream is finished; keep the base chilled before churning for up to 24 hours.
- Freezer: Store in an airtight container for up to 2 weeks for the best texture. After that, the almonds can soften and ice crystals start to show.
- Reheating: No reheating needed. Let the container sit at room temperature for 5 to 10 minutes before scooping so the fudge ribbon and custard base don’t fight the spoon.
Answers to the Questions Worth Asking

Mocha Almond Fudge Ice Cream
Ingredients
Equipment
Method
- Heat the heavy cream and whole milk in a saucepan and whisk in the instant espresso powder until fully dissolved.
- In a bowl, whisk the egg yolks with the granulated sugar, then slowly whisk the hot cream mixture into the yolks.
- Return everything to the saucepan and cook, stirring constantly, until the custard reaches 175F.
- Strain the custard, then whisk in vanilla and salt, and let it cool completely.
- Cover and refrigerate the custard for 4 hours until well chilled.
- Churn in an ice cream maker according to the manufacturer’s instructions, adding the toasted almonds in the last 5 minutes for even crunchy pieces.
- Spoon the churned ice cream into a freezer-safe container and drizzle the warmed hot fudge sauce between layers.
- Swirl the top and through the layers with a knife to create visible fudge ribbons.
- Freeze until firm, until scoopable and set through the center.


