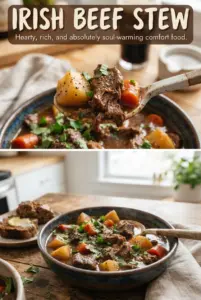
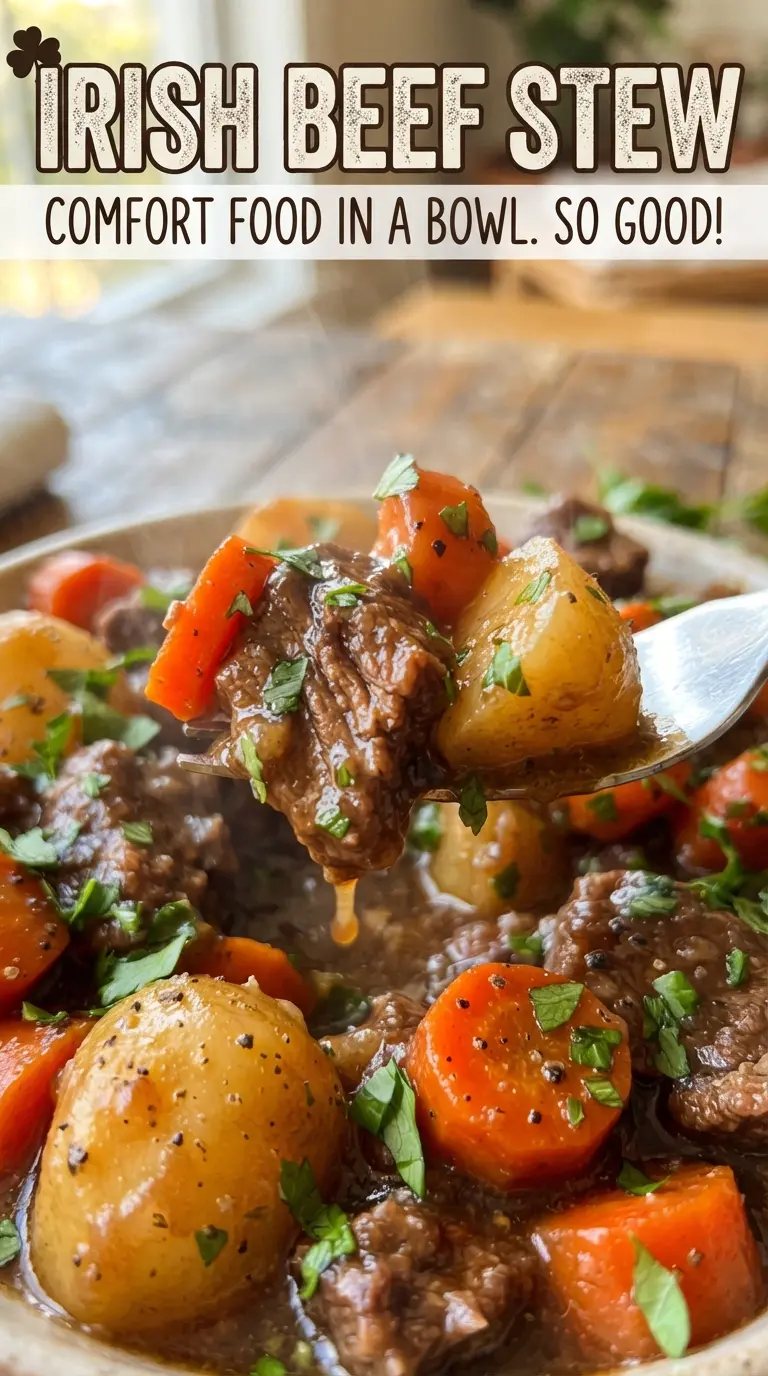
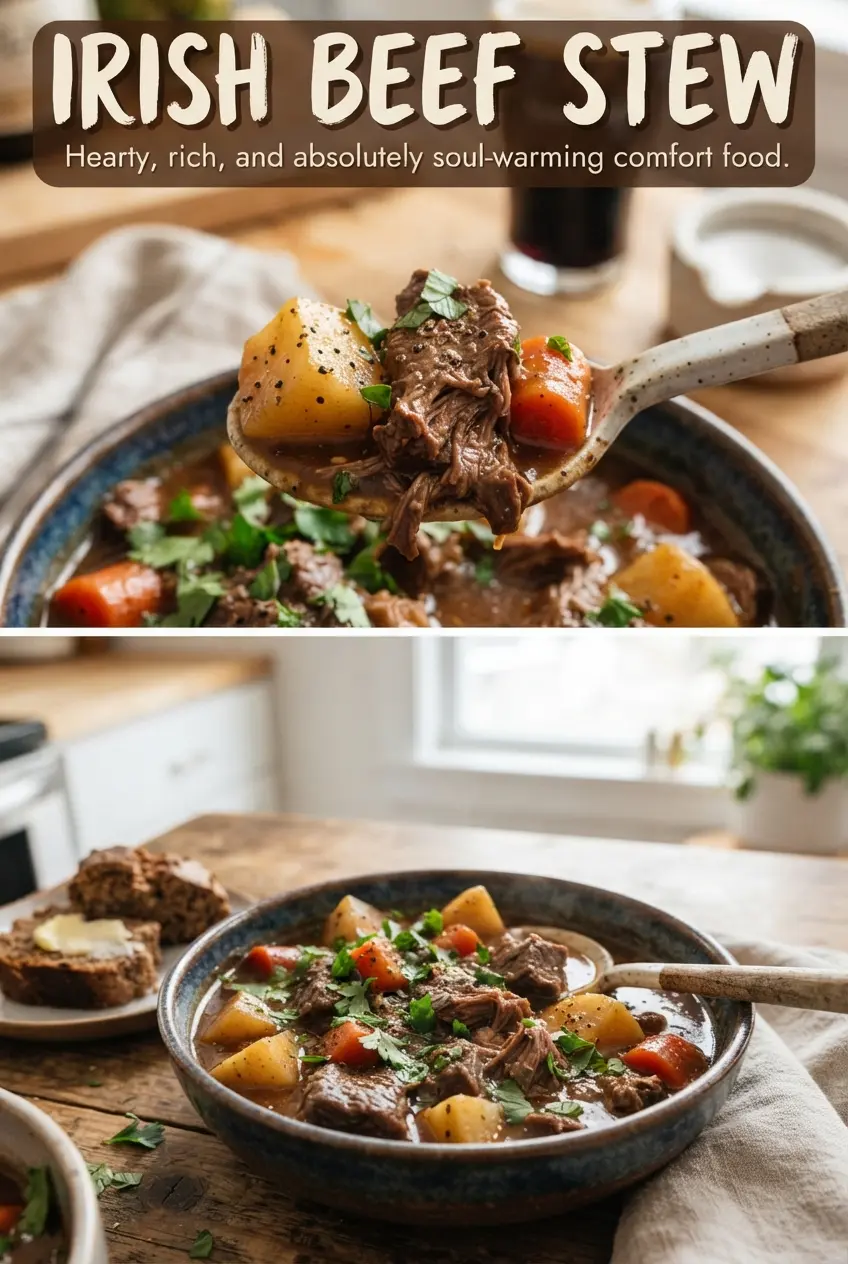
Irish beef stew earns its place in the rotation because the beef turns spoon-tender without losing its shape, and the broth cooks down into a deep, savory gravy that clings to every potato and carrot. The best bowls have a little sheen on top, a mellow stout note underneath, and enough body that you don’t need to chase the last bits around the bowl.
The key is building flavor in layers. Browning the beef in batches gives you the fond that makes the broth taste slow-cooked from the start, and the flour on the meat helps the stew thicken naturally as it simmers. The stout and tomato paste add depth, but neither one should dominate; they’re there to round out the beef, not turn the pot into beer soup.
Below, I’ll walk through the part that matters most: how to keep the gravy rich instead of thin, and how to time the vegetables so the potatoes stay intact while the carrots and celery soften just enough.
The gravy thickened up beautifully and the beef was fork-tender after the full simmer. I liked that the potatoes held their shape instead of turning mushy, and the stout gave it a deeper flavor without taking over.
Love a thick, hearty Irish beef stew with tender beef and stout-rich gravy? Save this one for a cold-night dinner that cooks down into comfort.
The Reason the Beef Gets Tender Instead of Stringy
Beef chuck is built for long cooking, but only if it gets enough time and enough moisture. The first browning stage matters more than people think: it’s not there to cook the meat through, it’s there to build flavor on the bottom of the pot and set up the gravy later. If the pan looks crowded, the beef steams instead of browns, and that’s where a lot of bland stew starts.
The other quiet win here is the flour. Tossing the beef in flour before it hits the oil gives you a light coating that helps the stew thicken as it simmers, instead of relying on a big mound of flour at the end. That keeps the texture smooth. The long, covered simmer is what breaks down the connective tissue in the chuck, and the vegetables go in late so they keep their shape instead of dissolving into the broth.
What Each Ingredient Is Actually Doing in This Recipe
- Primary ingredient (the star) — Quality matters most. Choose the best you can find.
- Cooking medium (oil, butter, or broth) — This carries flavors and prevents dryness.
- Seasonings (salt, pepper, spices, herbs) — Layer flavors so nothing overpowers. Build depth gradually.
- Aromatics (garlic, onion, herbs) — Cook with fat to bloom flavors. Become the foundation.
- Supporting ingredients — Complement the main ingredient without overpowering it.
- Sauce or liquid (if applicable) — Brings flavors together. Balance richness with acid.
- Acid (lemon, vinegar, wine, or other) — Brightens and prevents flat-tasting results.
- Final finish (garnish, glaze, or sauce) — Prevents one-dimensional taste and adds visual appeal.
What the Stout, Flour, and Tomato Paste Are Doing Here
- Beef chuck — This is the cut that gives you tenderness after a long simmer without turning dry. Leaner stew meat can work, but it won’t give you the same silky bite after 2 1/2 hours.
- Irish stout — This adds a dark, malty depth that water or extra broth can’t replace. If you don’t want alcohol, use more beef broth plus 1 teaspoon Worcestershire sauce for some of the same savory backbone.
- Tomato paste — It doesn’t make the stew taste like tomato. It deepens the color and adds a concentrated savory note that helps the gravy taste rounded instead of flat.
- Flour on the beef — This is the easiest way to thicken the stew naturally. If you skip it, the broth will stay thinner unless you add a slurry at the end.
- Potatoes, carrots, and celery — Cut them large so they hold up during the final simmer. Small pieces break down too fast and muddy the stew.
Building the Pot in the Right Order
Browning the Beef in Batches
Season the beef first, then toss it with the flour so every piece gets a light, even coating. Heat the oil until it shimmers, then brown the meat in batches without moving it too soon; you want a dark crust on at least two sides before you turn it. If the beef dumps liquid into the pan, the heat is too low or the pot is overcrowded. Pull the finished batches to a plate and keep going until everything has color.
Softening the Onion and Concentrating the Base
Once the beef is out, add the onion to the same pot and cook it until it turns soft and translucent with a little color on the edges. That picks up the browned bits left behind from the meat. Stir in the garlic and tomato paste for just a minute; the goal is to take the raw edge off both, not let the garlic brown or the paste scorch. If the bottom looks dry, lower the heat before the tomato paste goes in.
Deglazing and Starting the Simmer
Pour in the stout and scrape the bottom well. Those stuck-on bits are the backbone of the stew, and they need the liquid to loosen them fully. Add the broth, thyme, rosemary, bay leaves, and the beef, then bring everything to a gentle simmer. Keep the heat low enough that the liquid barely bubbles; a hard boil makes chuck tighten instead of relax.
Adding the Vegetables at the End
After the beef has simmered for 1 1/2 hours, add the potatoes, carrots, and celery. This is the part that keeps the stew from turning into mush. Potatoes need enough time to soften, but not so much that they fall apart, and carrots taste better when they still have a little structure. Simmer until the vegetables are tender and the gravy has thickened enough to coat a spoon, then pull out the bay leaves and stir in the parsley.
How to Adjust This Stew for Your Pantry and Your Table
Make it gluten-free
Swap the all-purpose flour for a gluten-free flour blend that’s meant for thickening, or skip the coating and whisk 1 tablespoon cornstarch with 2 tablespoons cold water at the end. The flour coating gives the stew a slightly fuller body from the start, while the slurry makes the finish smoother but a little less rich.
Make it dairy-free and still keep the same texture
This recipe already fits a dairy-free table as written, which is part of why it’s such an easy stew to keep in rotation. The richness comes from the beef, stout, and long simmer rather than butter or cream, so don’t add dairy at the end unless you want to change the flavor.
Use red wine instead of stout
If you don’t have stout, use the same amount of dry red wine and let it reduce for a minute before adding the broth. The stew will taste a little brighter and less malty, but it still lands in the same deep, savory place.
Storage and Reheating
- Refrigerator: Store for up to 4 days. The stew thickens as it chills, and the potatoes soak up more broth.
- Freezer: It freezes well for up to 3 months, though the potatoes soften a bit after thawing. Cool it completely before freezing in airtight containers.
- Reheating: Warm it gently on the stove over low heat with a splash of broth if needed. A hard boil can break the potatoes and make the beef stringy.
Answers to the Questions Worth Asking
Irish Beef Stew
Ingredients
Equipment
Method
- Season the beef chuck cubes with salt and black pepper, then toss with the all-purpose flour to coat. Brown in batches in the vegetable oil in a Dutch oven over medium-high heat until well browned on multiple sides, using a single layer so the pieces sear instead of steam.
- Add the chopped onion to the Dutch oven and cook for 5 minutes, stirring, until softened. Stir in the minced garlic and tomato paste and cook for 1 minute, then add the Irish stout and scrape the bottom to release browned bits.
- Pour in the beef broth, then add dried thyme, dried rosemary, and bay leaves. Cover and simmer at a gentle bubbling over medium-low heat for 1 1/2 hours.
- Stir in the potatoes, carrots, and sliced celery. Cover and simmer for 45-60 minutes, until the vegetables are tender and the stew looks thick and cohesive.
- Remove the bay leaves and finish by stirring in the chopped fresh parsley right before serving. Rest the stew for 5 minutes off the heat so the gravy thickens slightly as it settles.