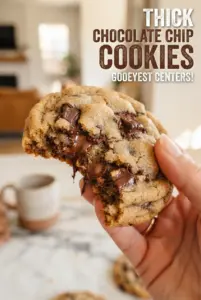
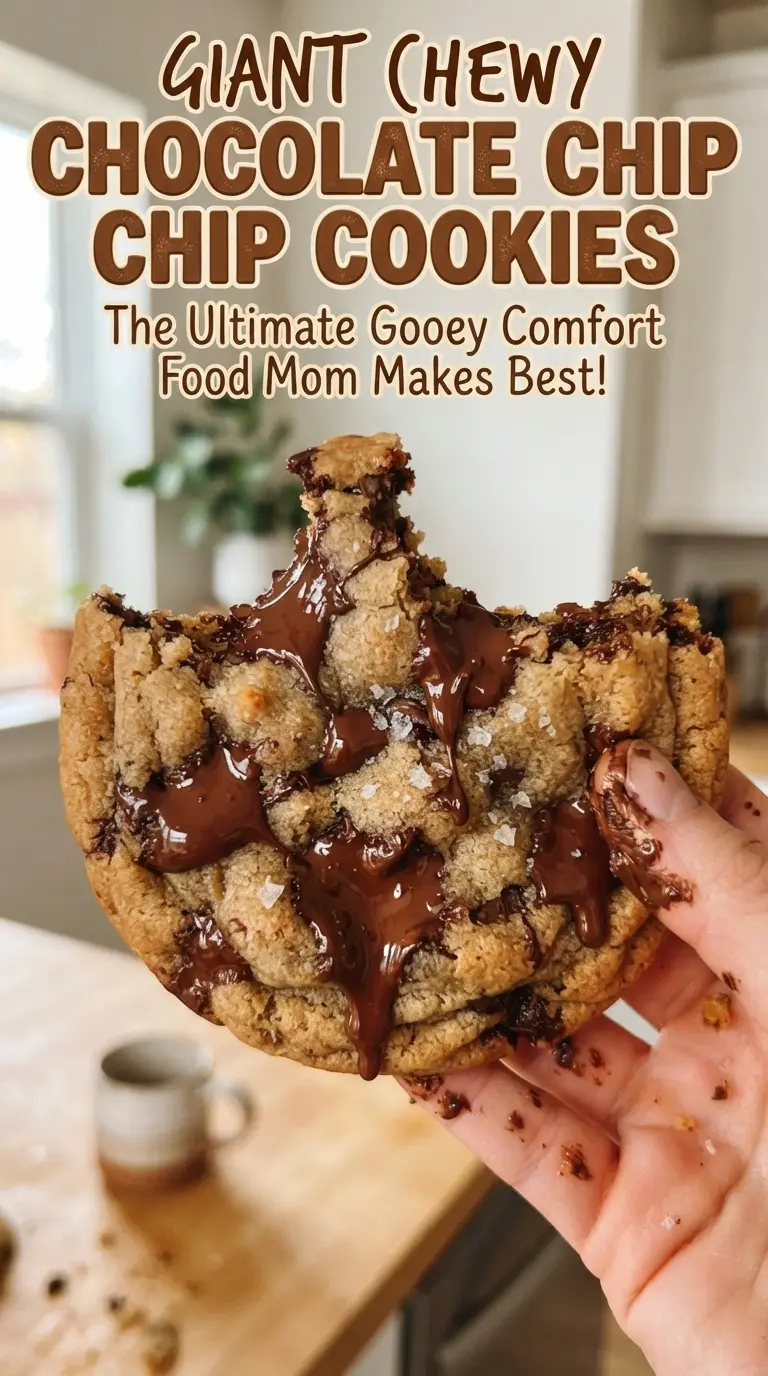
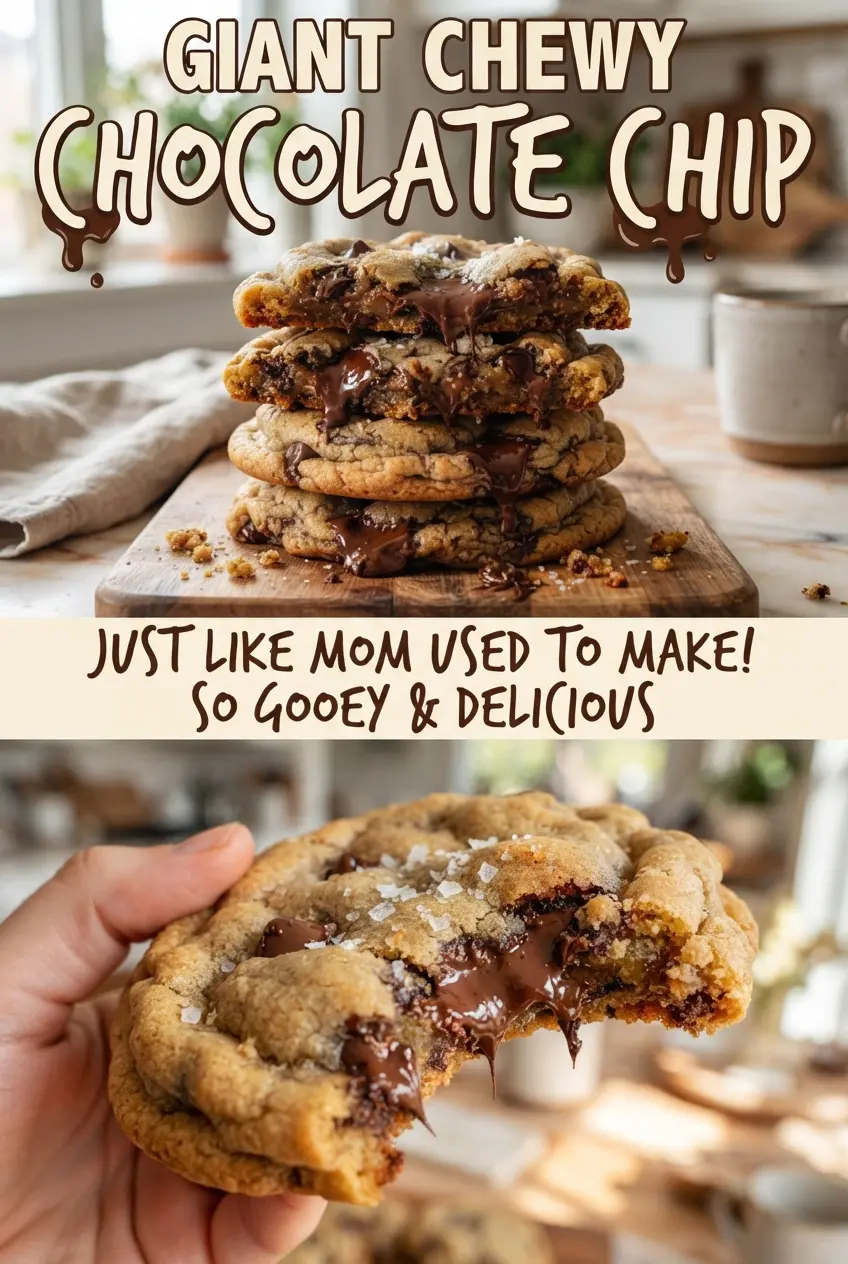
Giant chewy chocolate chip cookies deliver the kind of middle you want to tear into while the edges stay crisp and crinkled. The centers stay soft and bendy for days, and the oversized shape gives you those bakery-style pockets of melted chocolate without turning the whole cookie cakey. A little flaky salt on top makes the sweetness taste deeper, not louder.
The trick here is melted butter plus a short chill. Melted butter gives you dense chew instead of a fluffy lift, and chilling the dough keeps the cookies from spreading too fast in the oven. The extra egg yolk adds richness and helps the centers stay tender, while brown sugar does most of the work for that deep, caramel note and moist texture.
Below, I’m walking through the small details that keep these cookies thick, glossy, and full of chocolate. The size matters, the chill matters, and the baking time matters more than people think, so I’ve laid out the cues that tell you exactly when to pull them from the oven.
The edges set up with those ripples I usually only get from bakery cookies, and the centers stayed soft even after cooling. I chilled the dough exactly 30 minutes and they didn’t spread into one giant cookie.
Giant chewy chocolate chip cookies with soft centers and flaky-salt finish are the ones worth saving for the next cookie craving.
The Reason These Cookies Stay Thick Instead of Spreading Flat
Spread usually comes from warm dough, too much sugar, or butter that’s gone from melted to hot. Here, the butter is melted on purpose, but the dough still needs that 30-minute rest so the flour can hydrate and the fat can firm up just enough. That pause is what gives you a cookie that spreads into a wide circle without turning thin and brittle.
The other thing working in your favor is the egg-yolk-to-whole-egg balance. One whole egg gives structure, and the extra yolk adds fat and emulsifiers that keep the middle tender instead of bready. Bake these until the edges look set and deeply golden but the centers still look slightly underdone; that carryover heat finishes the middle while preserving chew.
- Melted butter — This is what creates the dense, chewy texture. If you brown it, you’ll get a deeper toffee note, but let it cool first so you don’t scramble the egg.
- Brown sugar — This does the heavy lifting for moisture and chew. Dark brown sugar makes them even softer; light brown sugar keeps the flavor a little cleaner.
- Flaky sea salt — The salt on top isn’t decoration. It sharpens the chocolate and keeps the cookies from tasting one-note sweet.
What Each Ingredient Is Actually Doing in These Cookies
- All-purpose flour — This gives the cookies their structure without making them dry. Measure it lightly; packed flour turns these heavy instead of chewy.
- Baking soda — This helps the cookies spread and brown. It also gives the edges those crinkled ridges that look bakery-made.
- Unsalted butter — Unsalted butter lets you control the salt level, especially with flaky salt on top. If you only have salted butter, reduce the added salt a little and keep the dough chilled.
- Egg plus extra yolk — The yolk adds richness and a softer bite. Don’t skip it unless you want a flatter, less tender cookie.
- Semi-sweet chocolate chips — Chips hold their shape better than chopped chocolate, so you get pockets of melted chocolate instead of a fully puddled cookie. Use chopped bars if you want a more dramatic melt.
How to Build the Dough So the Centers Stay Soft
Whisking the Dry Ingredients First
Start with the flour, baking soda, and salt so the leavening gets distributed evenly. If the baking soda isn’t mixed in well, some cookies rise oddly while others stay dense. A quick whisk here prevents streaks of salt or pockets of bitter soda later.
Making the Butter and Sugar Glossy
Whisk the melted butter with both sugars until the mixture looks thick and shiny. That glossy look means the sugar is starting to dissolve into the fat, which helps create that chewy texture after baking. If the butter is too hot, let it sit a minute before adding the egg so the dough doesn’t turn greasy.
Stopping the Mix at the Right Point
Once the dry ingredients go in, stir just until the flour disappears, then fold in the chocolate chips. Overmixing at this stage builds toughness, and tough cookies lose the soft center you’re after. The dough should look thick and slightly sticky, not smooth like cake batter.
Baking for Ripples, Not Dry Crumbs
Scoop the dough into 1/3-cup portions and space them well apart so the edges can spread and set. Bake until the rims are golden and the middles still look a touch pale and soft. If you wait until the centers look fully done in the oven, they’ll overbake on the sheet pan during cooling.
Three Ways to Adjust These Cookies Without Losing the Chewy Center
Make them dairy-free
Use a plant-based butter stick that’s meant for baking, not a tub spread. Tub-style substitutes hold more water and can make the cookies spread too much, while baking sticks behave closer to real butter and keep the texture chewy.
Swap the chips for chopped chocolate
Chopped chocolate melts into bigger pools and gives you those dramatic puddles in the center. Chips hold their shape better, so this swap makes the cookies look more rustic and taste a little richer.
Make smaller cookies
You can scoop these at 2 tablespoons for a more standard cookie, but the bake time drops fast. Pull them when the edges are set and the centers still look soft, or they’ll lose that thick, chewy middle.
Make them gluten-free
Use a cup-for-cup gluten-free flour blend with xanthan gum already added. The cookies will still be chewy, but they may spread a little less, so flatten the dough mounds slightly before baking if you want the same wide shape.
Storage and Reheating
- Refrigerator: Store in an airtight container for up to 5 days. They’ll firm up a bit as they sit, but the centers stay pleasantly chewy.
- Freezer: Freeze baked cookies for up to 2 months, or freeze scooped dough balls and bake from frozen with 1 to 2 extra minutes.
- Reheating: Warm a cookie in the microwave for 10 to 15 seconds or in a low oven for a few minutes. Don’t overheat it or the chocolate dries out and the center loses that soft pull.
Answers to the Questions Worth Asking
Giant Chewy Chocolate Chip Cookies
Ingredients
Equipment
Method
- Whisk all-purpose flour, baking soda, and salt in a bowl until evenly combined, with no visible streaks of baking soda.
- Whisk melted butter and both sugars until smooth, then whisk in the egg, egg yolk, and vanilla until the mixture looks glossy.
- Stir the dry ingredients into the wet mixture until just combined, then fold in semi-sweet chocolate chips.
- Chill the dough for 30 minutes so it thickens and bakes up chewier.
- Preheat the oven to 350°F and line a sheet pan with parchment for easy release.
- Scoop dough into 1/3-cup balls, placing 4 per parchment-lined sheet so the giant cookies have space to spread.
- Bake for 12-14 minutes at 350°F until the edges are golden and the centers are still soft.
- Top the warm cookies with flaky sea salt, then cool for 10 minutes on the sheet until set enough to lift.