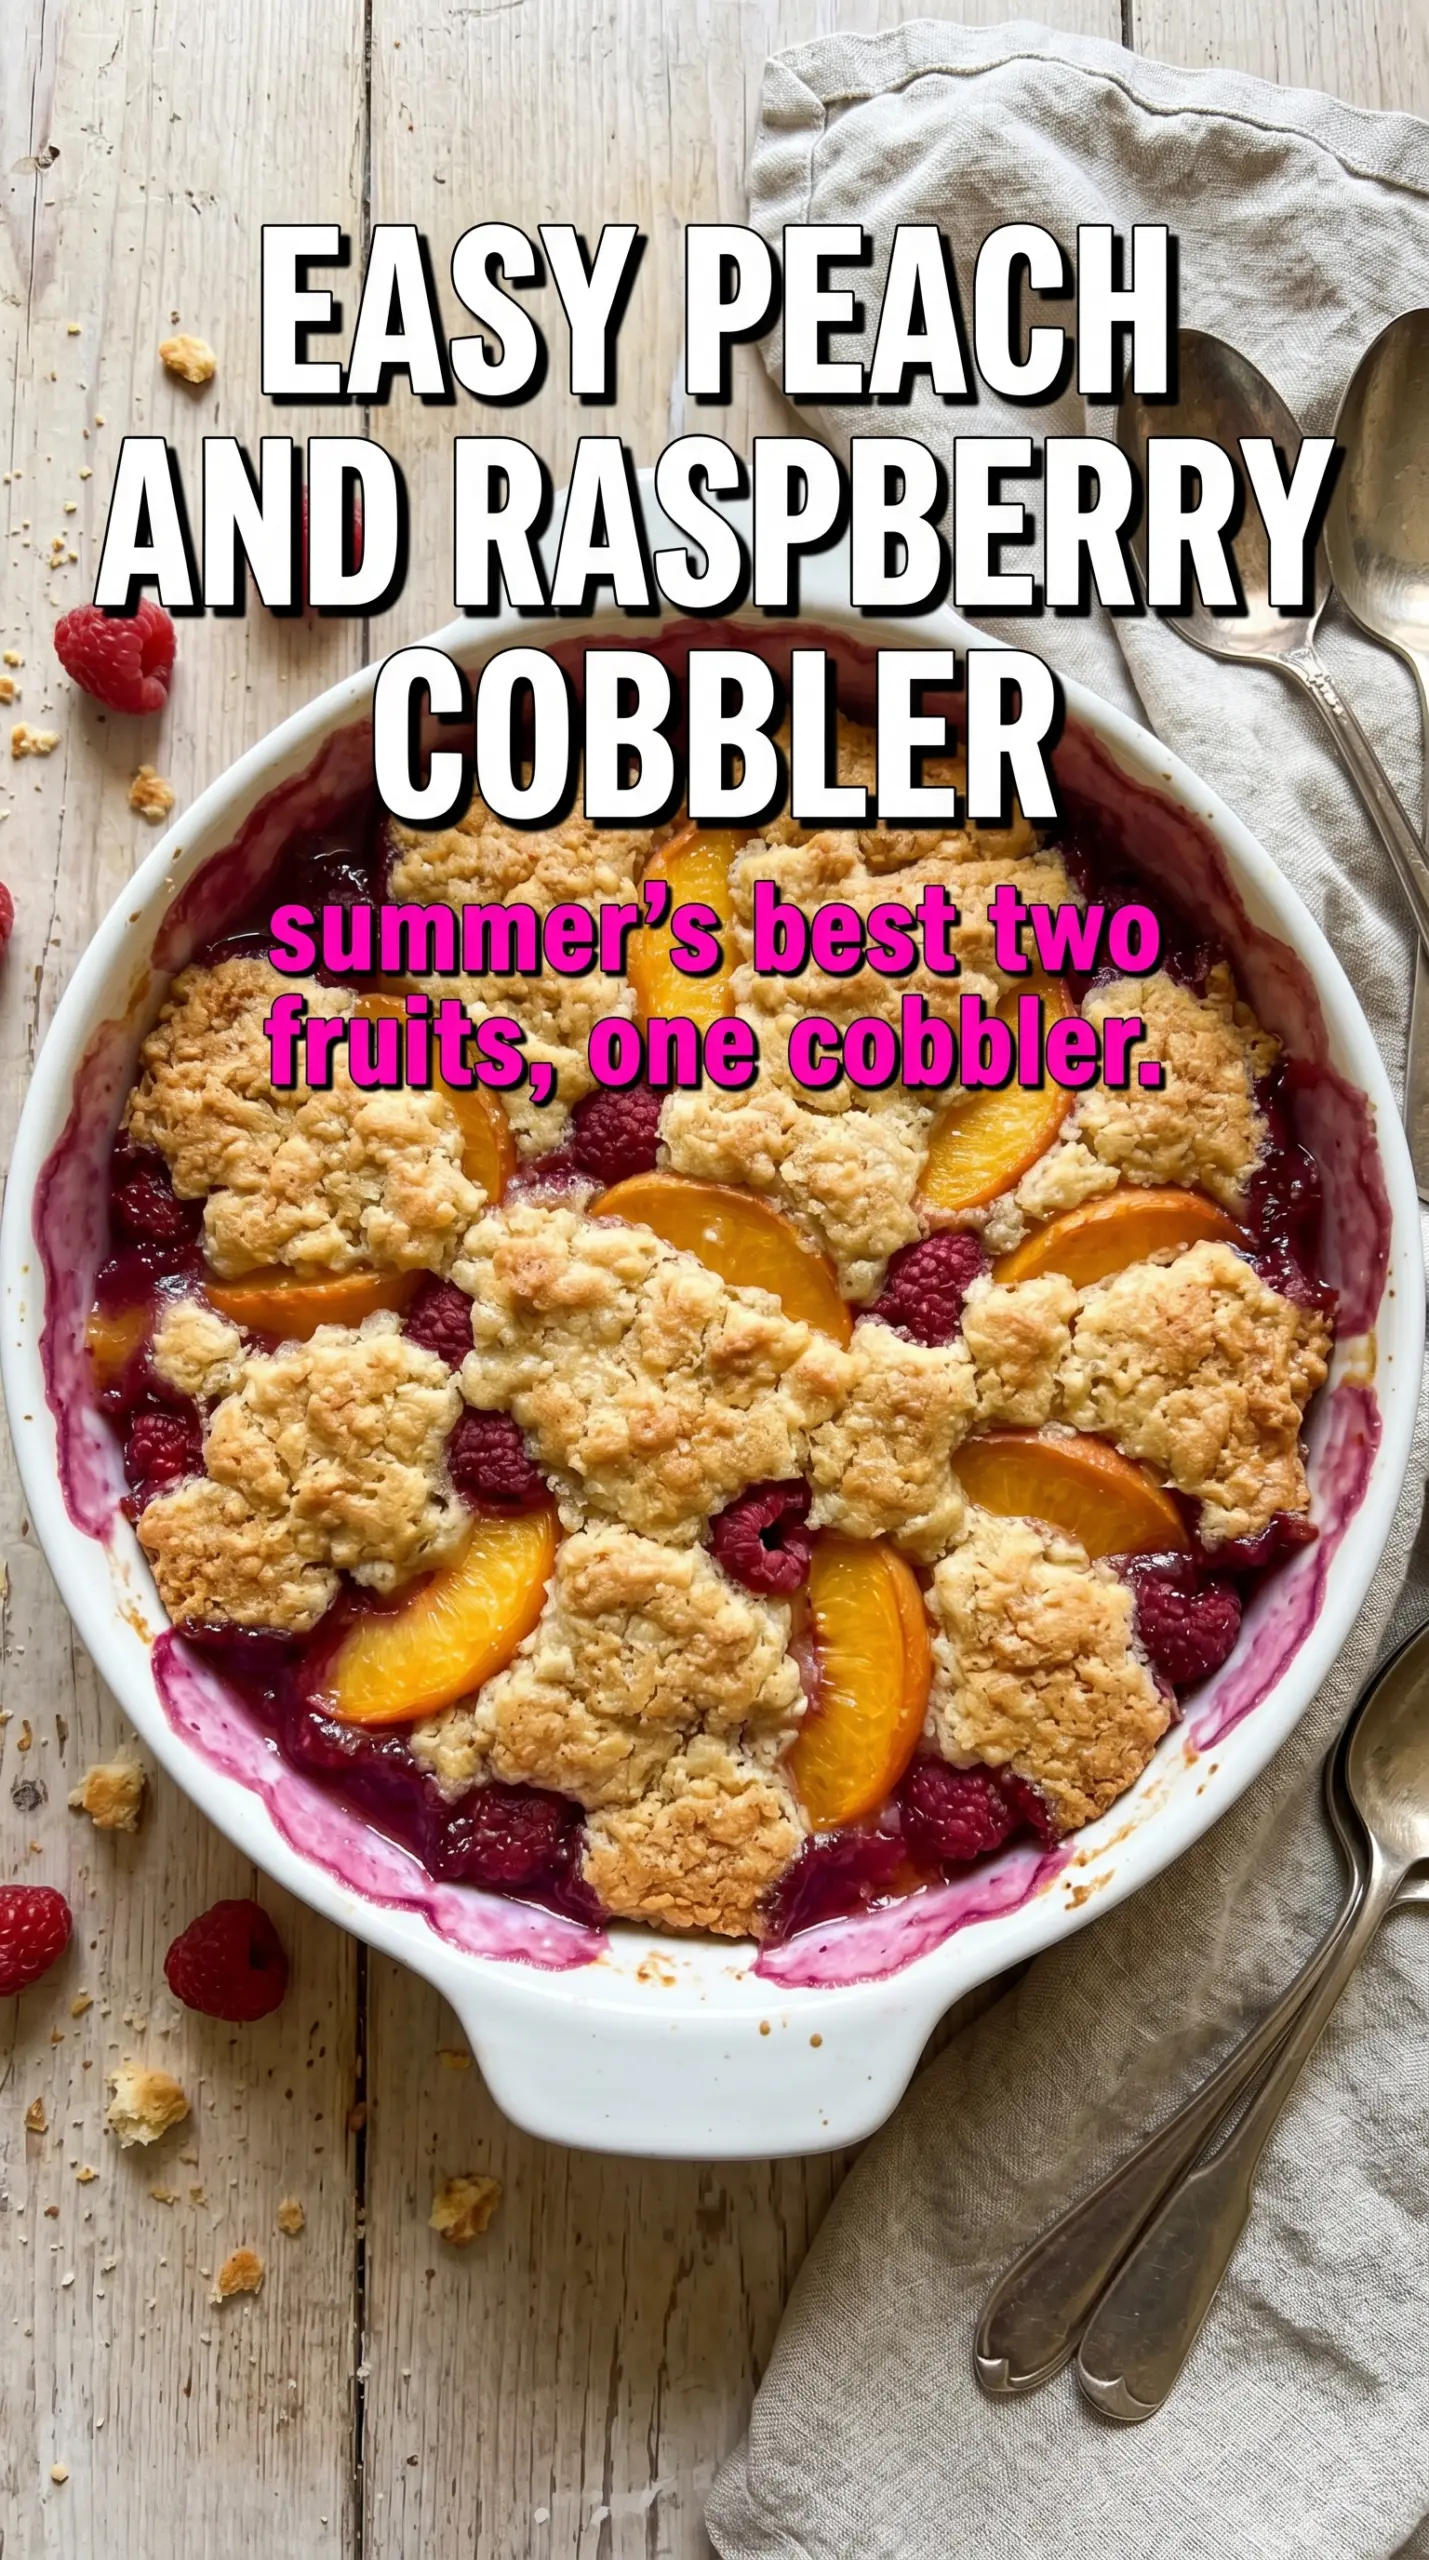
Golden, tender cobbler crust on top and bubbling peach-raspberry syrup underneath is the kind of dessert that disappears fast at the table. The contrast is the whole point: soft baked fruit, tart berry streaks, and a buttery layer that rises into a pale, cake-like top with crisp edges where it meets the pan.
This version keeps the fruit bright instead of heavy. A little lemon juice wakes up the peaches, cornstarch helps the juices thicken without turning gluey, and the batter goes straight over melted butter so the bottom sets into something rich instead of soggy. The raspberries break down as they bake, which is what gives you those vivid red swirls running through the peach syrup.
Below, you’ll find the one step that matters most if you want that layered cobbler texture, plus a few practical swaps for using frozen fruit or adjusting the sweetness when your peaches are extra ripe.
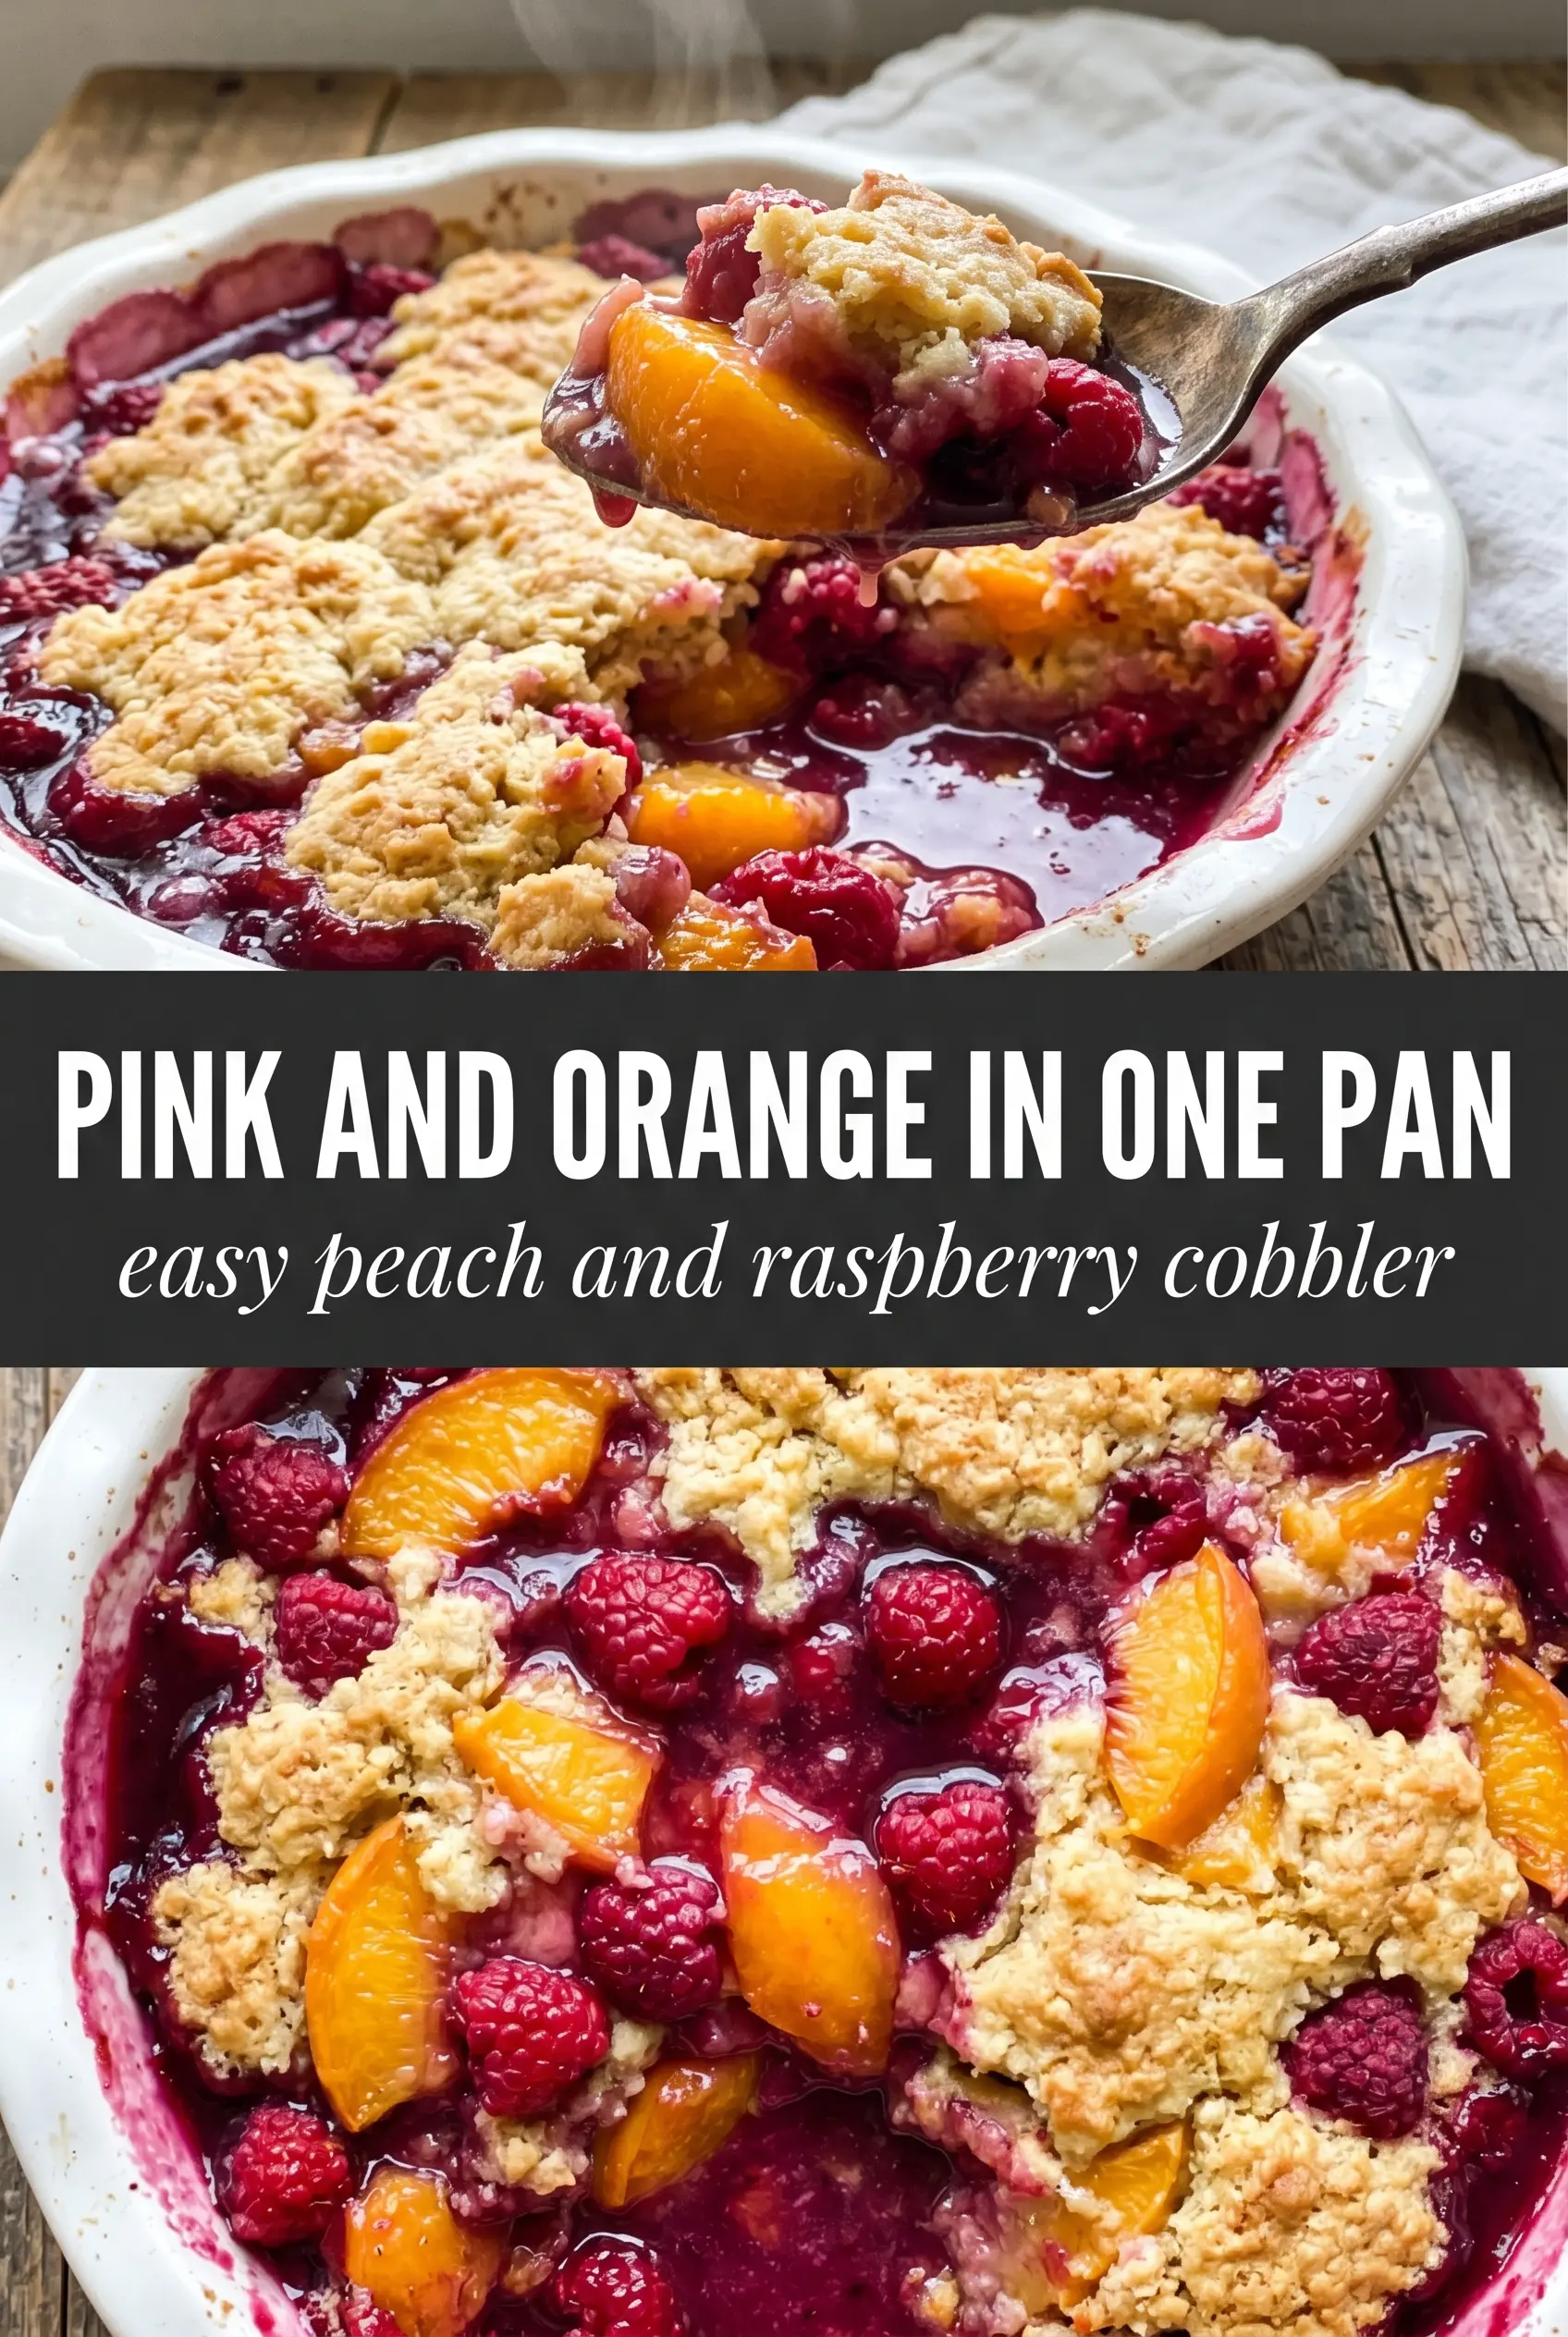
The crust baked up soft in the middle with crisp edges, and the peach juice thickened just enough instead of running all over the plate. I used slightly overripe peaches and it still came out perfect.
Save this peach and raspberry cobbler for the nights when you want bubbling fruit and a golden, buttery crust with almost no fuss.
The Secret to Cobbler That Stays Layered Instead of Sinking
The biggest mistake with cobbler is stirring once the batter and fruit are in the pan. That sounds harmless, but it drags the butter up into the batter and collapses the two distinct layers that make cobbler worth baking in the first place. Pour the batter over the melted butter, then spoon the fruit and juices over the top without mixing anything together.
As it bakes, the batter rises through the fruit and sets around the edges first. The result is a crust that feels almost custardy in the middle, with crisp, browned edges where the butter sits against the hot pan. If your cobbler bakes up dense, the batter was overmixed or the oven ran too cool.
- Don’t stir after layering. That’s what keeps the butter, batter, and fruit working separately long enough to create the finished texture.
- Watch the bubbling. The filling should bubble up through the crust before it comes out of the oven. That’s your sign the cornstarch has had enough heat to thicken.
- Use a true 9×13 dish. A smaller pan can overflow once the fruit releases its juice.
What the Peaches, Raspberries, and Butter Are Each Doing
- Peaches — Fresh peaches give you the soft, perfumed base that makes this cobbler taste like actual fruit, not just sugar. If your peaches are firm, let them sit at room temperature until they give slightly at the stem end. You can use frozen peaches, but thaw and drain them first so the filling doesn’t turn watery.
- Raspberries — These are here for acidity and color as much as flavor. They melt into the peach juices and create those red streaks without needing extra seasoning. Frozen raspberries work, but add them straight from frozen so they keep some shape.
- Cornstarch — This is what keeps the fruit juices syrupy instead of thin. Don’t add more than the recipe calls for unless your peaches are extremely juicy, because too much thickener can turn the filling pasty as it cools.
- Melted butter — The butter sits under the batter and fries the edges as the cobbler bakes. Use real butter here; the flavor matters. If you use salted butter, keep the added salt light so the crust doesn’t taste sharp.
- Whole milk — Whole milk gives the batter enough fat to bake tender instead of dry. Lower-fat milk will work, but the top won’t be quite as soft. For a dairy-free version, use full-fat canned coconut milk, knowing the crust will taste a little richer and less classic.
Building the Batter So the Cobbler Rises Properly
Mix the batter just until it comes together
Whisk the flour, sugar, baking powder, salt, and milk until there are no dry pockets left, then stop. A few small lumps are fine; overmixing tightens the crumb and makes the top bake up more like a dense cake than a cobbler crust. The batter should pour smoothly but still look a little rough.
Pour over the butter without disturbing it
After the butter goes into the baking dish, pour the batter directly over it in an even layer. Don’t swirl or spread it with a spoon. The butter needs to stay underneath so the edges can brown and the center can lift through the fruit as it bakes.
Spoon the fruit on top and bake until bubbling
Scatter the peaches and raspberries over the batter, then pour on every bit of juice left in the bowl. The fruit will look like too much at first, but it settles as it bakes. Pull the cobbler when the crust is deeply golden and the filling is bubbling through the middle and around the edges; if the center still looks pale and wet, give it a few more minutes.
Use Frozen Fruit When Fresh Peaches Aren’t in Season
Thawed, drained frozen peaches work well here, and so do frozen raspberries. The cobbler will taste a little softer and the filling may take a few extra minutes to thicken, but the method stays the same. Drain off any excess liquid before tossing the fruit with sugar and cornstarch.
Make It Dairy-Free Without Changing the Method
Swap the butter for a plant-based stick butter and use full-fat canned coconut milk in the batter. That keeps the texture close, though the crust will taste a little less neutral and a little more coconut-forward. It still bakes up tender and layered.
Cut the Sugar When the Peaches Are Very Ripe
If your peaches are sweet on their own, drop the sugar in the fruit mixture to 2 tablespoons and leave the batter sugar alone. You’ll get a brighter, more fruit-forward cobbler without losing structure. Don’t reduce the sugar in the batter too far, or the top will bake up pale and less tender.
Storage and Reheating
- Refrigerator: Store leftovers covered for up to 4 days. The crust softens as it sits, but the flavor holds up well.
- Freezer: This freezes better after baking than before. Cool completely, wrap tightly, and freeze for up to 2 months. The topping won’t be as crisp after thawing, but it still works for a leftover dessert.
- Reheating: Warm individual portions in a 325F oven until the filling loosens and the top is hot again. The microwave works in a pinch, but it softens the crust fast and can make the fruit release extra juice.
Questions I Get Asked About This Recipe
Easy Peach and Raspberry Cobbler
Ingredients
Equipment
Method
- Preheat the oven to 350F so the cobbler bakes evenly and the crust can turn golden.
- Toss fresh peaches and fresh raspberries with 1/4 cup sugar, lemon juice, and cornstarch until coated and glossy, with juices starting to form.
- Pour melted butter into a 9x13 baking dish and tilt to coat the base.
- Whisk all-purpose flour, remaining 1/4 cup sugar, baking powder, salt, and whole milk until just combined, stopping when no dry flour streaks remain.
- Pour the batter over the butter and do not stir, so the crust forms a base layer during baking.
- Spoon the fruit mixture and all juices over the batter and do not stir, letting the peaches and raspberries sit on top.
- Bake for 40-45 minutes at 350F, until the cobbler crust is golden and the filling is bubbling up through the fruit and batter.
- Serve warm with vanilla ice cream so the syrupy peach-raspberry filling contrasts with the cold, creamy topping.


