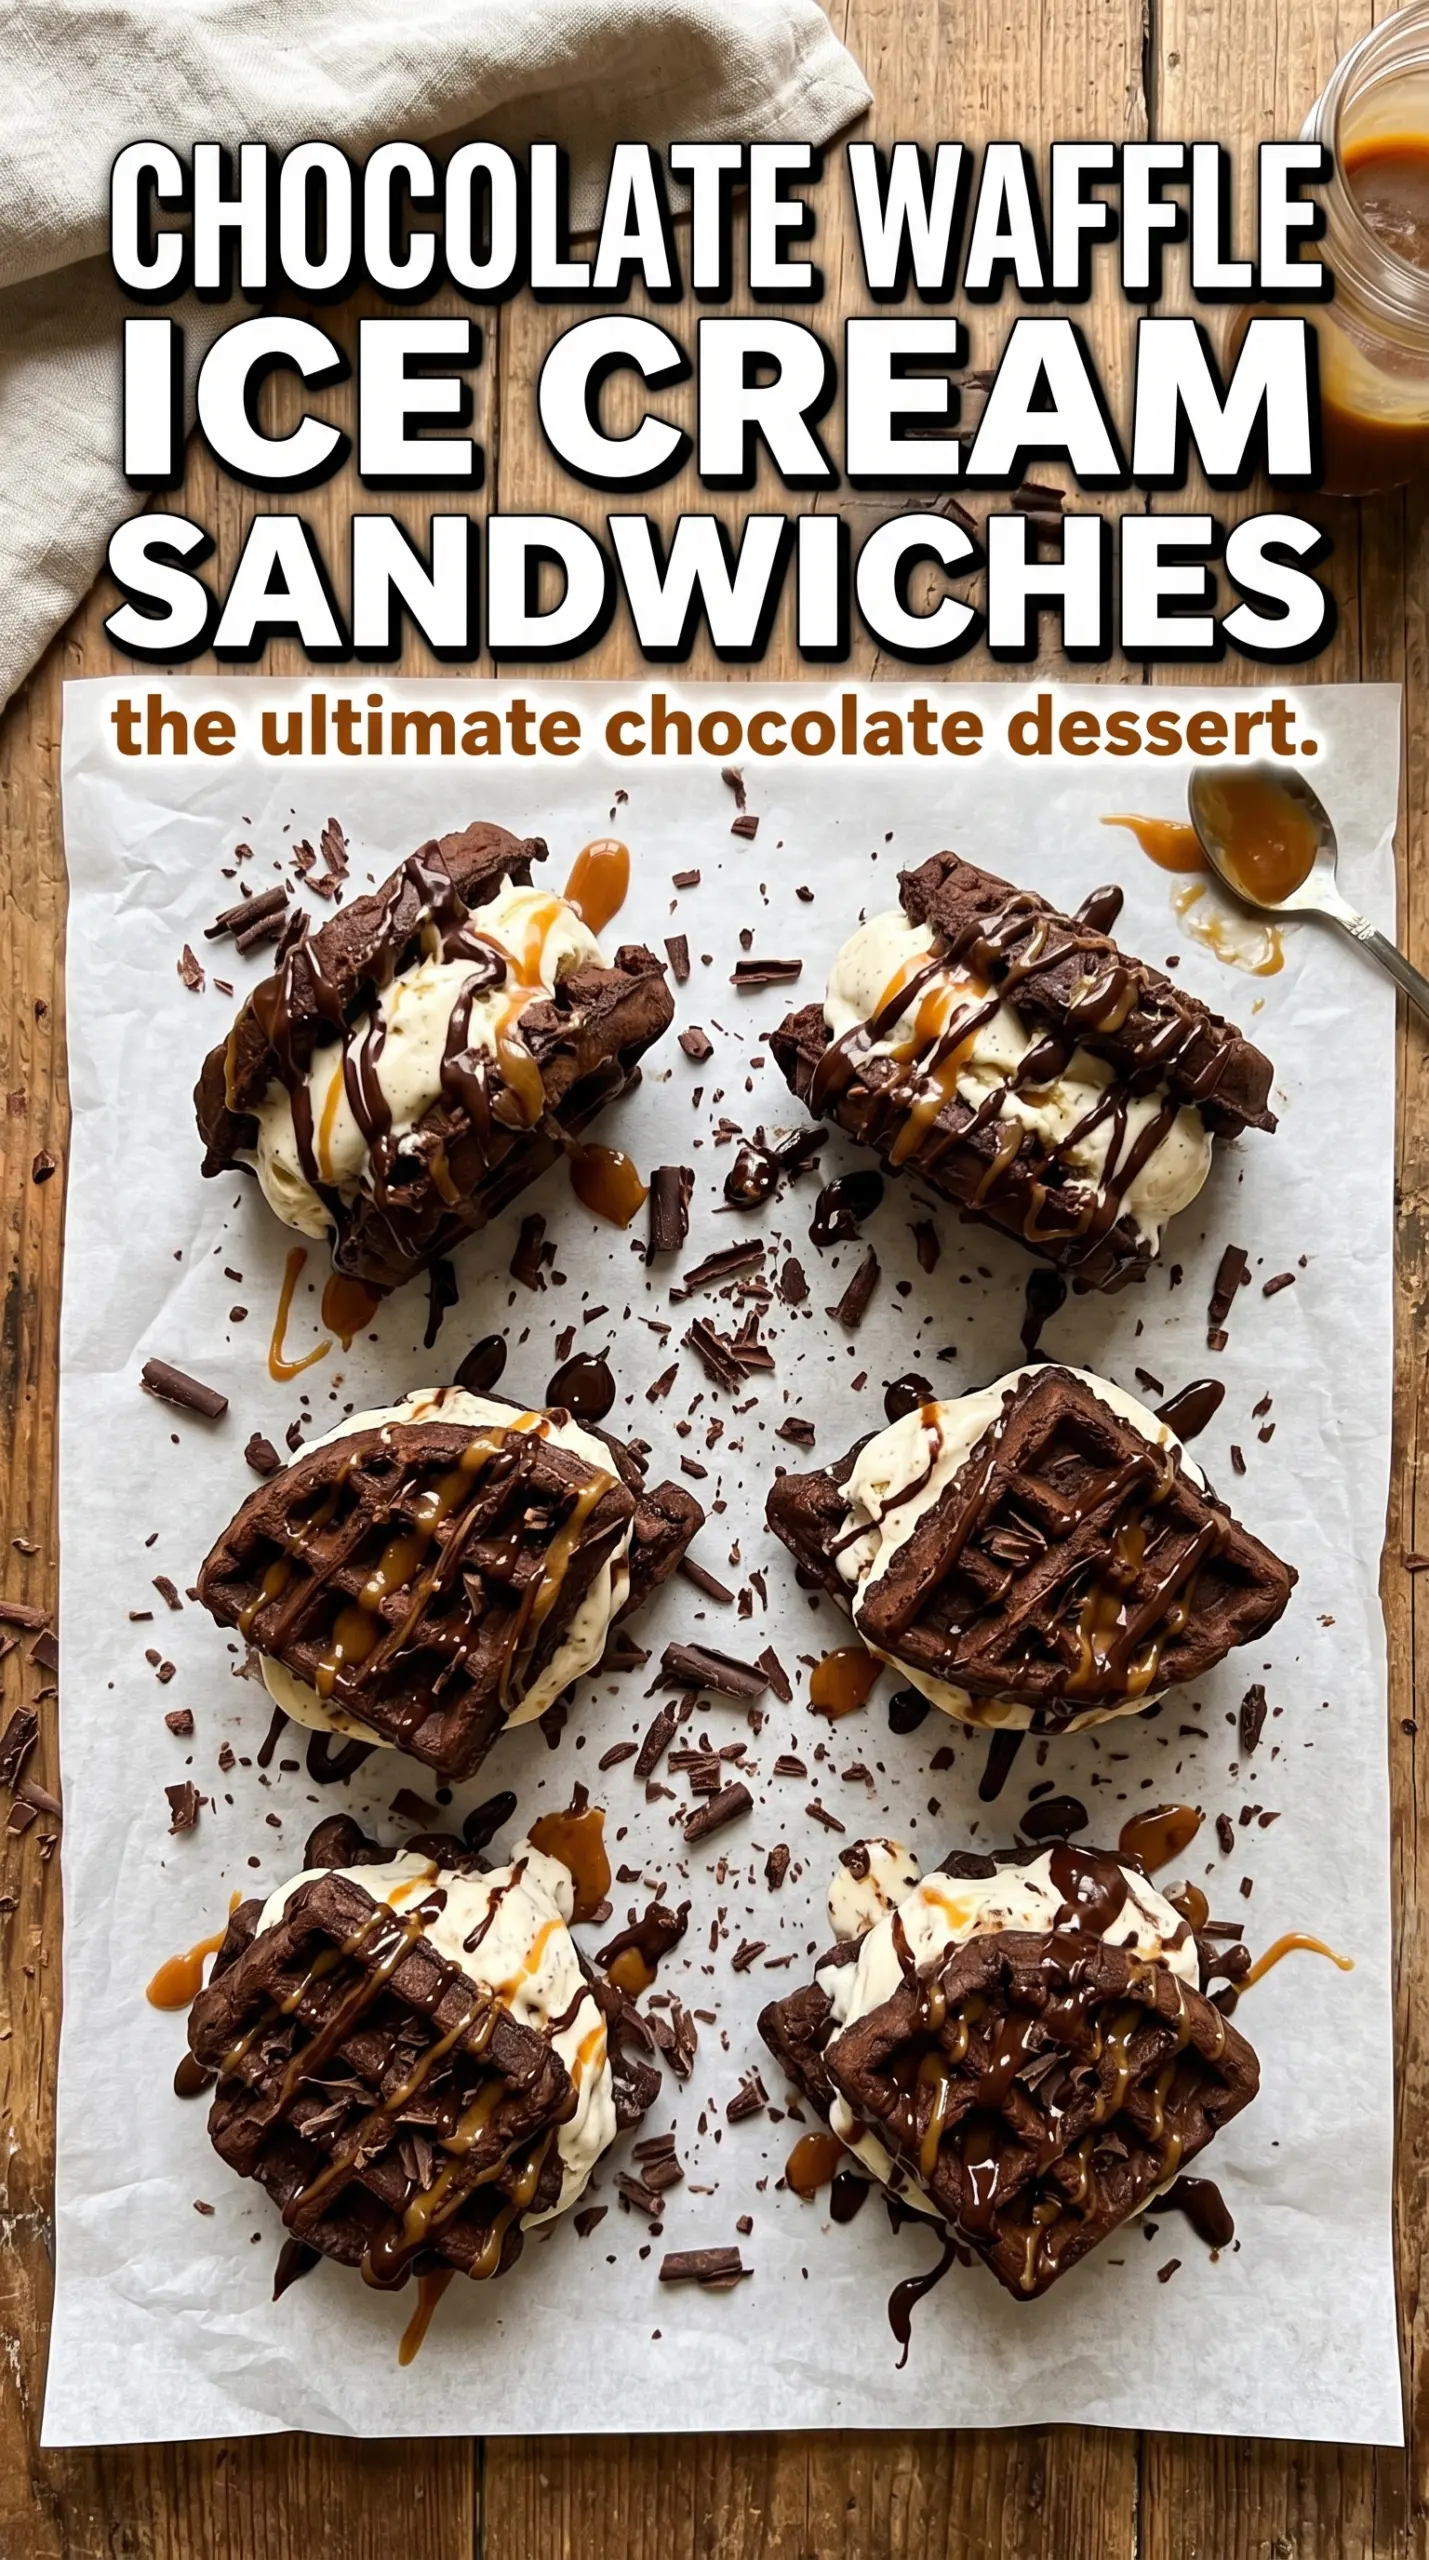
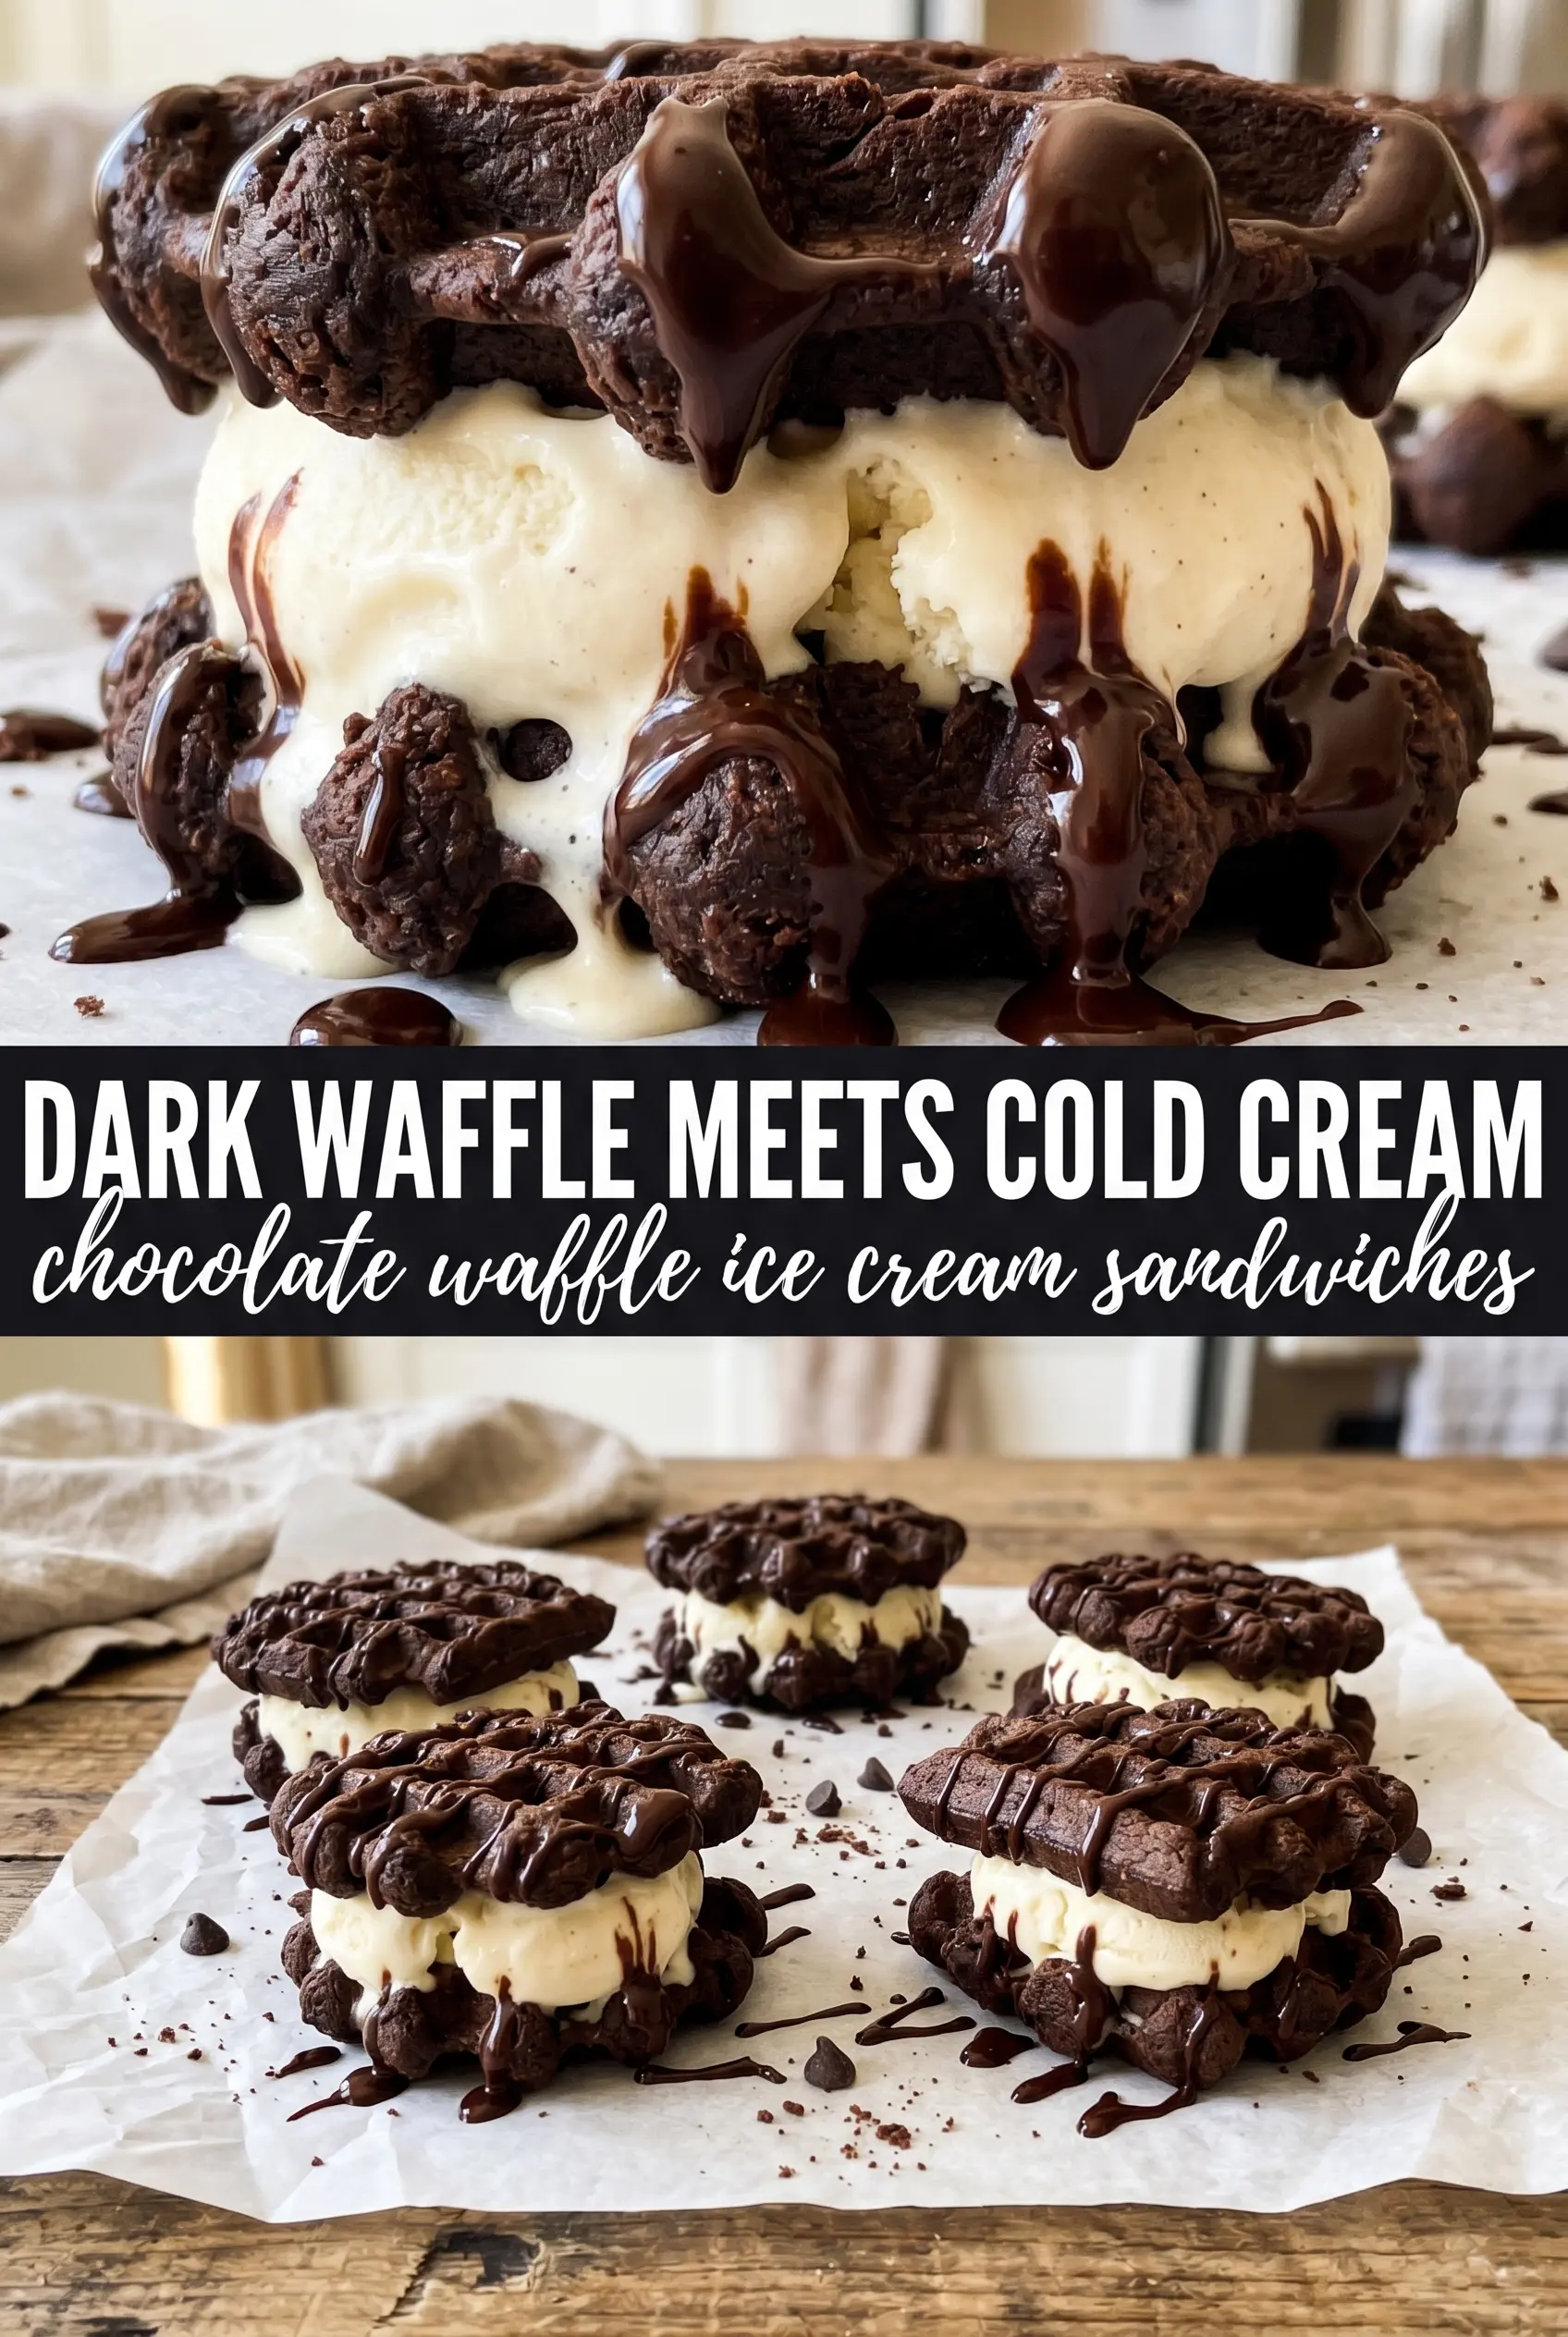
Dark chocolate waffles make a better ice cream sandwich than cookies when you want something crisp at the edges, soft in the middle, and sturdy enough to hold a generous scoop without turning soggy on contact. The cocoa gives the waffle a deep, almost brownie-like flavor, and the buttermilk keeps it tender instead of dry or chalky. With mint chocolate chip or cookies-and-cream ice cream tucked inside, every bite lands cold, creamy, and a little messy in the best way.
The trick is to cook the waffles until they’re fully set and then let them cool completely on a rack. Warm waffles steam the ice cream from the inside out, which is how you end up with slipping layers and a soggy shell. Cutting each waffle into squares gives you neat edges and makes the sandwiches easy to build without fighting the shape of the iron.
Below, you’ll find the exact texture cues I use for the waffles, plus a few smart swaps if you want to change the ice cream flavor or make the sandwiches ahead for a party.
The waffles stayed crisp even after I added the ice cream, and the chocolate flavor was deep without tasting bitter. I froze the sandwiches for an hour like you suggested and they sliced cleanly instead of collapsing.
Like this recipe? Save these chocolate waffle ice cream sandwiches for the next time you want a crisp waffle shell and a cold, creamy center.
The Waffle Batter Has to Be Thick Enough to Hold Ice Cream
The biggest mistake with waffle ice cream sandwiches is treating the waffles like breakfast waffles and chasing a super-light batter. That works fine for maple syrup, but here you need a waffle that finishes crisp, not airy. The cocoa powder and oil already push this batter toward tenderness, so the job of the leaveners is just to lift it enough to create pockets, not make it fluffy like cake.
Cook them until the steam dies down and the surface looks set, with no glossy spots left in the center. If you pull them too early, the squares bend instead of supporting the filling. If they overcook a little, that’s actually helpful here — a slightly firmer waffle holds up better once the ice cream starts softening at the edges.
What Each Ingredient Is Actually Doing in These Chocolate Waffles
- Unsweetened cocoa powder — This is the main flavor, so use a cocoa you’d actually want to eat in a brownie. Natural cocoa works well here because the buttermilk and baking soda give the batter enough lift, and it keeps the waffles tasting deep and dark.
- Buttermilk — It adds tang and tenderness, and it helps the chocolate flavor taste fuller instead of flat. If you don’t have it, mix 2 cups milk with 2 tablespoons lemon juice or vinegar and let it sit 5 minutes, but the result will be a little less plush.
- Vegetable oil — Oil keeps the waffles softer after freezing than melted butter would. Butter tastes great, but it firms up more in the freezer and can make the sandwiches feel stiffer straight from cold storage.
- Ice cream — Mint chocolate chip gives you that cool, clean contrast against the dark waffle, while cookies-and-cream makes the whole thing taste more like a chilled brownie sandwich. Let it soften just enough to scoop cleanly; if it’s too hard, it cracks the waffle while you press.
Getting the Waffles Crisp Before the Ice Cream Goes In
Mix the Batter Just Until It Comes Together
Whisk the dry ingredients first so the cocoa breaks up evenly and you don’t end up with dark streaks in the batter. Add the wet ingredients and fold until there are no dry pockets left, then stop. A few small lumps are fine; overmixing makes the waffles tough, and tough waffles taste stale faster once frozen.
Cook Until the Steam Drops Off
Let the waffle iron do the work and don’t lift the lid too early. The waffles are ready when they release easily, feel set in the center, and the edges look crisp rather than soft and damp. If your iron runs hot, start checking a little sooner so the cocoa doesn’t go bitter at the edges.
Cool on a Rack, Not a Plate
This step matters more than most people think. A plate traps steam underneath the waffles, and that trapped moisture softens the crust before you even start assembling. A wire rack keeps air moving around both sides, which is what preserves that crisp edge when the ice cream hits it later.
Build and Freeze for a Cleaner Bite
Cut each waffle into squares, add a generous scoop of ice cream, and press the second square on top just until the filling reaches the edges. If the ice cream is too soft, the sandwiches slide around instead of holding together. Freeze them for about an hour if you want firmer, neater sandwiches, or serve right away if you like the contrast of cold cream against a softer waffle.
How to Change the Filling Without Losing the Texture
Dairy-Free Version with Coconut Ice Cream
Use a rich dairy-free ice cream that scoops cleanly, like coconut or almond-based mint chocolate chip. The waffles themselves are already dairy-free if you stick with the recipe as written, so this swap mostly changes the filling. Coconut ice cream freezes a little firmer than traditional dairy ice cream, which helps the sandwiches hold their shape.
Gluten-Free Waffle Sandwiches
A good 1:1 gluten-free flour blend works here, but choose one with xanthan gum for structure. The waffles may need an extra minute or two in the iron because gluten-free batters often stay soft in the center a little longer. Let them cool completely before cutting, since warm gluten-free waffles can crumble at the edges.
Chocolate Syrup, Caramel, or No Sauce at All
Chocolate syrup gives the sandwich a glossy finish and makes the cocoa flavor taste deeper, but it isn’t doing any structural work. If you swap in caramel, the sweetness gets rounder and richer; if you leave the sauce off, the sandwiches still taste complete because the waffles are already built around dark chocolate flavor.
Storage and Reheating
- Refrigerator: These aren’t a fridge dessert. The ice cream melts and the waffles turn soft, so keep them in the freezer instead.
- Freezer: Wrap each sandwich tightly in parchment or plastic wrap, then store in an airtight container for up to 1 week. The waffles stay best when they’re assembled cold and frozen right away.
- Reheating: Don’t reheat these. Let a frozen sandwich sit at room temperature for 2 to 3 minutes before eating so the center softens just enough. If you try to warm it, the ice cream collapses and the waffle loses its crisp edge.
Questions I Get Asked About This Recipe
Chocolate Waffle Ice Cream Sandwiches
Ingredients
Equipment
Method
- Preheat the waffle iron. Whisk together all-purpose flour, unsweetened cocoa powder, granulated sugar, baking powder, baking soda, and salt in a bowl.
- Whisk buttermilk, eggs, vegetable oil, and vanilla extract until smooth. Pour into the dry ingredients and fold just until combined, stopping as soon as no dry streaks remain.
- Scoop batter into the preheated waffle iron and cook until set with crispy edges. Transfer cooked waffles to a wire rack to cool completely.
- Cut each waffle into 4 squares. Sandwich a generous scoop of mint chocolate chip or cookies-and-cream ice cream between two waffle squares.
- Drizzle with chocolate syrup and serve immediately. Alternatively, freeze the assembled sandwiches for 1 hour for a firmer texture.