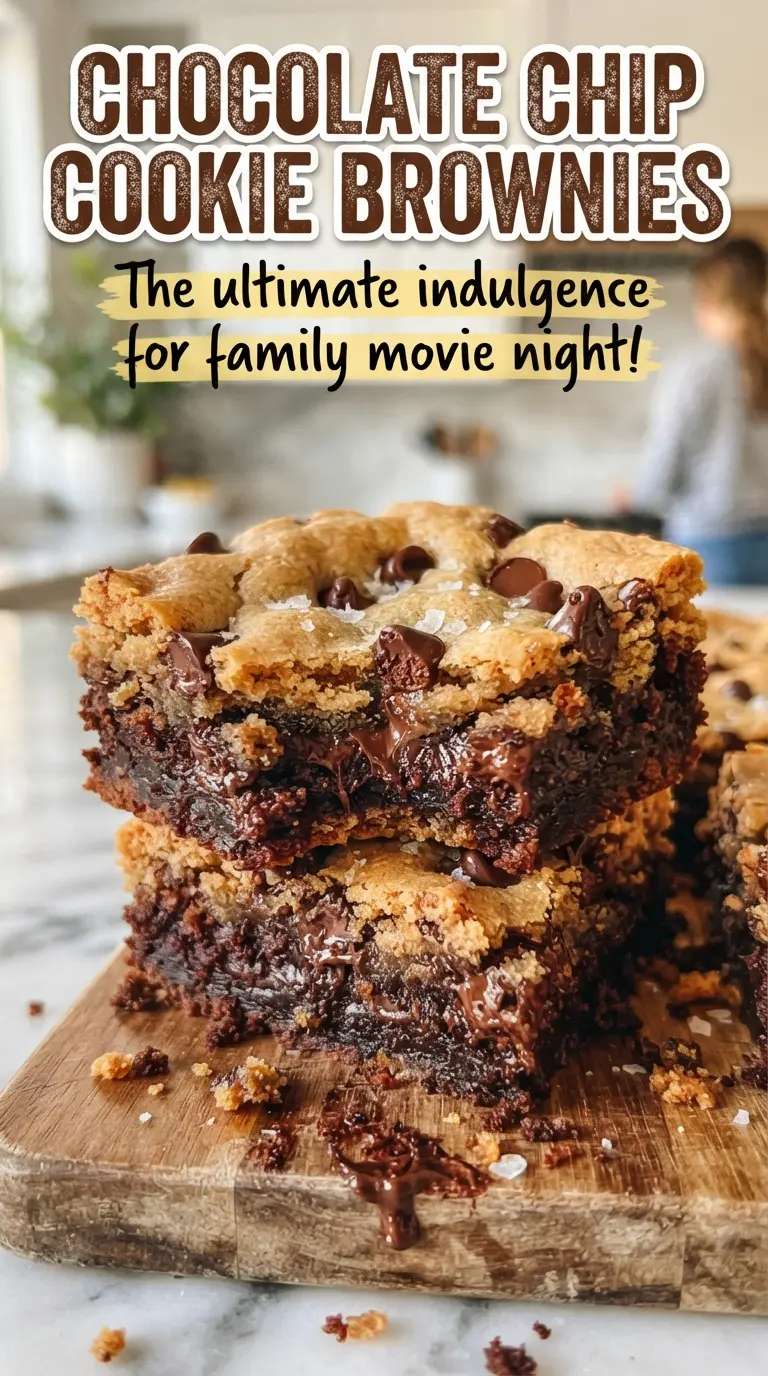
Chocolate chip cookie brownies give you the best kind of dessert compromise: a fudgy brownie base with a soft, golden cookie top, all baked in the same pan. The bottom stays dense and chocolatey, while the top sets into a chewy layer loaded with melted chips. Each square cuts cleanly once cooled, and the contrast between the two textures is what makes people reach for a second piece before they finish the first.
This version works because the brownie batter is kept simple and thin enough to spread easily, while the cookie dough is sturdy enough to sit on top without disappearing into the chocolate layer. Using melted butter for the brownie base gives it that dense, fudgy bite, and softened butter for the cookie layer keeps the top tender instead of cakey. The key is not overmixing either layer once the flour goes in; that keeps the brownie rich and the cookie side soft.
Below, I’ve included the small details that matter most: how to layer the dough without blending the two batters together, why cooling fully matters before cutting, and a few smart ways to adapt the recipe if you want a different kind of chocolate chip cookie brownie.
The brownie stayed fudgy under the cookie layer, and the top baked up with crisp edges and soft centers. I let them cool all the way like you said, and they cut into perfect squares instead of falling apart.
Save these chocolate chip cookie brownies for the days when you want fudgy bars with a chewy cookie top and clean-cut squares.
The Trickiest Part Is Keeping the Brownie and Cookie Layers Separate
The two batters behave differently, and that’s the whole point. The brownie layer starts with melted butter, which makes it dense and fudgy, but that same softness means it can blur into the cookie dough if you swirl or spread too aggressively. The cookie dough needs enough structure to sit on top and bake into a distinct layer, so it gets mixed like a proper drop cookie, not a loose batter.
The other place people run into trouble is doneness. The top should look golden and set, but the center needs just a few moist crumbs on the tester. If you wait until the middle looks dry, the brownie layer underneath will bake past fudgy and turn firm once it cools. These need the full cooling time before cutting, because the structure sets as the pan loses heat.
What Each Ingredient Is Actually Doing in These Cookie Brownies
- Melted butter in the brownie layer — this gives the base its dense, fudgy texture. You can use salted butter in a pinch, but the brownie layer is best with unsalted so the salt stays balanced and predictable.
- Cocoa powder — this is where the brownie flavor comes from, so use unsweetened cocoa, not hot cocoa mix. Dutch-process cocoa makes the flavor darker and smoother; natural cocoa works too and gives a sharper chocolate edge.
- Softened butter in the cookie layer — this traps air when beaten with the sugars, which is what helps the top bake up chewy instead of flat. If the butter is melted, the cookie layer spreads too much and loses that soft, bakery-style texture.
- Brown sugar — this keeps the cookie layer moist and adds a caramel note that plays well with the chocolate. Light brown sugar is enough here; dark brown sugar will make the top a little richer and deeper.
- Semi-sweet chocolate chips — these keep the cookie layer from tasting plain and add little pockets of melted chocolate. Milk chocolate makes the whole bar sweeter, while dark chips make the contrast with the brownie layer sharper.
- All-purpose flour — both layers need it, but in different amounts. The brownie layer uses just enough to hold together, while the cookie layer uses more structure so it can be dropped and pressed into place without sinking.
Building the Pan So the Top Bakes Golden and the Bottom Stays Fudgy
Mixing the Brownie Base
Whisk the melted butter, sugar, eggs, and vanilla until the mixture looks glossy and smooth, then stir in the flour, cocoa, and salt just until no dry streaks remain. The batter should be thick but spreadable. If you beat it hard after the flour goes in, the brownie can turn tough instead of dense, and that’s the opposite of what this dessert needs.
Making the Cookie Dough
Beat the softened butter with both sugars until it looks lighter and a little fluffy, then add the egg and vanilla. Stir in the flour, baking soda, and salt only until combined, then fold in the chips. The dough should hold its shape when scooped; if it looks loose, the butter was too warm or the flour was undermeasured.
Layering Without Smearing
Drop pieces of cookie dough over the brownie batter, then press them gently into an even layer. Don’t drag the dough across the pan, or the brownie base will streak up through the top and the layers will blend. A patchwork at first is fine; the cookie dough will spread as it bakes and cover the surface evenly.
Knowing When It’s Done
Bake until the cookie top is golden and a toothpick comes out with moist crumbs, not wet batter. Pull the pan when the center still has a little give, because carryover heat finishes the set as it cools. Cutting too early is the fastest way to get messy squares that collapse at the middle.
Three Ways to Make These Cookie Brownies Work for Different Kitchens
Gluten-Free Version
Use a 1:1 gluten-free all-purpose flour blend in both layers. The brownies stay rich, but the cookie top may bake a little more tender and crumbly, so let the pan cool completely before slicing. A blend with xanthan gum works best because it helps the cookie layer hold together.
Double-Chocolate Upgrade
Swap 1/4 cup of the chocolate chips for chopped chocolate so you get uneven puddles of melted chocolate on top. This makes the cookie layer a little richer and more bakery-like, but it also softens the top more, so keep an eye on the bake time near the end.
Less Sweet, Deeper Chocolate
Use dark chocolate chips and replace 1 tablespoon of the granulated sugar in the brownie base with an extra tablespoon of cocoa. The bars will taste less candy-sweet and more like a true chocolate dessert, though the brownie layer will be slightly firmer once cooled.
Storage and Reheating
- Refrigerator: Store in an airtight container for up to 5 days. The brownie layer firms up in the fridge, so the texture becomes a little more dense and truffle-like.
- Freezer: These freeze well. Wrap individual squares tightly and freeze for up to 2 months, then thaw at room temperature while still wrapped so the top doesn’t get sticky.
- Reheating: Warm a square in the microwave for 10 to 15 seconds if you want the chocolate chips soft again. Don’t overheat it, or the cookie top dries out and the brownie loses that fudgy middle.
Answers to the Questions Worth Asking
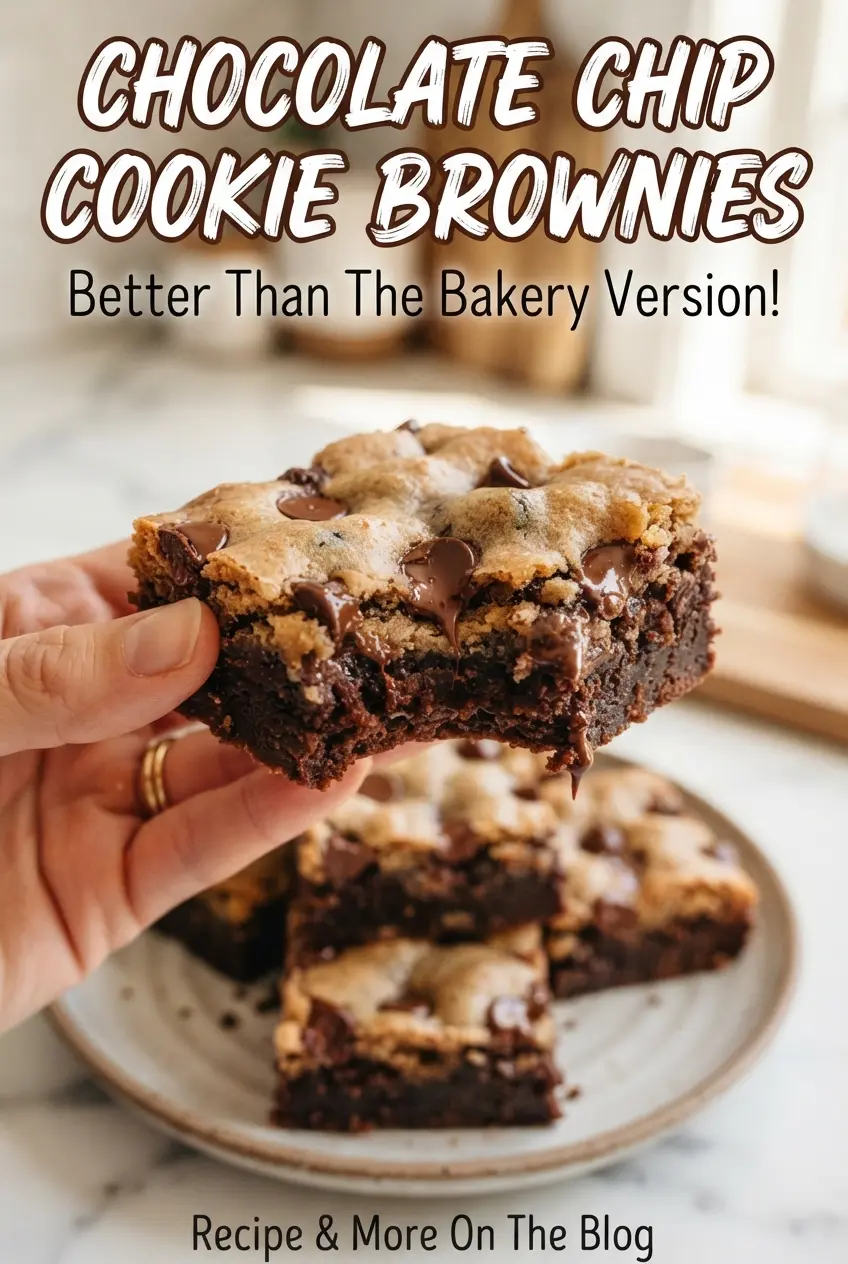
Chocolate Chip Cookie Brownies
Ingredients
Equipment
Method
- Preheat oven to 350F, then line an 8x8-inch pan with parchment so it overhangs for easy lifting later. This helps the brownies release cleanly after baking.
- Whisk melted butter, sugar, eggs, and vanilla until smooth, then stir in flour, cocoa, and salt. Spread the thick batter evenly into the lined pan.
- Beat softened butter, brown sugar, and granulated sugar until fluffy, then beat in the egg and vanilla. The mixture should look lighter in color and slightly aerated.
- Mix in flour, baking soda, and salt until combined, then fold in chocolate chips. The dough will be thick enough to drop in pieces.
- Drop pieces of cookie dough over the brownie batter and gently press into an even layer. Cover the surface so the cookie top bakes uniformly.
- Bake 32-35 minutes at 350F until the cookie top is golden and a toothpick shows moist crumbs. Use the toothpick test on the brownie bottom area for best doneness.
- Cool completely before cutting into squares. Waiting prevents the layers from smearing and helps the fudgy bottom set.