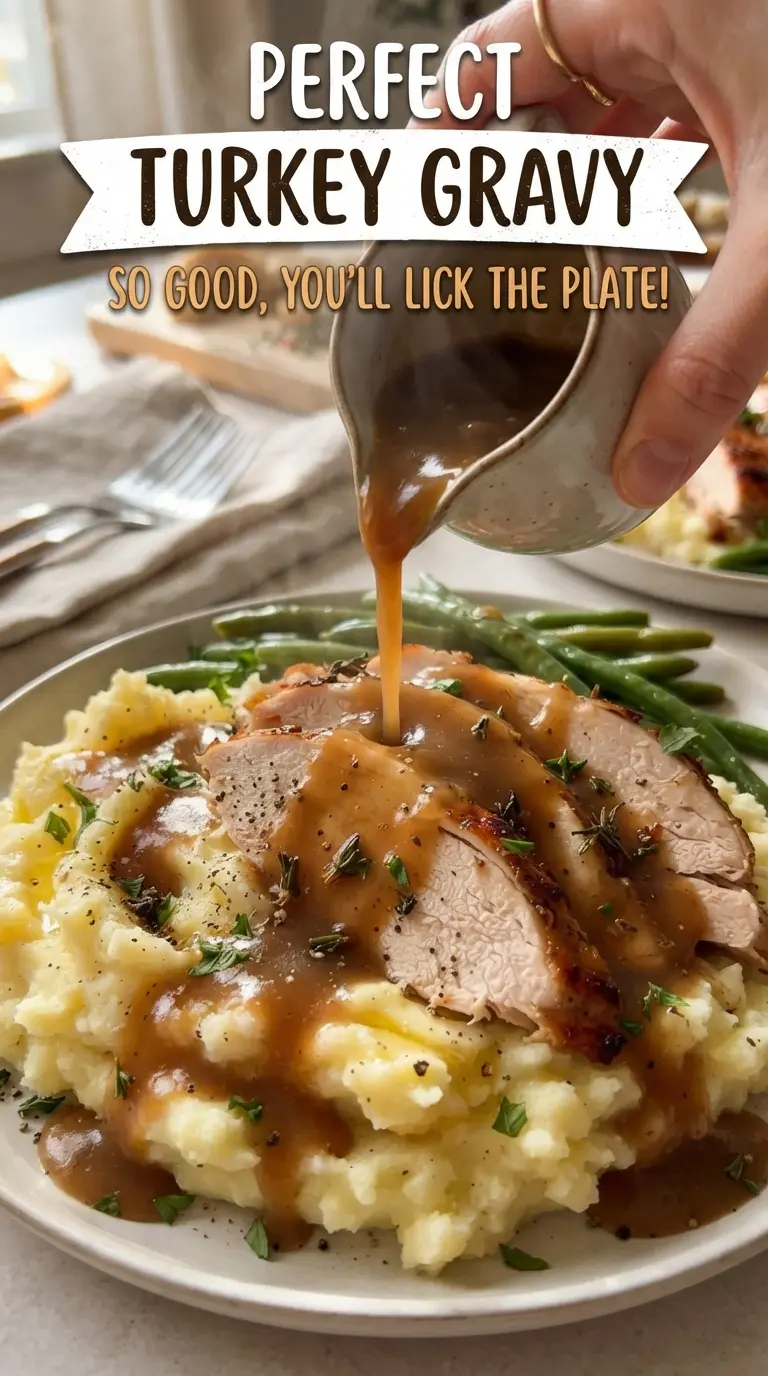
Silky turkey gravy can make the whole plate feel finished in a way nothing else does. It should pour in a slow ribbon, cling to mashed potatoes, and settle around sliced turkey without turning pasty or greasy. When it’s right, you get deep roasted flavor, a glossy sheen, and just enough body to coat the back of a spoon.
This version leans on the pan drippings first, then builds the gravy with a roux and warm stock so it stays smooth. Cooking the flour in the fat until it turns golden takes away that raw, dusty taste and gives the gravy a deeper color. Adding the liquid gradually matters too; dump it in too fast and you’ll fight lumps before the gravy even starts to thicken.
Below, you’ll find the little things that make this gravy dependable every time, including how to rescue it if it gets too thick and how to strain it for the silkiest finish.
The gravy thickened up exactly where it should, and using the pan drippings gave it that rich roasted taste instead of tasting flat. I strained mine and it came out perfectly smooth over the mashed potatoes.
Save this rich turkey gravy for holiday plates, mashed potatoes, and any roasted meat that needs a glossy, savory finish.
The Reason Gravy Turns Lumpy Before It Ever Thickens
The biggest mistake with gravy is adding cold stock too quickly to a hot roux. The flour clumps before it can disperse, and then you’re left whisking hard over heat while trying to break up lumps that should never have formed. Warm stock flows into the roux evenly and gives you a smooth base from the start.
Cooking the roux for 3 to 4 minutes matters just as much. That short window takes the raw edge off the flour and gives the gravy a deeper, toasted flavor without pushing it so far that it tastes nutty or burnt. You’re aiming for a pale golden color, not a dark paste.
If your gravy ever tastes thin and floury, it usually means the roux didn’t cook long enough or the liquid went in unevenly. The fix is patience: keep whisking, let it simmer, and give it time to reach a spoon-coating texture.
What the Fat, Flour, and Pan Juices Are Each Doing
- Turkey pan drippings — This is where the roasted flavor lives. If your pan juices are very lean, use butter for the fat and keep the deglazed juices in the stock so you don’t lose that savory depth.
- All-purpose flour — Flour gives the gravy body and that classic spoon-coating texture. Cornstarch won’t behave the same here; it thickens differently and can turn slick instead of velvety. If you need a gluten-free version, use a gluten-free 1:1 flour blend and cook it in the fat the same way.
- Warm stock plus deglazed pan juices — The stock stretches the flavor and keeps the gravy from tasting salty or flat. Use turkey stock if you have it, but chicken stock works well when the turkey drippings carry enough roasted flavor of their own.
- Fresh thyme and soy sauce — Thyme adds a clean herbal note that cuts through the richness, while soy sauce quietly deepens the color and savory taste without making the gravy taste like soy. Don’t skip the soy sauce if your drippings are mild; it fills in the background in a way plain salt can’t.
Building a Smooth Gravy From the Roasting Pan Up
Separating the Fat
Pour the drippings into a measuring cup and let them sit long enough for the fat to rise. That separation matters because you want the fat for the roux, not the watery juices, or the flour won’t toast properly. Spoon off 1/4 cup of the fat and save every drop of the juices for the stock mixture. If you only have a small amount of fat, top it off with butter so you still get the full amount.
Cooking the Roux
Whisk the flour into the hot fat over medium heat until it looks smooth and sandy, then keep whisking while it cooks for 3 to 4 minutes. It should turn light golden and smell a little toasty, but not dark or burnt. If the heat is too high, the flour can scorch before it thickens anything, and the whole batch will taste bitter.
Whisking in the Liquid
Add the warm stock and the reserved pan juices gradually, whisking constantly so the roux loosens in stages instead of seizing into lumps. The gravy will look thin at first, then start to turn glossy as it heats through. Once the last bit of liquid is in, keep whisking until the surface goes from foamy to smooth.
Finishing to the Right Thickness
Stir in the thyme and soy sauce, then simmer 8 to 10 minutes until the gravy lightly coats a spoon and leaves a clean line when you run a finger through it. If it gets too thick, whisk in a splash of warm stock. If it’s still thin after simmering, give it a few more minutes; rushing the final simmer is what leaves gravy loose and underdeveloped.
How to Adapt This Gravy for Different Tables
Dairy-Free or Butter-Based Backup
If you have pan drippings, you’re already dairy-free. If you don’t, use butter for the fat and the gravy will still come out rich and smooth, just with a slightly softer roasted flavor. Butter browns a little faster than turkey fat, so keep the heat moderate and watch the color closely.
Gluten-Free Gravy
Use a gluten-free 1:1 flour blend in place of the all-purpose flour and cook it in the fat the same way. The texture will still be spoonable and glossy, though it may thicken a touch differently, so judge it by how it coats the back of the spoon instead of by the clock alone.
A Richer, More Savory Gravy
Swap half the turkey stock for extra pan juices if you have a lot of them, or add an extra teaspoon of soy sauce for deeper color and a more pronounced savory finish. Don’t overdo it, though; soy should round out the gravy, not take over the flavor.
Storage and Reheating
- Refrigerator: Keep in an airtight container for up to 4 days. It will thicken as it chills.
- Freezer: Gravy freezes well for up to 2 months. Freeze it in a sealed container and leave a little headspace.
- Reheating: Warm it slowly over low heat, whisking in a splash of stock or water to loosen it. High heat can make it split or turn gluey, especially after chilling.
Questions I Get Asked About This Recipe

Perfect Turkey Gravy
Ingredients
Equipment
Method
- Pour the roasting pan drippings into a measuring cup and let the fat rise to the top, about 5 minutes until you can clearly spoon off the fat layer.
- Spoon 1/4 cup of the fat into a saucepan over medium heat and whisk in the all-purpose flour until smooth.
- Cook the roux for 3-4 minutes, whisking constantly, until the mixture turns golden brown with a nutty aroma (about 350-375°F if you use an instant-read thermometer).
- Gradually whisk in the warm turkey or chicken stock (including deglazed pan juices) until the gravy is smooth and free of lumps.
- Add the fresh thyme leaves and soy sauce, then simmer the gravy for 8-10 minutes, whisking occasionally, until thick enough to coat a spoon and leave a clear line when you run a finger through it.
- Season with salt and pepper to taste, then strain if desired for extra smoothness.
- Serve hot, ladling the gravy over sliced turkey and mashed potatoes; you should see steady steam rising from the surface.