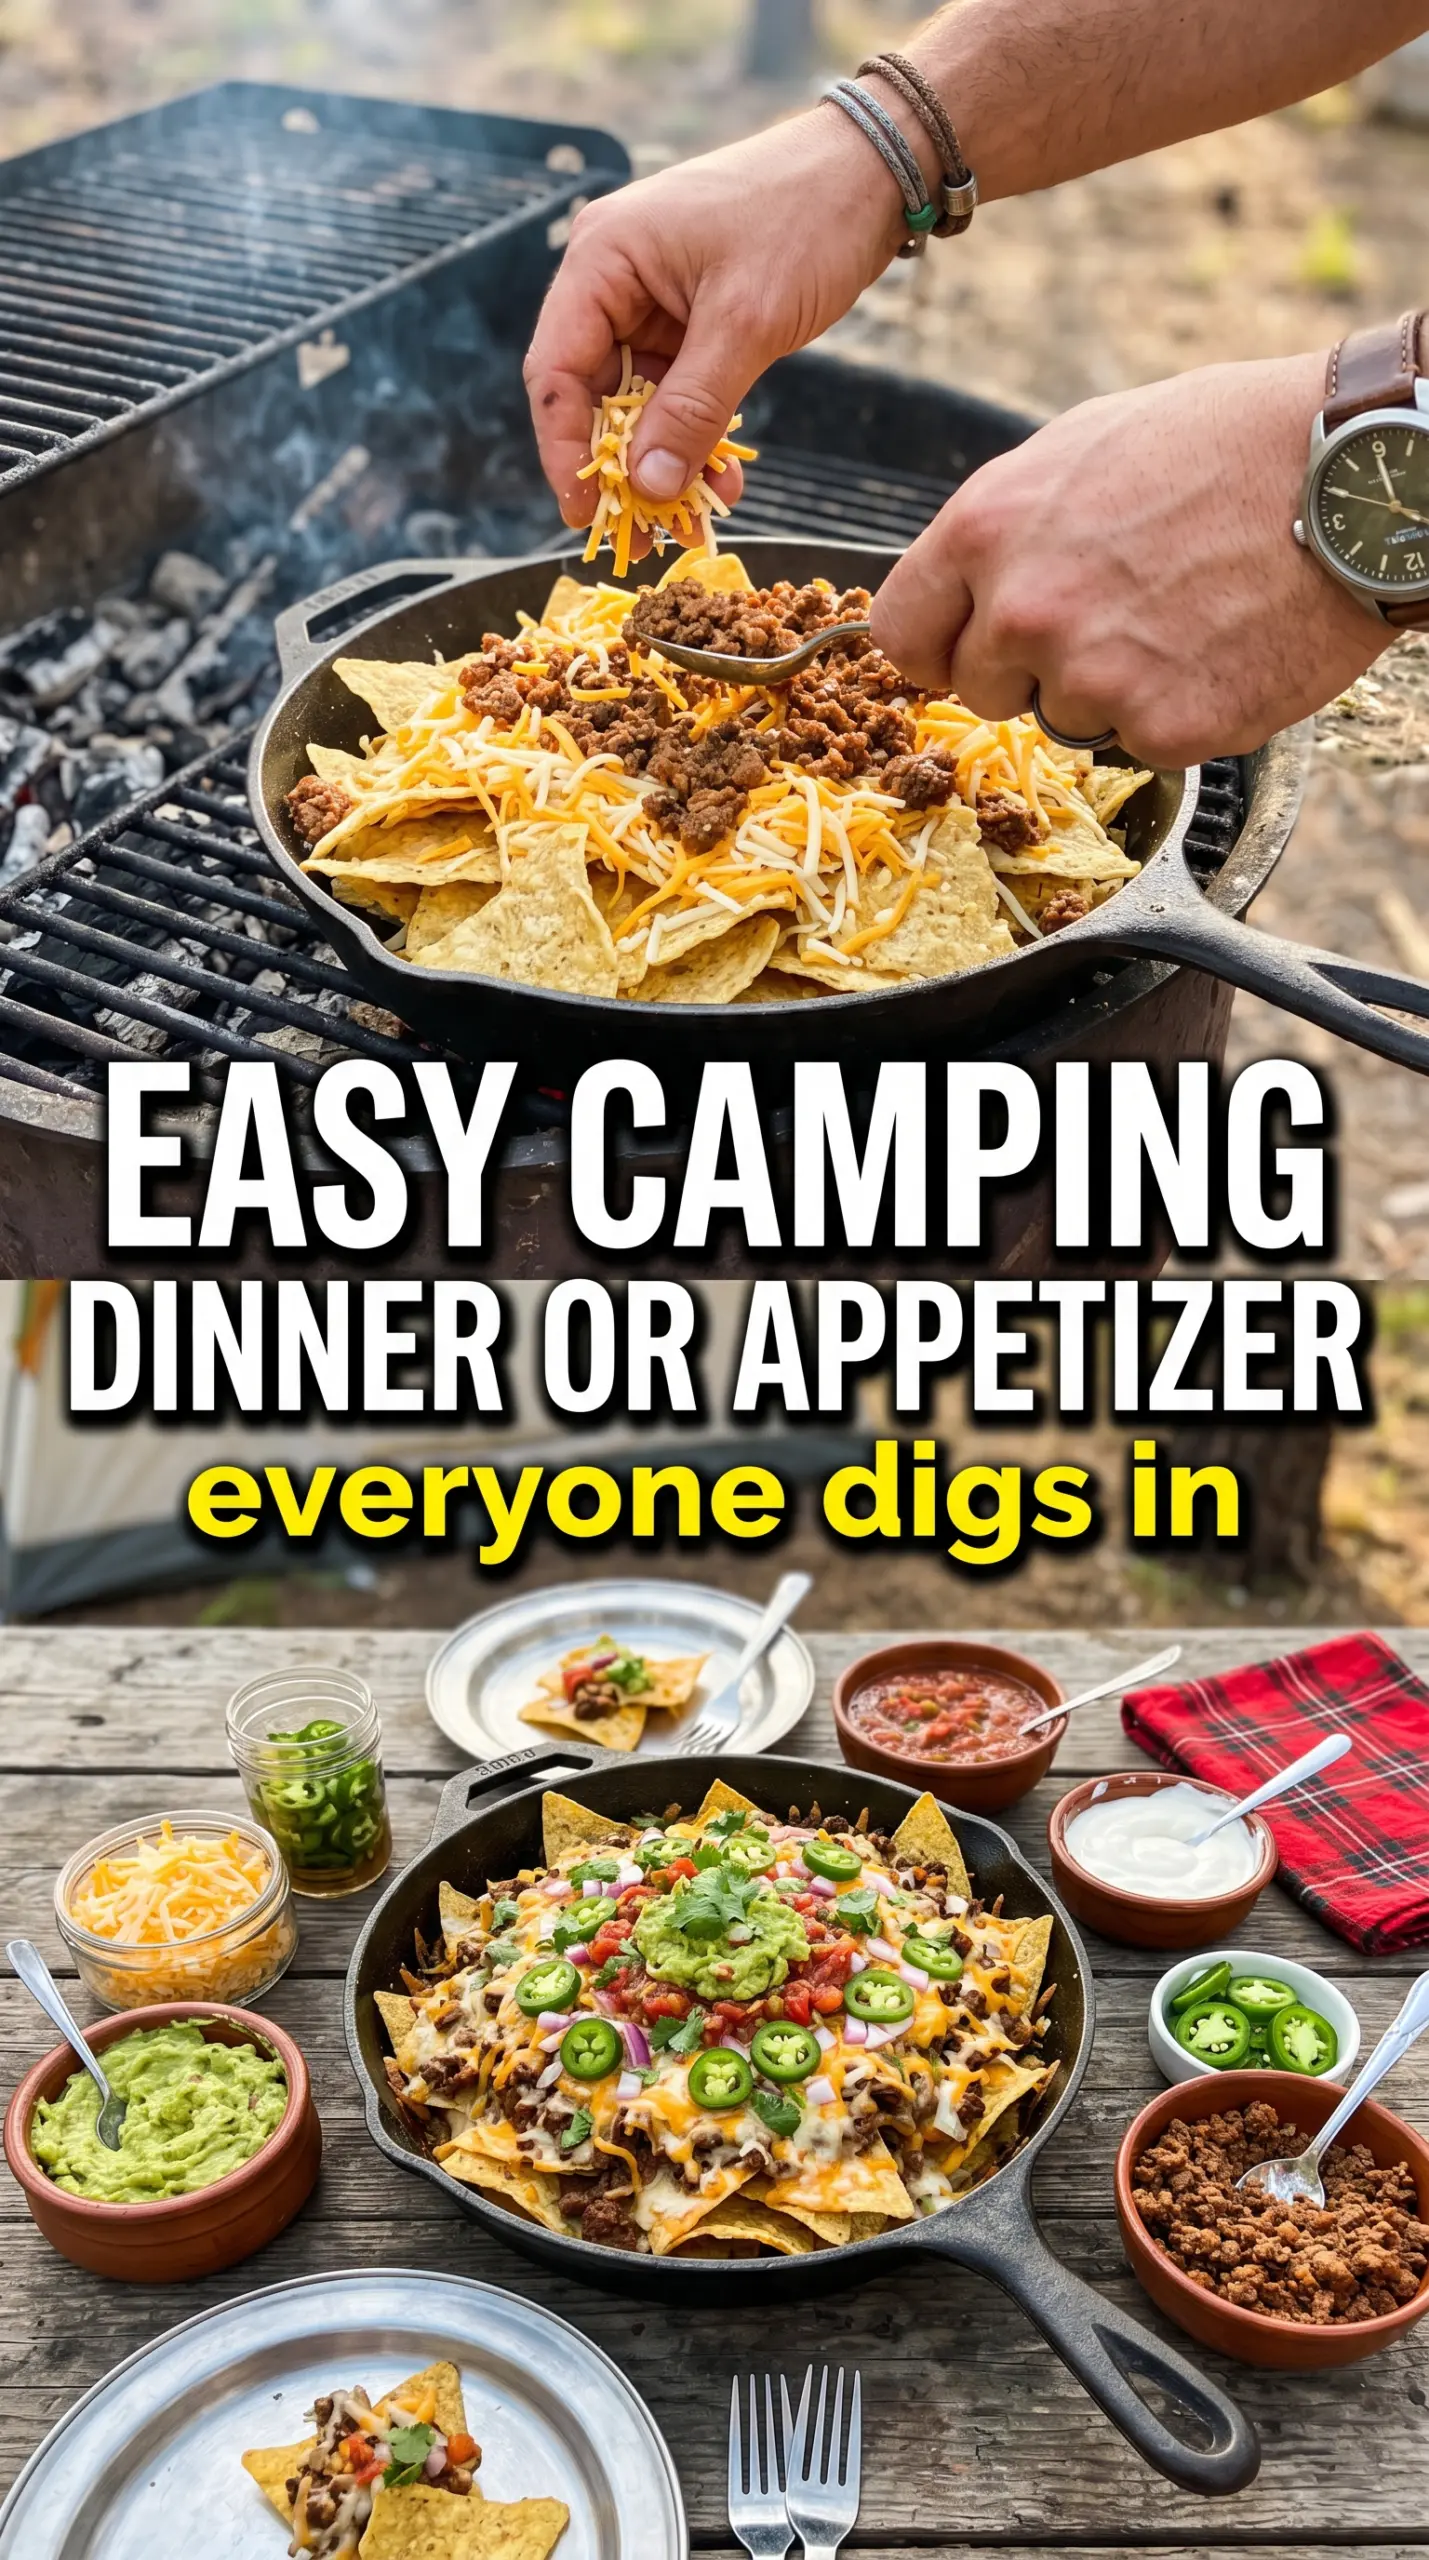
Campfire nachos hit the table fast and disappear even faster, but the good ones need more than a pile of toppings thrown over chips. This version stays crisp at the edges, gets properly melty in the middle, and still feels sturdy enough to carry a loaded bite from skillet to plate. The cast iron does the heavy lifting here, holding enough heat to melt the cheese without turning the bottom layer into mush.
The trick is stacking the toppings in two layers instead of dumping everything on top at once. That gives you chips, meat, beans, corn, and cheese in every bite instead of a bare chip followed by a landslide. The fresh toppings go on after the skillet comes off the heat, which keeps the tomatoes bright, the sour cream cool, and the guacamole from melting into the cheese.
Below you’ll find the small details that matter most: how to keep the chips from going soft, why the order of toppings changes the whole pan, and a few smart swaps for making these work at home, at the campsite, or for a crowd.
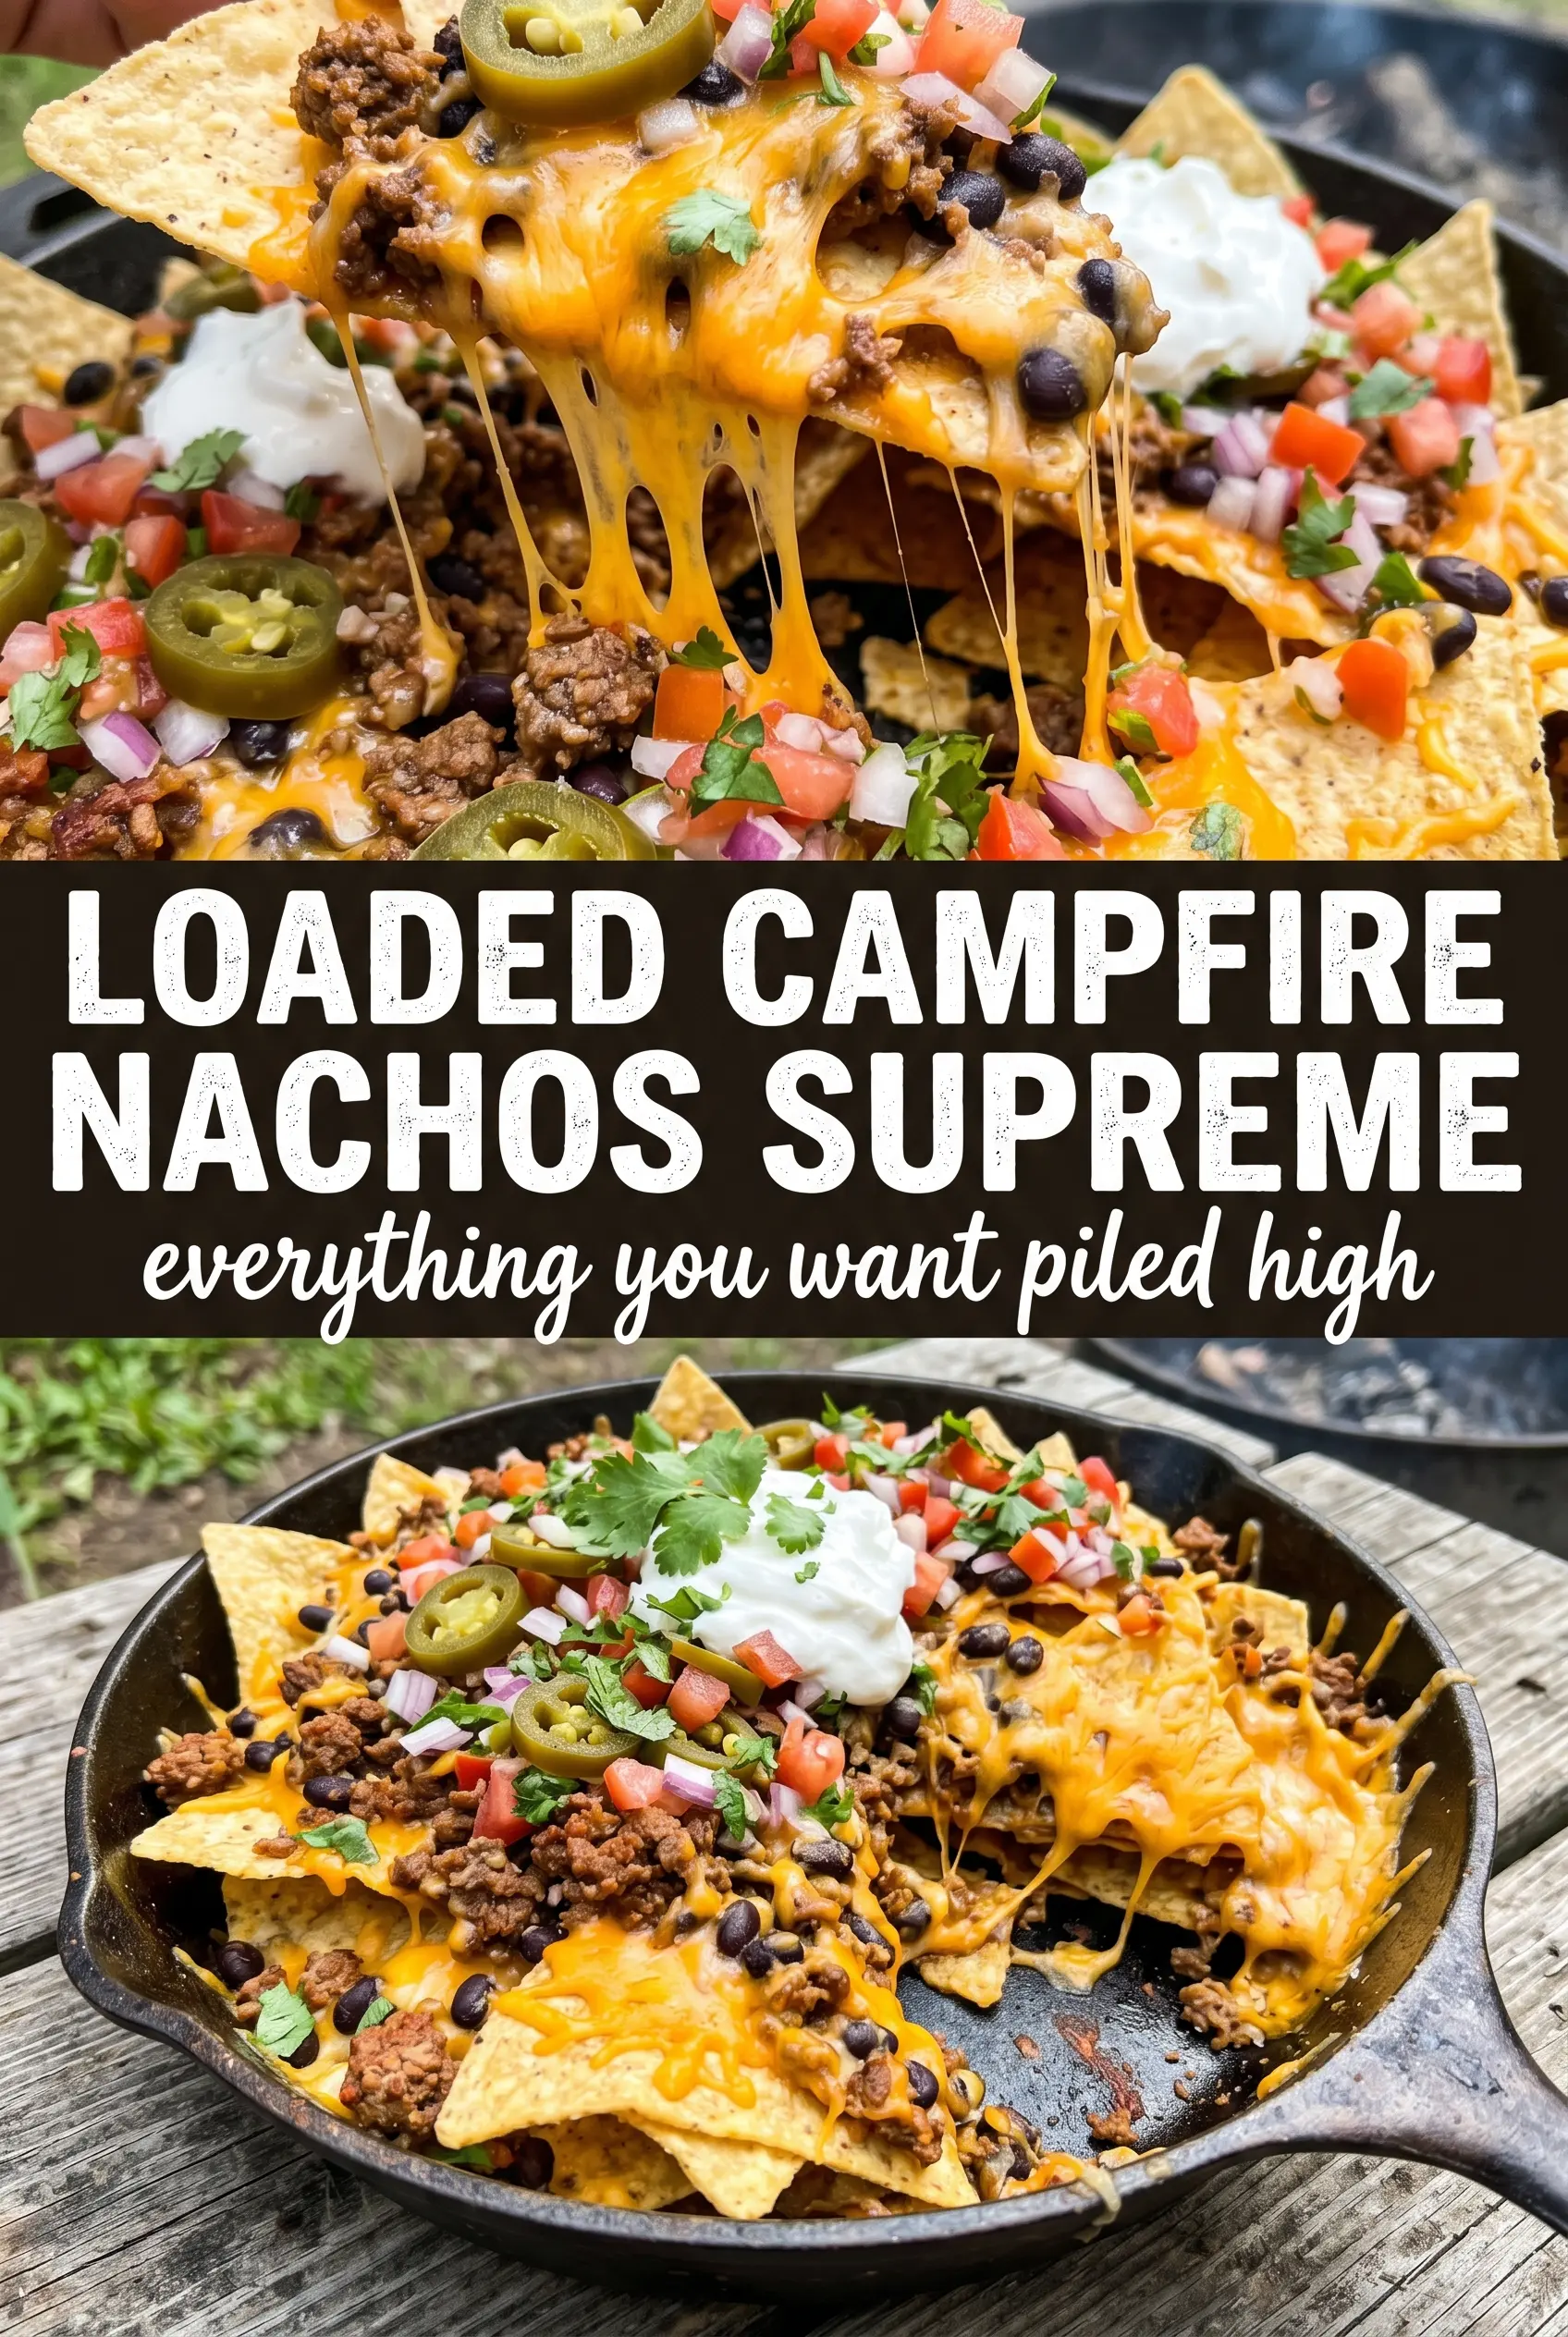
The cheese melted all the way through without making the chips soggy, and layering everything in two rounds meant every scoop had beef, beans, and corn in it. We made this at the campsite and it vanished before the fire even burned down.
Loaded campfire nachos with bubbly cheese and a crisp, layered finish
The Secret to Nachos That Stay Crisp Over the Fire
Most campfire nachos fail for one reason: the chips sit under wet toppings for too long before the cheese has a chance to set. Once that happens, the bottom layer turns limp and the whole skillet eats like a casserole. Two layers solve that problem because the first round of chips gets some direct heat before the second layer is added, which helps create structure instead of a soggy pile.
Cast iron matters here because it holds steady heat over a grate and spreads it through the pan. Aluminum works in a pinch, but it won’t brown or crisp the same way, so keep the heat moderate and watch the cheese closely. If the fire is ripping too hot, the chips at the edges will burn before the center melts.
What Each Topping Is Doing in the Skillet
- Tortilla chips — Use sturdy chips with some thickness. Thin chips collapse once the warm toppings go on, and broken chips at the bottom turn to crumbs fast. A plain salted chip holds up better than heavily flavored ones, which can fight the taco seasoning.
- Ground beef with taco seasoning — This brings the main savory base and helps the nachos feel substantial enough to serve as an appetizer for a crowd. Cook it until the moisture is gone; if it’s wet, the whole skillet steams instead of melts cleanly.
- Mexican cheese blend — The blend melts smoothly and gives you that stretchy, bubbly top. Pre-shredded is fine here, though fresh-shredded melts a touch cleaner if you have the time. The cheese needs to go between the layers, not just on top, so it anchors the fillings.
- Black beans and corn — These add body and keep the nachos from tasting like nothing but beef and cheese. Drain them well. Any extra liquid ends up on the chips.
- Tomatoes, jalapeño, sour cream, guacamole, cilantro, and lime — These finish the dish with freshness, heat, and acidity. They go on after the skillet leaves the fire, because the cold toppings keep their texture and the lime wakes up everything underneath.
Building the Skillet in the Right Order
Start With a Half Layer of Chips
Spread half the chips across the skillet so they overlap a little but don’t pack down into a solid sheet. You want gaps for the melted cheese to sink into. If the chips are crushed flat before the toppings even go on, the bottom turns dense instead of crisp.
Add the First Round of Toppings
Scatter half the beef, beans, corn, and cheese over the chips, keeping the filling even from edge to edge. The goal is coverage without weighing everything down in one spot. An even first layer helps the heat move through the skillet at the same pace.
Repeat and Melt
Add the remaining chips, then repeat the toppings. Set the skillet over medium heat on the campfire grate and let the cheese melt for 12 to 15 minutes, watching for bubbling around the edges and a soft, glossy center. If the pan is too close to the flame, pull it up higher; if the cheese melts but the chips are still pale and dry, give it another minute or two.
Finish Off the Heat
Move the skillet away from the fire before adding the tomatoes, jalapeños, sour cream, guacamole, and cilantro. The residual heat is enough to warm the toppings without wilting them. Serve with lime wedges right away, because once the skillet sits, the chips start softening under the steam.
How to Adapt These Nachos for the Campfire, the Oven, or Different Diets
Oven-Baked Nachos for Home
Bake the layered skillet at 400°F until the cheese is melted and the edges of the chips just start to toast, about 8 to 10 minutes. The oven gives you more even heat than a campfire, so the result is a little less smoky but easier to control. Use the same topping order and finish with the cold toppings after baking.
Vegetarian Nachos With More Texture
Skip the beef and double the beans, corn, and cheese, or add sautéed peppers and onions for more bite. You lose some of the savory depth from the taco-seasoned meat, so add a little extra seasoning to the bean layer. The skillet still feels hearty, and the beans do a good job carrying the rest of the toppings.
Dairy-Free Nachos That Still Melt Nicely
Use a good melting dairy-free shreds blend and add a little extra guacamole for richness on top. The texture won’t be as stretchy as the dairy version, so keep the heat gentle and don’t rush the melt. A heavy, evenly layered skillet helps the dairy-free cheese soften more evenly.
Make-Ahead Topping Prep for a Crowd
Cook the beef and prep the vegetables earlier in the day, then store everything separately until you’re ready to assemble. The chips need to stay sealed and dry, and the fresh toppings should be kept cold. Assemble only when the fire is ready so the chips don’t pick up any moisture before they hit the heat.
Storage and Reheating
- Refrigerator: Leftover assembled nachos keep for 1 day, but the chips soften quickly and the texture changes a lot.
- Freezer: These don’t freeze well once assembled. Freeze the cooked beef on its own if you want to get ahead, then build fresh nachos later.
- Reheating: Reheat the meat separately, then make a fresh skillet of chips, cheese, and toppings. If you try to revive already assembled nachos, the chips go limp before the cheese gets hot.
Answers to the Questions Worth Asking
Campfire Nachos Supreme
Ingredients
Equipment
Method
- Layer half the tortilla chips in a large cast iron skillet or aluminum pan to form an even base with visible chip coverage.
- Top with half the taco-seasoned ground beef, black beans, corn, and the shredded Mexican cheese blend so the cheese can melt between layers.
- Add remaining tortilla chips and repeat with the remaining beef, beans, corn, and cheese for a tall, stacked skillet.
- Place the skillet on a campfire grate over medium heat and cook for 12-15 minutes, until the cheese melts and turns bubbly. Keep it at medium so the chips get hot without scorching.
- Remove the skillet from heat and immediately top with diced tomatoes and sliced jalapeño for fresh crunch.
- Spoon on sour cream and guacamole so they sit on warm chips and soften slightly.
- Sprinkle chopped cilantro over the top to add a fresh finish.
- Serve immediately with lime wedges on the side for squeezing at the table.


