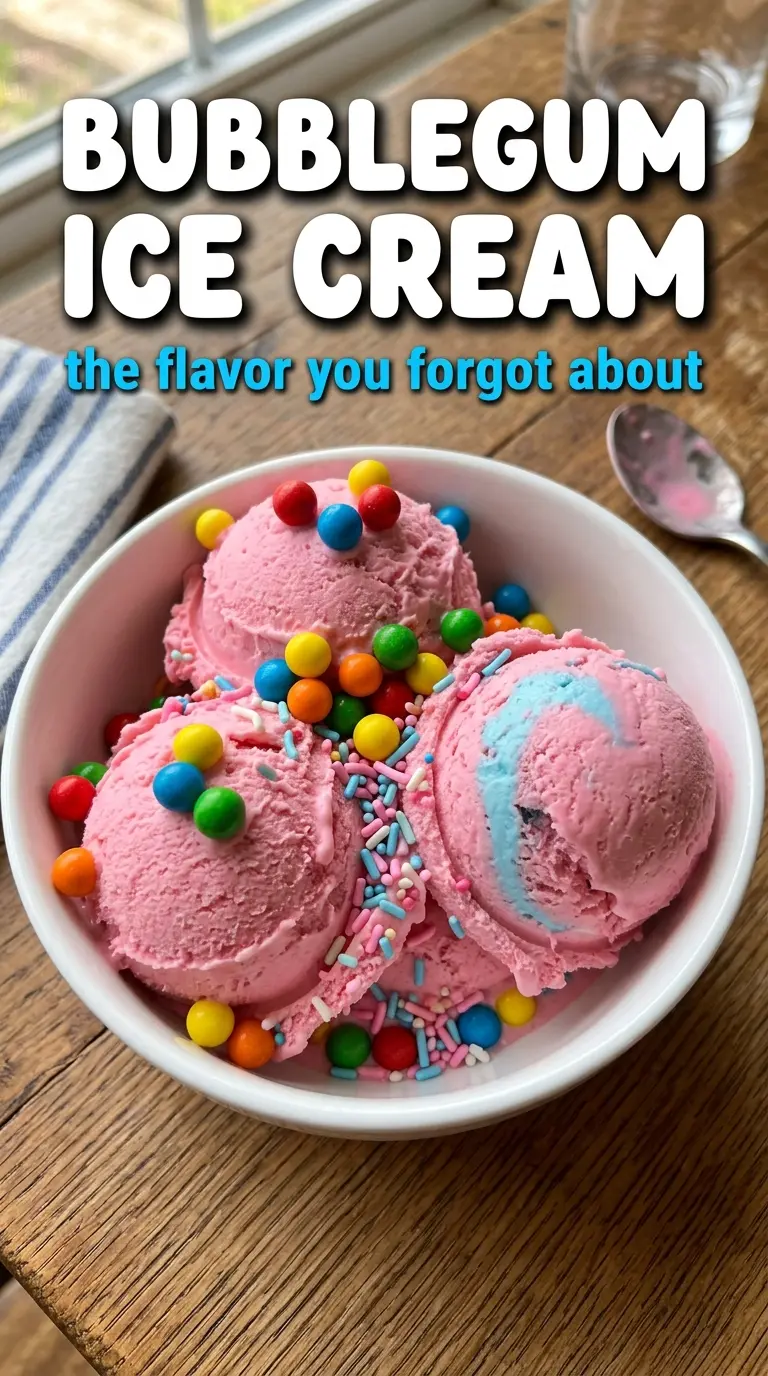
Vivid pink bubblegum ice cream has a way of stopping people at the freezer door. The flavor is playful and unmistakable, but the texture is what makes this version worth making at home: smooth, rich, and scoopable, with rainbow sprinkles folded through at the end so they stay bright instead of bleeding into the base. Every bite tastes like a birthday party in a bowl, only better because the custard is made the right way.
The difference here is the custard. Egg yolks give the ice cream body, and cooking the base to 175°F keeps it thick without tasting eggy. Bubblegum flavoring goes in after straining, when the custard has already done its cooking, so the aroma stays clean and sweet instead of fading on the stove. A little vanilla rounds out the candy note, and the pink coloring is there for fun, not because it changes the flavor.
Below, you’ll find the exact point where the base should be cooled before churning, plus the trick for folding in sprinkles without turning the whole batch muddy. If you’ve ever wanted a homemade ice cream that looks as cheerful as it tastes, this is the one.
The custard came out silky and the bubblegum flavor was spot-on without tasting fake. I loved that the sprinkles stayed bright and didn’t turn the whole batch gray after churning.
Love the bright pink color and real bubblegum flavor? Save this bubblegum ice cream for the next birthday, sleepover, or just-fun dessert night.
The Custard Base Needs Gentle Heat, Not Guesswork
The biggest mistake with homemade ice cream is rushing the custard. If the heat is too high, the egg yolks scramble and the base turns grainy. If you stop too soon, the ice cream never gets that full, velvety body that makes each scoop hold its shape instead of melting into a puddle the second it hits the bowl.
For this recipe, the sweet spot is 175°F. That’s hot enough to thicken the custard and coat a spoon, but not so hot that the yolks turn into tiny curds. Stir constantly once the mixture goes back on the stove. You want slow, steady heat and patience. If the custard looks slightly thickened and leaves a clear trail when you drag a finger through the back of a spoon, it’s ready to strain.
Straining matters here. It catches any tiny bits of cooked egg and gives you the smoothest possible base before the flavoring goes in.
What Each Ingredient Is Actually Doing in the Pink Scoop
- Heavy cream — This brings the rich, scoopable texture. There isn’t a true substitute if you want the same melt-in-your-mouth finish, but you can replace a small portion with more milk if you want a lighter ice cream. The result will be less plush.
- Whole milk — Milk keeps the base from becoming too dense. Lower-fat milk will work in a pinch, but the final ice cream won’t have the same rounded texture.
- Egg yolks — These thicken the custard and help the ice cream freeze smooth instead of icy. Temper them slowly with the hot dairy so they warm gradually and don’t curdle.
- Bubblegum flavoring extract — This is the star, so use a flavoring you actually like straight from the bottle. Some extracts are harsher than others, and the cheap artificial ones can taste flat if you use too much.
- Pink food coloring — Purely for the look. Gel coloring gives a more vivid color with less liquid, but regular liquid coloring works if that’s what you have.
- Rainbow sprinkles — Add them at the end of churning so they keep their shape and color. Longer churn time can bleed the colors into the base.
- Small bubblegum pieces — Optional, but they add a playful chew and make the ice cream feel extra nostalgic. Use only soft, small pieces; big or very hard pieces freeze too firm.
Churning the Custard and Keeping the Mix-Ins Bright
Tempering the Yolks
Whisk the sugar into the egg yolks until the mixture looks thick and pale, then slowly drizzle in the hot cream and milk while whisking constantly. This step warms the yolks little by little, which keeps them from seizing into scrambled bits. If you pour too fast, the eggs cook on contact and the base turns lumpy before it ever reaches the stove.
Cooking to the Right Thickness
Return everything to the saucepan and cook over medium-low heat, stirring the whole time, until the custard reaches 175°F. Don’t chase a boil. A boil is too aggressive for yolks and can make the base taste cooked instead of creamy. Once it coats the spoon and holds a clean line when you swipe a finger across it, pull it off the heat and strain it right away.
Adding Flavor After Straining
Stir in the bubblegum flavoring, vanilla, salt, and pink coloring after the custard has been strained. This keeps the flavor bright and gives you control over the final color. If you add the extract while the custard is still cooking, some of that candy-like top note fades and the ice cream tastes less vivid.
Chilling, Churning, and Finishing
Cover the custard and chill it until completely cold, at least 4 hours. Warm base doesn’t churn properly, and you’ll end up with a soft, slushy texture instead of a firm scoop. Churn until it’s thick like soft-serve, then add the sprinkles and bubblegum pieces in the last 2 minutes so they stay visible. Transfer to a freezer container and freeze until firm.
How to Adapt This Bubblegum Ice Cream Without Losing the Fun
Dairy-Free Version
Use full-fat canned coconut milk in place of the cream and whole milk. The texture will be a little softer and you’ll taste a faint coconut note, but the custard base still churns well and gives you a rich frozen dessert. Keep the flavoring and color the same.
Without Egg Yolks
You can make a no-cook version with more cream, more milk, and a little extra stabilizer, but it won’t have the same custardy body. It freezes a bit icier and softens faster on the counter, so serve it straight from the freezer. The flavor still works, but the texture changes noticeably.
Gluten-Free and Kid-Friendly Toppings
The base is naturally gluten-free, so the main thing to watch is the sprinkles and any mix-ins. Most rainbow sprinkles are fine, but check the label if you’re serving someone with celiac disease. You can also swap the bubblegum pieces for crushed gluten-free candy or leave them out entirely.
Extra-Sweet Party Version
Fold in extra sprinkles or a few mini marshmallows at the end of churning for a birthday-party look. Keep the add-ins small so they distribute evenly, and don’t overload the base or it gets hard to scoop cleanly after freezing.
Storage and Freezing
- Refrigerator: Chill the custard up to 24 hours before churning. After that, the flavor is fine but the texture is no longer at its best.
- Freezer: Freeze in an airtight container for up to 2 weeks for the best texture. It will still be safe after that, but the ice crystals grow larger over time.
- Serving: Let it sit at room temperature for 5 to 10 minutes before scooping. If you try to serve it straight from a rock-hard freezer container, the scoops will tear instead of release cleanly.
Answers to the Questions Worth Asking
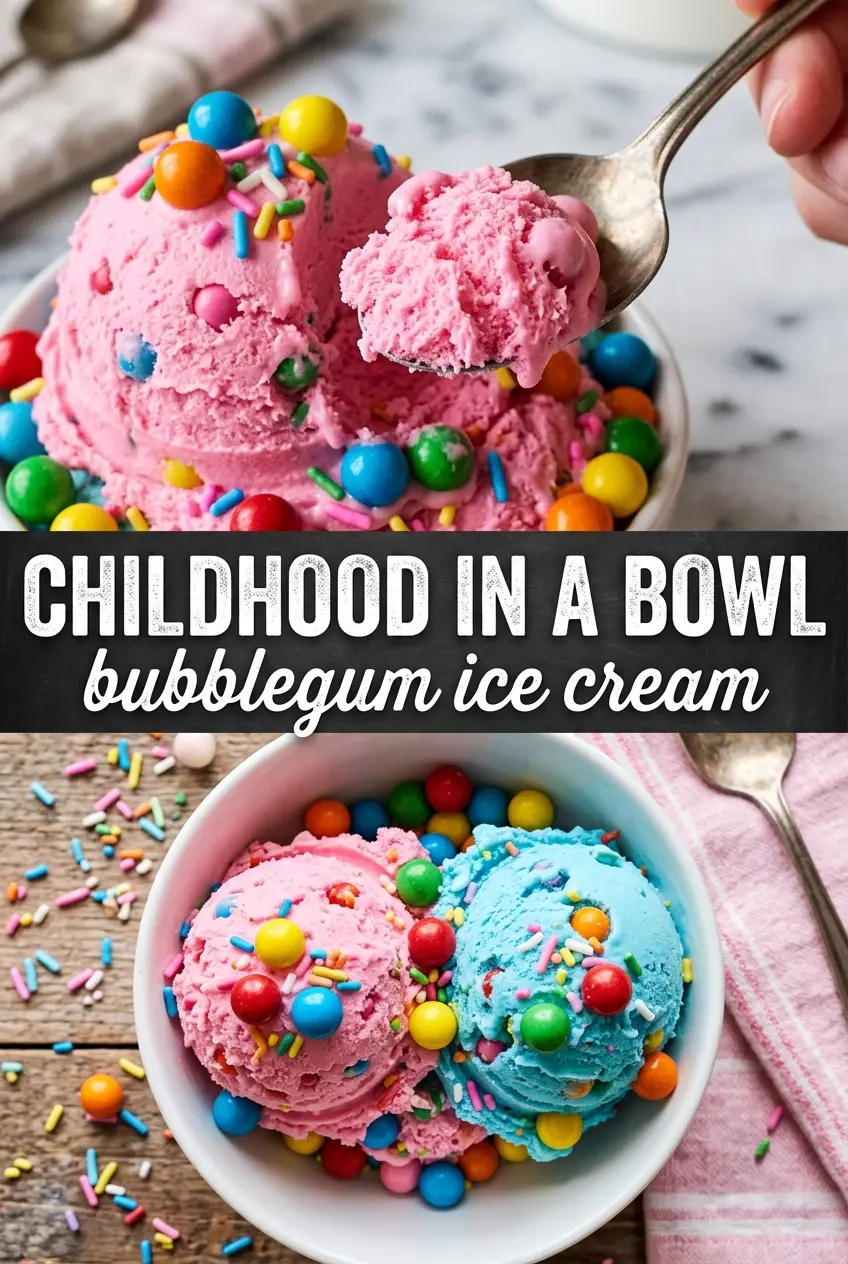
Bubblegum Ice Cream
Ingredients
Equipment
Method
- In a saucepan, heat the heavy cream and whole milk until steaming, then slowly whisk the hot mixture into the egg yolks that have been beaten with the granulated sugar. Keep whisking to avoid scrambling the yolks, aiming for a smooth, glossy mixture.
- Return the custard to the saucepan and cook, stirring constantly, until it reaches 175F. As soon as it thickens enough to coat a spoon, strain it and stir in the bubblegum flavoring extract, vanilla extract, and salt.
- Stir in pink food coloring to reach your desired vivid bright pink color, then cool completely at room temperature before refrigerating for 4 hours. Chill until thoroughly cold so the custard churns smoothly.
- Churn the chilled custard in an ice cream maker until it becomes a soft-serve consistency. For best flavor and texture, fold in the rainbow sprinkles and small bubblegum pieces during the last 2 minutes.
- Transfer the churned ice cream to a container and freeze until firm. Freeze until scoopable with no wet pockets in the center.


