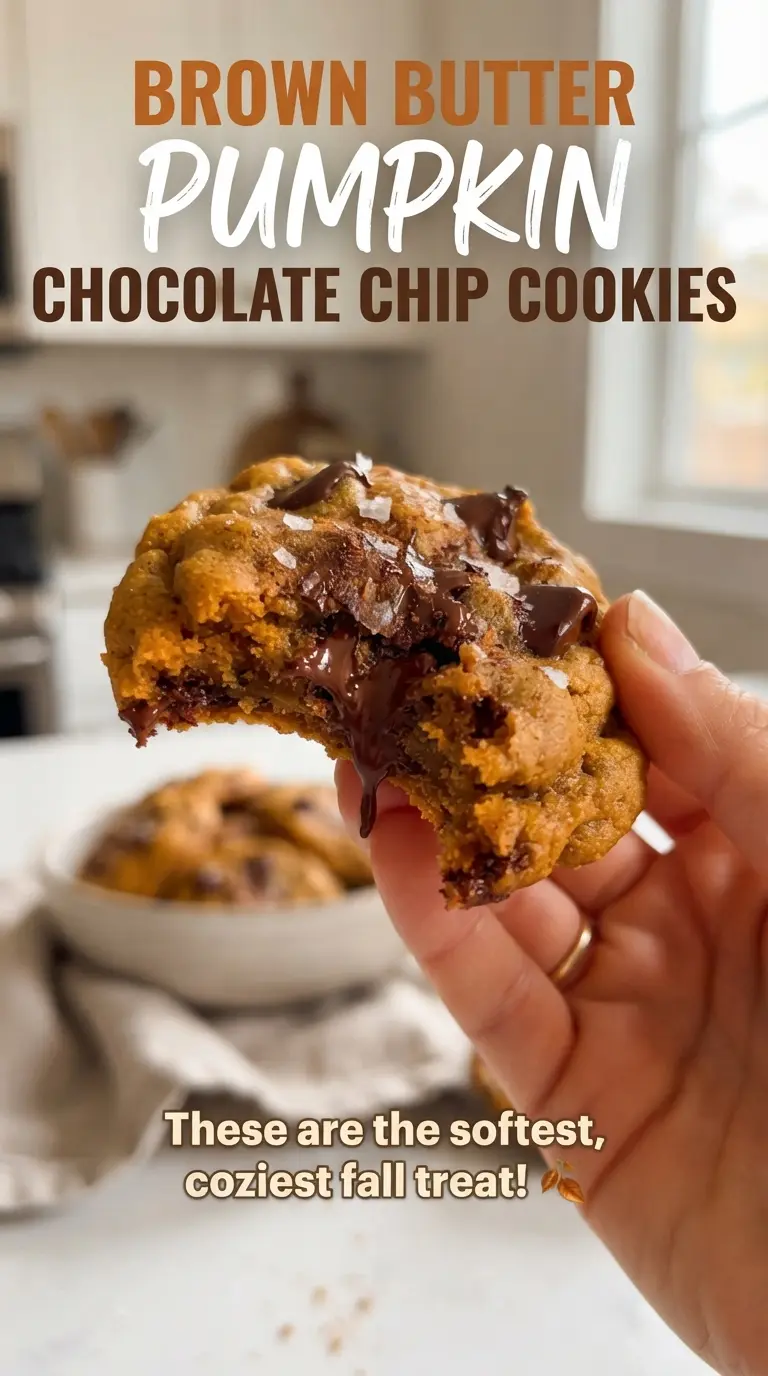
Brown butter pumpkin chocolate chip cookies bake up with chewy edges, soft centers, and those crinkled tops that make a cookie tray look pulled from a bakery case. The pumpkin stays in the background where it belongs, adding moisture and a gentle earthy sweetness without turning the cookies cakey. What you get is a cookie that tastes like fall spices and toasted butter, but still eats like a proper chocolate chip cookie.
The key is keeping the pumpkin under control. Blotting it first pulls off extra water, which keeps the dough from spreading poorly or baking up heavy. Browning the butter does more than add flavor; it gives the dough a deeper, nutty backbone that balances the brown sugar and the chocolate. A short chill gives the flour time to hydrate and helps the cookies hold their shape in the oven.
Below you’ll find the small details that make the difference between cookies that bake up soft and chewy and cookies that come out puffy or wet in the middle. The technique is straightforward, but a few smart choices make this recipe dependable.
I thought the pumpkin would make these cakey, but blotting it first and chilling the dough gave me thick cookies with soft centers and those little crinkled tops. The brown butter flavor came through even with the chocolate chips.
Save these brown butter pumpkin chocolate chip cookies for the batch with chewy edges, soft spiced centers, and melted chocolate in every bite.
The Reason These Cookies Stay Chewy Instead of Turning Cakey
Pumpkin cookie dough has one big problem: too much moisture. That extra water pushes cookies into muffin-like territory unless you control it before the dough ever hits the bowl. Blotting the pumpkin is the difference between a cookie that spreads with chewy edges and one that bakes up thick, damp, and a little spongy.
The other thing doing the heavy lifting is the brown butter. Once the milk solids toast, the butter picks up a nutty flavor that tastes deeper than plain melted butter and keeps the pumpkin from tasting flat. Using only an egg yolk also helps keep the crumb tender without adding extra structure that would make the cookies dry.
- Blotted pumpkin puree — This removes surface moisture, which keeps the dough from getting slack. Pack the puree onto paper towels and press gently until it looks thicker and less wet.
- Brown butter — Plain melted butter works in a pinch, but you lose the toasted, nutty flavor that makes these cookies stand out. Let it cool for about 10 minutes so it doesn’t scramble the yolk or melt the sugars too fast.
- Egg yolk — The yolk adds richness and chew without the extra water in the white. If you use a whole egg, the cookies bake up softer and more cake-like.
What the Pumpkin, Butter, and Spice Are Really Doing Here
- Unsalted butter — Browning it is the whole point. Salted butter can work, but the salt level gets harder to control once the butter cooks down, so I stick with unsalted here.
- Pumpkin puree — Use plain pumpkin puree, not pumpkin pie filling. Pie filling is already sweetened and spiced, which throws off both the flavor and the texture.
- Brown sugar and granulated sugar — Brown sugar brings moisture and a light caramel note, while granulated sugar helps the edges set and lightly crisp. That combination keeps the cookies chewy instead of dense.
- Pumpkin pie spice and cinnamon — The pumpkin pie spice gives the warm background note, and the extra cinnamon sharpens it just enough to come through after baking. If you only have pumpkin pie spice, use it, but the cookies will taste a little softer and less layered.
- Semi-sweet chocolate chips — These balance the spice better than milk chocolate. Dark chocolate also works if you want a deeper, less sweet cookie.
Getting the Dough to Bake Up Thick, Not Puffy
Brown the butter until the milk solids toast
Melt the butter over medium heat and keep it moving by swirling the pan. It should foam, then the foam will thin out and the bottom of the pan will show golden brown bits with a nutty smell. Pull it off the heat the moment it smells toasted, not burnt, because a few extra seconds can take it from rich to bitter.
Mix the wet ingredients without overworking them
Whisk the cooled brown butter with both sugars until glossy, then add the blotted pumpkin, egg yolk, and vanilla. The mixture won’t look perfectly smooth because pumpkin has texture, and that’s fine. If the butter is still too hot, the egg yolk can turn streaky or start to cook, so let the butter cool before you mix.
Fold in the dry ingredients and stop as soon as the flour disappears
Stir in the flour, baking soda, salt, pumpkin pie spice, and cinnamon just until no dry streaks remain. Overmixing makes the cookies tougher and encourages extra spreading once they bake. Fold in the chocolate chips last, cover the dough, and chill it for 30 minutes so the flour hydrates and the dough firms up enough to scoop cleanly.
Bake until the edges set and the centers still look soft
Scoop the dough into 2-tablespoon mounds and flatten them slightly before baking. They should come out when the edges are set and the centers still look a little underdone, because they finish on the hot pan. If you bake until the centers look fully dry, they’ll firm up too much once they cool.
How to Adapt These Cookies Without Losing the Chewy Center
Make them gluten-free with a cup-for-cup blend
A good 1:1 gluten-free flour blend works here, but the texture will be a little more delicate and less chewy than the original. Choose a blend that already includes xanthan gum, and don’t skip the chill time because gluten-free doughs benefit even more from resting before baking.
Swap the chocolate chips for chopped chocolate
Chopped chocolate melts into bigger pockets and gives the cookies a more dramatic finish on top. Chocolate chips hold their shape better, so this swap changes the look more than the flavor, but the chopped version makes the cookies feel a little richer.
Use dairy-free butter if you need a dairy-free cookie
A plant-based butter spread can work, but you won’t get the same nutty depth from browning. If you go this route, cook it until it smells toasted and the solids at the bottom deepen in color, then keep an eye on the dough since some substitutes soften faster in the oven.
Add chopped pecans for a stronger fall-cookie vibe
A half cup of toasted pecans adds crunch and leans into the brown butter flavor. Toast them first so they stay crisp after baking, and expect the cookies to feel a little more rustic and less chocolate-forward.
Storage and Reheating
- Refrigerator: Store baked cookies in an airtight container for up to 4 days. They stay soft, though the centers get a little denser after the first day.
- Freezer: Freeze the scooped dough balls on a tray, then move them to a freezer bag for up to 2 months. Bake from frozen, adding 1 to 2 extra minutes.
- Reheating: Warm baked cookies in a 300F oven for 3 to 4 minutes or microwave one cookie for about 8 seconds. Too much heat makes the chocolate greasy and dries out the edges.
Answers to the Questions Worth Asking
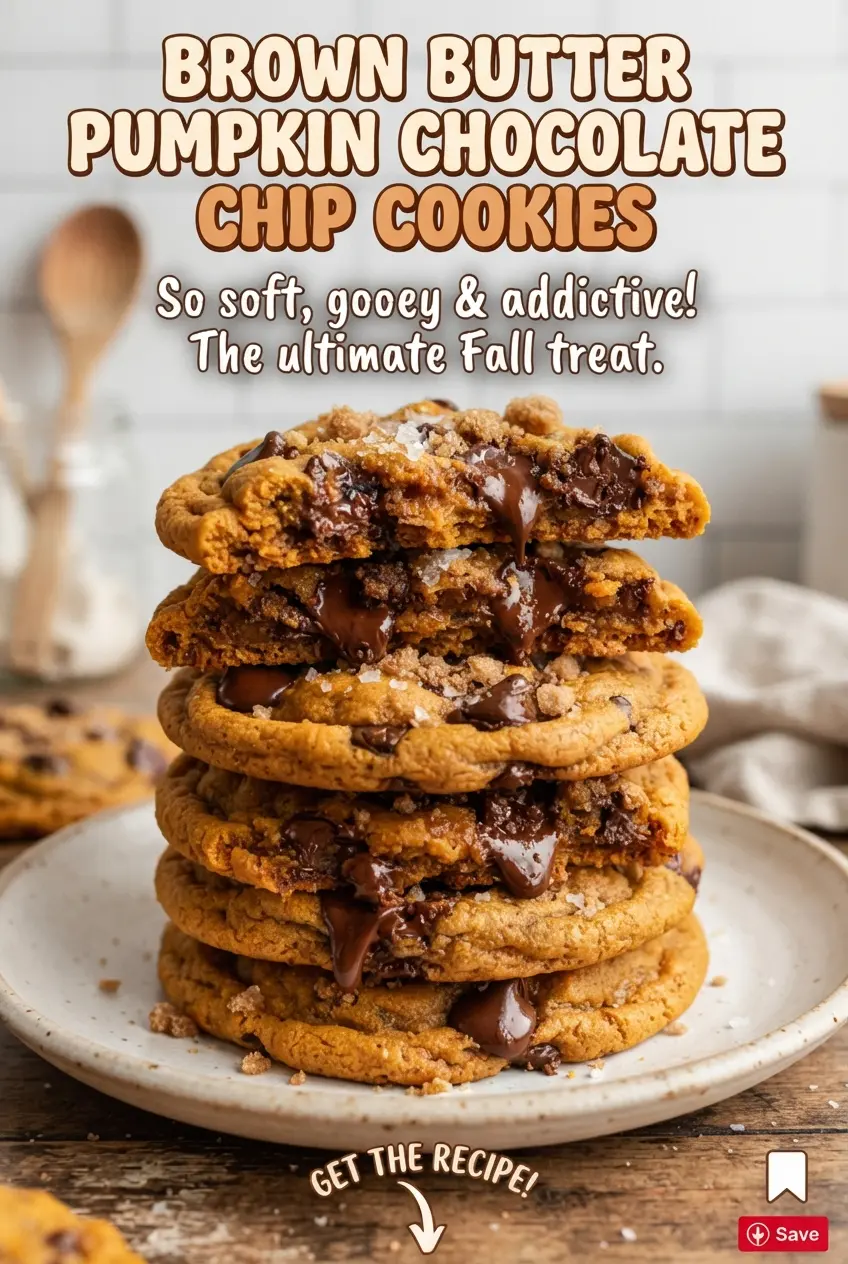
Brown Butter Pumpkin Chocolate Chip Cookies
Ingredients
Equipment
Method
- Melt butter in a saucepan and cook 4-5 minutes, swirling, until golden brown and nutty, then cool 10 minutes (butter should smell toasted).
- Let the browned butter cool until no longer hot to the touch, so it won’t scramble the yolk when mixed.
- Whisk the brown butter with both sugars, blotted pumpkin, egg yolk, and vanilla until smooth and glossy (no streaks of yolk).
- Whisk flour, baking soda, salt, pumpkin pie spice, and cinnamon, then stir the dry mix into the wet mixture until a thick dough forms.
- Fold in the chocolate chips until evenly distributed with some chips visible throughout the dough.
- Chill the dough 30 minutes until slightly firm (dough should hold its shape when scooped).
- Preheat oven to 350F and line baking sheets with parchment, keeping the oven fully preheated before baking.
- Scoop 2-tablespoon balls and flatten slightly to help them spread (aim for uniform sizes).
- Bake 11-13 minutes until edges are set but centers still look soft, then cool 10 minutes on the sheet.