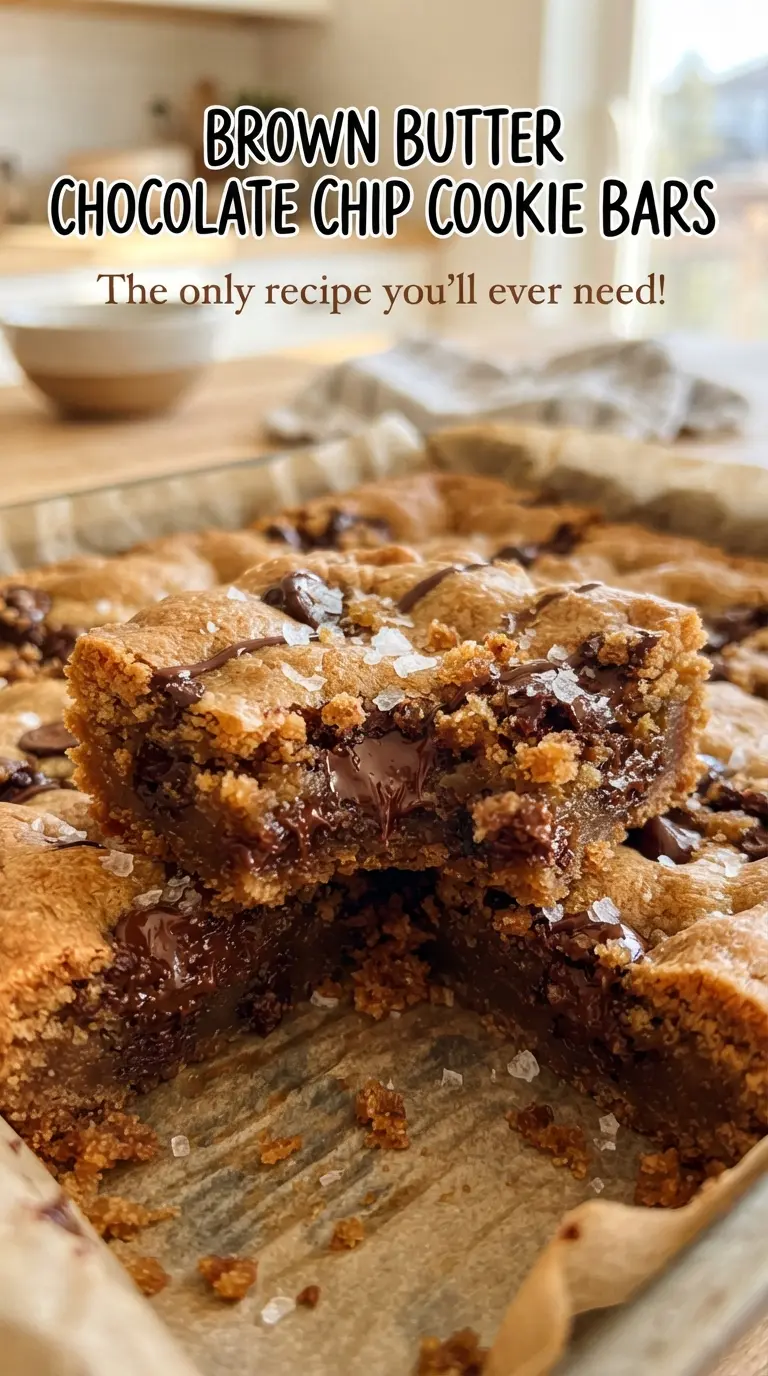
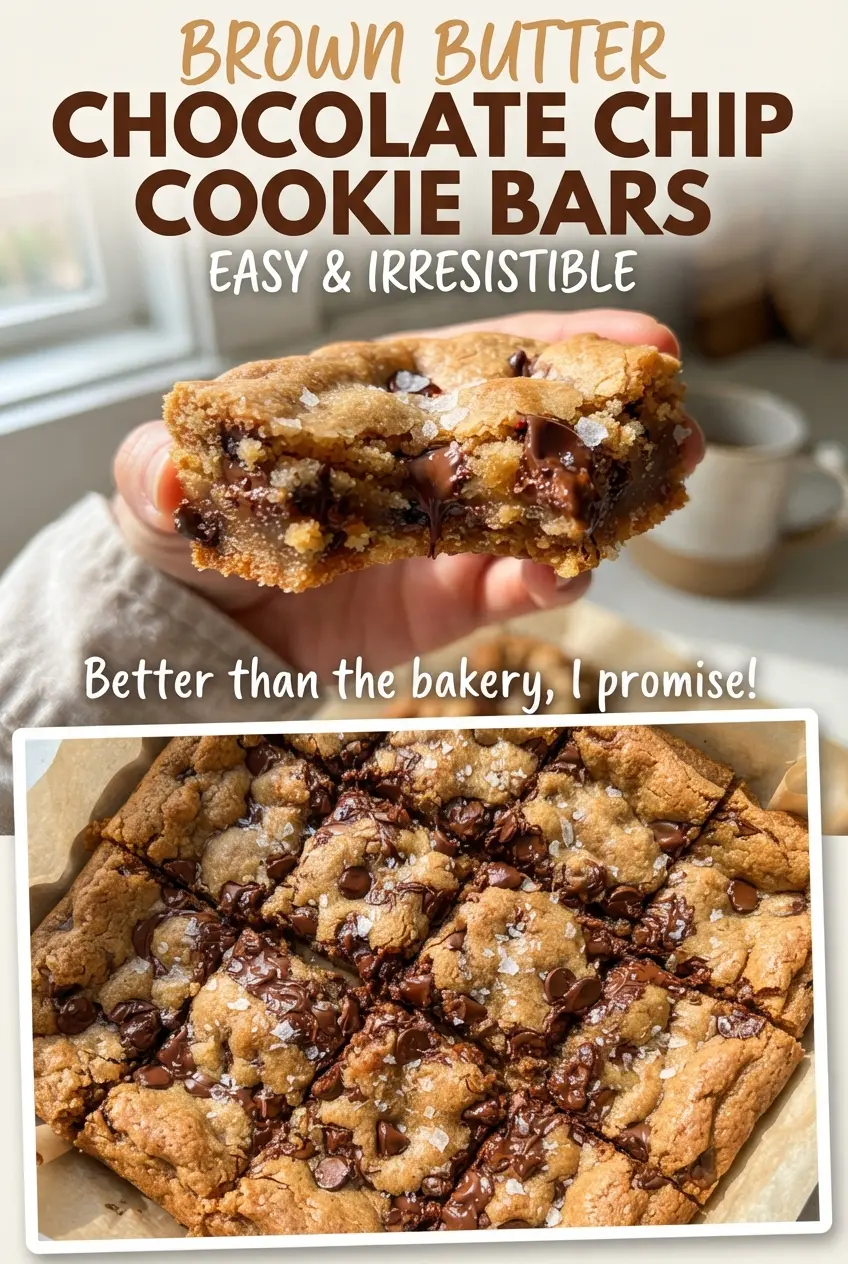
Brown butter chocolate chip cookie bars bake up with crackly tops, chewy centers, and edges that turn just crisp enough to give each square a clean bite. The brown butter adds a deep toasted note that makes the chocolate taste richer and the whole pan smell like a bakery before it even comes out of the oven.
This version keeps the process simple, but it still gives you the payoff of a carefully built cookie. Browning the butter first changes everything: it cuts the raw dairy taste, adds nutty depth, and helps the bars taste more complex without adding extra ingredients. Cooling it before mixing matters too, because hot butter can dissolve the sugars too much and leave the bars greasy instead of dense and chewy.
Below, you’ll find the small details that keep these bars thick, soft in the middle, and easy to cut once they’ve cooled. The chocolate chunk ratio, the bake time, and the flaky salt finish all pull their weight here.
The browned butter gave these bars a nutty, caramel flavor and they stayed chewy even on day two. I cut them once they were fully cool and the squares held together perfectly.
Brown Butter Chocolate Chip Cookie Bars with crackly tops and melty chocolate deserve a spot in your Pinterest dessert board.
The Reason These Bars Stay Chewy Instead of Turning Cakey
Cookie bars can go wrong in two easy ways: they bake up puffy and cakey, or they turn greasy and flat. This pan avoids both by leaning on the brown butter and a careful flour balance. Brown butter brings flavor, but once it cools, it also acts like a softer fat that helps the bars spread just enough without losing their dense, chewy middle.
The other piece that matters is the bake. Pull them when the edges are golden and the center still looks a little soft and set, not fully dry. They keep cooking in the hot pan after they come out. If you wait until the center looks completely done in the oven, you’ll miss the chewy texture and land in dry territory.
What the Brown Butter and Chocolate Chunks Are Doing Here
- Unsalted butter — Browning the butter is the whole point here. It creates a toasted, nutty base you can’t fake with regular melted butter. Salted butter can work in a pinch, but keep the added salt in the recipe or the bars will taste flat.
- Brown sugar — This gives the bars their chew and deeper caramel note. Packed brown sugar holds more moisture than white sugar, which helps the center stay soft after cooling.
- Granulated sugar — The white sugar sharpens the edges and helps create that thin crackly top. Without it, the bars lean too soft and lose some structure.
- All-purpose flour — This is the structure. Too much flour makes the bars dry and bready, so measure carefully and don’t scoop straight from the bag if you can avoid it.
- Semi-sweet chocolate chunks — Chunks give you real pockets of melted chocolate instead of tiny flecks that disappear into the dough. Chips work, but chunks melt into more dramatic pools and make every bite feel more substantial.
- Flaky sea salt — The finish matters. A light sprinkle after baking sharpens the sweetness and brings out the brown butter.
Building the Dough So the Bars Bake Up Thick, Not Greasy
Brown the butter first
Cook the butter over medium heat until it foams, then starts to smell nutty and look golden with brown specks on the bottom. Swirl the pan often so the milk solids brown evenly and don’t scorch. If it goes from golden to dark brown fast, pull it off the heat right away and pour it into a bowl. Let it cool for 15 minutes before mixing so it doesn’t melt the sugars into an oily batter.
Whisk the sugars into the cooled butter
Once the butter is warm, not hot, whisk in both sugars until the mixture looks glossy and a little thick. That step helps dissolve part of the sugar and sets up the crackly top. If the butter is still steaming, wait a few minutes more. Hot butter is what makes cookie bars separate or bake up with a greasy layer on top.
Fold the flour in just until the streaks disappear
Add the flour, baking soda, and salt and stir only until you stop seeing dry patches. Overmixing here builds too much gluten and turns tender bars into something more like bread. Fold in the chocolate chunks at the end so they stay distributed without getting chopped apart by overworking the batter.
Bake until the center is just set
Spread the dough evenly into a parchment-lined 9×13-inch pan and bake until the edges are golden and the center looks set but still soft. A toothpick should come out with a few moist crumbs, not wet batter. If the top looks done but the middle still jiggles a lot, give it a few more minutes; if the whole pan looks firm, it’s already past the chewy point.
How to Adapt These Cookie Bars Without Losing the Texture
Gluten-Free Version
Use a 1:1 gluten-free baking blend that already contains xanthan gum. The bars will still be chewy, but they may need an extra minute or two in the oven and should cool completely before cutting so they don’t crumble.
Milk Chocolate Swap
Swap the semi-sweet chunks for milk chocolate if you want a sweeter bar with softer chocolate pockets. The bars will taste less intense and a little more dessert-shop sweet, which works well if you’re serving kids or pairing them with coffee.
Extra Nutty Version
Stir in 3/4 cup chopped toasted pecans or walnuts with the chocolate chunks. Toasting the nuts first keeps them crisp and deepens the flavor, while the bars stay chewy and rich without needing any other changes.
Storage and Reheating
- Refrigerator: Store in an airtight container for up to 5 days. The bars firm up a little in the fridge, but the center stays chewy.
- Freezer: Freeze cut bars in a single layer, then move them to a freezer bag for up to 2 months. Thaw at room temperature so the texture comes back evenly.
- Reheating: Warm a bar for 10 to 15 seconds in the microwave if you want the chocolate soft again. Don’t overheat it or the bar will dry out and lose the chewy middle.
Questions I Get Asked About These Cookie Bars
Brown Butter Chocolate Chip Cookie Bars
Ingredients
Equipment
Method
- Cook the unsalted butter for 5-6 minutes until it turns golden and smells nutty, watching for brown flecks at the bottom. Remove from heat and let it cool for 15 minutes until warm but not hot (the color should stay amber).
- Preheat the oven to 350°F and line a 9x13-inch pan with parchment. Lightly press the parchment into the corners so the bars lift out cleanly.
- Whisk the brown butter with the brown sugar, then whisk in the granulated sugar until glossy and smooth. Scrape the sides to make sure no dry pockets remain.
- Whisk in the eggs one at a time, then stir in the vanilla extract until the batter looks thick and cohesive. The mixture should turn slightly lighter in color as it combines.
- Stir in the all-purpose flour, baking soda, and salt, then fold until just combined. Stop mixing as soon as no dry flour streaks remain, then fold in the semi-sweet chocolate chunks.
- Spread the dough evenly into the prepared pan, pressing into the corners for uniform thickness. Aim for a level surface so the tops bake crackly all over.
- Bake at 350°F for 22-25 minutes until the edges are golden and the center is just set. Look for a slightly puffed top with darker golden edges.
- Sprinkle flaky sea salt over the warm bars, then cool completely before cutting. The bars should feel firm when pressed lightly at the center.