Apple cider beef stew lands with deep, savory comfort first, then a gentle sweetness that hangs in the background without turning the pot into something heavy or cloying. The beef goes tender, the broth turns glossy, and the apples soften just enough to melt into the cider gravy while still leaving a few bright bites in the bowl. It’s the kind of stew that tastes like it simmered with a plan, not just for a long time.
What makes this version work is the balance: flour on the beef helps the broth thicken as it cooks, tomato paste adds depth, and a splash of apple cider vinegar keeps the cider from reading flat. Cinnamon and thyme sound unusual together at first, but they pull in opposite directions in a good way — earthy, warm, and just sharp enough to keep the stew lively. The apples go in near the end so they don’t disappear completely.
Below you’ll find the small timing details that matter most, plus a few swaps if you need to work with what’s already in the kitchen. The order of each step matters here, especially if you want the beef tender and the gravy rich instead of thin.
The gravy thickened beautifully and the apples held their shape just enough. I was worried the cider would make it too sweet, but the vinegar and thyme kept it balanced, and the beef was fork-tender after the full simmer.
Save this apple cider beef stew for the nights when you want tender beef, glossy gravy, and sweet potatoes in one slow-simmered pot.
The Browning Step That Keeps the Stew from Tasting Flat
Here’s the part that gives this stew its backbone: the beef needs real browning before any liquid goes in. If the pot looks pale when the cider hits it, the finished broth will taste thin no matter how long it simmers. Those dark bits stuck to the bottom are flavor, not waste, and the cider loosens them into the stew where they belong.
Flouring the beef before it hits the pan does two jobs at once. It helps with browning, and it gives the stew a little body later on without making it pasty. The trick is to brown in batches. Crowd the pot and the meat steams; you want a dark crust and a browned surface, not gray cubes sitting in their own juices.
What Each Ingredient Is Actually Doing in This Pot
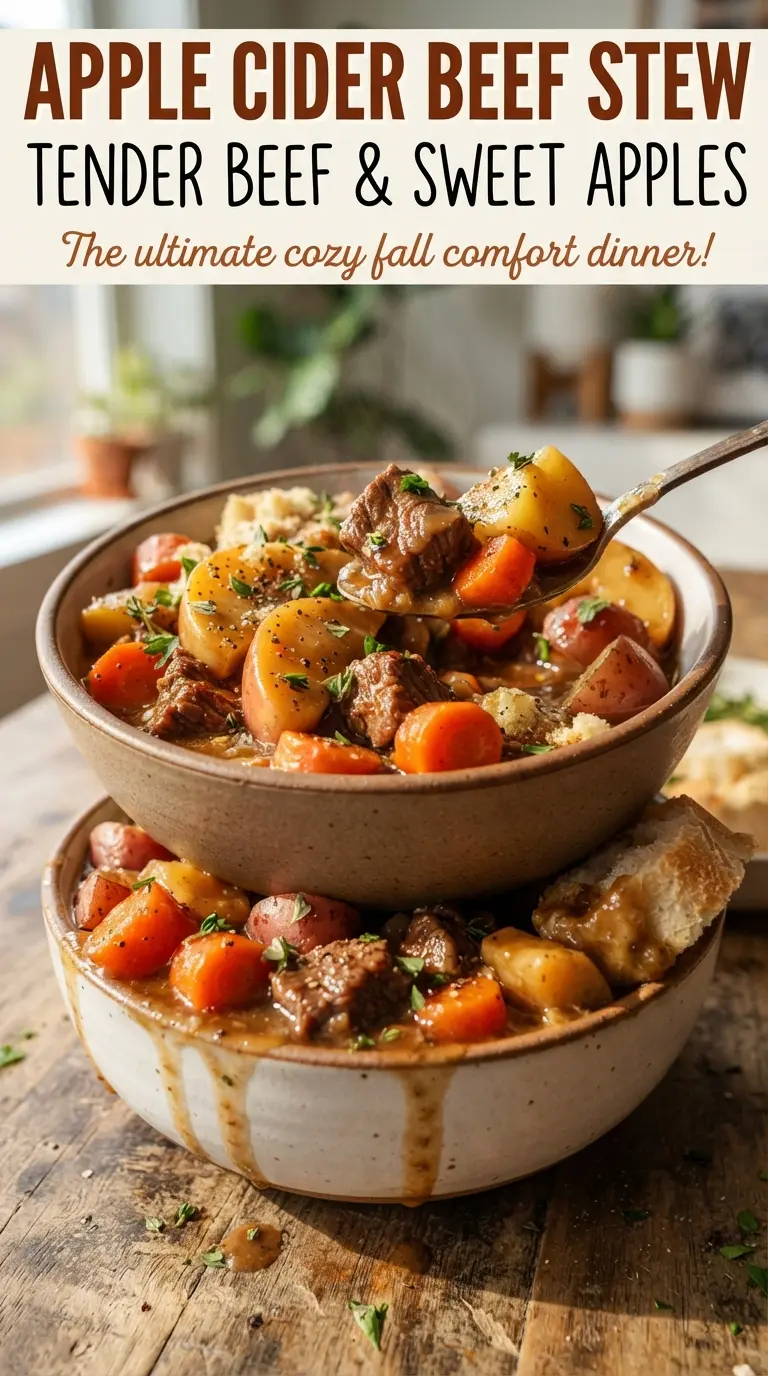
- Beef chuck — This is the cut that holds up to a long simmer and turns tender without shredding into nothing. A leaner stew meat will work in a pinch, but it won’t have the same silky, beefy finish.
- Apple cider — Use real cider, not apple juice. Cider has more depth and a less sugary edge, which matters because it’s carrying the whole sweet-savory balance of the stew.
- Apple cider vinegar — This keeps the cider from feeling heavy. Don’t skip it; the acid wakes up the broth and sharpens the beef flavor.
- Sweet potato and apples — These go in late for a reason. The sweet potato adds body and the apples bring soft bursts of sweetness, but if they simmer from the start they’ll collapse into mush.
- Tomato paste — This is the quiet depth-builder. Cook it with the onions and garlic for a minute so it loses the raw edge and blends into the gravy instead of tasting tinny.
Building the Stew in the Right Order
Brown the Beef First
Season the beef, toss it with flour, and brown it in hot oil in batches. You want a deep brown crust on several sides, not just a gray exterior with a little color. If the pan starts to look crowded, stop and split the batch; the temperature drops fast, and that’s when browning turns into steaming. Move the browned beef to a plate while you build the base.
Cook the Onion Base Until It Smells Sweet
Onion goes into the same pot after the beef, and it should soften and pick up color from the browned bits already there. After about 5 minutes, add the garlic and tomato paste and cook them for another minute. The tomato paste should darken slightly and smell less sharp. If it starts catching hard on the bottom, lower the heat — you want caramelized edges, not burned paste.
Deglaze with Cider and Start the Simmer
Pour in the apple cider and scrape the pot well. This is where the flavor gets lifted off the bottom and folded back into the stew. Add the broth, vinegar, thyme, cinnamon, bay leaves, and browned beef, then bring everything up to a gentle simmer. A hard boil makes the meat tighten up, so keep the heat low enough that the surface is just lazily moving.
Let the Beef Turn Tender Before Adding the Vegetables
Cover the pot and simmer for 1 1/2 hours. By the end, the beef should give when you press it with a spoon and no longer feel chewy at the center. Don’t rush this stage; if the beef isn’t tender yet, the vegetables won’t save it. This is the long stretch where the stew becomes stew.
Add the Vegetables in Stages, Not All at Once
Sweet potato and carrots go in first because they need time to soften without disappearing. After 30 minutes, add the apple chunks and keep cooking for 15 minutes more. That timing keeps the apples intact enough to notice in the bowl while still letting them melt a little into the gravy. Pull the bay leaves before serving so nothing bitter slips into the final spoonful.
Three Ways to Adjust the Pot Without Losing the Point
Make it gluten-free
Skip the all-purpose flour and brown the beef without it, then stir in 1 1/2 tablespoons cornstarch mixed with 2 tablespoons cold water near the end if you want more body. You’ll lose a little of the rustic coating on the beef, but the stew will still thicken nicely.
Use pears instead of apples
Pears soften faster and taste a little rounder than apples, so add them during the last 10 minutes instead of 15. The stew will read a touch softer and less tart, which works if you want a gentler cider flavor.
Make it dairy-free as written
This recipe already skips dairy, so there’s nothing to change. If you want a richer finish without cream, let the stew sit off the heat for 10 minutes before serving so the broth settles and thickens a bit more.
Stretch it for a bigger crowd
Double everything except the salt at first, then adjust at the end after the stew has reduced and the flavors have settled. A larger pot needs a little more simmer time, and if the surface looks dry, add a splash more broth rather than turning up the heat.
Storage and Reheating
- Refrigerator: Keeps for 4 days. The flavor gets even deeper overnight, and the gravy will thicken as it cools.
- Freezer: Freezes well for up to 3 months. Cool it completely first and leave a little headspace so the liquid can expand.
- Reheating: Warm it slowly on the stove over low heat with a splash of broth if needed. High heat can make the beef tough and break the texture of the potatoes and apples.
Answers to the Questions Worth Asking
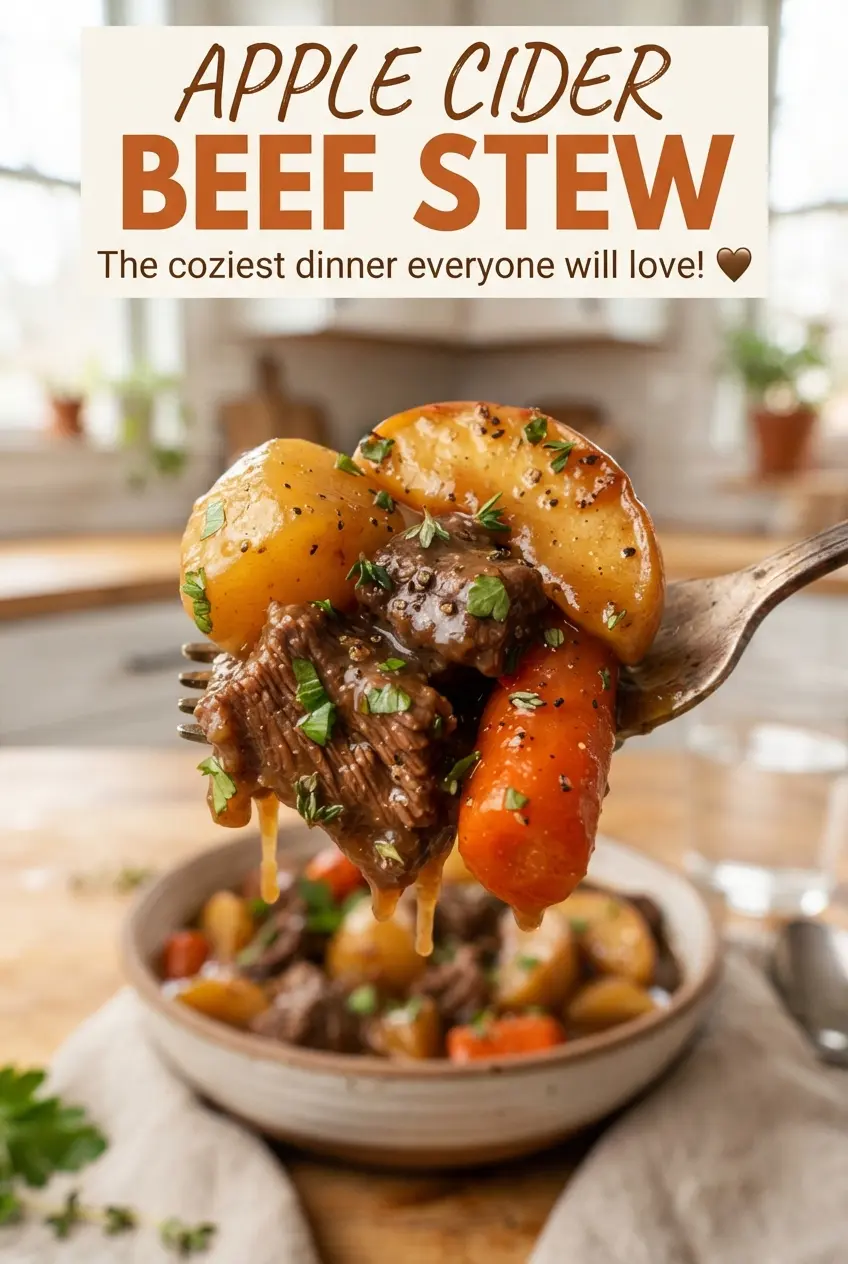
Apple Cider Beef Stew
Ingredients
Equipment
Method
- Season the beef with salt and black pepper, then toss with the all-purpose flour until evenly coated.
- Heat the olive oil in a Dutch oven over medium-high heat and brown the beef in batches for 3–5 minutes per batch, transferring to a plate as it browns.
- In the same Dutch oven, cook the diced onion for 5 minutes until softened.
- Add the minced garlic and tomato paste and cook for 1 minute, stirring until fragrant.
- Pour in the apple cider and scrape the browned bits from the bottom of the pot.
- Add the beef broth, apple cider vinegar, dried thyme, ground cinnamon, bay leaves, and the browned beef, stirring to combine.
- Cover the Dutch oven and simmer the stew at a steady bubbling for 1 1/2 hours, stirring occasionally so the meat cooks through and the gravy thickens slightly.
- Add the sweet potato and carrots, cover, and simmer for 30 minutes until the vegetables are mostly tender.
- Add the apples and simmer for 15 minutes more, until the apples are tender but still hold their shape.
- Remove the bay leaves and serve the stew hot, letting it rest 2–3 minutes for the gravy to cling to the beef.