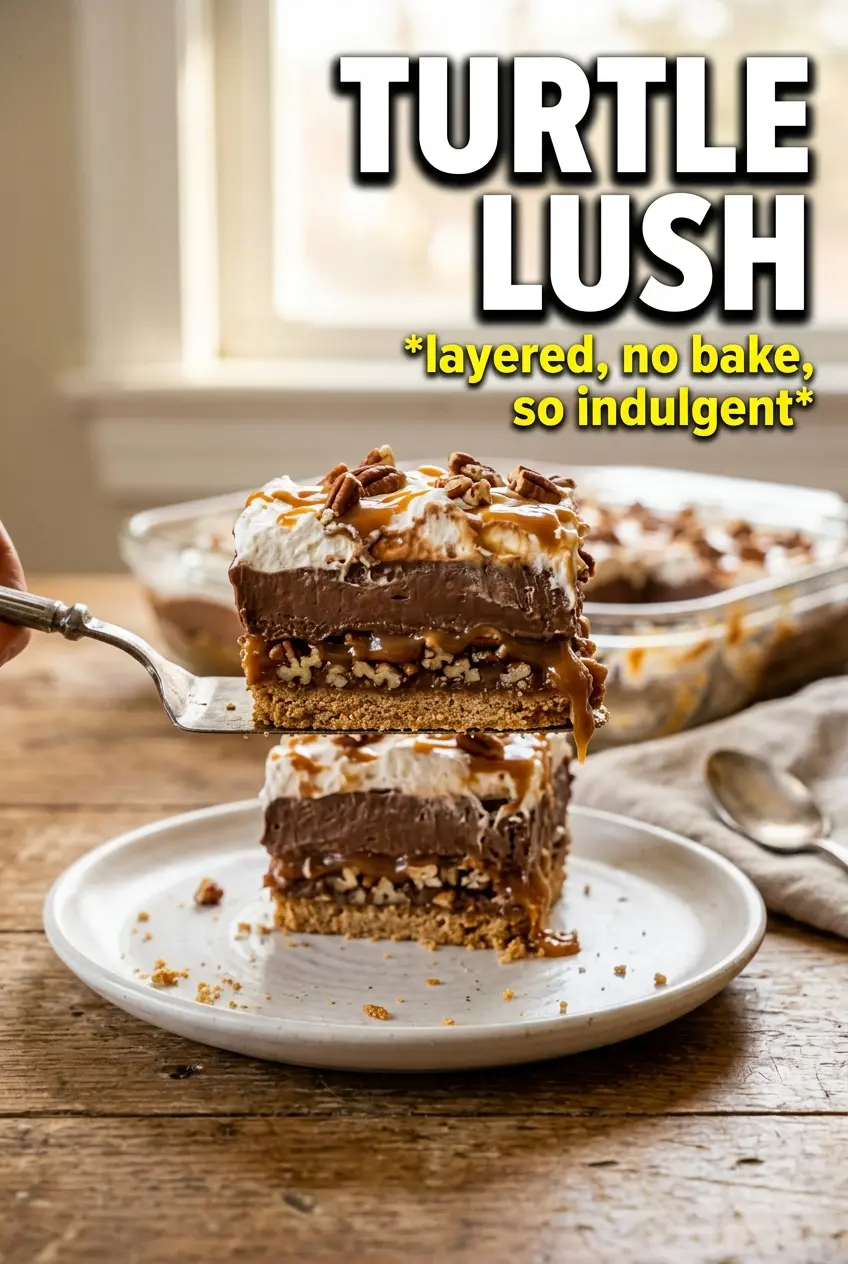
Layered desserts like turtle lush earn their place because they hit every texture at once: a buttery pecan shortbread crust, a cool cream cheese layer, thick chocolate pudding, and a soft whipped topping finish. Then the caramel, chocolate, and pecans come in at the end and make each square taste like it took a lot more effort than it did.
What makes this version work is the contrast between sturdy and soft. The crust needs to bake long enough to set and cool all the way before anything creamy goes on top, or the layers slide and turn messy when you cut it. The cream cheese layer also has to be beaten smooth before the whipped topping goes in, because any lumps show up once the pudding settles on top.
Below, I’ll walk through the part that matters most: keeping the layers distinct so you get clean slices instead of a puddled pan. I’ve also included a few simple swaps and the one chilling tip that keeps turtle lush neat enough to serve.
The pecan crust stayed crisp under the cream layers, and the pudding set up enough that I could slice perfect squares after chilling overnight. The caramel drizzle on top tasted like the bakery version I always try to copy.
Save this Turtle Lush for the nights when you want a chilled layered dessert with a buttery pecan crust and a clean caramel drizzle on top.
The Layer That Decides Whether Turtle Lush Slices Cleanly
The crust does more than hold everything together. It gives the whole dessert structure, and if it’s underbaked or still warm when the filling goes on, the bottom layer softens faster than it should and the squares lose definition. Bake it until the edges are lightly golden and the top looks set, then cool it completely before adding anything creamy.
The other point people miss is how important the chill is. Turtle lush needs time for the pudding to firm up and for the cream cheese layer to settle, which is why a short rest never cuts it here. Four hours is the bare minimum, but overnight chilling gives the cleanest slices and the best texture.
What Each Layer Is Really Doing Here
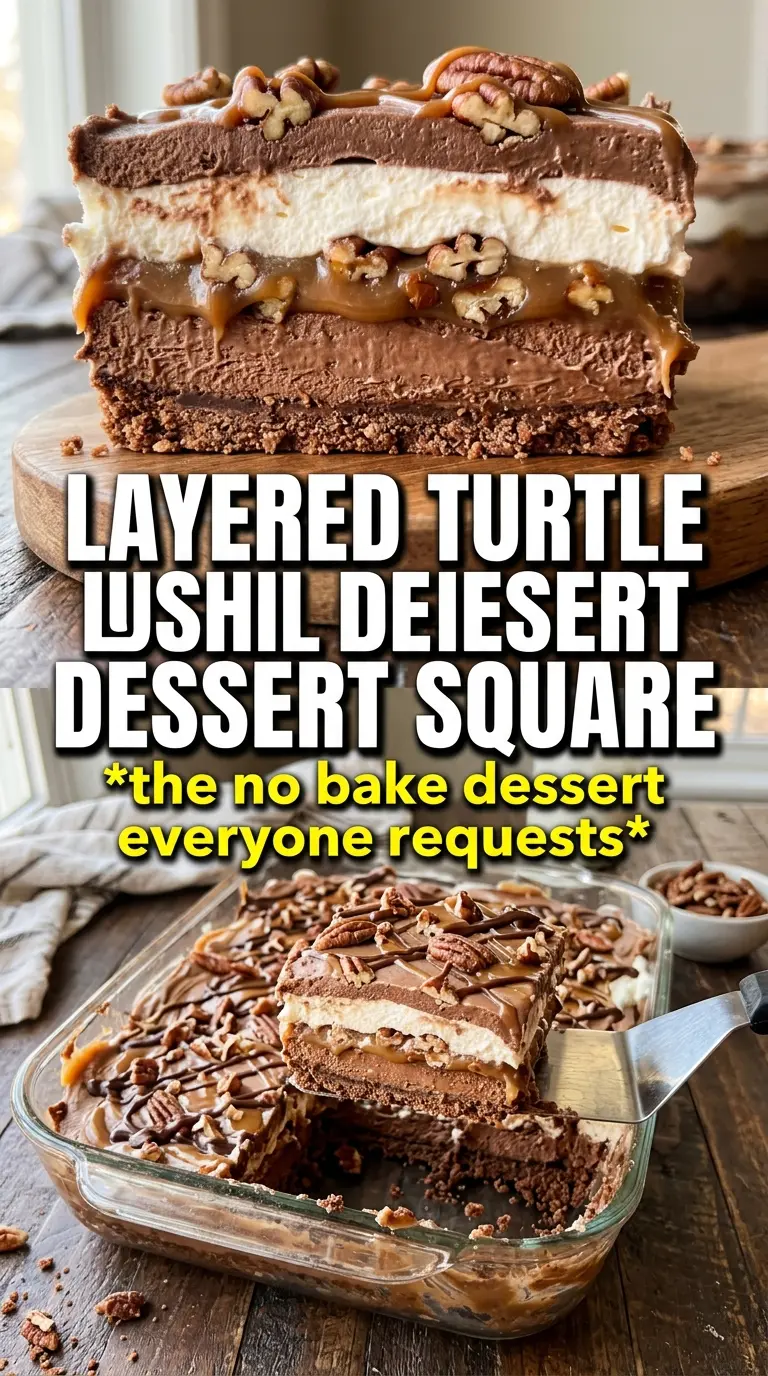
- Pecans — They do double duty in the crust and on top. Fresh pecans matter because stale nuts taste flat fast, and their natural oil is part of what gives the crust that rich, toasty flavor.
- Cold butter — This is what keeps the shortbread crust tender instead of dense. Cut it in cold and press the mixture evenly so it bakes into a sandy, crisp base instead of a greasy one.
- Cream cheese — Full-fat cream cheese gives the filling its tang and body. Let it soften fully before beating, or you’ll end up chasing lumps and overmixing the layer after the whipped topping goes in.
- Instant chocolate pudding — Instant pudding is the shortcut that makes this dessert work. Cook-and-serve pudding won’t set the same way in a layered dessert, so stick with instant and whisk it only until it thickens.
- Whipped topping — It keeps the dessert light enough to balance the crust and pudding. You can use homemade whipped cream in a pinch, but it softens faster and won’t hold as long in the fridge.
Building the Layers So They Stay Separate
Baking the Pecan Shortbread Base
Press the crust mixture into the pan evenly, especially at the corners, so the dessert cuts in neat squares later. Bake it until the top looks dry and the edges are just turning golden; if it stays pale, the crust will taste floury instead of buttery. Let it cool all the way before you add the cream cheese layer, because even a slightly warm crust can loosen the filling.
Smoothing the Cream Cheese Layer
Beat the cream cheese, powdered sugar, and vanilla until the mixture is completely smooth before folding in the whipped topping. If the cream cheese is still cold, the layer turns streaky and lumpy no matter how long you mix it. Spread it gently over the crust with an offset spatula or the back of a spoon so you don’t tear up the base underneath.
Setting the Chocolate Pudding
Whisk the pudding with the milk until it thickens and then stop. Overmixing won’t help it set better, and waiting too long before spreading it can make it grab onto the bowl instead of the cream layer. Spread it in an even layer all the way to the edges so every slice gets that clear chocolate middle.
Finishing With the Toppings
The final whipped topping layer should go on in soft swoops, not a thick mound. Drizzle the caramel and chocolate sauces after the topping is spread, then scatter pecans and toffee bits while the surface is still soft enough for them to stick. Chill the whole dish for at least four hours before cutting, and use a sharp knife wiped clean between slices if you want tidy edges.
How to Adapt Turtle Lush Without Losing the Good Parts
Dairy-Free Turtle Lush
Use dairy-free butter, dairy-free cream cheese, plant-based whipped topping, and a non-dairy milk that works with instant pudding. The texture stays close, but the filling will be a little softer, so give it the full chill time and don’t rush the slices.
Chocolate-Pecan Swap
If you want a deeper, nuttier dessert, add a handful of mini chocolate chips to the crust or swap the topping pecans for chopped toasted pecans. The dessert gets a little more texture and less of that classic candy-bar finish, but it still reads as turtle lush.
Make-Ahead for a Crowd
This dessert is a strong make-ahead option. Assemble it the day before, cover it tightly, and keep it chilled until serving; the layers set even better overnight, and the flavor blends into that classic chilled-dessert taste people expect from turtle lush.
Gluten-Free Version
Replace the flour in the crust with a 1:1 gluten-free baking blend. The crust may bake a touch more fragile, so press it firmly and let it cool completely before layering to keep the bottom from crumbling when sliced.
Storage and Reheating
- Refrigerator: Keep covered and chilled for up to 4 days. The crust softens a bit over time, but the dessert still slices well.
- Freezer: Turtle lush freezes fairly well in a tightly wrapped pan or airtight container for up to 1 month. Thaw it in the refrigerator, not on the counter, so the layers don’t weep.
- Reheating: Don’t reheat this dessert. Serve it cold straight from the fridge; warming it will loosen the pudding and collapse the whipped layers.
Answers to the Questions Worth Asking
Turtle Lush
Ingredients
Equipment
Method
- Preheat the oven to 350°F. Press the pecan shortbread crust mixture into a baking dish and bake for 15 minutes, until set and lightly golden.
- Remove the crust from the oven and cool completely before layering. The surface should feel firm and no longer warm to the touch.
- Beat the cream cheese with powdered sugar and vanilla until smooth. Mix just enough to eliminate lumps and look glossy.
- Fold in the whipped topping, then spread the cream cheese mixture over the cooled crust. Smooth the top so it reaches the edges in an even layer.
- Whisk the instant chocolate pudding with milk until thick, about 2 minutes. Stop when it looks smooth and holds ridges.
- Spread the thick chocolate pudding over the cream cheese layer. Cover evenly so the edges are fully sealed.
- Spread the remaining whipped topping over the pudding layer. Cover completely for a smooth, creamy top.
- Drizzle caramel sauce and chocolate sauce over the whipped topping. Aim for visible ribbons so each drizzle contrasts against the white layer.
- Scatter pecan halves and toffee bits over the top. Finish quickly so toppings stay in place before chilling.
- Refrigerate for 4 hours to set. The dessert should slice cleanly after chilling.
- Cut into squares right after the 4-hour chill. Use a sharp knife and wipe between cuts for neat edges.


