Rocky Road Ice Cream hits all the marks that make a homemade ice cream worth the freezer space: a deep chocolate base that stays scoopable, chewy marshmallows tucked through every bite, and crunchy toasted almonds that keep the texture from turning flat. The best versions don’t freeze into a dense brick or an icy slurry. They hold creamy, fudgy body and still give you those big, obvious mix-ins.
This no-churn version gets that texture by folding a smooth chocolate mixture into whipped cream instead of cooking a custard. That keeps the prep quick and the texture light, but the order matters. The cocoa has to be fully whisked into the condensed milk before it ever touches the cream, or you end up with stubborn little bitter specks in the finished ice cream. Toasted almonds matter here too; raw almonds taste dull and go soft in the freezer.
Below, I’ve laid out the small details that keep this recipe from turning gritty or icy, plus a few swaps that still keep the spirit of the classic intact.
The chocolate stayed creamy instead of icy, and the marshmallows stayed soft even after overnight freezing. I toasted the almonds like you said and it made a huge difference.
Save this Rocky Road Ice Cream for the nights when you want a no-churn chocolate base packed with marshmallows, almonds, and chocolate chunks.
The Trick to Keeping No-Churn Rocky Road Creamy Instead of Icy
No-churn ice cream lives or dies on the whipped cream. Stiff peaks give you the structure this recipe needs, but overwhipping past that point starts to make the base grainy, and grainy cream freezes into a rougher scoop. Stop as soon as the cream holds tall peaks that don’t flop over.
The second piece is the chocolate mixture. Condensed milk gives sweetness and body, but cocoa powder needs to be whisked until the mixture looks completely smooth and glossy before it meets the whipped cream. If you can still see dry cocoa streaks, those streaks will stay behind in the finished ice cream, and they taste dusty instead of rich.
Fold everything together gently. The goal is to keep the air you whipped in, not beat it out in a hurry. That air is what keeps the finished ice cream soft enough to scoop straight from the freezer.
What Each Mix-In Is Actually Doing Here
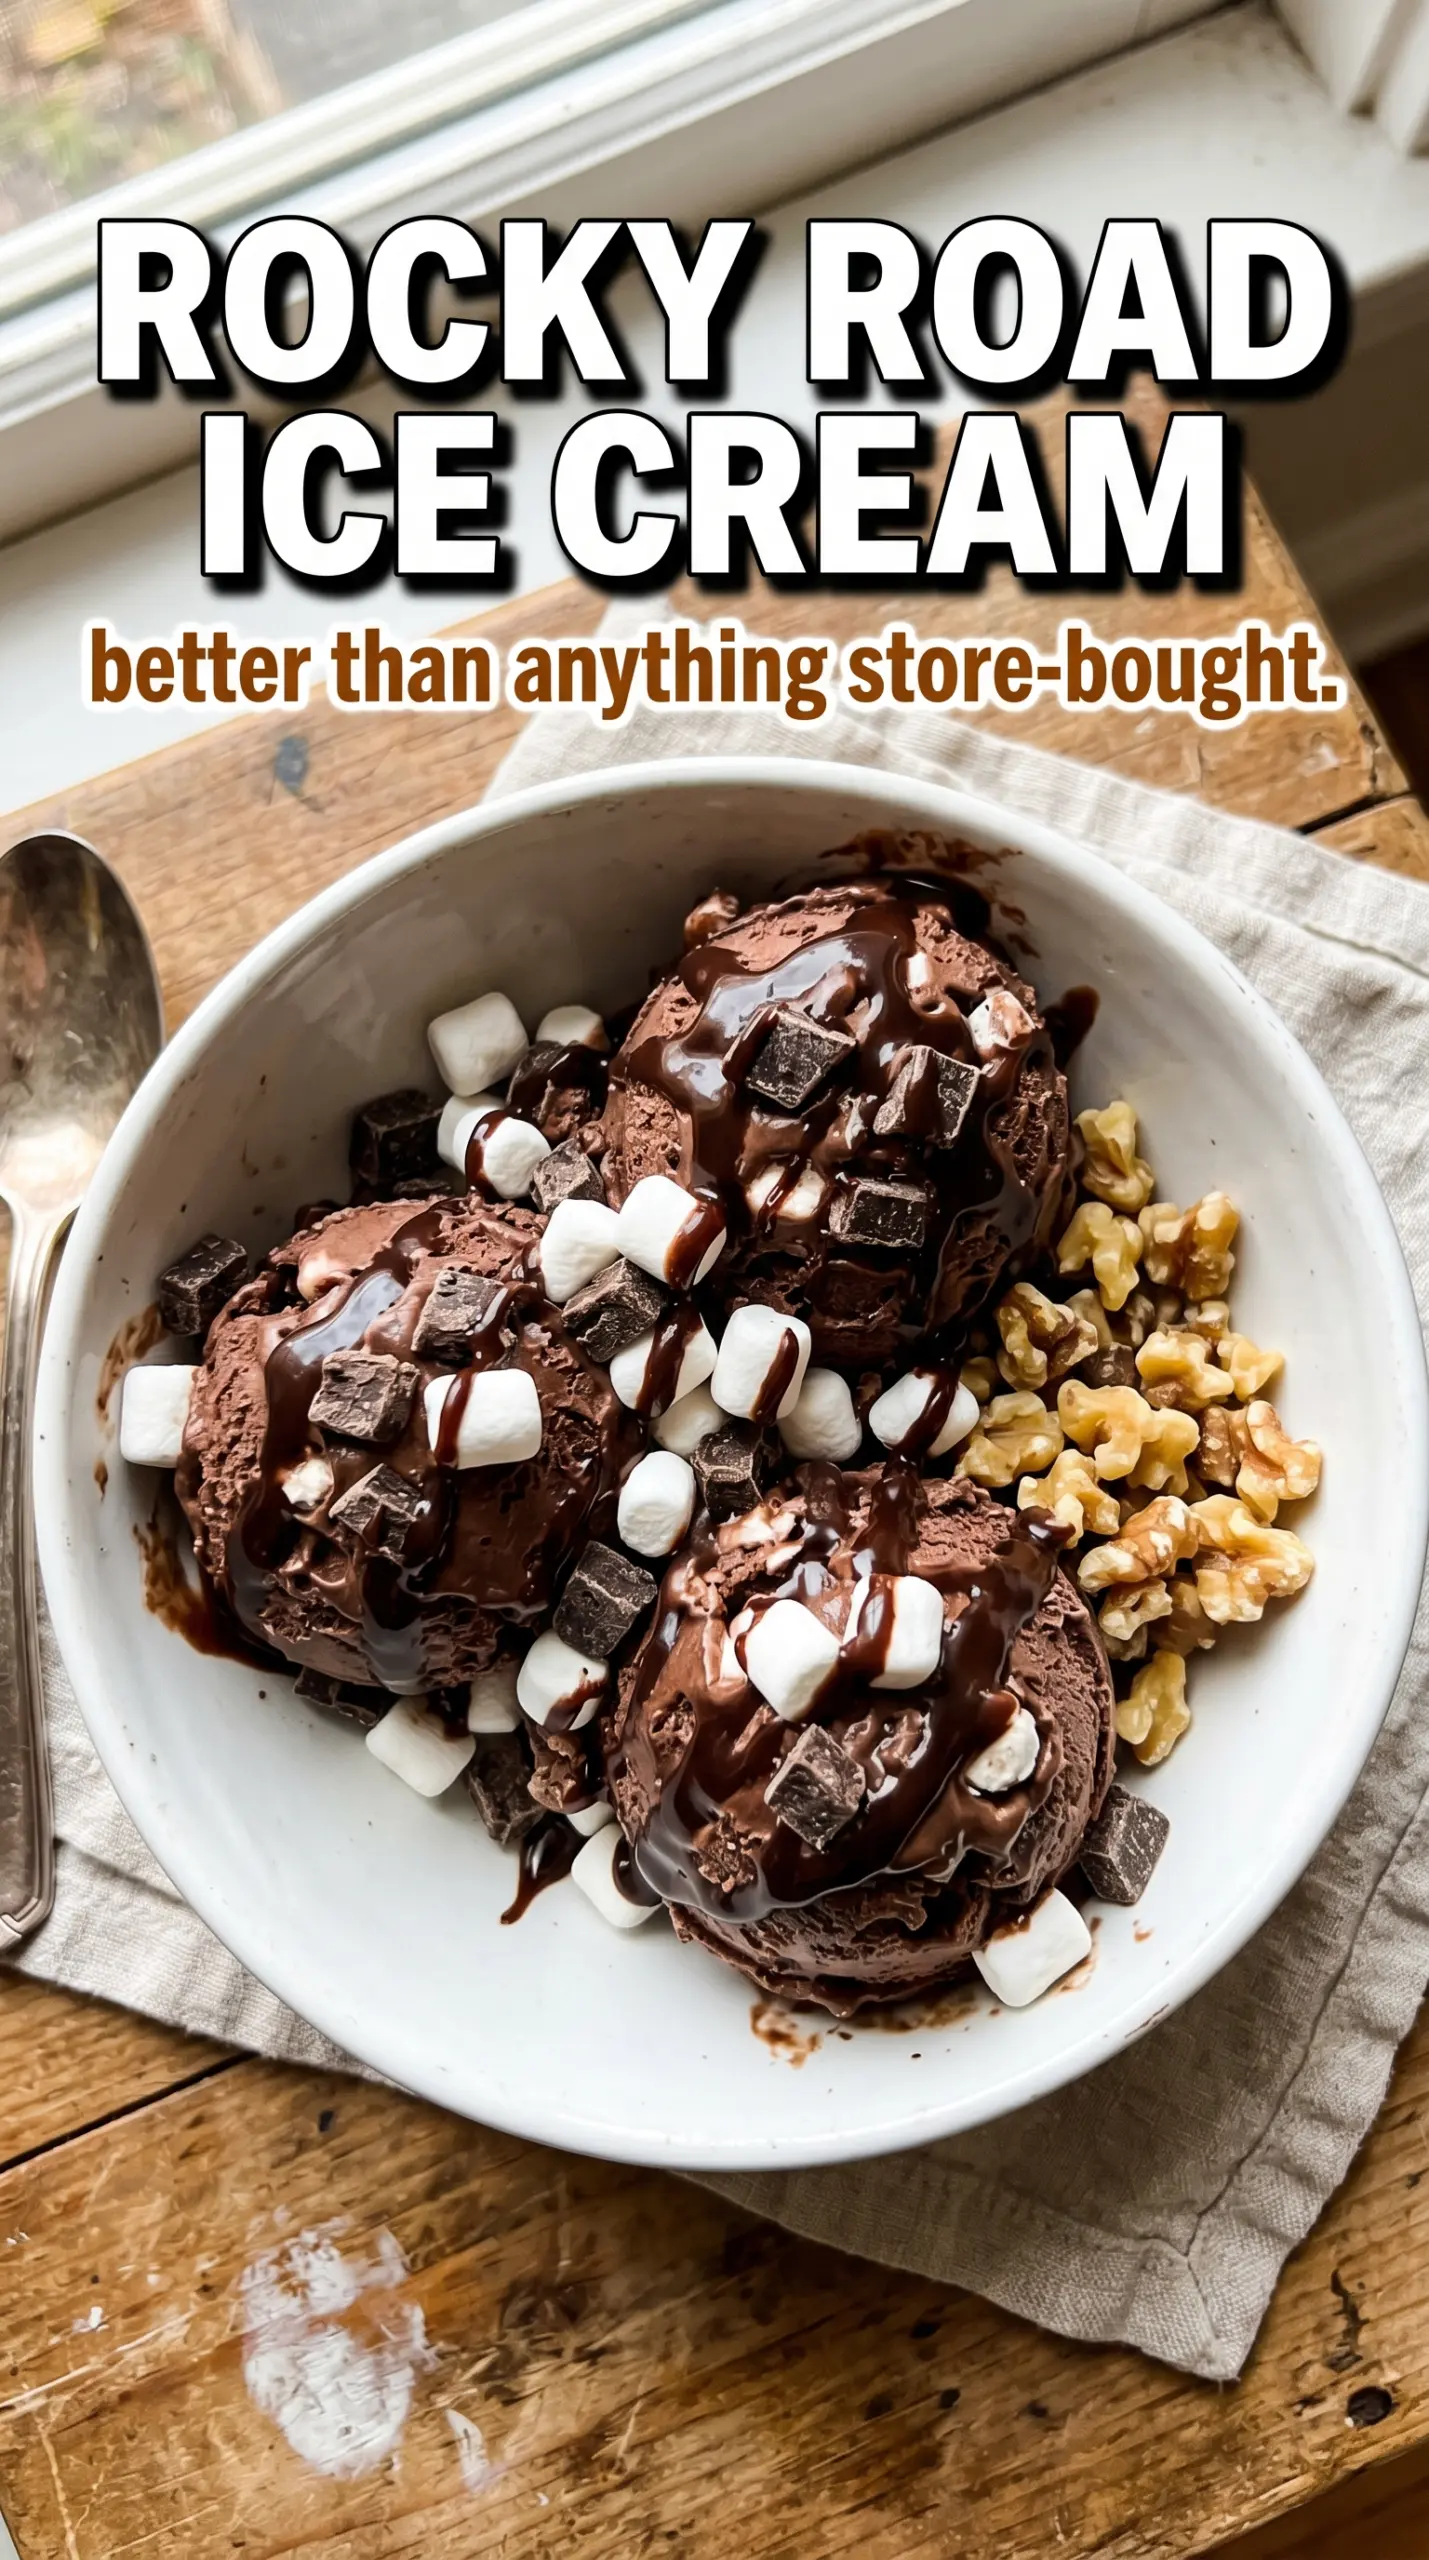
- Heavy cream — This is the structure. It has to be cold and whipped to stiff peaks, because that trapped air is what keeps the ice cream soft after freezing. Lower-fat cream won’t hold the same body.
- Sweetened condensed milk — This does two jobs at once: it sweetens the base and keeps it from freezing into a hard block. There isn’t a true substitute here if you want the same no-churn texture.
- Unsweetened cocoa powder — Use a good cocoa here. This is where the chocolate flavor comes from, so a weak cocoa makes the whole dessert taste flat. Whisk it hard enough that no dry pockets remain.
- Mini marshmallows — They add the classic rocky road chew. Mini marshmallows work best because they scatter evenly; large marshmallows can turn clumsy and freeze into big hard chunks.
- Toasted almonds — Toasting wakes up the flavor and keeps the nuts from tasting bland in the cold freezer base. Raw almonds are fine in a pinch, but they won’t bring the same nutty depth.
- Dark chocolate chunks — These give you little bites of solid chocolate against the soft base. Chunks stay more interesting than chips because they break unevenly and give you better texture.
Folding, Freezing, and Knowing When It’s Done
Whipping the Cream to the Right Peak
Start with very cold cream in a chilled bowl if you can manage it. Beat until the cream stands in tall peaks that keep their shape when you lift the whisk. If the cream looks curdled or dense, you’ve gone too far, and the final texture won’t be as smooth.
Making the Chocolate Base Smooth
Whisk the condensed milk, cocoa powder, vanilla, and salt until the mixture looks dark, even, and glossy. Scrape the bowl well; cocoa likes to hide in the corners. If you rush this part, the finished ice cream can have tiny bitter streaks that never fully disappear.
Folding Without Deflating the Air
Add the chocolate mixture to the whipped cream in a few additions and fold with a wide spatula. Use a bottom-to-top motion and stop as soon as you don’t see streaks anymore. Then fold in the marshmallows, almonds, and chocolate chunks with just enough mixing to distribute them. Overmixing knocks out the air and leaves you with a tighter, heavier ice cream.
Freezing Until It Scoops Cleanly
Transfer the mixture to a loaf pan and smooth the top. Press a piece of parchment or plastic wrap directly onto the surface if you want to protect it from freezer burn. Give it at least 6 hours, though overnight is better for a firmer set. If you try to scoop too early, the center will still be soft and the mix-ins will slide around.
Three Ways to Adapt This Rocky Road Without Losing the Texture
Dairy-Free Version
Use a dairy-free whipping cream that lists itself as whipable, then keep the condensed milk swap close to the original by using a thick coconut condensed milk. The texture will be a touch softer and the coconut note will come through, but it still gives you that no-churn scoopable base.
Nut-Free Rocky Road
Swap the almonds for toasted sunflower seeds or skip the nuts entirely and add extra chocolate chunks. You’ll lose the classic crunch, but the chocolate-and-marshmallow combination still carries the recipe. If you use seeds, toast them first so they taste deliberate instead of like an afterthought.
Extra-Chocolate Version
Swap half the dark chocolate chunks for chopped semisweet bars and add a tablespoon of espresso powder to the cocoa mixture. That sharpens the chocolate flavor without making the ice cream taste like coffee. The chopped bar pieces melt in uneven little pockets, which gives each scoop a more dramatic bite.
Storage and Reheating
- Refrigerator: Not recommended. Ice cream softens and melts in the fridge, so it won’t hold its texture there.
- Freezer: Store covered for up to 2 weeks for the best texture. After that, the marshmallows can get firmer and the surface may start to pick up freezer flavor.
- Reheating: Let it sit at room temperature for 5 to 10 minutes before scooping. Don’t microwave it; that melts the edges unevenly and leaves the center too hard.
Questions I Get Asked About This Recipe
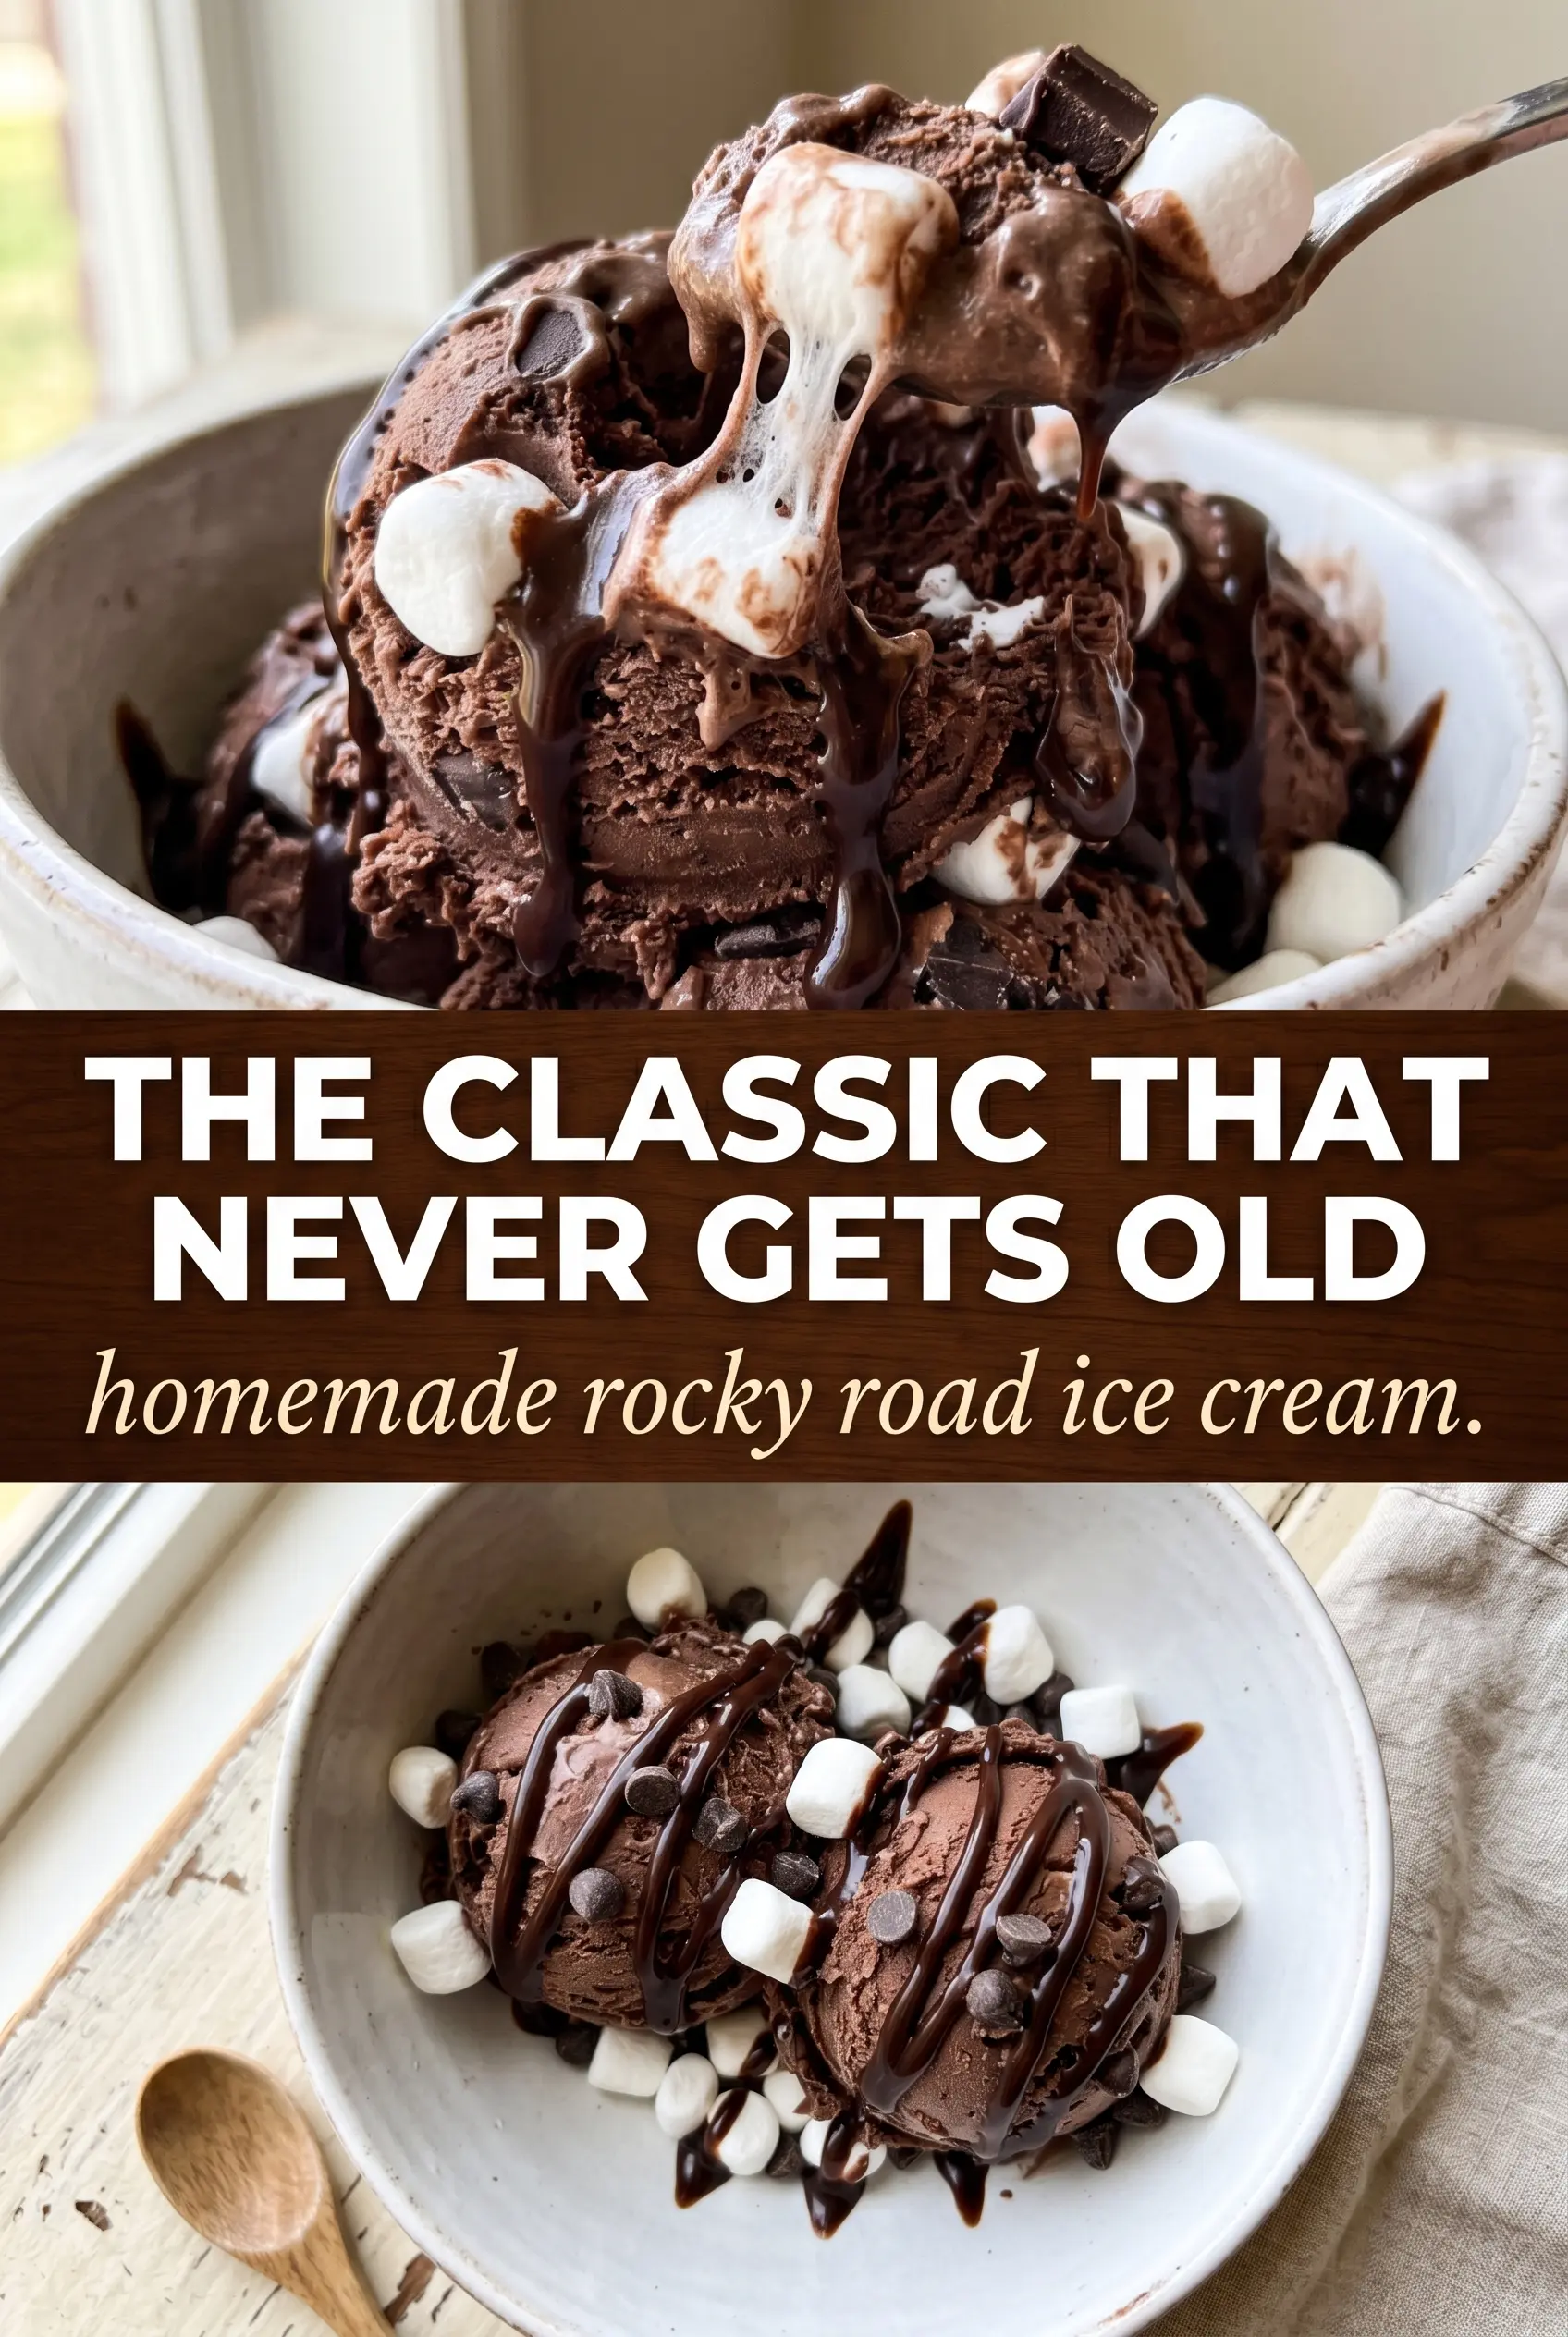
Rocky Road Ice Cream
Ingredients
Equipment
Method
- Whip the heavy cream to stiff peaks using a stand mixer so the cream holds clearly defined ridges when you lift the beaters.
- Whisk the sweetened condensed milk, cocoa powder, vanilla extract, and salt until smooth and no cocoa lumps remain.
- Fold the chocolate mixture into the whipped cream gently until the base is uniformly chocolate-colored with minimal streaks.
- Fold in the mini marshmallows, whole toasted almonds, and dark chocolate chunks so they’re evenly distributed throughout the ice cream base.
- Transfer the mixture to a 9x5 loaf pan and freeze at 0°F (-18°C) for at least 6 hours or overnight until firm.


