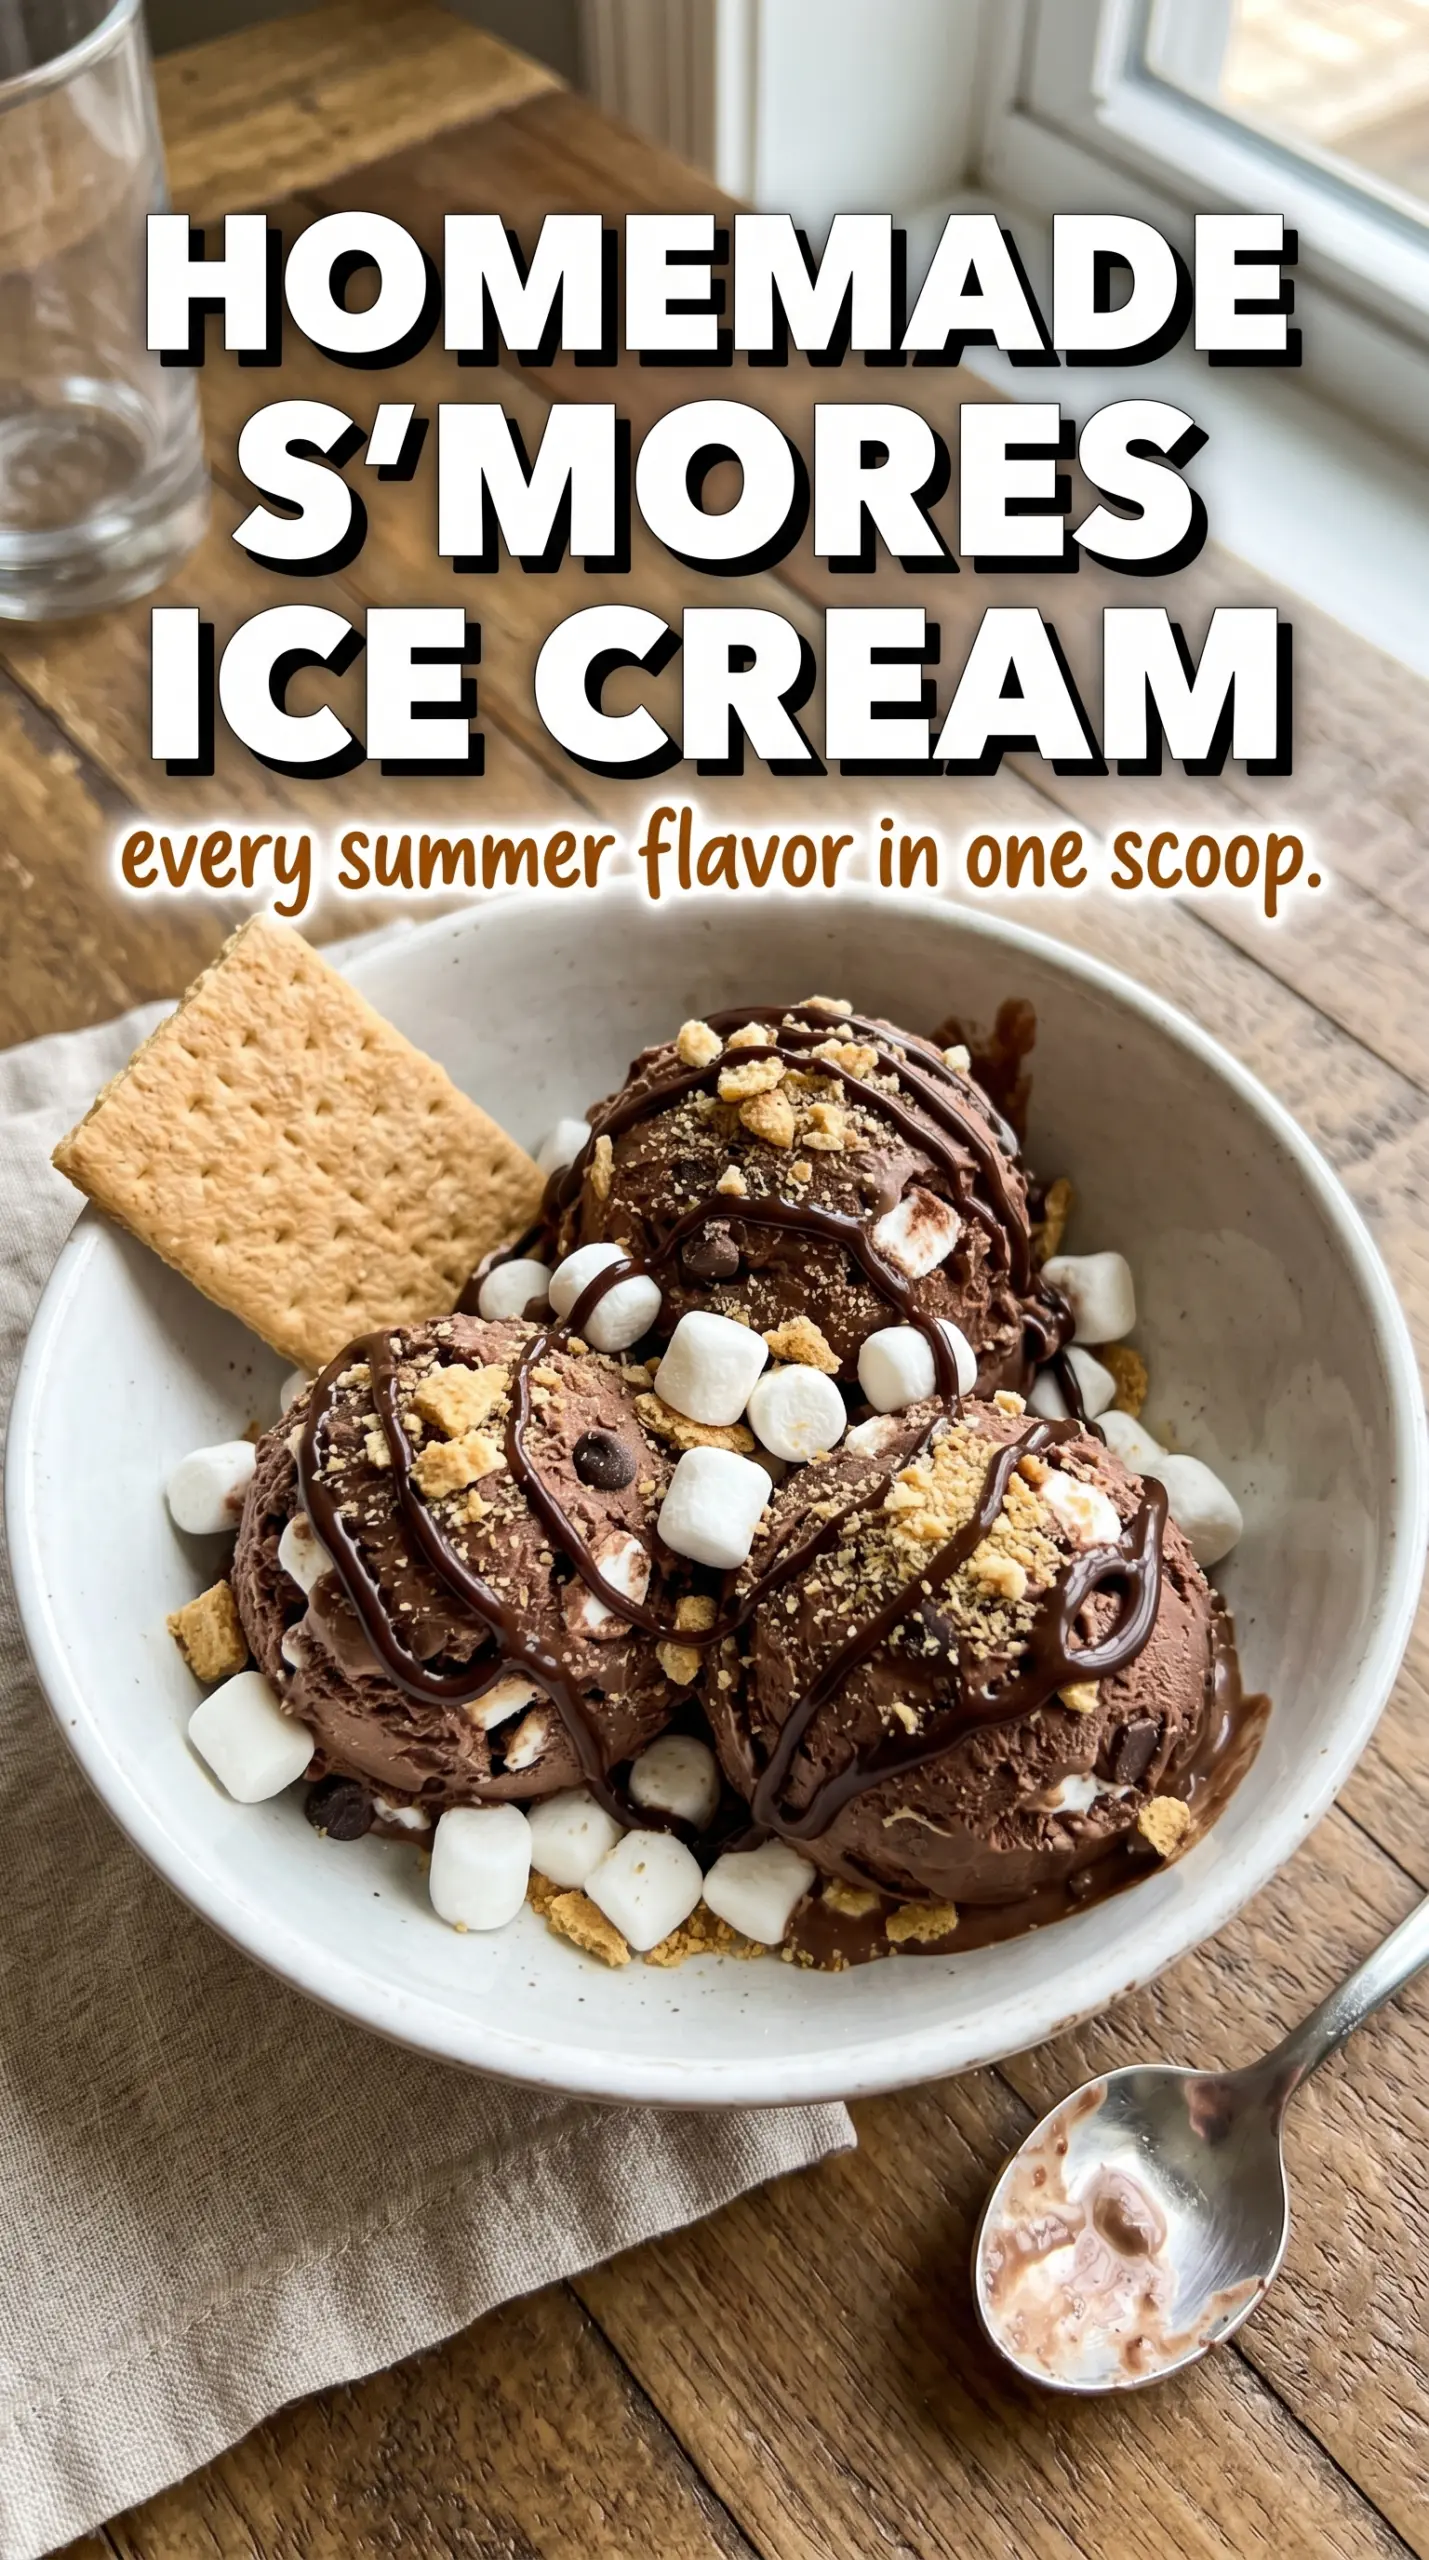
Fudgy chocolate ice cream, streaked with toasted marshmallow cream and scattered with graham cracker crumbles, gives you the full s’mores payoff without a campfire. The texture is what makes this one worth keeping around: scoopable straight from the freezer, but still rich enough that each bite tastes layered instead of icy or flat.
The base starts with whipped cream and sweetened condensed milk, which means no ice cream maker and no custard to cook. Cocoa powder handles the chocolate side without making the mixture heavy, while a little salt keeps the sweetness in check and makes the marshmallow and graham cracker flavors stand out. Toasting the marshmallows first matters here. It adds that campfire edge you can’t fake with plain mini marshmallows.
Below, I’ll show you how to fold everything together so the swirls stay distinct, not muddy, and how to layer the fudge so you get pockets of chocolate in every scoop. There’s also a storage note worth reading if you want the cleanest texture after a few days in the freezer.
The marshmallows toasted up just enough, and the fudge stayed in ribbons instead of disappearing into the base. It tasted like a s’mores bar in ice cream form, and the graham cracker pieces stayed crunchy for the first two nights.
Save this homemade s’mores ice cream for the nights when you want toasted marshmallow swirls, chocolate fudge ribbons, and graham cracker crunch in every scoop.
The Trick to Keeping the Marshmallows Toasted, Not Melted Away
The biggest mistake with s’mores ice cream is treating the marshmallows like mix-in candy. If you fold them in plain, they dissolve into the base and lose the toasted edges that make this dessert taste like a campfire treat. A quick broil gives them color and a hint of bitterness, which keeps the ice cream from turning overly sweet.
Another place people go wrong is overmixing after the whipped cream goes in. You want the chocolate base smooth, but once the cream is folded in, stop as soon as the streaks disappear. Overworking it knocks out air, and that’s how no-churn ice cream ends up dense instead of light and scoopable.
- Toasted mini marshmallows — These bring the signature s’mores flavor. Broil them just until golden, then get them out fast; they go from toasted to burnt in seconds.
- Sweetened condensed milk — This is what keeps the ice cream soft enough to scoop after freezing. There isn’t a substitute that behaves the same way here.
- Graham cracker crumbles — Use real crumbs, not whole crackers broken by hand. Fine crumbs mingle into the base, while a few bigger bits give you that graham crust texture.
- Hot fudge sauce — Thick sauce swirls best. If yours is very loose, warm it only enough to pour, not enough to thin it further, or it will disappear into the base.
What Each Ingredient Is Doing in the Freezer
- Heavy cream — Whipping it to stiff peaks gives the ice cream its body. Don’t stop at soft peaks or the base will freeze too hard and lose that plush texture.
- Unsweetened cocoa powder — This keeps the chocolate flavor deep and not syrupy. Dutch-process cocoa works too and gives a smoother, darker result, while natural cocoa tastes a little sharper.
- Vanilla extract — It rounds out the chocolate and marshmallow notes. Use the real stuff if you can; imitation vanilla tends to flatten the flavor.
- Mini marshmallows — Mini marshmallows toast more evenly than large ones and fold in without big sticky clumps. You can cut regular marshmallows up, but the pieces don’t toast as evenly.
- Graham cracker crumbles — The finer crumbs coat the spoon, while the larger bits give you bite. If you only have full crackers, pulse them briefly so you don’t end up with dusty sand.
Layering the Ice Cream So Every Scoop Has Fudge and Crunch
Toast the Marshmallows First
Spread the mini marshmallows in a single layer and broil them for 1 to 2 minutes, watching the whole time. They should be puffed and golden in spots, not blackened at the edges. If you walk away, they’ll burn fast, and burnt marshmallow tastes bitter once it’s frozen into the cream.
Build the Chocolate Base
Whip the cream until stiff peaks hold their shape when you lift the beaters. In a separate bowl, whisk the condensed milk, cocoa powder, vanilla, and salt until the mixture looks glossy and no cocoa streaks remain. Fold the whipped cream in gently with a spatula; the goal is to keep the base airy, not to beat it smooth.
Fold in the Mix-Ins
Add the toasted marshmallows and graham cracker crumbles last. Stir just enough to distribute them, leaving some areas heavier than others so the final ice cream tastes layered instead of evenly mixed. If you stir until everything looks uniform, the marshmallows smear and the graham pieces turn soft faster.
Swirl and Freeze
Spoon the mixture into a loaf pan in layers, drizzling hot fudge between each layer and running a knife through the top in lazy figure-eights. Don’t over-swirl. You want visible ribbons, not a brown base. Freeze for at least 6 hours, and overnight is even better for clean scoops.
Three Ways to Make This No-Churn S’mores Ice Cream Fit Your Kitchen
Dairy-Free Version
Use full-fat coconut cream in place of the heavy cream and a dairy-free sweetened condensed milk. The texture stays creamy, but you’ll pick up a light coconut note, which works nicely with the chocolate and marshmallow. Use dairy-free fudge if needed.
Gluten-Free S’mores Ice Cream
Swap the graham crackers for a certified gluten-free version or use gluten-free cookie crumbs with a honey-like note. The flavor stays close to classic s’mores, but the crunch can be a little softer depending on the brand.
Extra-Chocolate Variation
Add chopped chocolate-covered graham crackers or mini chocolate chips with the crumbs. It makes the ice cream denser and richer, which is a good move if you want the chocolate side to taste closer to fudge than cocoa.
Storage and Reheating
- Refrigerator: Not recommended. This is meant to live in the freezer, and the texture softens too fast in the fridge.
- Freezer: Keeps well for about 2 weeks in a covered loaf pan or airtight container. Press parchment or plastic wrap directly onto the surface to limit ice crystals.
- Reheating: Not applicable. For easier scooping, let the container sit at room temperature for 5 to 10 minutes before serving. If it’s rock hard, don’t microwave the whole pan; you’ll melt the edges before the center is usable.
Questions I Get Asked About This Recipe
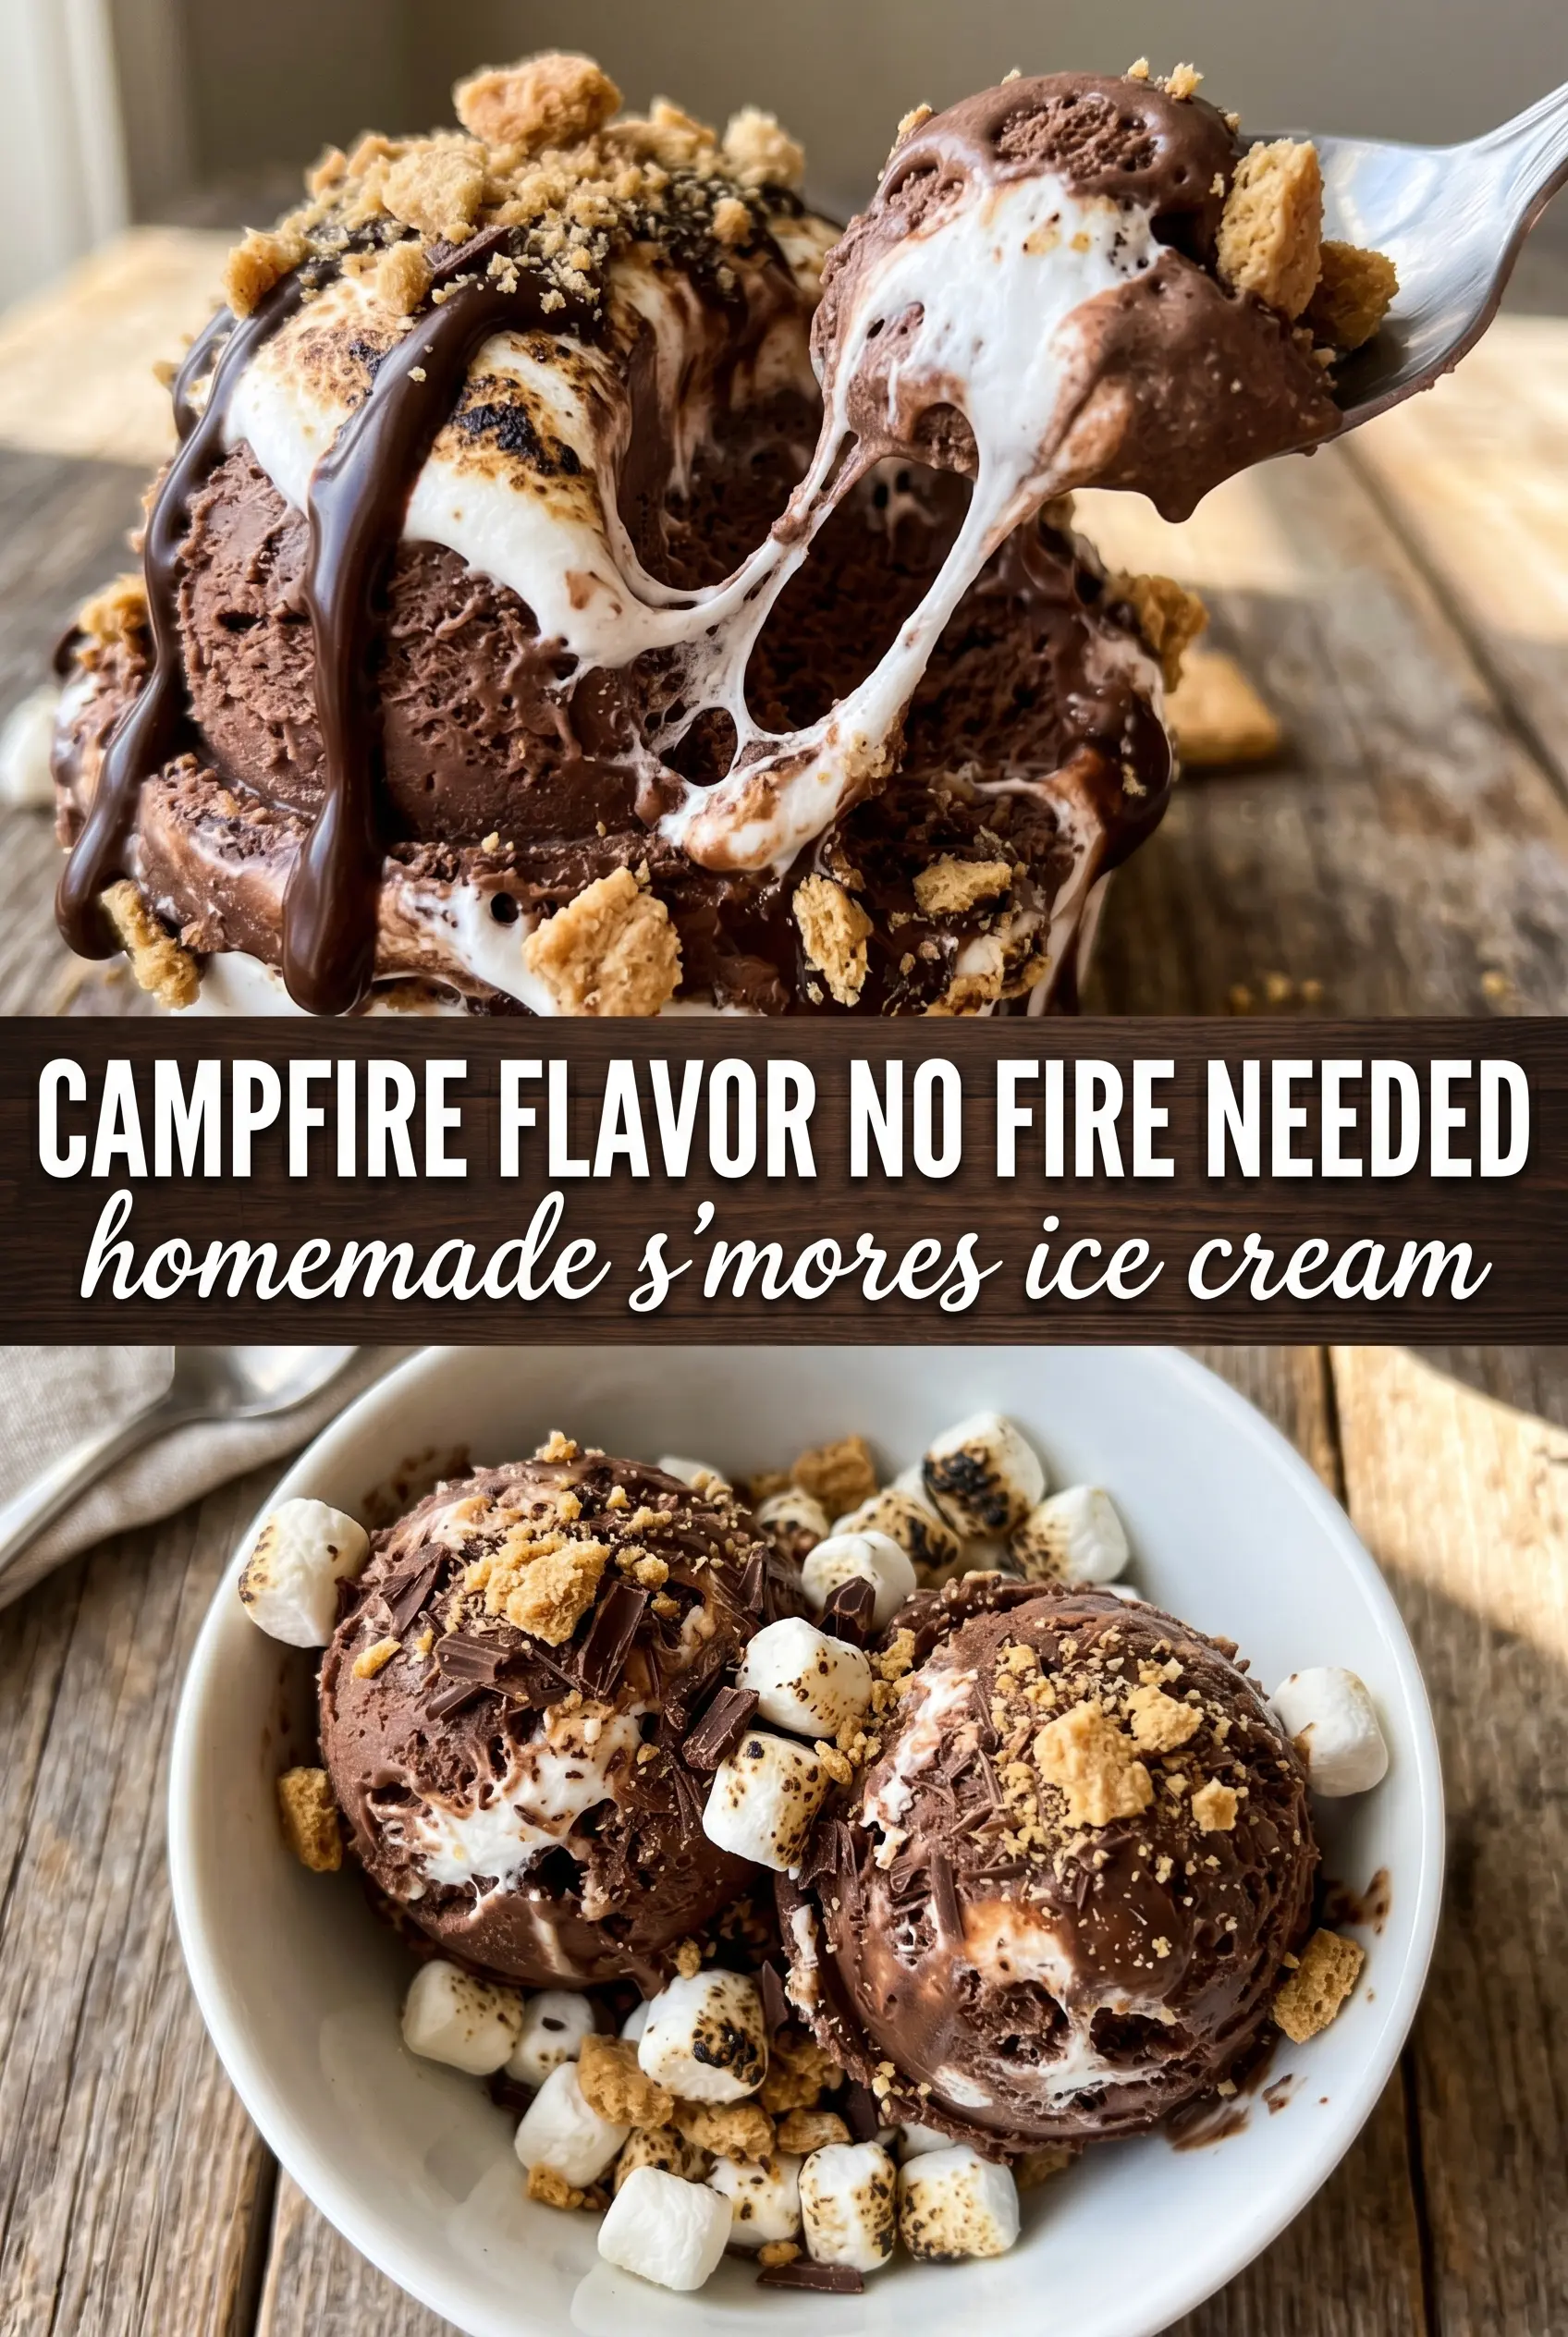
Homemade S'mores Ice Cream
Ingredients
Equipment
Method
- Toast the mini marshmallows on a sheet pan under the broiler for 1-2 minutes until golden, watching closely to prevent scorching.
- Whip the heavy cream until stiff peaks form so it holds its shape when folded.
- Whisk the sweetened condensed milk, cocoa powder, vanilla extract, and salt together until smooth.
- Fold the cocoa mixture into the whipped cream gently until no streaks remain.
- Fold in the toasted mini marshmallows and graham cracker crumbles evenly throughout the chocolate base.
- Layer the mixture into a 9x5 loaf pan, drizzling hot fudge between layers, then swirl the top with a knife.
- Freeze at least 6 hours or overnight until firm enough to scoop.


