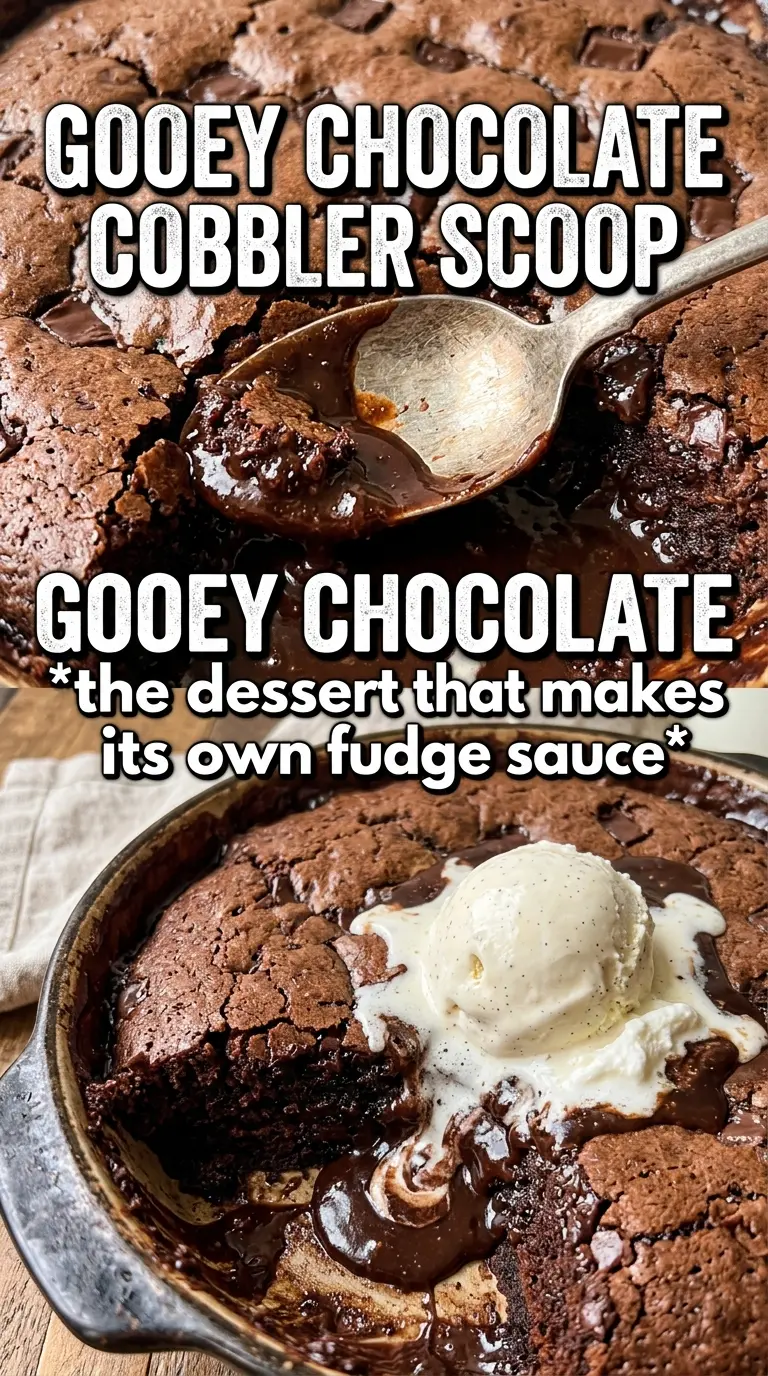
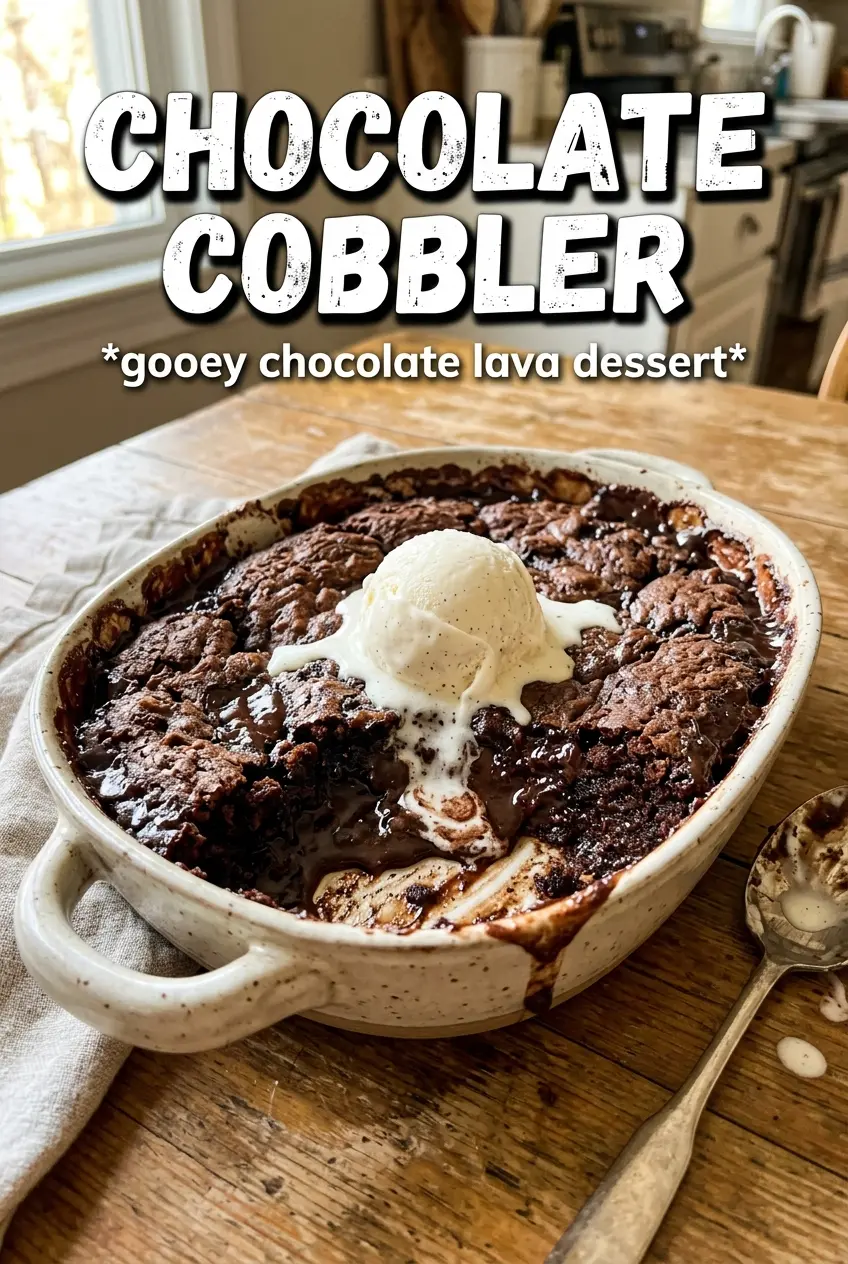
Chocolate cobbler bakes up with a tender cake-like top and a deep, molten sauce underneath, and that contrast is exactly why it disappears fast. Spoon through the center and you get soft chocolate crumb, warm fudgy syrup, and a little edge where the top has set just enough to hold everything together. It lands somewhere between a pudding cake and a self-saucing brownie, but with a more rustic, spoonable texture that makes it feel made for serving warm.
The trick is the layering. The batter goes in first, then the brown sugar and cocoa, then the hot water poured over the top without stirring. That last step looks wrong the first time you do it, but it’s what creates the sauce as the cobbler bakes. If you stir, you lose the separation that gives you two textures in one pan.
Below you’ll find the exact cues I watch for in the oven, plus a few smart swaps and storage notes for the times you want to serve it again the next day.
The top came out like a soft brownie cake and the sauce underneath was perfectly glossy. I served it after 38 minutes and it was still warm and spoonable with ice cream melting right into it.
Chocolate cobbler with that fudgy top and molten sauce is the kind of dessert worth keeping on hand for last-minute cravings.
The Reason the Sauce Settles Under the Cake Instead of Mixing In
Chocolate cobbler works because the batter is thicker than the topping and the hot water is added last, gently, without disturbing the layers. The top sets into a soft crust while the liquid beneath turns into sauce as the sugar and cocoa melt together in the oven. If your cobbler ever comes out cakey all the way through, it usually means the water was stirred in or the batter was too thin to hold its place.
The other detail that matters is pan size. A 9×9-inch dish gives you a thinner layer and a better ratio of cake to sauce, while an 8×8-inch dish makes it a little deeper and more spoonable. Either works, but don’t go much larger or the topping spreads too thin and you lose that rich middle.
- Hot water — It has to be very hot so it starts dissolving the topping on contact. Lukewarm water won’t build the same sauce as the cobbler bakes.
- Cocoa powder — This carries the chocolate flavor in both layers, so use a cocoa you like to eat. Natural cocoa works fine here, and Dutch-process gives a slightly darker, smoother finish.
- Brown sugar — This is what helps create the syrupy layer underneath. Granulated sugar won’t give you quite the same depth or body.
- Milk — Whole milk gives the batter enough fat to bake up tender. Lower-fat milk works in a pinch, but the crumb won’t be as soft.
What Each Ingredient Is Actually Doing in This Recipe
- Primary ingredient (the star) — Quality matters most. Choose the best you can find.
- Cooking medium (oil, butter, or broth) — This carries flavors and prevents dryness.
- Seasonings (salt, pepper, spices, herbs) — Layer flavors so nothing overpowers. Build depth gradually.
- Aromatics (garlic, onion, herbs) — Cook with fat to bloom flavors. Become the foundation.
- Supporting ingredients — Complement the main ingredient without overpowering it.
- Sauce or liquid (if applicable) — Brings flavors together. Balance richness with acid.
- Acid (lemon, vinegar, wine, or other) — Brightens and prevents flat-tasting results.
- Final finish (garnish, glaze, or sauce) — Prevents one-dimensional taste and adds visual appeal.
Building the Layers Without Losing the Sauce
Mix the batter just until smooth
Whisk the dry ingredients first so the cocoa doesn’t clump in pockets, then stir in the milk, melted butter, and vanilla until the batter looks smooth and thick. Stop as soon as the flour disappears. If you beat it hard or keep going too long, the cake layer can bake up tougher than it should.
Spread it and dust the topping evenly
Scrape the batter into the buttered dish and spread it into the corners with a spatula. Sprinkle the brown sugar and cocoa mixture over the surface in an even layer, but don’t press it down. The goal is to keep those layers distinct so the sauce can form beneath the top instead of blending into one muddy batter.
Pour the water over the back of a spoon
This is the step that makes the dessert work. Pour the hot water slowly over the entire surface, ideally over the back of a large spoon so it lands softly instead of punching holes through the topping. Do not stir. If the surface looks odd and watery, that’s correct — the oven does the rest.
Bake until the center is set but still soft
Bake at 350°F for 35 to 40 minutes. You want the top to look set and slightly cracked, with the edges pulling away a touch from the pan. The center should still have a little give when you jiggle the dish. If you wait until it looks completely firm, the sauce will tighten too much and you’ll miss that molten middle.
How to Tweak Chocolate Cobbler Without Ruining the Texture
Make it dairy-free
Swap the whole milk for an unsweetened non-dairy milk like oat or almond, and use a plant-based butter that melts cleanly. Oat milk gives the softest result because it has a little more body. The sauce still forms underneath, but the top will be slightly less rich than the original.
Use Dutch-process cocoa for a deeper chocolate finish
Dutch-process cocoa gives the cobbler a darker color and a smoother, less sharp chocolate taste. It works well here because the baking powder in the batter provides enough lift. If you only have natural cocoa, use it without changing anything else.
Bake it in a larger pan for a thinner dessert
A larger baking dish will spread the batter out more, which gives you a thinner cake layer and less sauce per bite. That can work if you want more crisp edge pieces, but it does change the texture. Keep an eye on it a few minutes early because thinner batter sets faster.
Storage and Reheating
- Refrigerator: Store covered for up to 4 days. The sauce will thicken and the top will firm up as it chills.
- Freezer: It freezes, but the sauce won’t stay quite as silky after thawing. Freeze in portions, wrapped well, for up to 2 months.
- Reheating: Warm individual portions in the microwave or reheat the whole dish covered at 325°F until heated through. Add a small splash of milk if it looks too thick, and don’t overheat it or the sauce can seize up.
Questions I Get Asked About This Recipe
Chocolate Cobbler
Ingredients
Equipment
Method
- Preheat the oven to 350F, then butter a 9x9 or 8x8 baking dish.
- Whisk all-purpose flour, granulated sugar, cocoa powder, baking powder, and salt in a mixing bowl.
- Stir in whole milk, melted unsalted butter, and vanilla extract until the batter is smooth.
- Spread the batter into the prepared baking dish.
- Mix brown sugar and cocoa powder, then sprinkle the mixture evenly over the batter (do not stir into the batter).
- Pour very hot water over everything in an even layer (do not stir).
- Bake for 35-40 minutes at 350F until the top is set and you can see the sauce bubbling underneath at the edges.
- Serve the chocolate cobbler warm with vanilla ice cream.
- Let the cobbler stand briefly after baking so the self-saucing chocolate interior settles while the top stays set.


