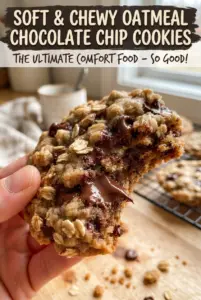
Peanut butter chocolate chip cookies should come out soft in the middle, lightly crisp at the edges, and packed with that salty-sweet flavor that makes people reach for a second one before they’ve finished the first. The best batches have a forked top, a little shine from the melted chips, and just enough chew that they hold together without feeling dry or crumbly.
This version keeps the dough simple, but the balance matters. Brown sugar brings moisture and chew, while the mix of butter and peanut butter keeps the cookies tender without turning them greasy. The dough is mixed just enough to combine the flour, then scooped and baked until the centers still look a little underdone. That’s the trick. They finish setting on the pan, which is what keeps them soft instead of turning hard once they cool.
Below you’ll find the small details that make these cookies reliable, from the fork press that helps them bake evenly to the baking time that keeps the centers soft. If you’ve ever had peanut butter cookies turn sandy or dry, this method is the fix.
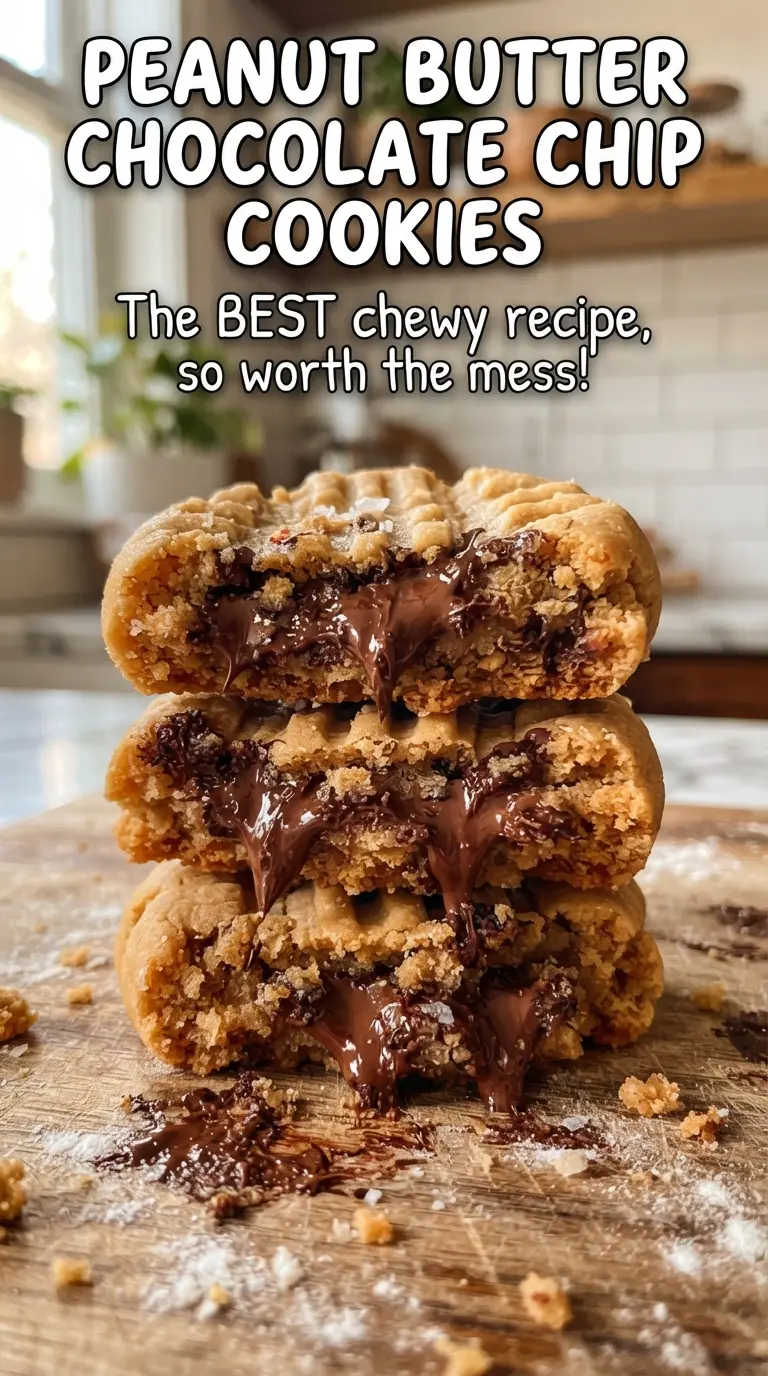
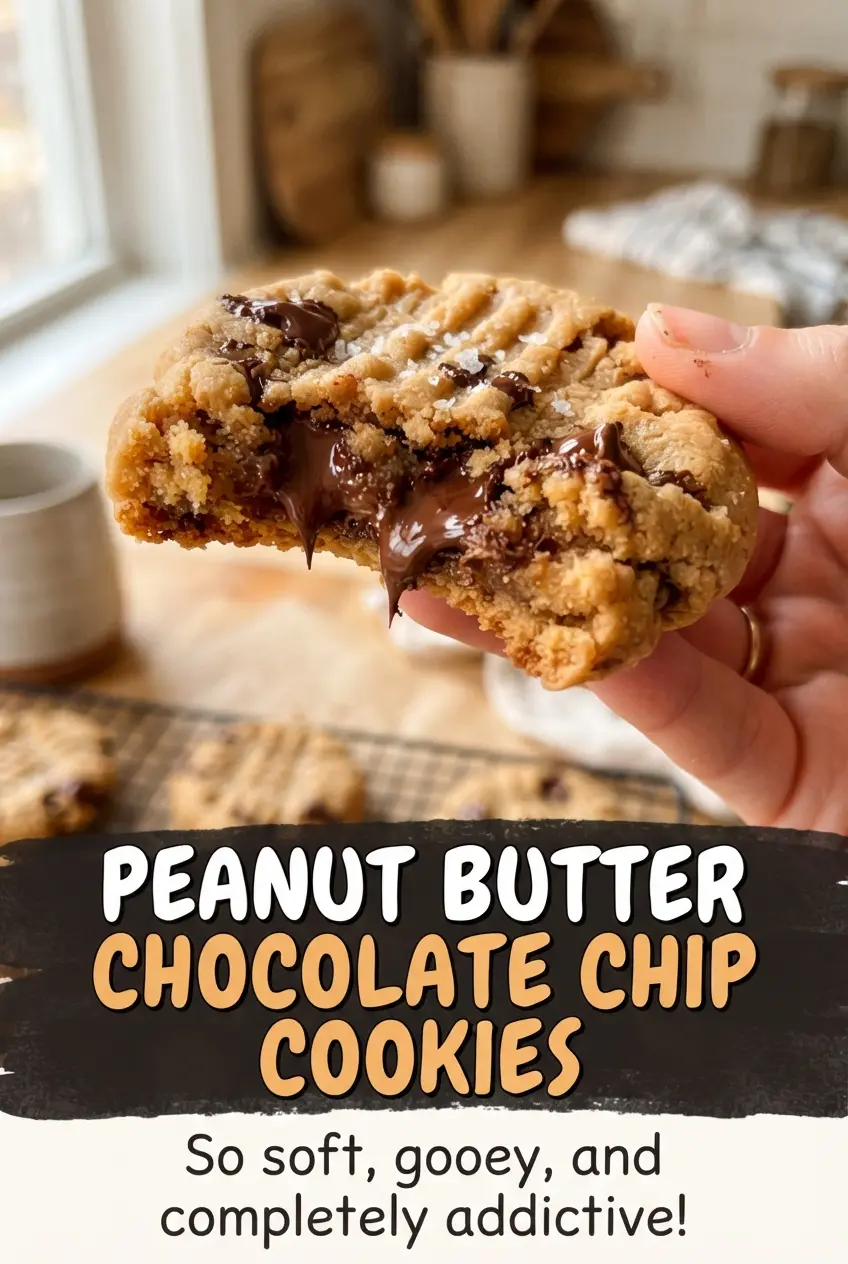
The cookies baked up thick and chewy, and the chocolate stayed melty in the middle even after cooling. I loved that the fork marks helped them bake evenly without spreading too much.
Save these chewy peanut butter chocolate chip cookies for the days when you want thick centers, crisp edges, and melty chocolate in every bite.
The Reason These Cookies Stay Soft Instead of Crumbly
Peanut butter cookies can go wrong in two ways: they spread too much and bake up thin, or they dry out and turn sandy. This dough avoids both because the sugar ratio leans on brown sugar for moisture, and the flour amount stays just low enough to keep the texture tender. The peanut butter does a lot of the fat work here, so you don’t need a long ingredient list to get a cookie that holds together and still tastes rich.
The other key is bake time. Pull them when the edges look set but the centers still look soft. That slight underbake isn’t a mistake; it’s what keeps the cookie chewy after cooling. If you wait until the middle looks fully baked in the oven, the cookies will be overdone by the time they come off the sheet.
- Brown sugar — This is what keeps the cookies chewy. Granulated sugar adds structure, but brown sugar brings the moisture that stops the crumbly, dry finish.
- Creamy peanut butter — Use a standard creamy peanut butter, not a natural style that separates heavily. Natural peanut butter can work, but you’ll need to stir it very well and expect a slightly looser dough.
- Butter — Butter softens the texture and helps the cookies spread just enough. If it’s too cold, the dough won’t cream properly; if it’s melted, the cookies can flatten.
- Chocolate chips — Semi-sweet chips balance the sweetness of the dough. Chopped chocolate works too, but the chips keep their shape better and give you those melty pockets without making the dough greasy.
What Each Ingredient Is Actually Doing in This Recipe
- Primary ingredient (the star) — Quality matters most. Choose the best you can find.
- Cooking medium (oil, butter, or broth) — This carries flavors and prevents dryness.
- Seasonings (salt, pepper, spices, herbs) — Layer flavors so nothing overpowers. Build depth gradually.
- Aromatics (garlic, onion, herbs) — Cook with fat to bloom flavors. Become the foundation.
- Supporting ingredients — Complement the main ingredient without overpowering it.
- Sauce or liquid (if applicable) — Brings flavors together. Balance richness with acid.
- Acid (lemon, vinegar, wine, or other) — Brightens and prevents flat-tasting results.
- Final finish (garnish, glaze, or sauce) — Prevents one-dimensional taste and adds visual appeal.
Building the Dough So the Cookies Bake Up Thick
Creaming the Fats and Sugars
Beat the butter, peanut butter, brown sugar, and granulated sugar until the mixture looks fluffy and a little lighter in color. This step traps air, which helps the cookies bake up with some lift instead of turning heavy. If the butter is too firm, the mixture will look clumpy; keep going until it smooths out, but don’t whip it until it looks greasy.
Adding the Egg and Dry Ingredients
Mix in the egg and vanilla until the dough looks glossy and unified, then add the flour, baking soda, and salt. Stop mixing as soon as the flour disappears. Overmixing at this point tightens the dough and makes the cookies tougher, which is the opposite of what you want here.
Shaping and Marking the Tops
Scoop the dough into 2-tablespoon portions and place them on a parchment-lined baking sheet with a little space between each one. Press each mound lightly with a fork in a crosshatch pattern. That does more than give the cookies their classic look — it flattens the tops just enough so they bake evenly in the center instead of staying domed and underdone.
Baking Until the Edges Set
Bake for 10 to 11 minutes, watching for edges that look set and tops that still look slightly soft in the middle. The cookies should not look dry all over when they come out. Let them sit on the baking sheet for 5 minutes before moving them, because that rest time finishes the bake without overcooking the centers.
How to Adapt These Cookies Without Losing the Chewy Center
Use crunchy peanut butter for more texture
Crunchy peanut butter adds little peanut bits throughout the dough, which gives the cookies a more rustic bite. The cookies will still work, but the texture will be a touch less smooth and the dough may feel slightly drier, so don’t overbake them.
Make them gluten-free with a 1:1 baking flour
A good 1:1 gluten-free flour blend can replace the all-purpose flour without much trouble. The texture may be a little more delicate, so let the cookies cool fully on the sheet before moving them, or they can break while still warm.
Swap the chocolate chips for peanut butter chips or chopped chocolate
Peanut butter chips push the peanut flavor even further, while chopped chocolate gives you irregular melty pools instead of neat chip pockets. Either one works, but chopped chocolate melts more dramatically and can make the cookies look a little more bakery-style.
Storage and Reheating
- Refrigerator: Store in an airtight container for up to 5 days. The cookies will soften slightly as they sit.
- Freezer: Freeze baked cookies for up to 2 months, or freeze scooped dough balls and bake straight from frozen with 1 to 2 extra minutes.
- Reheating: Warm a cookie in the microwave for 8 to 10 seconds if you want the chocolate soft again. Don’t overheat them or the centers will turn dry fast.
Answers to the Questions Worth Asking
Peanut Butter Chocolate Chip Cookies
Ingredients
Equipment
Method
- Preheat the oven to 350°F, then line baking sheets with parchment for nonstick release.
- Beat the softened unsalted butter, creamy peanut butter, brown sugar, and granulated sugar until creamy and well combined, scraping the bowl as needed.
- Beat in the egg and vanilla extract until the mixture looks smooth and glossy.
- Mix in the all-purpose flour, baking soda, and salt just until the dry ingredients disappear, then fold in the semi-sweet chocolate chips.
- Scoop dough into 2-tablespoon balls and place on the baking sheets with space between each cookie.
- Press each dough ball lightly with a fork to create a fork crosshatch pattern on top.
- Bake at 350°F for 10-11 minutes, until the edges are set and the centers still look soft and slightly underdone.
- Cool the cookies for 5 minutes on the sheet so they finish setting before moving them.