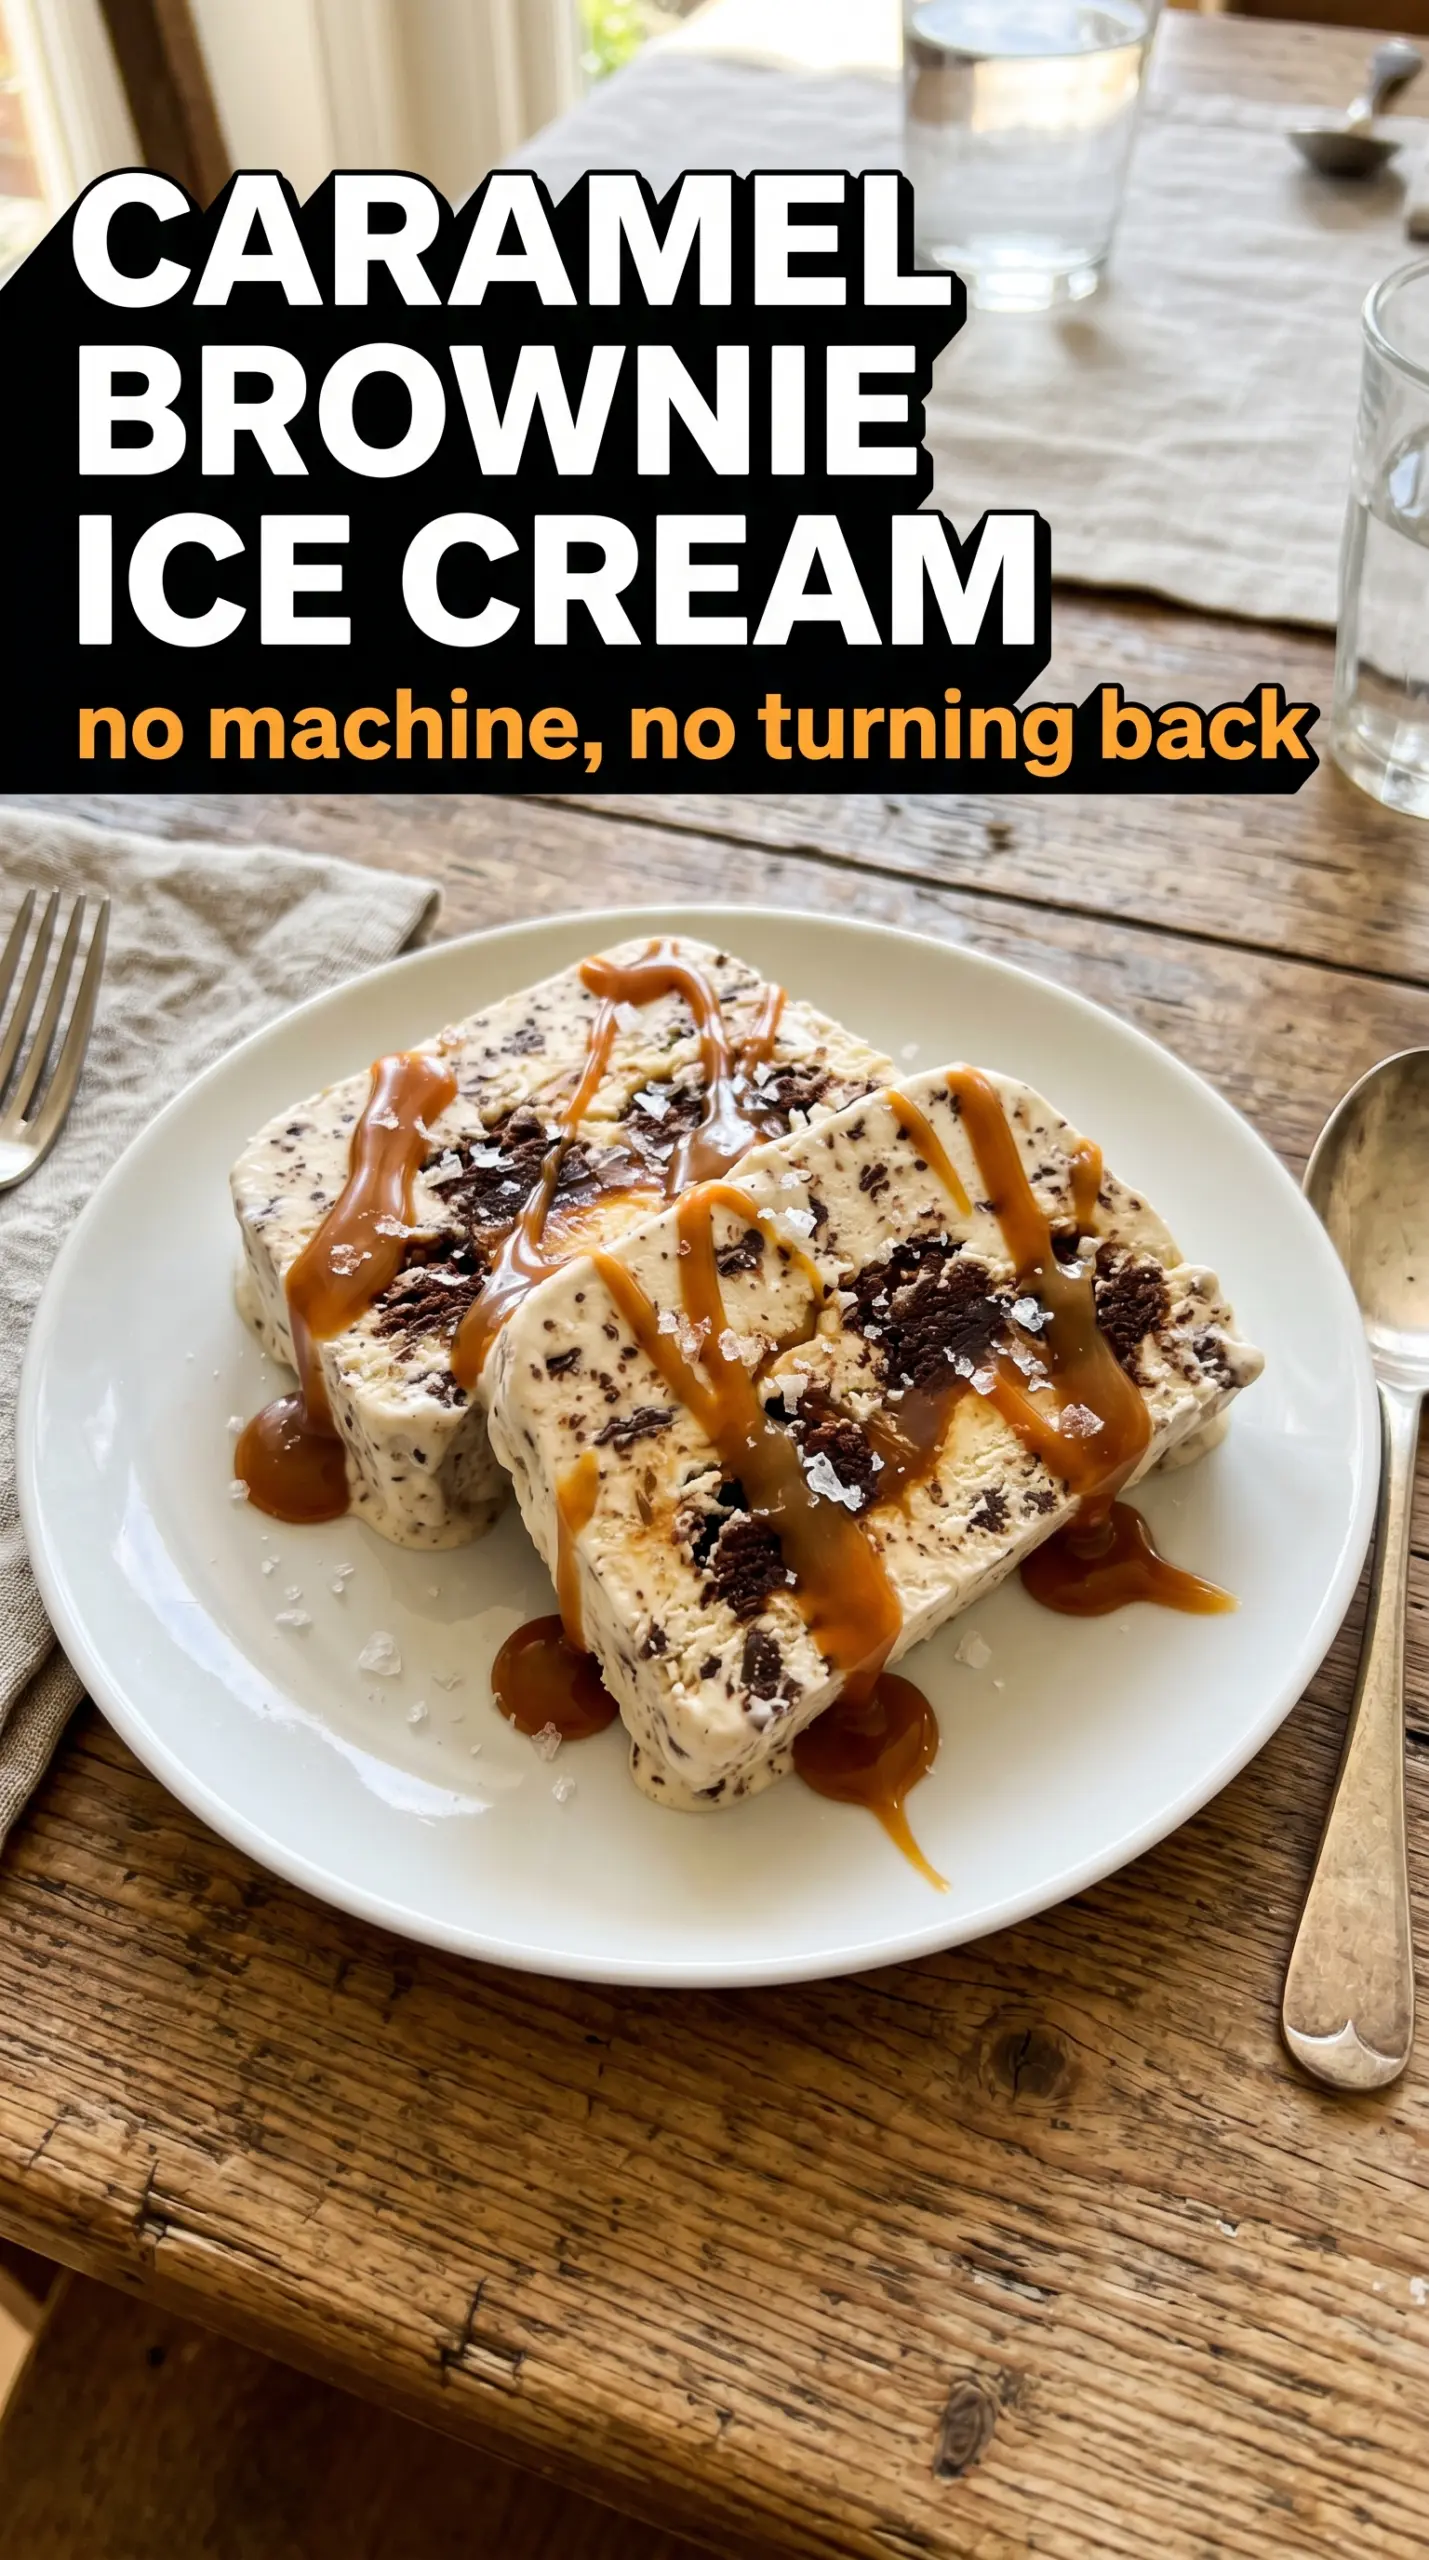
Fudgy brownie chunks and ribbons of caramel turn a simple no-churn base into the kind of ice cream people keep circling back to for one more scoop. The texture is the big win here: creamy vanilla ice cream that stays soft enough to scoop cleanly, with chewy brownie bites and thick caramel swirls running through every spoonful.
The trick is keeping the base light before it goes into the freezer. Whipping the cream to stiff peaks gives the ice cream its body, while the sweetened condensed milk adds sweetness and keeps the texture from freezing rock-hard. The brownies need to be fudgy, not cakey, or they’ll turn dry and crumbly once frozen. A gentle swirl is enough; if you stir too much, you’ll lose the ribbons and end up with a muddy mix.
Below, you’ll find the exact layering method that keeps the brownies and caramel distributed well, plus a few useful swaps if you want to adjust the richness or make it work with what you have on hand.
The brownie pieces stayed chewy even after freezing, and the caramel swirled in instead of sinking to the bottom. I let it sit on the counter for about 8 minutes before scooping and it was perfect.
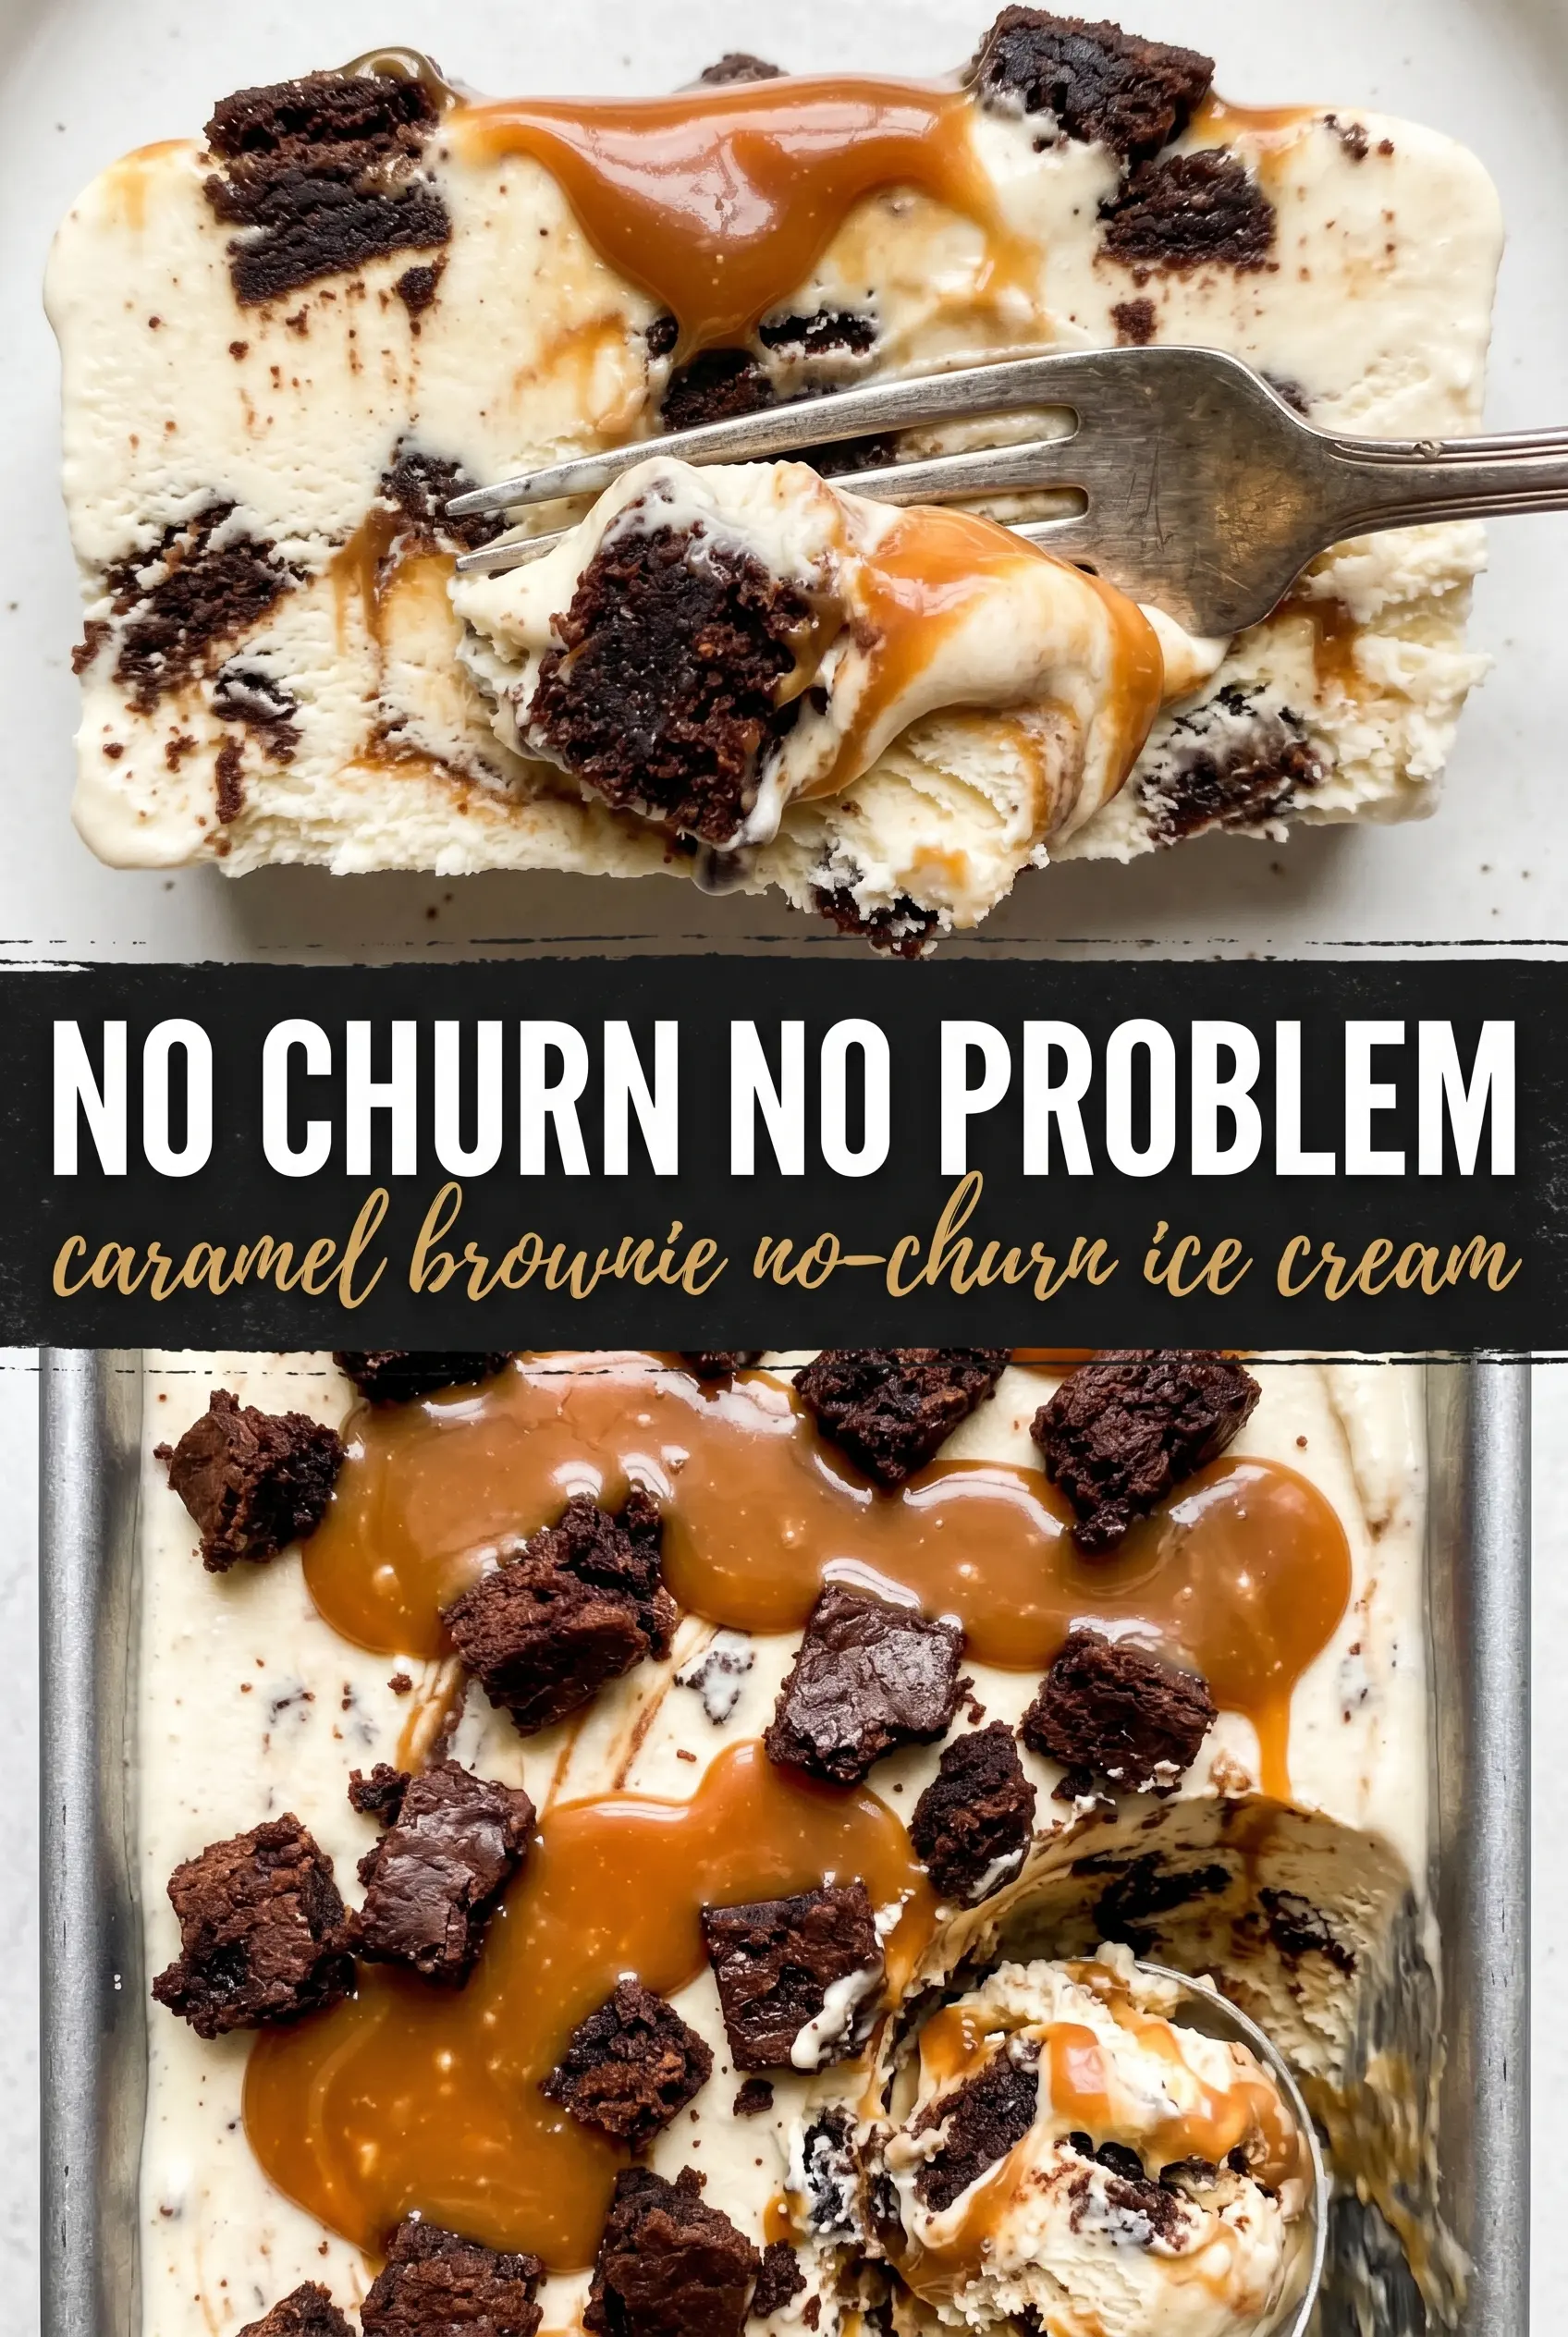
Creamy caramel brownie no-churn ice cream with thick swirls and fudgy chunks belongs in your freezer for the nights when one spoonful is never enough.
The Swirl Trick That Keeps the Caramel Visible
With no-churn ice cream, the biggest mistake is overmixing after the caramel goes in. If you stir until the base looks uniform, you lose the contrast between the creamy ice cream, the brownie bites, and the caramel ribbons. The goal is pockets of caramel that freeze into soft, sticky streaks instead of disappearing into the base.
Layering matters here. Half the base goes in first, then half the brownies and caramel, then the rest of the base and toppings. A knife or skewer only needs a few broad passes through the pan. That leaves the caramel marbled through the ice cream instead of sinking straight to the bottom.
What Each Ingredient Is Actually Doing in This Ice Cream
- Heavy cream — This is what gives the ice cream its airy structure. Whip it to stiff peaks so it can hold the condensed milk and freeze into a scoopable texture. Lower-fat cream won’t whip as firmly, so the finished ice cream can turn icy.
- Sweetened condensed milk — This does the sweetening and the softening all at once. It keeps the base from freezing hard, which is the whole reason no-churn ice cream works. There isn’t a clean substitute here; evaporated milk won’t give the same texture.
- Vanilla extract — Vanilla rounds out the caramel and brownie flavors and keeps the base from tasting flat. Use a good one if you have it, since the flavor has nowhere to hide.
- Fudgy brownie pieces — Fudgy brownies stay chewy after freezing, while cakey brownies can dry out and turn crumbly. If your brownies are fresh, let them cool completely before cutting so they don’t smear into the base.
- Caramel sauce — A thicker caramel sauce is best because it holds its shape in the layers and leaves visible swirls. Thin caramel tends to disappear into the cream. If yours is loose, chill it first so it ribbons instead of running.
Building the Base and Layering It Without Losing the Swirl
Whipping the Cream to the Right Point
Start with cold heavy cream in a cold bowl if you can. Whip until the cream holds stiff peaks that stand straight when you lift the beaters, but stop before it turns grainy or starts looking buttery. Underwhipped cream won’t support the condensed milk, and the ice cream will freeze denser. Overwhipped cream gives you a heavy texture and less clean folding later.
Folding in the Condensed Milk
Whisk the condensed milk, vanilla, and salt together first so the seasoning is evenly distributed. Then fold it into the whipped cream with a spatula, cutting down through the center and turning the bowl as you go. The mixture should stay light and fluffy. If you stir aggressively, you’ll knock out the air and end up with a tighter, icier dessert.
Layering the Brownies and Caramel
Spoon half the base into the loaf pan, then scatter on half the brownie chunks and drizzle half the caramel sauce. Repeat with the rest of the base, brownies, and caramel. Keep the caramel in thin lines instead of big pools, because heavy blobs can sink before the ice cream firms up. A few broad swirls with a knife are enough to connect the layers without blending them flat.
Freezing Until It Scoops Cleanly
Cover the pan tightly and freeze for at least 6 hours, though overnight gives the best texture. The center should be firm all the way through, not just set around the edges. If you try to scoop it too early, the caramel will smear and the base will collapse. Letting it sit on the counter for 5 to 10 minutes before serving gives you neat scoops instead of hard shards.
Three Ways to Make This Caramel Brownie Ice Cream Fit Your Kitchen
Gluten-Free Version
Use your favorite gluten-free brownies, but choose a batch that bakes up fudgy rather than dry. Since the brownies freeze harder than the ice cream base, a moist brownie holds the best chew. Let them cool completely before cutting so the pieces stay clean.
Dairy-Free Swap
Replace the heavy cream with a whipped coconut cream that’s chilled overnight, and use a dairy-free condensed milk style product if you have one. The result will taste a little more coconut-forward and won’t be quite as rich, but it still freezes into a creamy scoop. Choose dairy-free brownies and caramel as well so the whole pan stays consistent.
Extra-Caramel, Salted Finish
If you want a stronger caramel bite, drizzle a little extra caramel over the top and finish with a few flakes of salt before freezing. The salt sharpens the sweetness and keeps the dessert from tasting one-note. Don’t overdo it, because too much salt can overpower the brownie flavor.
Storage and Reheating
- Refrigerator: Don’t store this in the refrigerator; it will melt into a loose, milky mess.
- Freezer: Keep it covered tightly in the loaf pan for up to 2 weeks. Press a piece of parchment or plastic wrap directly on the surface if you want to limit ice crystals.
- Reheating: There’s nothing to reheat here. For serving, let the pan sit at room temperature for 5 to 10 minutes so the caramel softens and the scoop slides cleanly.
Answers to the Questions Worth Asking
Caramel Brownie No-Churn Ice Cream
Ingredients
Equipment
Method
- Whip heavy cream until you reach stiff peaks; the mixture should hold a sharp ridge when the beaters lift.
- Whisk sweetened condensed milk, vanilla extract, and salt until smooth, then fold the mixture into the whipped cream until no streaks remain.
- Layer half the ice cream base into a 9x5 loaf pan and press it into an even layer.
- Scatter half the brownie chunks over the first layer, then drizzle half the caramel sauce in ribbons.
- Add the remaining ice cream base, then top with the remaining brownie chunks and drizzle the remaining caramel sauce.
- Swirl gently with a knife to create a marbled caramel-brownie pattern, then drizzle extra caramel on top.
- Freeze at least 6 hours or overnight until firm enough to slice.


