Bubbling chili over a campfire has a way of turning a simple pot of ground beef and beans into the meal everyone circles back for. This version lands in that sweet spot where the broth is thick enough to cling to a cracker, but still spoonable and hearty, with enough smoke from the fire to make every bowl taste like it was worth the trip.
The trick is building the base in stages. Browning the beef first gives you the savory foundation, then the onion and bell pepper soften in the rendered drippings instead of steaming in plain water. Tomato paste goes in with the beans and spices, which helps it cook down and lose that raw edge while giving the chili body without needing flour or a long all-day simmer.
Below, I’ll walk through the small details that matter most over a campfire, including how to keep the chili from scorching on the bottom of the Dutch oven and how to adjust the texture if you want it thicker or looser.
The chili thickened up beautifully in the Dutch oven and the beans held their shape, even after simmering over the fire for almost an hour. We topped it with cheese and crackers and it was the best camping dinner we’ve had in a long time.
Campfire Chili is the kind of Dutch oven dinner that gets thicker, richer, and better as it simmers over the coals.
The Part That Keeps Campfire Chili From Turning Watery
Campfire chili goes wrong when the pot never reaches a steady simmer. You end up with meat in tomato broth instead of a bowl that coats the spoon. The fix is simple: brown the beef until there’s real color on it, then let the tomatoes and tomato paste cook long enough to thicken into the beans and spices.
Over a fire, the heat shifts constantly, so the bottom edge of the Dutch oven can go from barely bubbling to scorched in a minute. Stir from the bottom and around the edges every few minutes, and keep the lid on between stirs so the top doesn’t dry out. The chili should look thick and glossy, with small bubbles breaking across the surface, not a hard boil.
What Each Ingredient Is Actually Doing in the Pot
- Ground beef — This gives the chili its rich, meaty base. An 80/20 blend has enough fat for flavor, but if yours is lean, leave a little drippings in the pot so the onion and pepper have something to cook in.
- Onion and bell pepper — These soften the beefy edges and give the chili some sweetness and texture. Dice them small enough that they disappear into the final bowl instead of staying crunchy after the simmer.
- Kidney beans — They hold their shape well over a long cook and give the chili that classic hearty feel. If you swap in black beans or pinto beans, the texture gets a little softer and the flavor a bit earthier, but the chili still works.
- Diced tomatoes and tomato paste — The diced tomatoes bring moisture, while the paste is what gives the pot body. Tomato paste needs time to cook; if it goes in and tastes sharp, just keep simmering until it darkens slightly and blends in.
- Chili powder and cumin — These carry the warmth and depth. Fresh spices matter here more than fancy beef, because old chili powder can taste flat no matter how long you cook it.
Building the Campfire Chili So It Cooks Evenly Over the Coals
Browning the Beef First
Start with the ground beef in the hot Dutch oven and break it up as it cooks. You want browned bits, not pale crumbles, because that dark fond at the bottom is where a lot of the flavor comes from. If the meat starts to steam, your fire is too low or the pot is crowded; keep cooking until the juices cook off and the beef takes on color.
Softening the Vegetables in the Drippings
Add the onion and bell pepper after the beef is browned and let them cook for about 5 minutes. They should soften and look glossy, not brown hard on the edges. If the pot looks dry, a small splash of water is fine, but don’t add too much or you’ll wash away the flavor that already collected in the pot.
Letting the Chili Simmer and Tighten
Once the beans, tomatoes, paste, and spices go in, stir well and bring the pot to a steady simmer. Put the lid on and let it cook for 35 to 40 minutes, stirring occasionally so nothing sticks. If the chili still looks loose near the end, remove the lid for the last few minutes and let some steam escape; if it gets too thick, stir in a splash of water until it loosens up.
Three Ways to Adapt Campfire Chili Without Losing the Heart of It
Make It a Little Leaner
Use ground turkey or ground chicken instead of beef, but add a spoonful of oil at the start because lean meat can cook up dry and mild. You’ll lose some of the deep, beefy flavor, so lean harder on the chili powder and cumin and simmer it long enough for the seasonings to settle in.
Go Dairy-Free at the Table
Skip the sour cream and use chopped onions, extra crackers, or avocado if you have it. The chili itself is naturally dairy-free, so this is just about the topping choices; you won’t lose any of the body or the slow-cooked flavor in the pot.
Make It Thicker for Scooping
Let it cook uncovered for the last 10 minutes so more liquid evaporates. This gives you a denser chili that sits on a cracker instead of soaking through it, which is especially useful if you’re serving it outdoors and want it to stay hearty in a bowl.
Stretch It for a Bigger Group
Add one extra can of beans and one extra can of tomatoes, then bump the chili powder and cumin slightly so the flavor doesn’t get diluted. The pot will take longer to come back to a simmer, but the result is still the same kind of thick, crowd-friendly chili that feeds a camp full of hungry people.
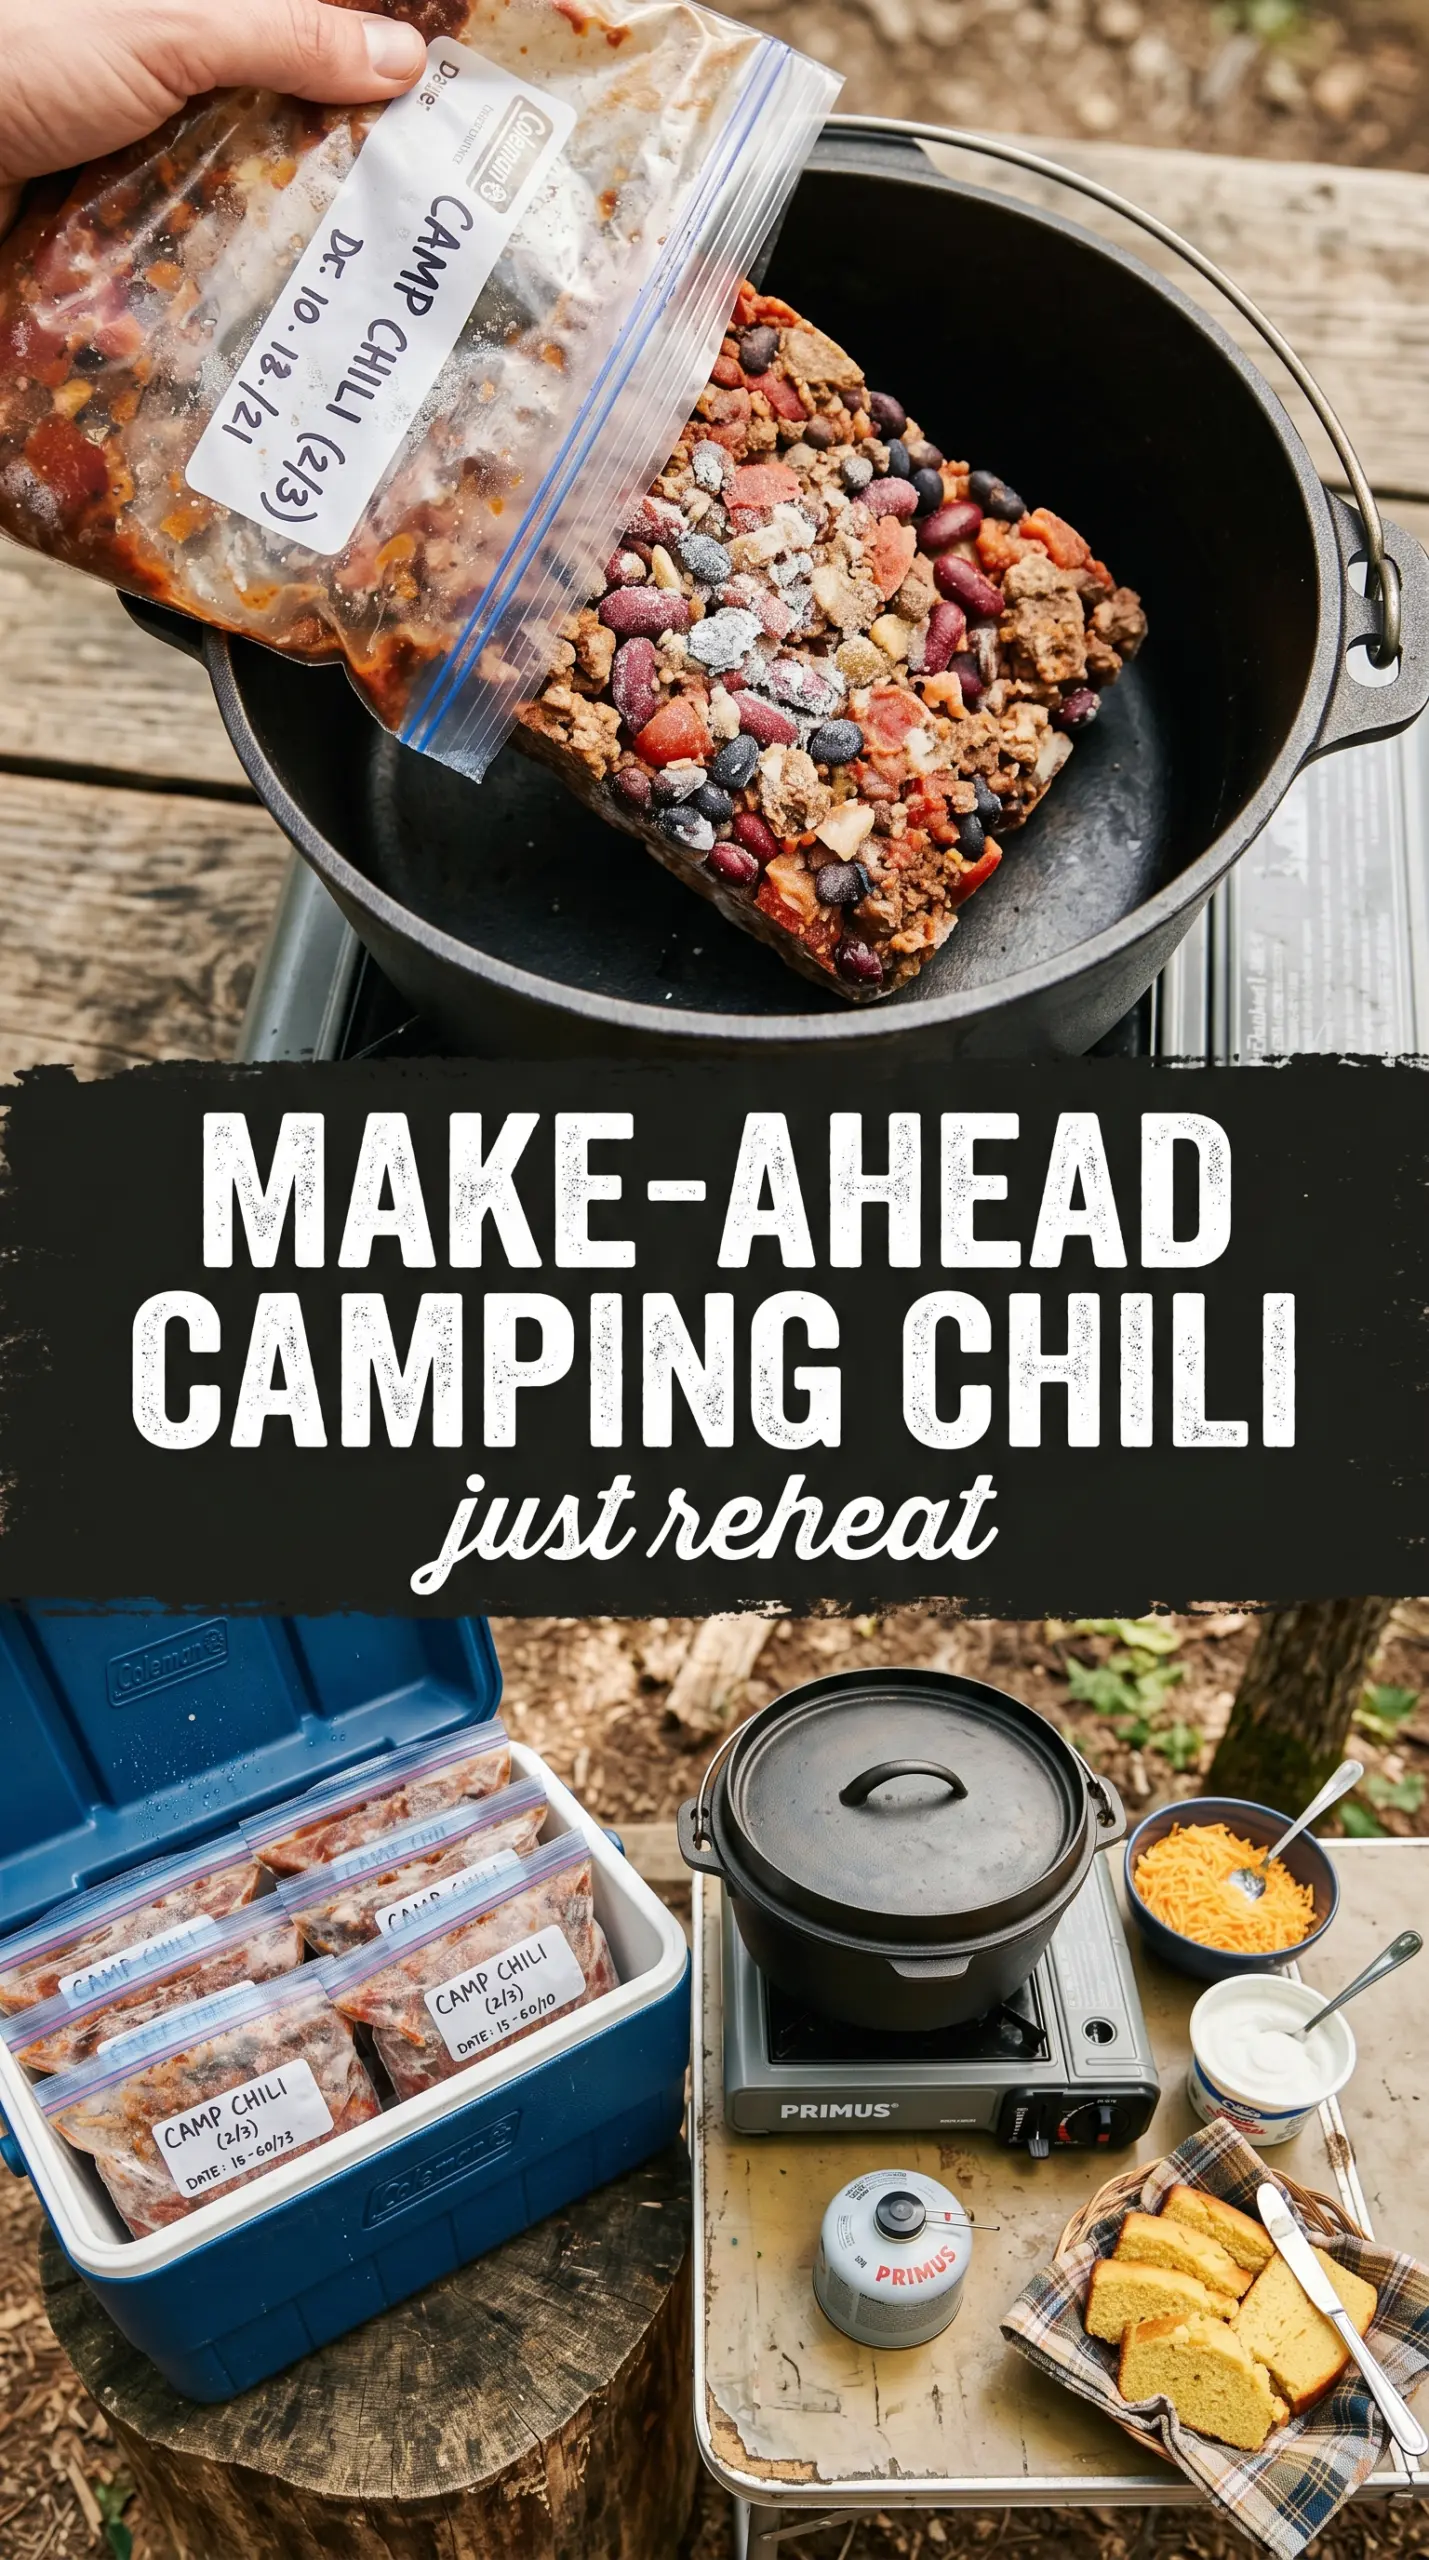
Storage and Reheating
- Refrigerator: Store leftovers in a covered container for up to 4 days. It thickens as it sits, which is normal.
- Freezer: Freezes well for up to 3 months. Cool it completely first, then pack it in freezer containers with a little headspace.
- Reheating: Rewarm it on the stove over low heat, stirring often and adding a splash of water if needed. Don’t crank the heat; that’s how the bottom scorches before the center heats through.
Answers to the Questions Worth Asking

Campfire Chili
Ingredients
Equipment
Method
- Brown the ground beef in the Dutch oven over the campfire, stirring occasionally until no pink remains and the meat is browned, about 8–10 minutes. Visual cue: you should see dark browned bits on the bottom of the pot.
- Add the diced onion and diced bell pepper and cook until softened, about 5 minutes. Visual cue: the onions turn translucent and the pepper edges begin to brown.
- Add the kidney beans, diced tomatoes, tomato paste, chili powder, cumin, salt, and pepper, then stir to combine. Visual cue: the chili looks evenly speckled with spices and the tomato paste disperses.
- Bring the mixture to a simmer over the campfire, then reduce heat to maintain gentle bubbles. Visual cue: small bubbles break the surface around the edges of the Dutch oven.
- Cover and cook for 35–40 minutes, stirring occasionally to prevent sticking. Visual cue: the chili thickens and the beans become tender while it stays actively simmering.
- Ladle the chili into bowls and serve hot with shredded cheese, sour cream, and crackers. Visual cue: the toppings melt slightly into the warm chili.


