Brown butter sage dinner rolls come out soft, feather-light, and deeply savory with a golden crust that catches every bit of the glaze. The rolls pull apart in fluffy layers, and the brown butter gives them a nutty richness that plain dinner rolls just can’t match. Pressing crispy sage leaves on top turns them from a simple bread basket addition into the kind of side people reach for first.
What makes this version work is that the butter gets browned twice: once in the dough for flavor, and again for the glaze, where it carries the sage and garlic into every bite. The milk needs to be warm, not hot, so the yeast wakes up without getting scorched. And because the dough is enriched with eggs and butter, it rises into a softer, richer roll than a lean yeast dough ever could.
Below, you’ll find the exact rising cues that matter, the trick for keeping the sage crisp, and the one detail that keeps these rolls tender instead of dense. If you’ve ever wanted a dinner roll that tastes as good as it smells coming out of the oven, this is the one.
The rolls stayed unbelievably soft, and the brown butter sage glaze soaked into the tops without making them greasy. I followed the rise times exactly and got a full pan of fluffy rolls with crispy sage on every one.
Save these brown butter sage dinner rolls for the day you want a soft pull-apart roll with a nutty glaze and crispy sage on top.
The Mistake That Makes Dinner Rolls Dense Instead of Fluffy
The fastest way to ruin enriched rolls is rushing the rise or adding flour until the dough feels dry. This dough should be soft and elastic, not stiff. If it feels tight in the mixer or on the counter, the finished rolls bake up heavier and lose that pillowy tear-apart texture that makes them worth the effort.
The other place people get into trouble is with the butter. Browned butter adds incredible depth, but it needs to cool a bit before it goes into the dough or it can interfere with the yeast. You want warmth, not heat. The dough should come together smooth after kneading, and it should rise until visibly puffy before you even think about shaping.
- Warm milk — This wakes up the yeast and helps the dough rise evenly. If the milk is too hot, it can weaken the yeast before the dough even starts.
- Browned butter — This is the backbone of the flavor. Plain melted butter works in a pinch, but you lose the nutty, toasty note that makes these rolls stand out.
- Instant yeast — Instant yeast gives a reliable rise without a proofing step. Active dry yeast works too, but dissolve it in the warm milk and give the dough a little more time if needed.
- Eggs — They enrich the dough and keep the crumb tender. Use them at room temperature if you can, since cold eggs can slow the dough down.
What the Brown Butter and Sage Are Actually Doing Here
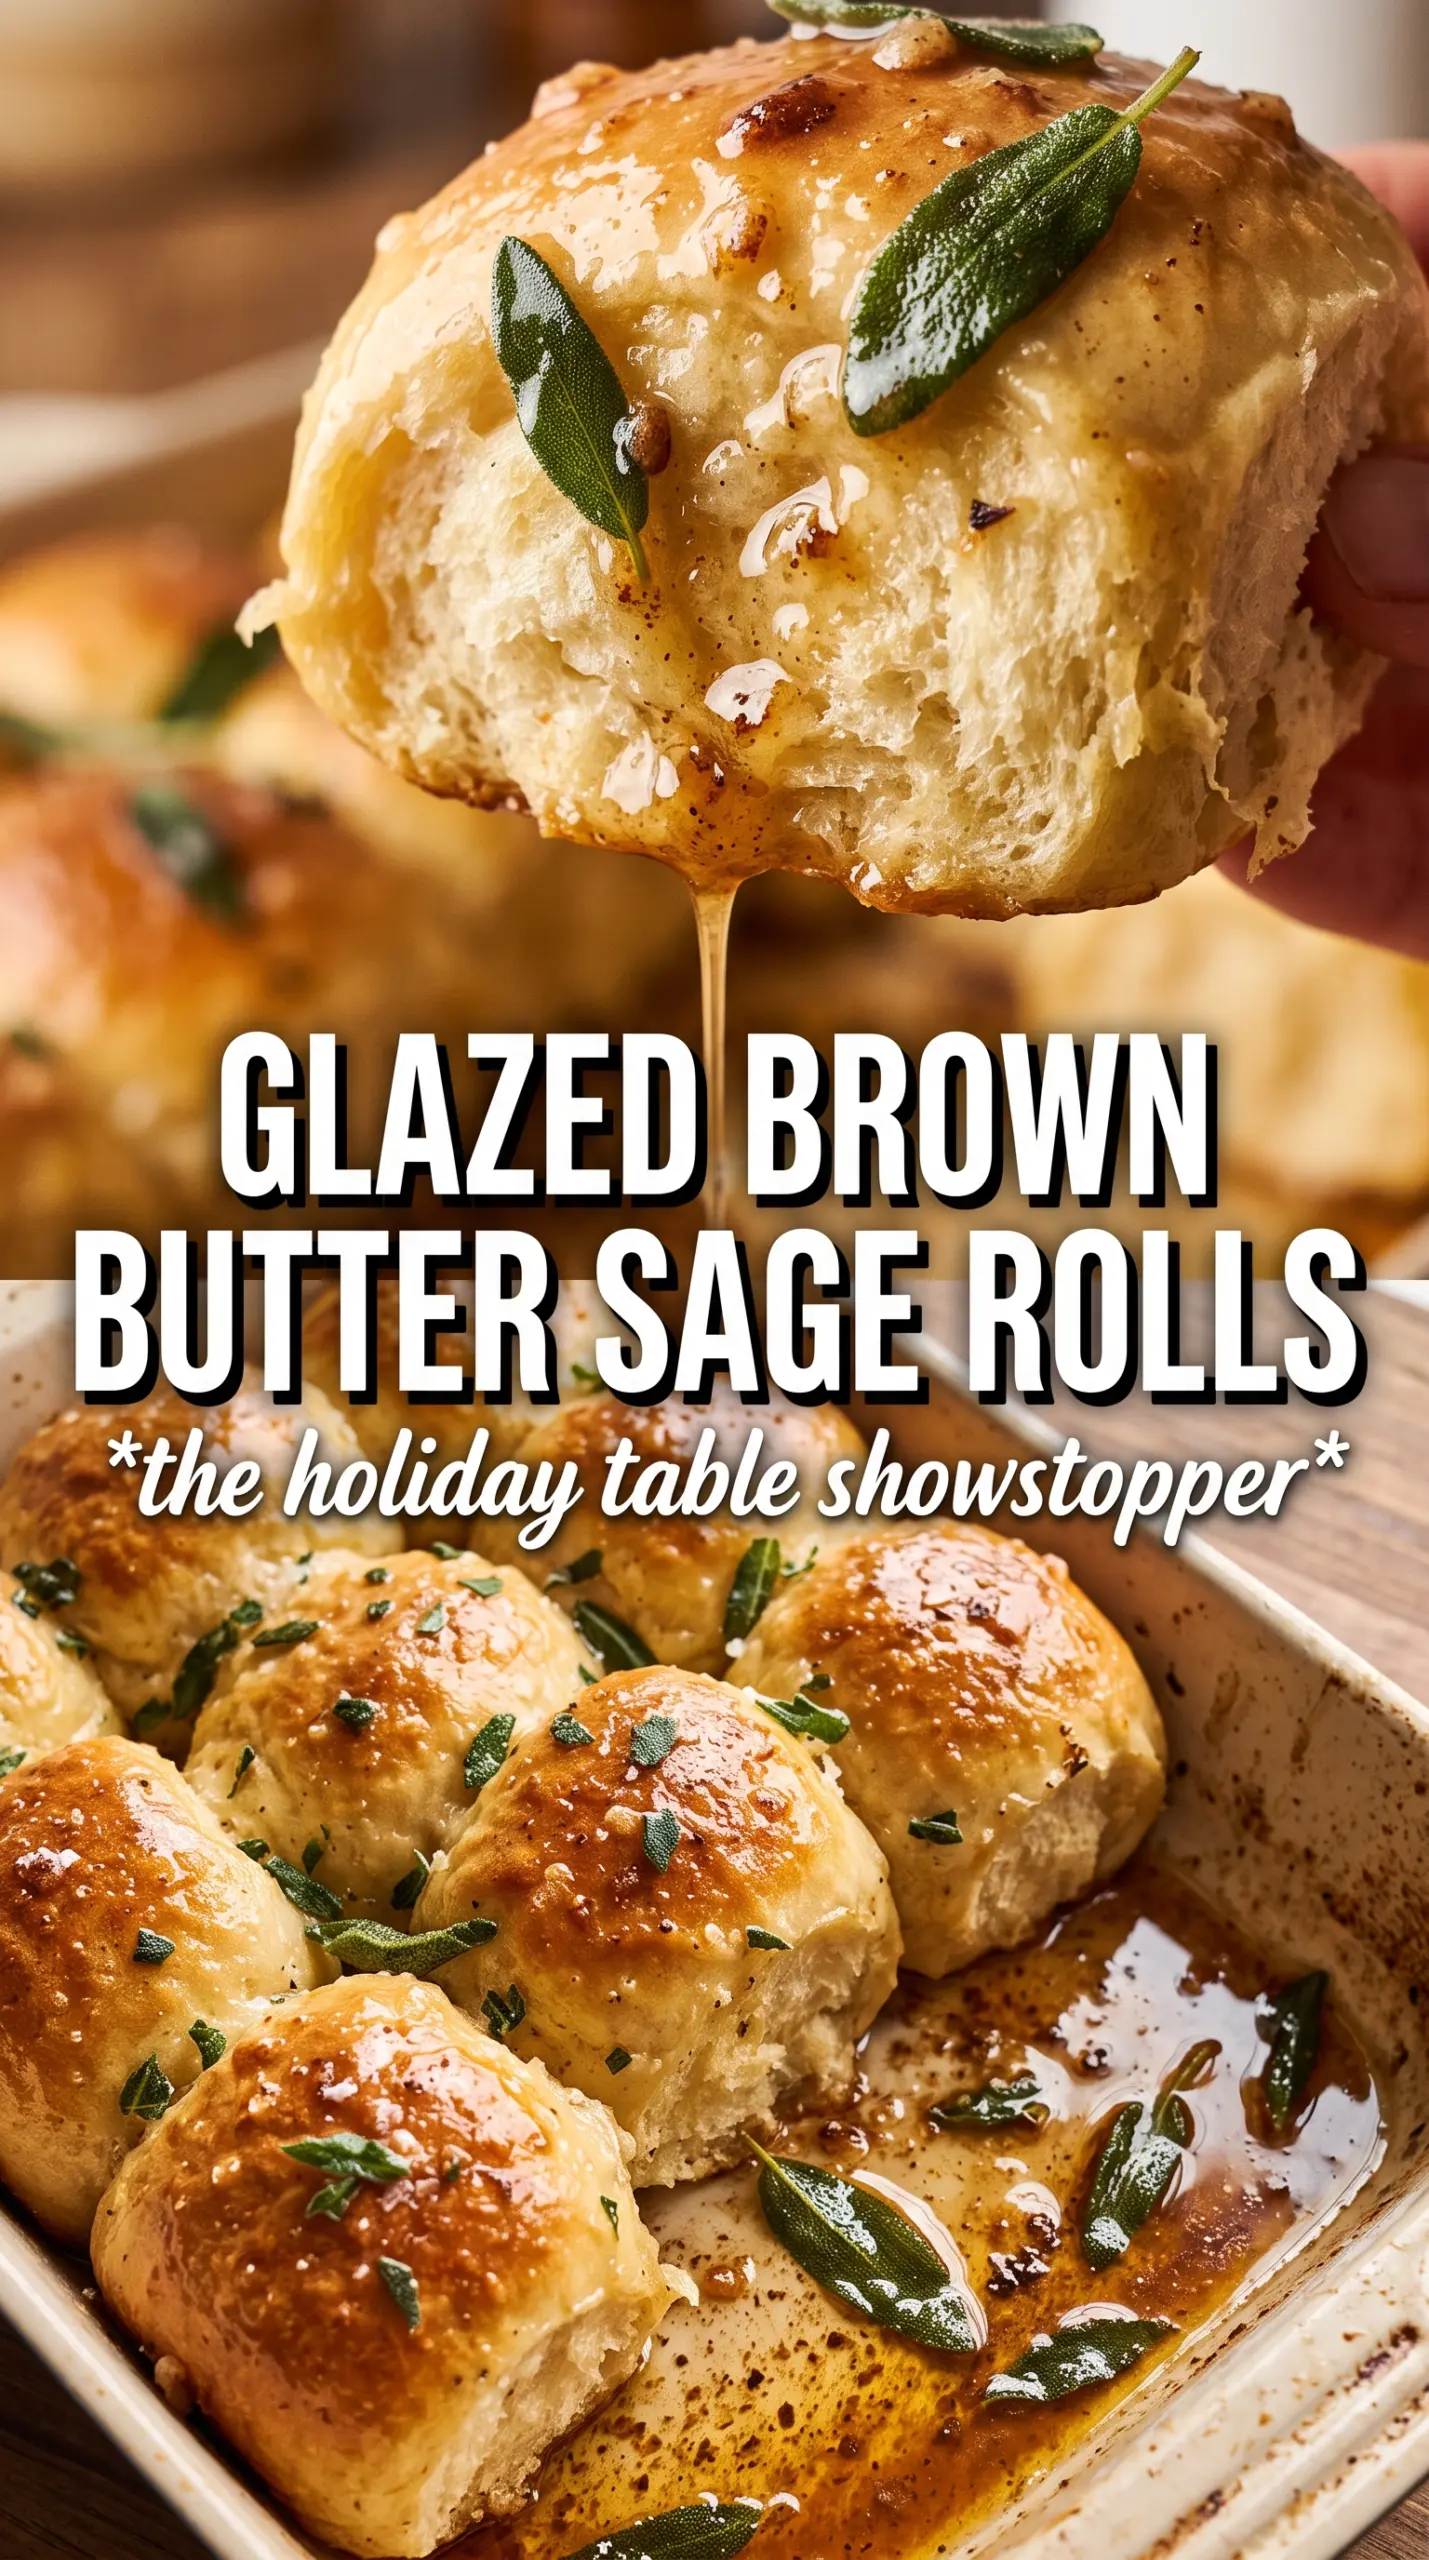
The alt text needs to stay natural, but the real work happens in the glaze. Brown butter carries toasted milk solids that make the rolls taste fuller and more complex, while sage adds a sharp, earthy edge that cuts through the richness. Garlic is subtle here, not aggressive; it rounds out the glaze without turning these into garlic bread.
- Fresh sage leaves — Fresh is nonnegotiable here. Dried sage won’t crisp up the same way, and it doesn’t perfume the butter as cleanly.
- Unsalted butter — Use unsalted so you can control the salt level after browning. Salted butter varies too much, and the glaze can taste blunt or overly salty.
- Flaky sea salt — A little on top gives the rolls a final spark and helps the butter flavor register more clearly. Table salt won’t give you the same finish.
- Garlic — Mince it finely so it softens in the warm butter. Big pieces can taste harsh or burn before the rolls are glazed.
Building the Dough and Finishing It with the Sage Glaze
Starting the Dough Warm and Soft
Stir the warm milk, yeast, sugar, browned butter, and eggs together first, then add the flour and salt. The dough should look shaggy at the start and gradually turn smooth as it kneads. Eight minutes is about right, but the real cue is texture: it should feel supple and slightly tacky, not wet enough to smear across the counter.
Giving the First Rise Time to Work
Let the dough rise until it has doubled and feels airy when you poke it. A short rise gives you rolls that bake up tight and bready instead of soft and layered. If your kitchen is cool, set the bowl in a lightly warmed oven that has been turned off, not a hot one, or the butter in the dough will start to leak.
Shaping for Even Pull-Apart Rolls
Divide the dough into 12 equal pieces and shape each one into a tight ball. A loose shape bakes unevenly, with flat sides and dense middles, while a taut ball helps the rolls rise upward in the pan. Nestle them close together in the greased 9×13 dish so they support each other and bake into soft edges.
Glazing at the End, Not Before
Brown the remaining butter, fry the sage leaves until crisp, then stir in the garlic and flaky salt off the heat. If the garlic goes in too early, it can scorch in the hot butter and turn bitter. Brush the rolls generously while they’re still warm so the glaze sinks into the tops, then press a fried sage leaf onto each one before serving.
Three Ways to Adjust These Rolls Without Losing What Makes Them Good
Dairy-Free Brown Butter Sage Rolls
Use a plant-based butter that browns well and unsweetened oat milk in place of the whole milk. The flavor will be a little less rich, but you still get soft rolls and that savory sage finish. Watch the browning closely, since dairy-free butters can go from golden to bitter faster than dairy butter.
Make-Ahead Rolls for a Holiday Schedule
Shape the rolls and refrigerate them in the pan after the first rise, then let them sit at room temperature until puffy before baking. Cold dough needs extra time to wake up, so don’t judge it by the clock alone. This is the easiest way to get fresh-baked rolls on a busy day without juggling the dough at the last minute.
Gluten-Free Version That Still Makes Sense
A 1:1 gluten-free flour blend can work, but expect a softer, less elastic dough and a more delicate crumb. Add the flour gradually and stop as soon as the dough holds together, since gluten-free blends dry out faster. The rolls won’t have quite the same chew, but the brown butter sage glaze still carries the dish.
Extra Herb Flavor Without More Work
If you want a stronger herbal note, add a little minced rosemary to the glaze with the sage. Keep it light, because rosemary can take over fast and make the rolls taste woody. A small amount gives the butter more depth without losing the soft, comforting character of the rolls.
Storage and Reheating
- Refrigerator: Store in an airtight container for up to 3 days. The tops soften a little, but the rolls stay tender.
- Freezer: Freeze baked rolls tightly wrapped for up to 2 months. Thaw at room temperature before reheating, or the centers can stay cold while the outside dries out.
- Reheating: Warm in a 300°F oven, covered loosely with foil, for 8 to 10 minutes. A quick microwave will make them rubbery, especially after the butter glaze has set.
Questions I Get Asked About This Recipe
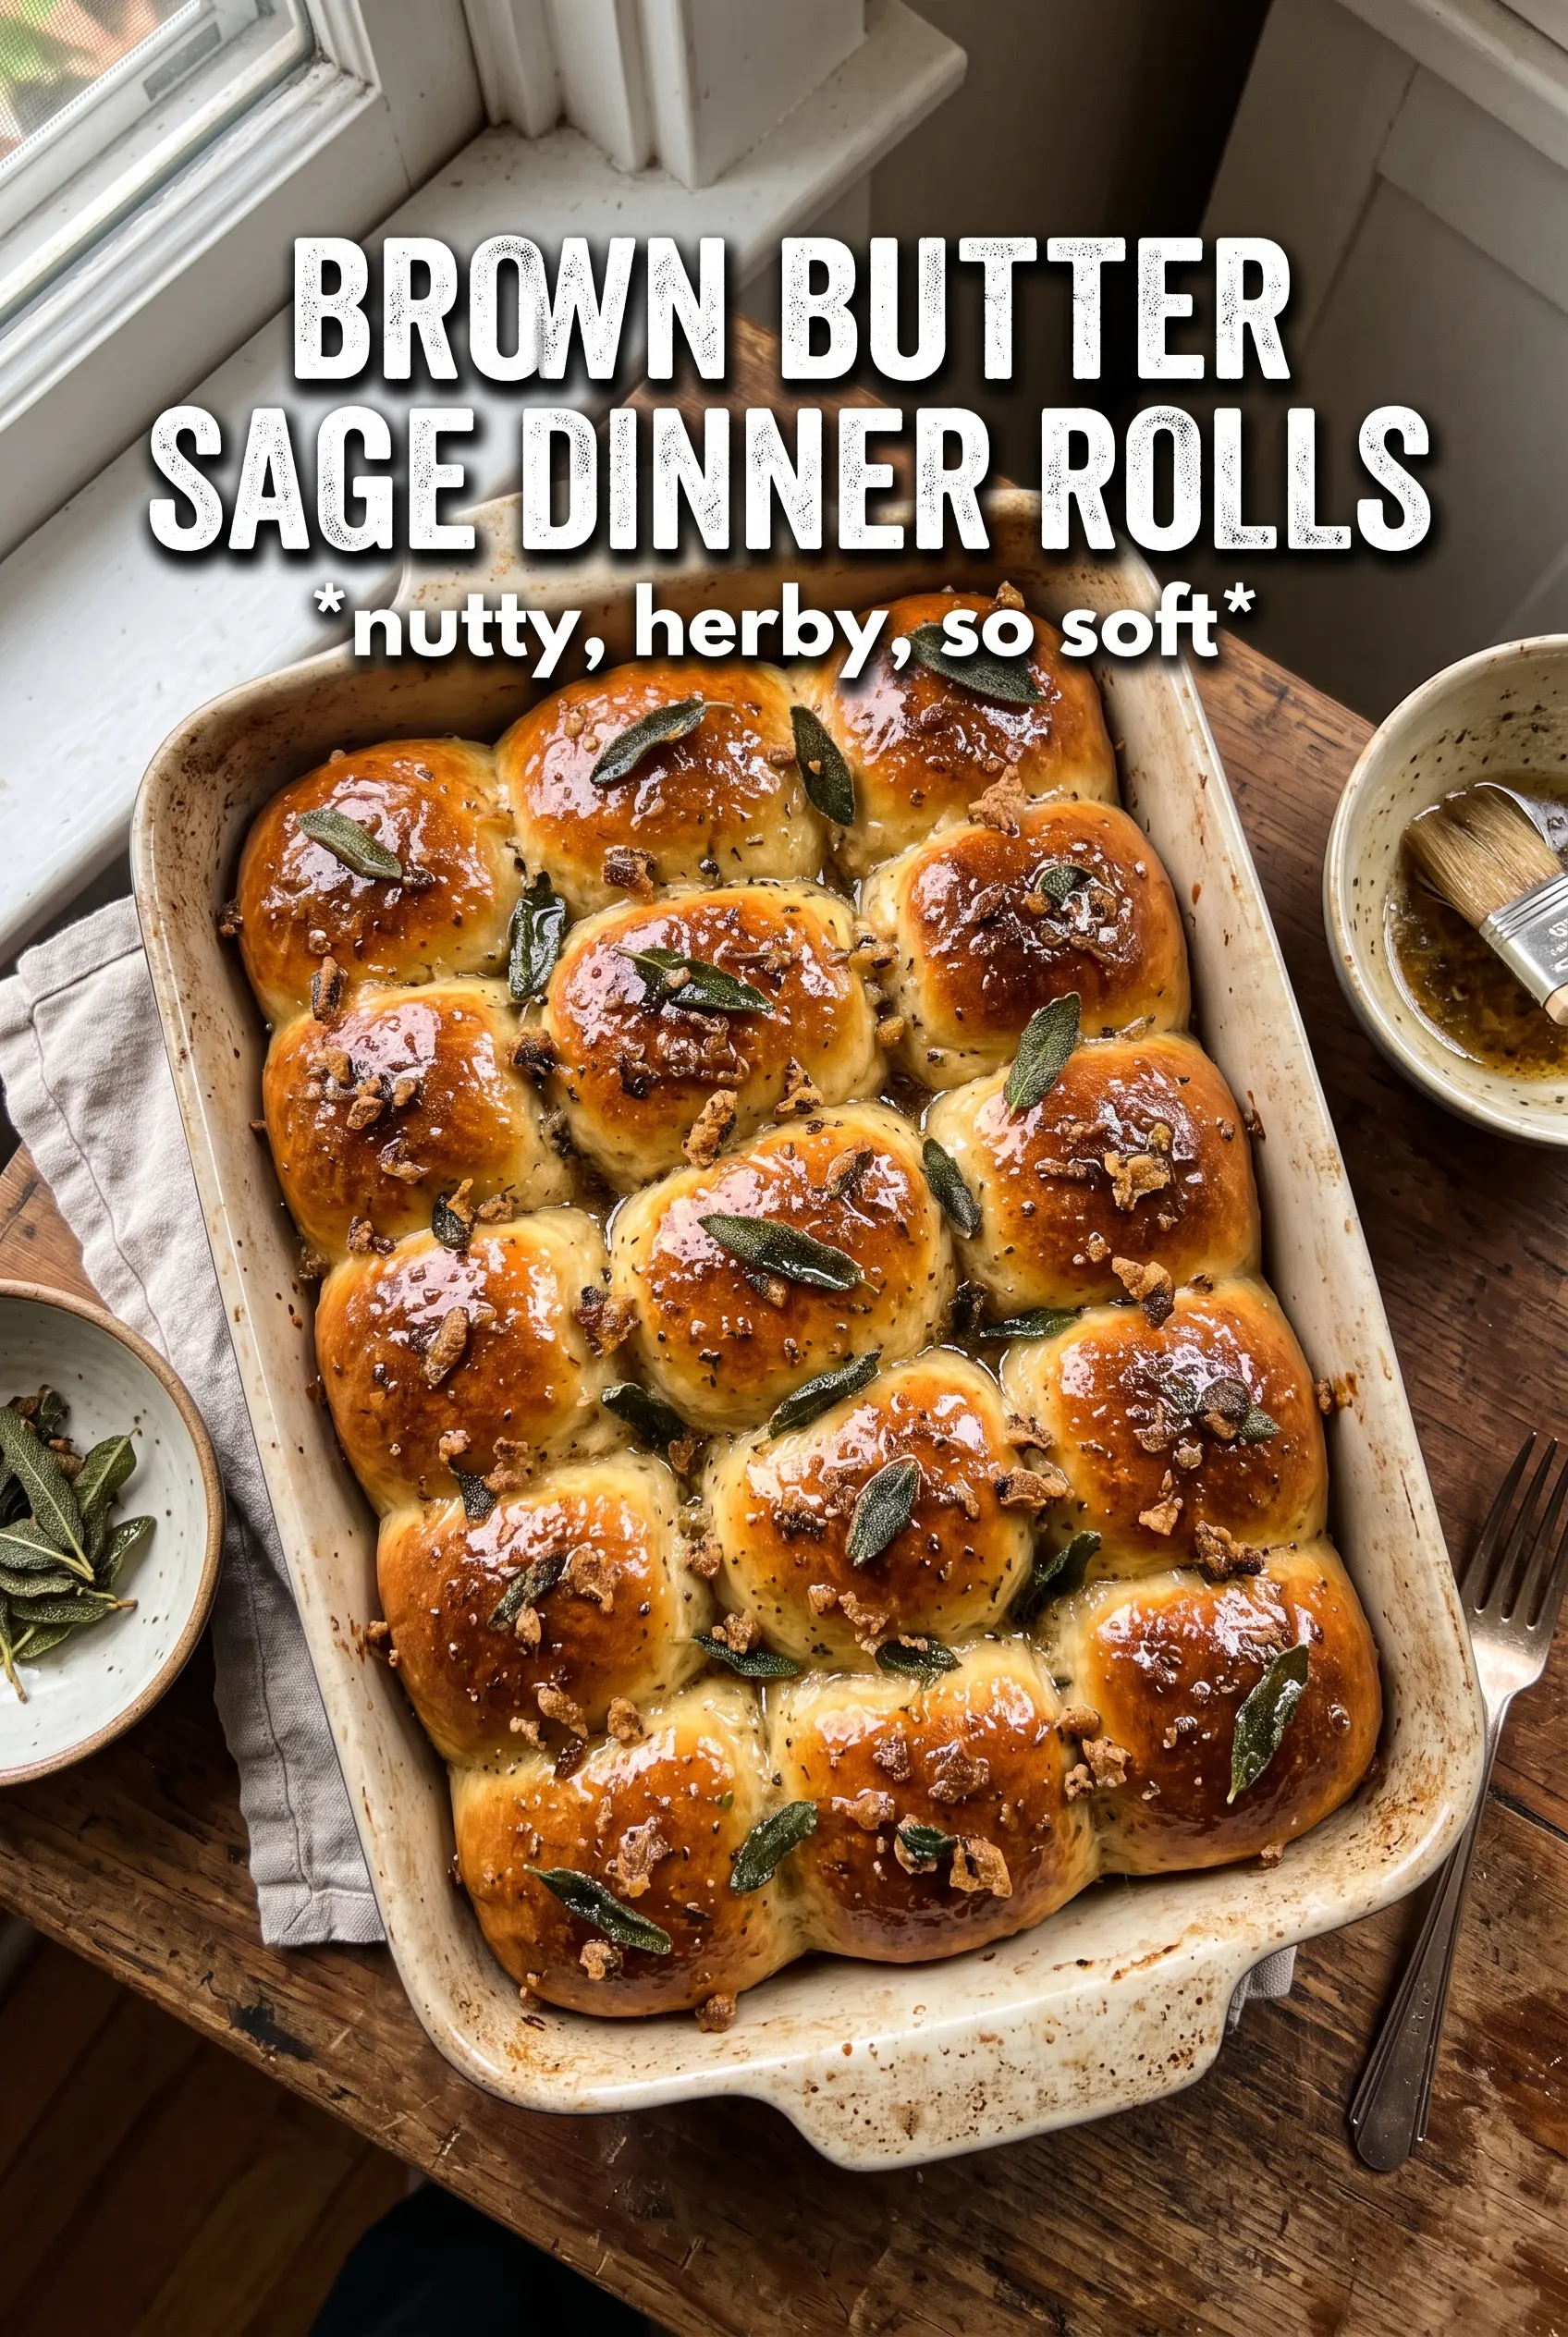
Brown Butter Sage Dinner Rolls
Ingredients
Equipment
Method
- Brown 1/2 cup butter in a Dutch oven over medium heat until it turns golden and smells nutty, then cool slightly to lukewarm, about 5 minutes.
- In a bowl, combine warm milk, instant yeast, sugar, browned butter, and eggs and let stand until foamy, about 5-10 minutes.
- Add flour and salt and knead until smooth and elastic, about 8 minutes.
- Cover the dough and let rise for 1 hour, until puffy and doubled.
- Grease a 9x13 dish, divide dough into 12 balls, and place them in the dish with space between.
- Cover and let rise again for 30-40 minutes, until the rolls look swollen and touch lightly.
- Preheat the oven to 375°F while the rolls finish rising.
- Bake for 18-22 minutes at 375°F until the tops are golden-bronze.
- In the Dutch oven, brown the remaining butter until deep golden, then stir in minced garlic for 30 seconds.
- Fry sage leaves in the hot brown butter until crisp and dark green, about 1-2 minutes.
- Brush the rolls generously with warm sage brown butter, then press crispy sage leaves onto the top of each roll.


