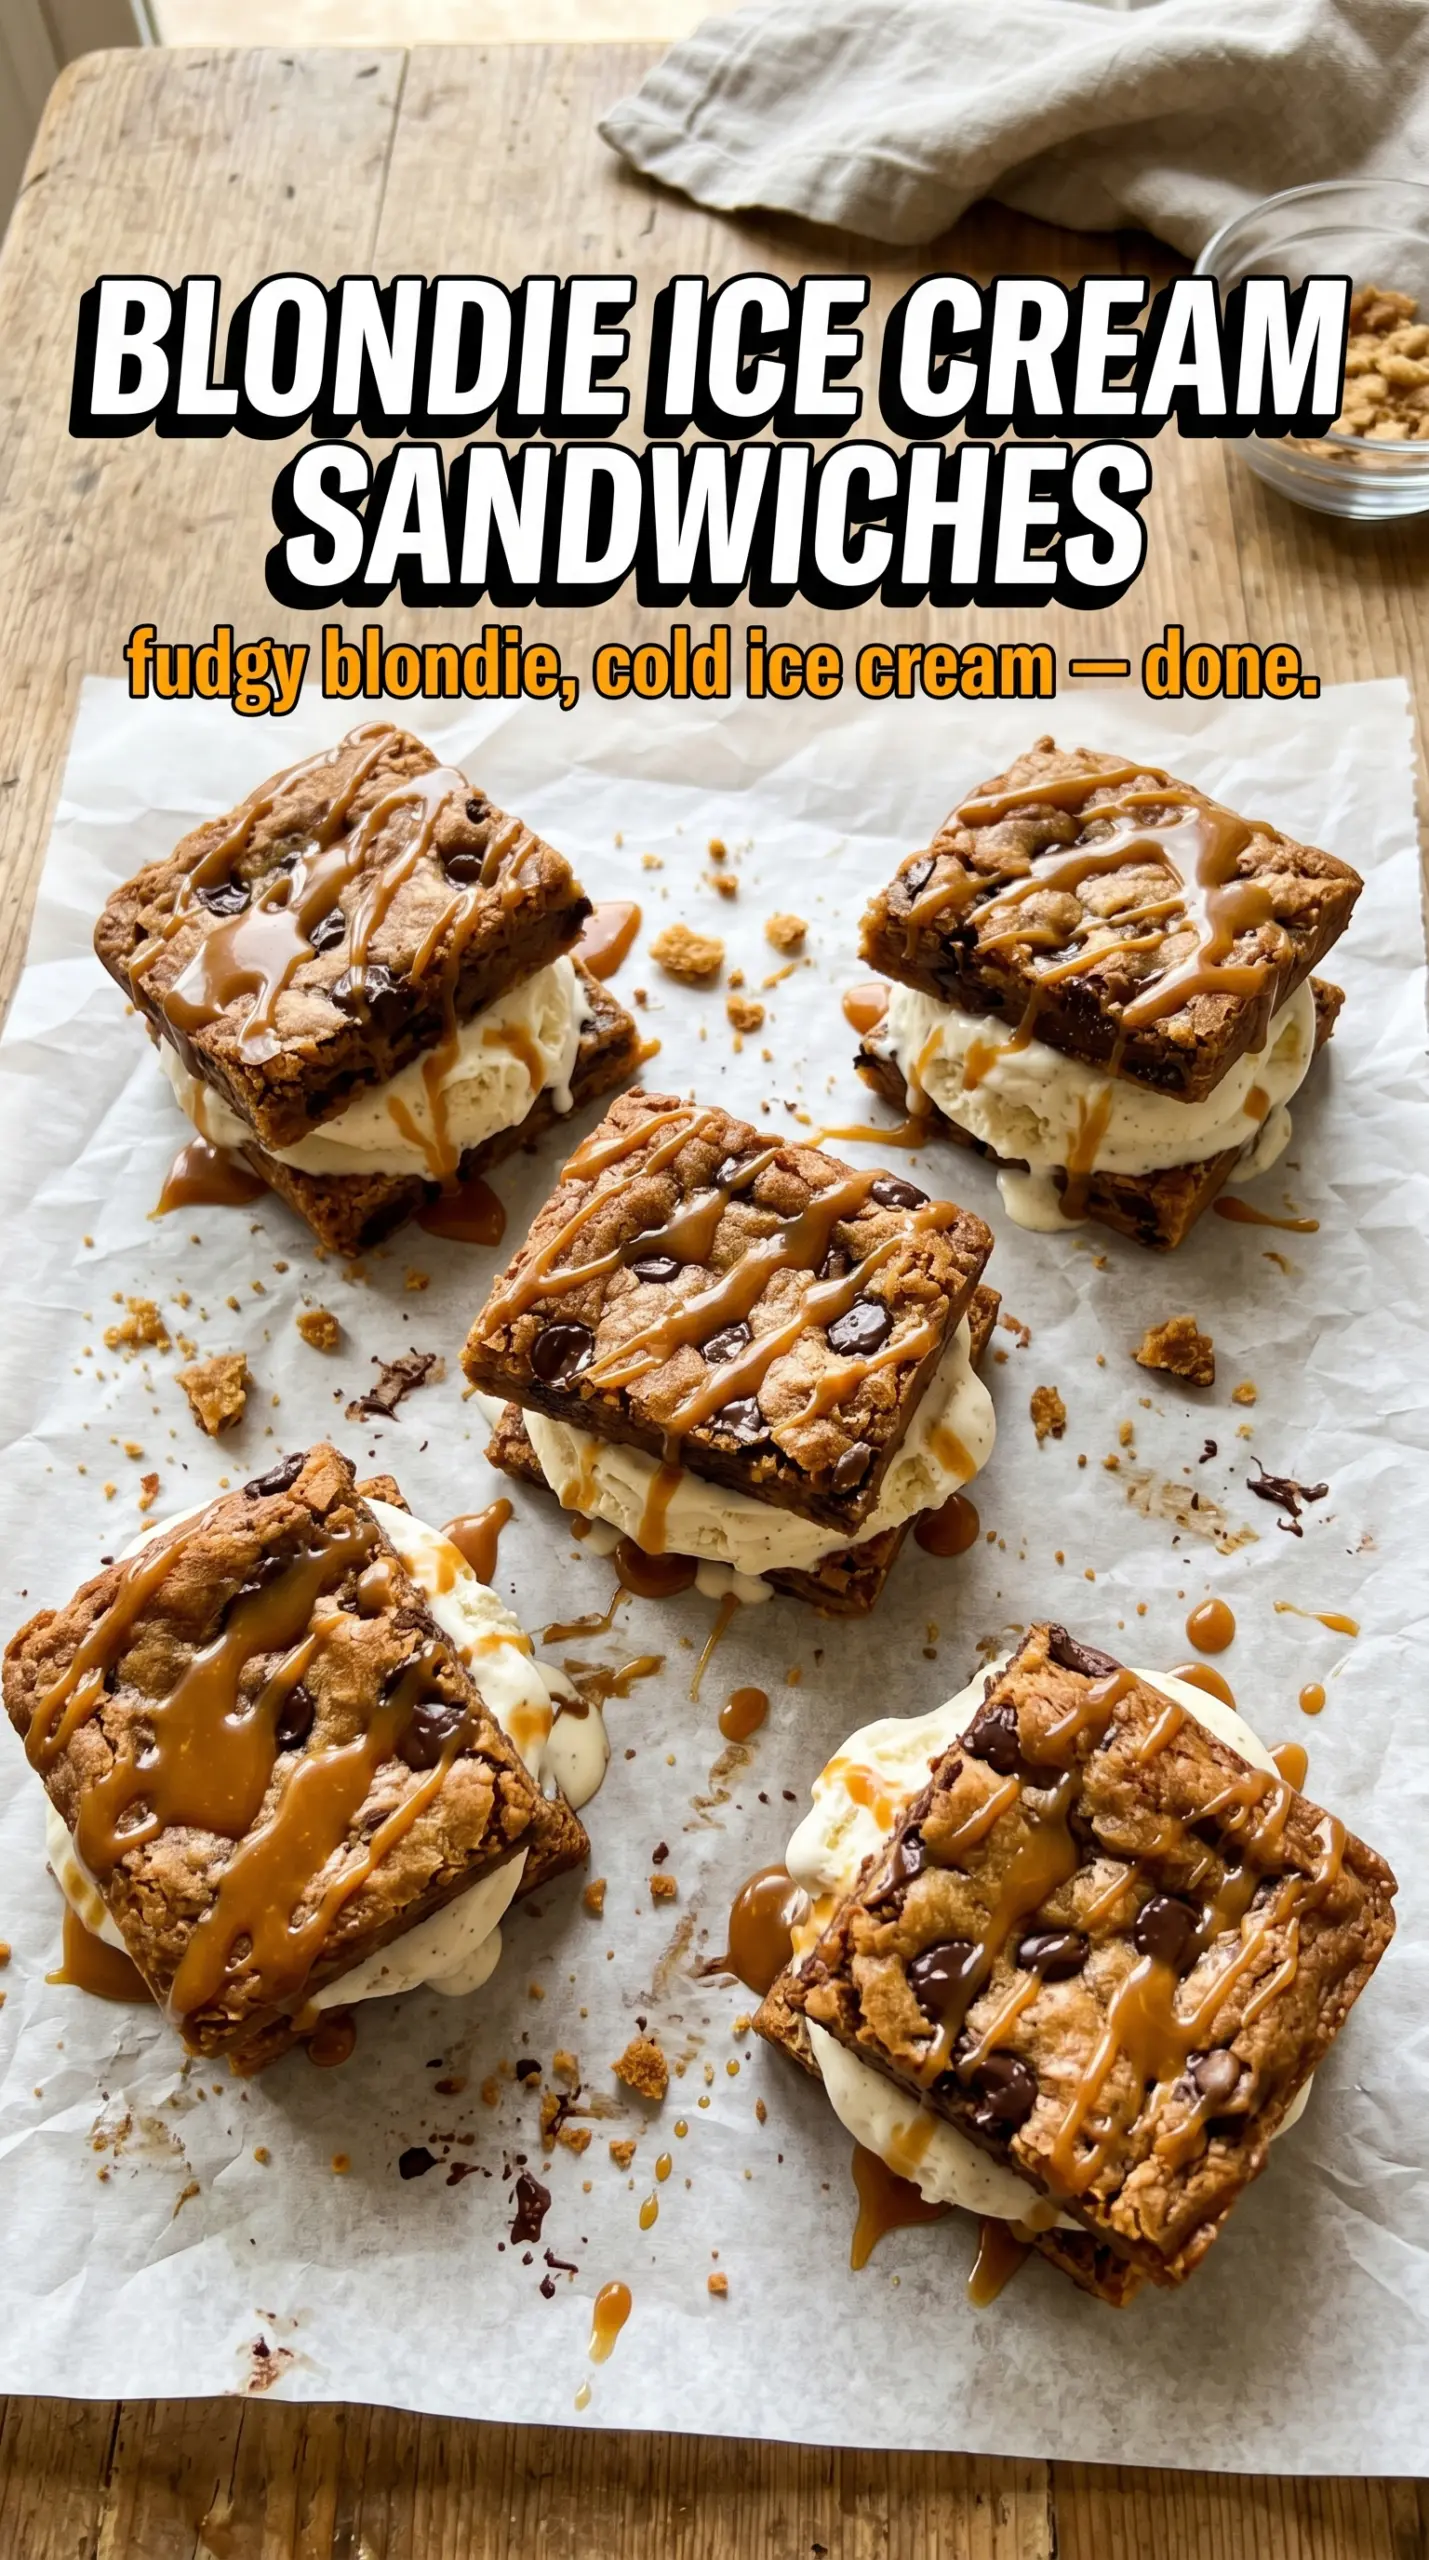
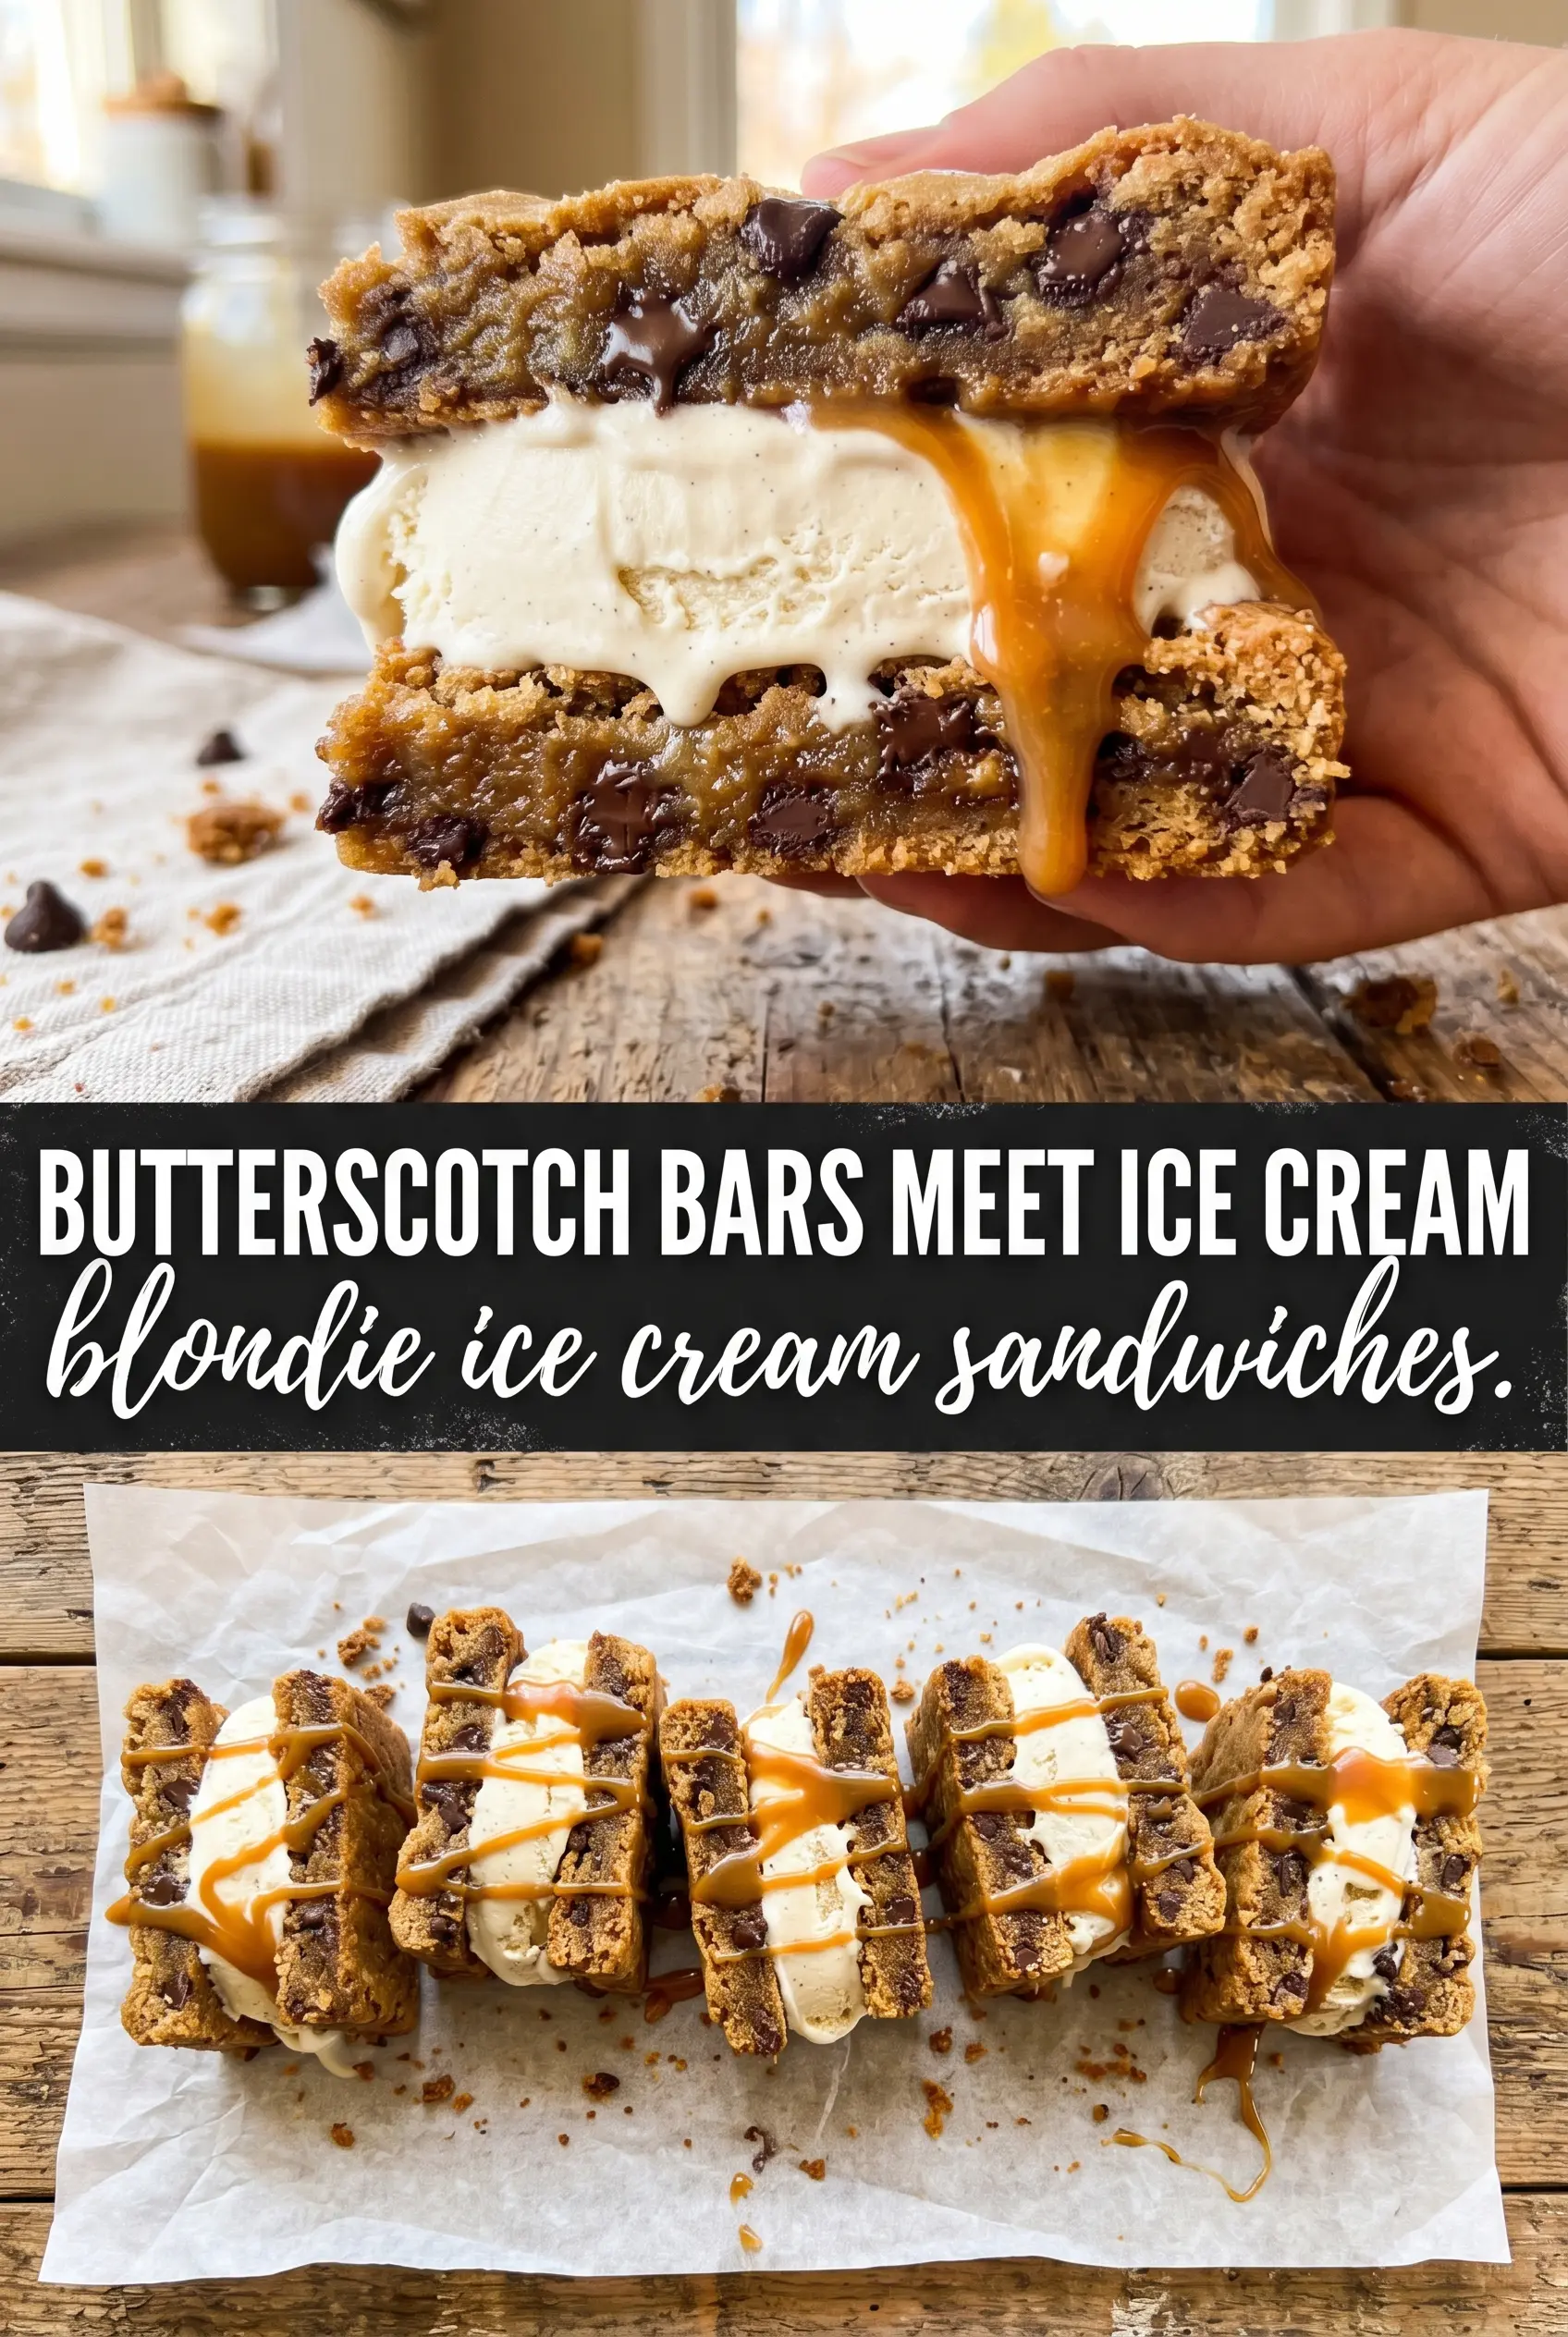
Chewy blondies and cold ice cream are a hard combination to beat, but these blondie ice cream sandwiches land in that sweet spot where the bar stays rich and sturdy without turning dry or crumbly. The browned butter gives the blondies a toffee-like depth, the brown sugar keeps the texture dense and bendy, and the butterscotch chips add little pockets of sweetness that taste made for vanilla or caramel ice cream.
The trick here is treating the blondie like the structure of the dessert, not just the base. Browning the butter first gives you more flavor in the same amount of fat, and cooling it down before mixing keeps the batter from turning greasy. The bars also need to bake just until set so they freeze into a chewy sandwich instead of a hard, overbaked slab.
Below, I’ve included the exact texture cues I watch for when the blondies are done, plus a few ways to adapt the filling depending on what ice cream you have in the freezer. If you’ve ever had an ice cream sandwich fall apart the second you bite it, the freezing and assembly notes here will help a lot.
The blondies stayed chewy even after freezing, and the browned butter made them taste like caramel without needing a lot of extra topping. I let the sheet chill for the full 30 minutes before cutting, and the sandwiches held their shape beautifully.
Save these chewy blondie ice cream sandwiches for the dessert that tastes like caramel, butter, and vanilla in one cold bite.
The Brown Butter Step That Keeps These Blondies Rich, Not Greasy
A blondie can go from chewy to oily fast if the butter is hot when it hits the sugar. Browning it first adds the deep toasted flavor you want, but it also needs time to cool so it doesn’t melt the sugar into a slick batter. You’re looking for butter that’s warm, not hot, when you whisk it together with the brown sugar.
That balance matters because blondies set from a mix of sugar, eggs, and flour, not from a lot of lift. Too much heat at the mixing stage can give you a greasy top and a dense middle that bakes up unevenly. Cool browned butter also helps the batter stay thick enough to spread into a clean layer in the pan instead of puddling at the edges.
- Browned butter — This is the flavor anchor. The toasted milk solids give the bars a butterscotch edge that regular melted butter can’t match.
- Brown sugar — Use packed brown sugar for the right chew and caramel note. White sugar would make the bars drier and less rich.
- Butterscotch chips — These reinforce the caramel flavor and add little pockets of sweetness. If you can’t find them, chopped toffee bits are the closest swap.
- All-purpose flour — Stick with all-purpose here. A lower-protein flour makes the bars too fragile for sandwiching ice cream, and bread flour makes them tougher than they should be.
What Each Ingredient Is Doing in the Sandwich
- Unsalted butter — Brown it all the way to a nutty amber color, then cool it. Salted butter works in a pinch, but the flavor is cleaner when you control the salt yourself.
- Eggs — These bind the bars so they freeze cleanly. Room temperature eggs mix in more smoothly and help the batter emulsify with the butter.
- Vanilla extract — Don’t skip it. It ties the brown sugar, butter, and ice cream together so the bars taste round instead of flat.
- Caramel or vanilla ice cream — Use a brand that freezes firm enough to scoop cleanly. Softer ice cream is easier to spread, but if it gets too melty you’ll lose the clean sandwich layer.
- Caramel sauce — This is the finish, not the structure. A thick sauce clings best and keeps the top from turning watery.
How to Build the Blondie Sheet So It Freezes Cleanly
Mix the base without beating air into it
Whisk the cooled browned butter and brown sugar until the mixture looks glossy and thick, then add the eggs and vanilla. You’re not trying to whip volume into it, just blend until the sugar starts to dissolve and the batter looks cohesive. If the butter is still hot, the eggs can loosen and the batter can separate, which gives you an uneven bake and a greasy crust.
Fold in the flour just until no dry streaks remain
Once the flour mixture goes in, stir only until the batter loses its dry patches. Overmixing here makes the bars tough, which shows up later as a hard bite once they’re frozen. The butterscotch chips should be folded in at the end so they stay evenly distributed instead of sinking into the pan.
Bake for set edges and a soft center
Spread the batter into a parchment-lined 9×13 pan and bake until the top looks set and the center no longer sloshes when you jiggle the pan. The bars will continue to firm up as they cool, so pull them before they look fully dry in the oven. If you wait for a deep golden top all the way across, you’ll end up with brittle blondies that crack instead of bend around the ice cream.
Freeze before you assemble
Let the blondie slab cool completely, then freeze it for about 30 minutes before cutting or filling. That quick chill firms the surface just enough to handle the ice cream without smearing the crumb into the filling. If the bars are still warm, the ice cream melts into the top layer and you lose the clean sandwich line.
Use toffee bits for a crunchier version
Swap the butterscotch chips for toffee bits if you want a little crunch in every bite. The flavor leans more buttery and less candy-sweet, and the texture gets a nice brittle edge against the soft ice cream.
Make it gluten-free with a 1:1 flour blend
A good cup-for-cup gluten-free blend works here if it contains xanthan gum. The bars may be a touch more delicate, so let them cool completely before lifting them from the pan and chill them well before slicing.
Go dairy-free with plant butter and nondairy ice cream
Use a solid plant-based butter that browns well or skips browning but still bakes like butter, then pair it with a dairy-free vanilla or caramel ice cream. The flavor won’t be as deep as browned dairy butter, but the sandwich still holds together and freezes nicely.
Turn them into mini squares for a party tray
Cut the blondie sheet into smaller squares, then stack them with a thin layer of ice cream in between. The smaller size freezes faster and serves cleaner, which makes it easier to hand around at a crowd without the sandwiches tipping over.
Storage and Reheating
- Refrigerator: Store assembled sandwiches in an airtight container for up to 3 days, but expect the blondies to soften quickly.
- Freezer: They freeze well for up to 2 weeks. Wrap each sandwich individually in parchment or plastic so they don’t absorb freezer odors.
- Reheating: Don’t reheat these. Let them sit at room temperature for 3 to 5 minutes before serving so the blondie edges relax without the ice cream turning soupy.
Questions I Get Asked About This Recipe
Blondie Ice Cream Sandwiches
Ingredients
Equipment
Method
- Preheat the oven to 350F, then whisk all-purpose flour, baking powder, baking soda, and salt until evenly combined.
- Whisk the browned butter and brown sugar until the mixture looks smooth and glossy, then add the eggs and vanilla extract and whisk again until incorporated.
- Add the flour mixture and mix just until no dry streaks remain, then stir in the butterscotch chips.
- Spread the batter into a parchment-lined 9x13 pan and bake for 20-25 minutes until the center is just set and the edges look lightly golden.
- Cool the blondie sheet completely, with a visible firm set surface before freezing.
- Freeze the blondie sheet for 30 minutes to firm it up, until the top is cold to the touch.
- Spread the softened caramel or vanilla ice cream over half of the blondie, keeping a thick, even layer.
- Fold the other half over the ice cream to form a sandwich, or cut into squares and stack to keep the layers aligned.
- Freeze for at least 2 hours until fully firm, then drizzle with caramel sauce and serve.


