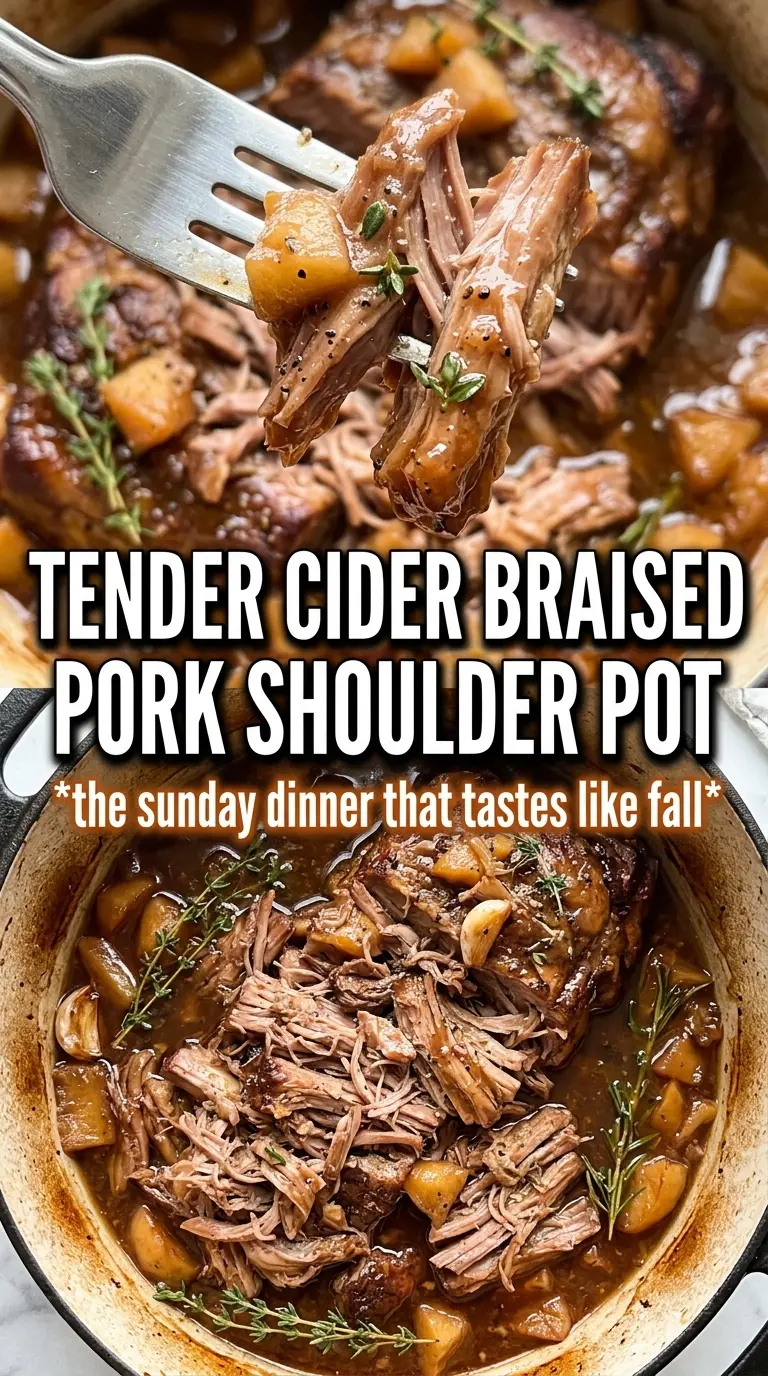
Apple cider braised pork shoulder turns into the kind of supper that makes the whole kitchen smell like you’ve been cooking all day, because you have. The pork comes out fork-tender and rich, with a glossy pan sauce that tastes sweet, savory, and just sharp enough from the cider vinegar to keep every bite from feeling heavy. The apples soften into the braise without turning to mush, so you get little pockets of gentle sweetness right alongside the shredded pork.
What makes this version work is the balance in the braising liquid. Cider alone can taste flat once it’s been in the oven for hours, so the broth adds depth, the Dijon gives the sauce backbone, and the vinegar keeps the whole pot bright. A hard cider brings a little more complexity if you have it, but fresh cider works beautifully too. The other key move is getting a deep brown sear on the pork before it goes into the pot. That crust gives the sauce a head start.
Below, I’m walking through the sear, the braise, and the little details that keep the pork from tasting bland or the sauce from coming out thin. If you’ve had braised pork turn out dry in the past, the timing notes here will help.
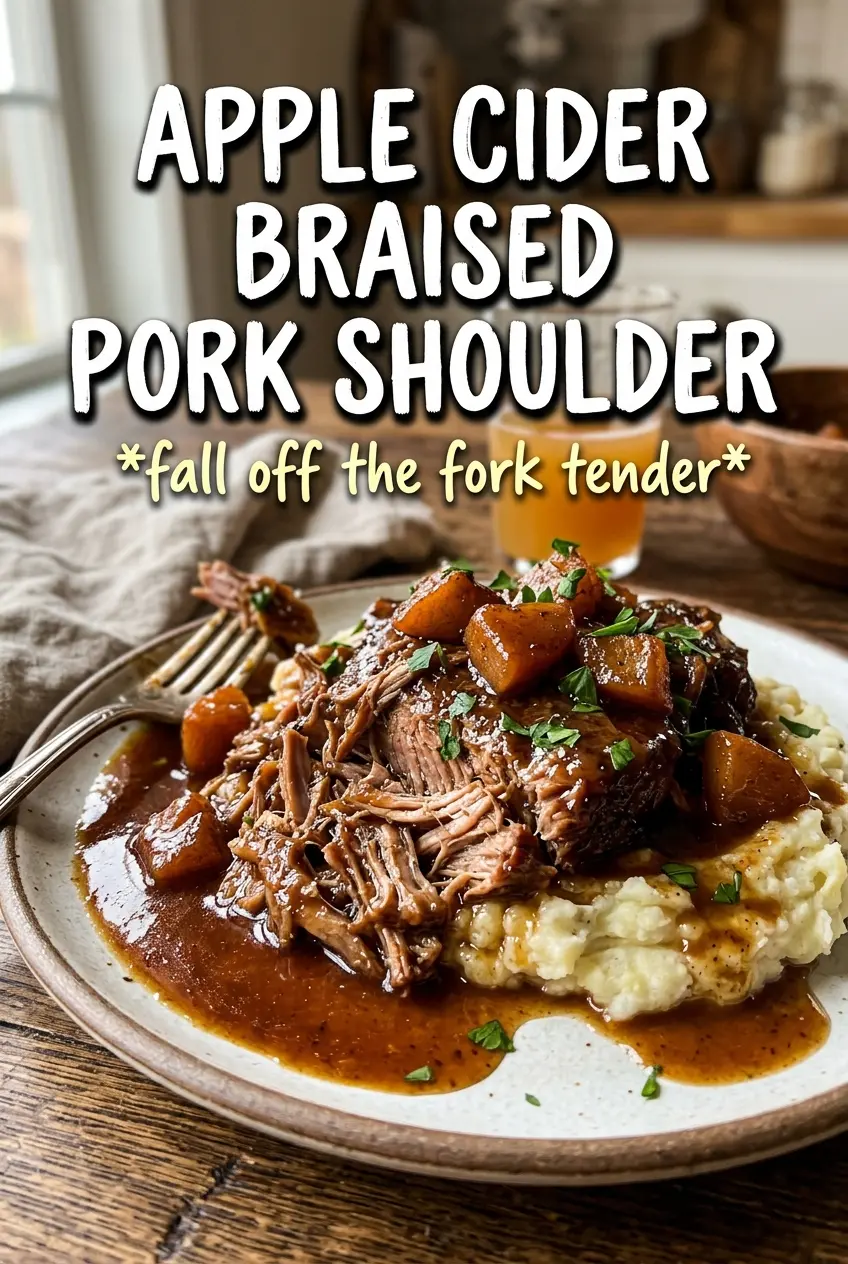
The pork shredded beautifully at 4 hours, and the cider sauce thickened just enough over the mashed potatoes. My husband said the apples on top were his favorite part.
Save this Apple Cider Braised Pork Shoulder for a slow Sunday dinner with shredded pork, cider pan sauce, and tender apples.
The Sear Is What Gives the Braise Its Backbone
Low-and-slow cooking gets all the credit, but the braise only tastes deep if the pork starts with a real crust. If the meat goes into the pot pale, the finished sauce often tastes one-note no matter how long it simmers. Browning the pork on all sides builds those dark bits on the bottom of the Dutch oven, and that fond is what gives the cider sauce its roasted, savory edge.
The other trap is crowding. If the pork sits in a puddle of its own moisture, it steams instead of searing. Work in a little olive oil and let each side go until it releases naturally and looks mahogany brown. If it sticks when you first try to move it, give it another minute; that usually means the crust hasn’t formed yet.
- Boneless pork shoulder — This cut is built for braising because it has enough fat and connective tissue to turn tender instead of dry. Pork loin won’t give you the same shred-and-sauce texture.
- Apple cider — Fresh cider gives the sauce a round apple flavor, while hard cider adds a little bitterness and complexity. Either works, but don’t use apple juice if you want the braise to taste balanced rather than candy-sweet.
- Dijon mustard — This doesn’t make the dish taste mustardy. It sharpens the sauce and helps the cider and broth emulsify a bit instead of tasting thin.
- Apples — Use firm apples that hold their shape, like Honeycrisp or Fuji. Soft apples disappear before the braise finishes, which leaves you without those good sweet-tart bites in the finished pot.
What Each Ingredient Is Actually Doing in This Recipe
- Primary ingredient (the star) — Quality matters most. Choose the best you can find.
- Cooking medium (oil, butter, or broth) — This carries flavors and prevents dryness.
- Seasonings (salt, pepper, spices, herbs) — Layer flavors so nothing overpowers. Build depth gradually.
- Aromatics (garlic, onion, herbs) — Cook with fat to bloom flavors. Become the foundation.
- Supporting ingredients — Complement the main ingredient without overpowering it.
- Sauce or liquid (if applicable) — Brings flavors together. Balance richness with acid.
- Acid (lemon, vinegar, wine, or other) — Brightens and prevents flat-tasting results.
- Final finish (garnish, glaze, or sauce) — Prevents one-dimensional taste and adds visual appeal.
Building the Cider Braise Without Losing the Sauce
Start With a Deep Brown Crust
Season the pork generously with salt and pepper before it hits the pot. The meat should sizzle as soon as it touches the hot oil, and each side needs enough time to pick up real color. You’re looking for a dark golden-brown crust, not just a little tan color, because that crust is what keeps the finished braise tasting rich. Pull the pork out once it’s browned on all sides and let the pot keep all those browned bits.
Wake Up the Aromatics
The onion and garlic only need a short cook after the pork comes out. Stir them in the same pot for about 3 minutes, just until the onion starts to soften and pick up some of the browned fond. If the garlic goes in too early or the heat is too high, it can burn and turn bitter, and that bitterness will carry through the whole sauce. You’re not trying to caramelize here, just build another layer of flavor.
Finish the Braise Slowly
Whisk the cider, broth, Dijon, brown sugar, and vinegar together before pouring it in. That keeps the mustard from clumping and helps the sugar dissolve before the oven heat does the rest. Once the pork is back in the pot with the apples and herbs, cover it tightly and braise until the meat pulls apart with almost no resistance. If it still feels tight at 3 1/2 hours, give it more time; pork shoulder gets tender when the collagen has fully broken down, not when the clock says it should.
Make It With Hard Cider
Hard cider gives the sauce a slightly drier, more complex finish, which works beautifully if you like your braises less sweet. Use it in place of the fresh cider or split the liquid half-and-half. The alcohol cooks off, but the sharper apple note stays in the sauce.
Gluten-Free Version
This recipe is naturally gluten-free as written if your broth and Dijon are certified gluten-free. The braise gets its body from reduction and pork collagen, not flour, so you don’t need a thickener unless you want one.
Turn It Into Sandwich Filling
Shred the pork a little finer and simmer it uncovered in some of the braising liquid until it clings to the meat. That gives you a juicier, more spoonable filling for rolls or baked potatoes, but it will lose the clean slice-and-serve look you’d want for plated dinner portions.
Storage and Reheating
- Refrigerator: Store the pork and sauce together for up to 4 days. The flavor gets deeper overnight, and the sauce usually thickens as it chills.
- Freezer: Freeze in airtight containers for up to 3 months. Cool it first and include plenty of sauce so the pork stays moist after thawing.
- Reheating: Warm gently on the stove over low heat or in a covered dish in the oven at 300F. Don’t blast it on high heat, or the pork can dry out and the sauce can separate around the edges.
Answers to the Questions Worth Asking
Apple Cider Braised Pork Shoulder
Ingredients
Equipment
Method
- Preheat oven to 325°F. Season the pork shoulder generously with salt and pepper.
- Heat olive oil in a Dutch oven and sear the pork on all sides until deeply browned. Remove pork and keep it aside.
- In the same Dutch oven, sauté onion and garlic for 3 minutes. Stir until fragrant but not browned.
- Whisk apple cider, chicken broth, Dijon mustard, brown sugar, and apple cider vinegar until smooth. Pour the mixture into the pot.
- Return the pork to the pot and add apples, thyme, and rosemary. Arrange so the pork is mostly covered by the braising liquid.
- Cover and braise at 325°F for 3-1/2 to 4 hours, until the pork is fall-apart tender. You should see gentle bubbling and apples softened into the sauce.
- Shred the pork directly in the braising juices. Serve the shredded pork over mashed potatoes, spooning the apple cider pan sauce on top.


