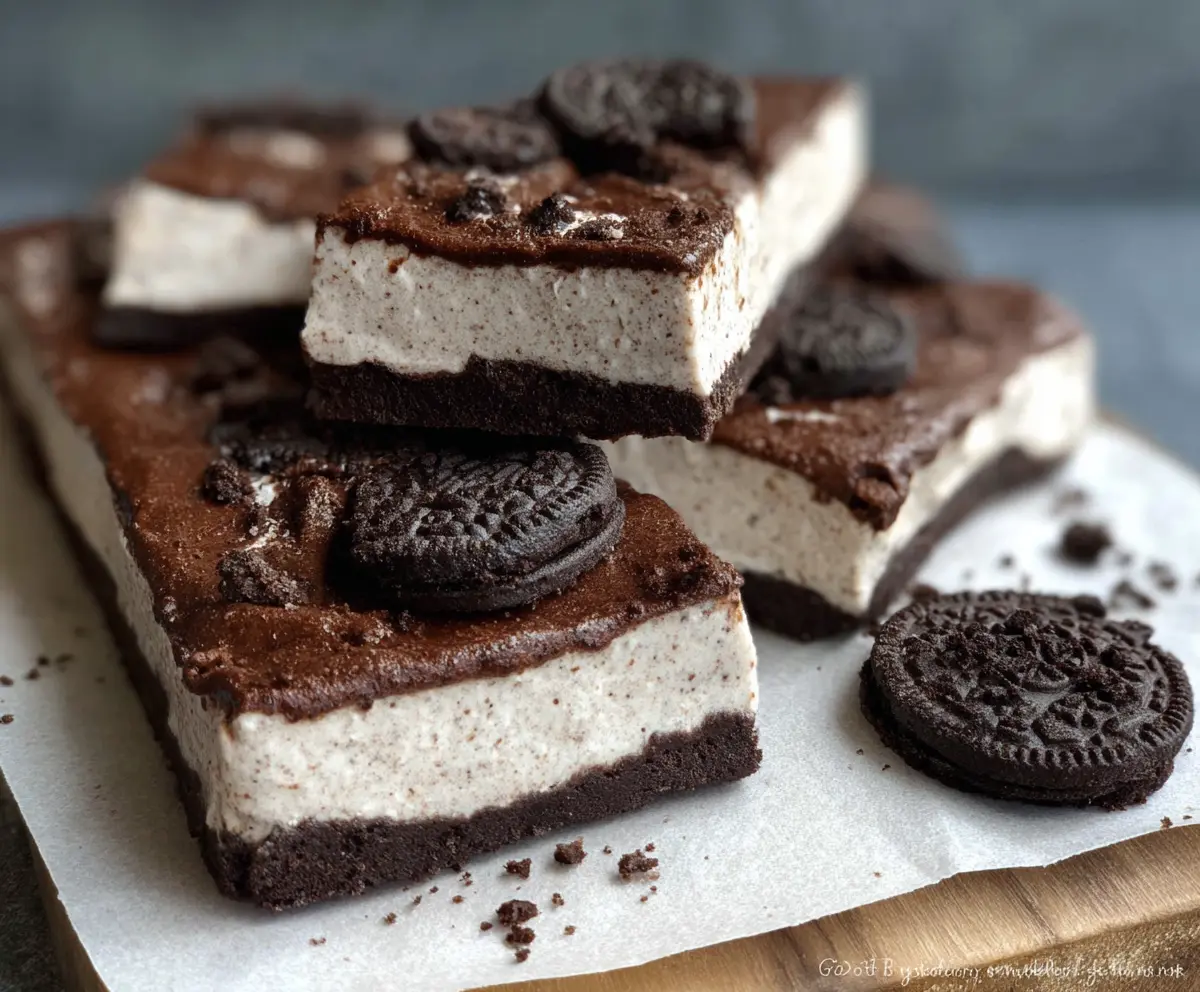
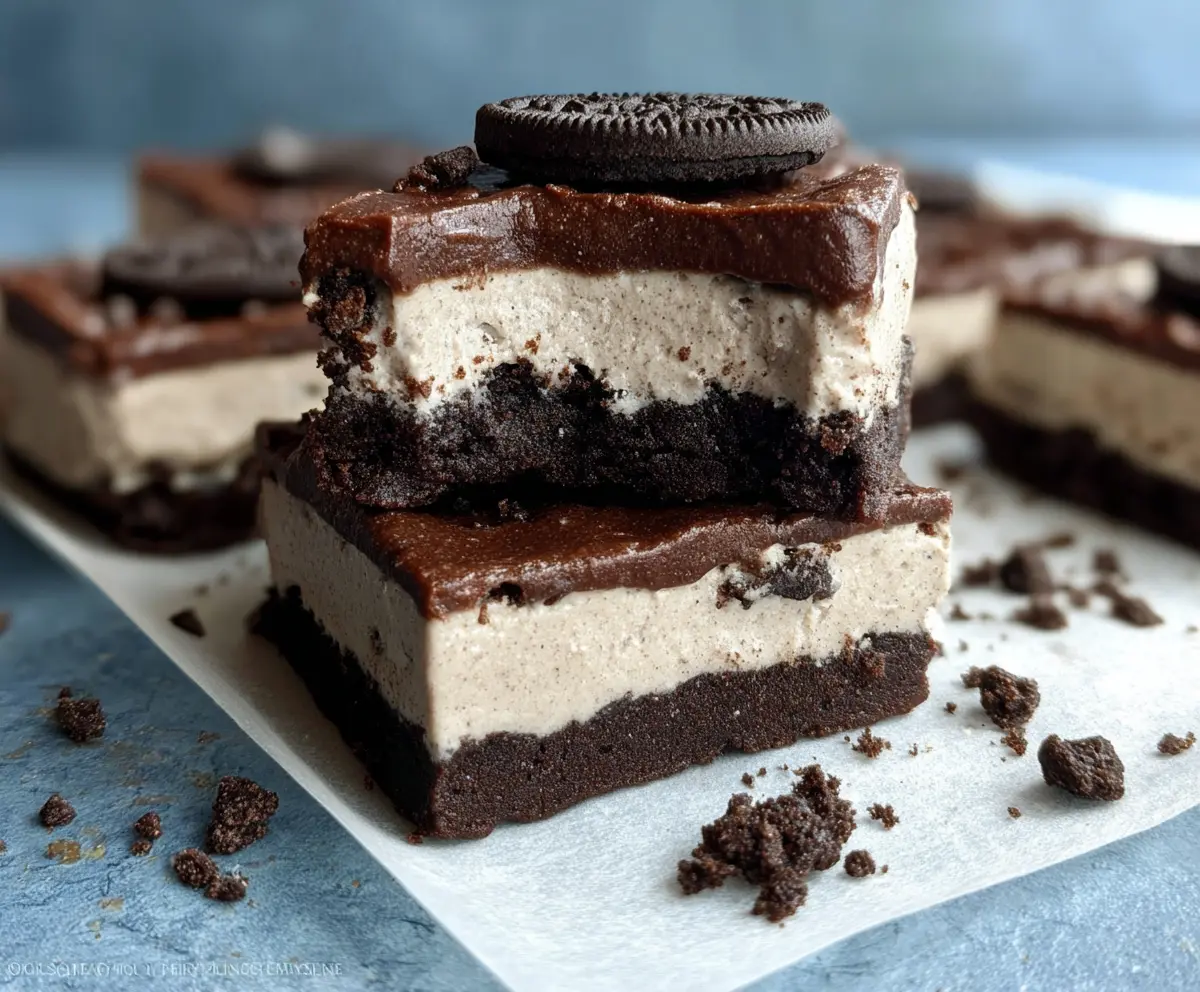
These No Bake Oreo Protein Bars are a sweet treat packed with protein! With soft, cookie-like layers and a tasty chocolate coating, they are perfect for a quick snack or dessert.
Who knew something so delicious could be so easy? Just mix, press into a pan, and chill. I often find myself sneaking one (or two!) when I’m looking for a little pick-me-up! 😄
Key Ingredients & Substitutions
Oreo Cookies: These are the star of the recipe! If you want a healthier version, try using chocolate sandwich cookies that are lower in sugar. Gluten-free options are also available if needed.
Cocoa Powder: Unsweetened cocoa powder is key for the chocolate base. If you’re looking for less bitterness, you might opt for Dutch-processed cocoa, which offers a smoother flavor.
Almond Milk: This is a nice lighter option. However, you can substitute with any milk, like cow’s milk, oat milk, or soy milk, depending on your preference or dietary needs.
Protein Powder: Vanilla protein powder adds flavor and nutrition. If you’re vegan or dislike protein powder, you can swap it with a nut flour or more yogurt, though it might change the texture.
Cream Cheese: Low-fat cream cheese gives a nice creamy texture. You can use vegan cream cheese for a dairy-free option or Greek yogurt for a lighter touch, but this may alter the taste slightly.
How Do I Get the Perfect Creamy Filling?
Achieving a creamy filling is essential for these bars. Make sure your cream cheese is at room temperature, as it blends more smoothly with the Greek yogurt and protein powder.
- Blend until smooth: Use a hand mixer or food processor to mix the cream cheese and Greek yogurt until there are no lumps.
- Fold, don’t stir: Add in the crushed Oreo crumbs gently to maintain some texture and avoid an overly dense filling.
- Chill Well: Allowing the bars to set for several hours in the fridge is crucial for that firm yet creamy texture. Don’t rush this step!
No Bake Oreo Protein Bars
Ingredients You’ll Need:
For the Base:
- 1 ½ cups Oreo cookies, finely crushed (about 15-20 cookies)
- 4 tbsp unsweetened cocoa powder
- 4 tbsp unsweetened almond milk (or any milk of choice)
- 1 tbsp coconut oil, melted
For the Filling:
- 1 cup vanilla protein powder (preferably whey or plant-based)
- 1 cup low-fat cream cheese, softened
- 1/3 cup Greek yogurt
- 2 tbsp honey or maple syrup (optional, for sweetness)
- 1 tsp vanilla extract
For Topping:
- Whole or halved Oreo cookies (optional)
How Much Time Will You Need?
This recipe takes about 15 minutes of prep time, plus 3 hours to chill in the fridge. It’s super easy; you just mix, layer, and let it set. A delicious, protein-packed treat is just a few hours away!
Step-by-Step Instructions:
1. Prepare the Pan:
Start by lining an 8×8 inch square pan with parchment paper. Leave a little overhang on the sides so you can easily lift the bars out later. It helps with easy serving!
2. Make the Base Mixture:
In a medium bowl, mix together the finely crushed Oreo cookies and cocoa powder. Give it a good stir. Then, pour in the almond milk and melted coconut oil. Mix everything well until you have a thick, dough-like consistency.
3. Form the Base:
Now, take that cookie mixture and press it down evenly into the bottom of your prepared pan. Make sure it’s nice and compact! Place the pan in the fridge to chill while you get started on the filling.
4. Create the Creamy Filling:
In a separate bowl, beat together the softened cream cheese, Greek yogurt, vanilla protein powder, honey (if you’re using it), and vanilla extract. Mix until everything is smooth and creamy – this is going to be delicious!
5. Add Oreo Crumbs:
Gently fold in a handful of crushed Oreo cookie crumbs into the filling. This will give it that classic Oreo texture that we all love!
6. Layer the Filling:
Take the pan out of the fridge and pour that wonderful filling over your chilled Oreo crust. Spread it out evenly so every bite is scrumptious!
7. Add Toppings:
If you’d like, top the bars with whole or halved Oreo cookies, pressing them lightly into the filling for extra flair!
8. Chill to Set:
Return the pan to the fridge and let the bars chill for at least 3 hours, or until they’re fully set. Patience is key here; it’ll be worth it!
9. Slice and Serve:
Once they are set, gently lift the bars out of the pan using the parchment paper overhang. Cut into squares or rectangles as you prefer.
10. Enjoy!
Serve chilled and enjoy these delightful No Bake Oreo Protein Bars as a snack or tasty dessert! They’re sure to be a hit!
These bars have a rich chocolatey crust with a creamy, protein-packed Oreo filling topped with classic Oreo cookies. Perfect for a no-bake snack or dessert!
Can I Substitute the Oreo Cookies with a Different Cookie?
Absolutely! You can use any chocolate sandwich cookie for the crust. If you’re looking for a healthier option, consider using a lower-sugar version or even a gluten-free cookie if needed.
What Can I Use Instead of Cream Cheese?
If you’re looking for a dairy-free option, vegan cream cheese works great! Alternatively, you could use Greek yogurt for a lighter filling, though it will change the texture slightly.
How Should I Store the Leftovers?
Store any leftovers in an airtight container in the fridge for up to a week. Just make sure they are fully chilled before sealing to avoid moisture buildup.
Can I Freeze These Bars?
Yes! These protein bars freeze well. Wrap them individually in plastic wrap and place them in a freezer-safe bag. They can be frozen for up to three months. Just thaw them in the fridge before enjoying!