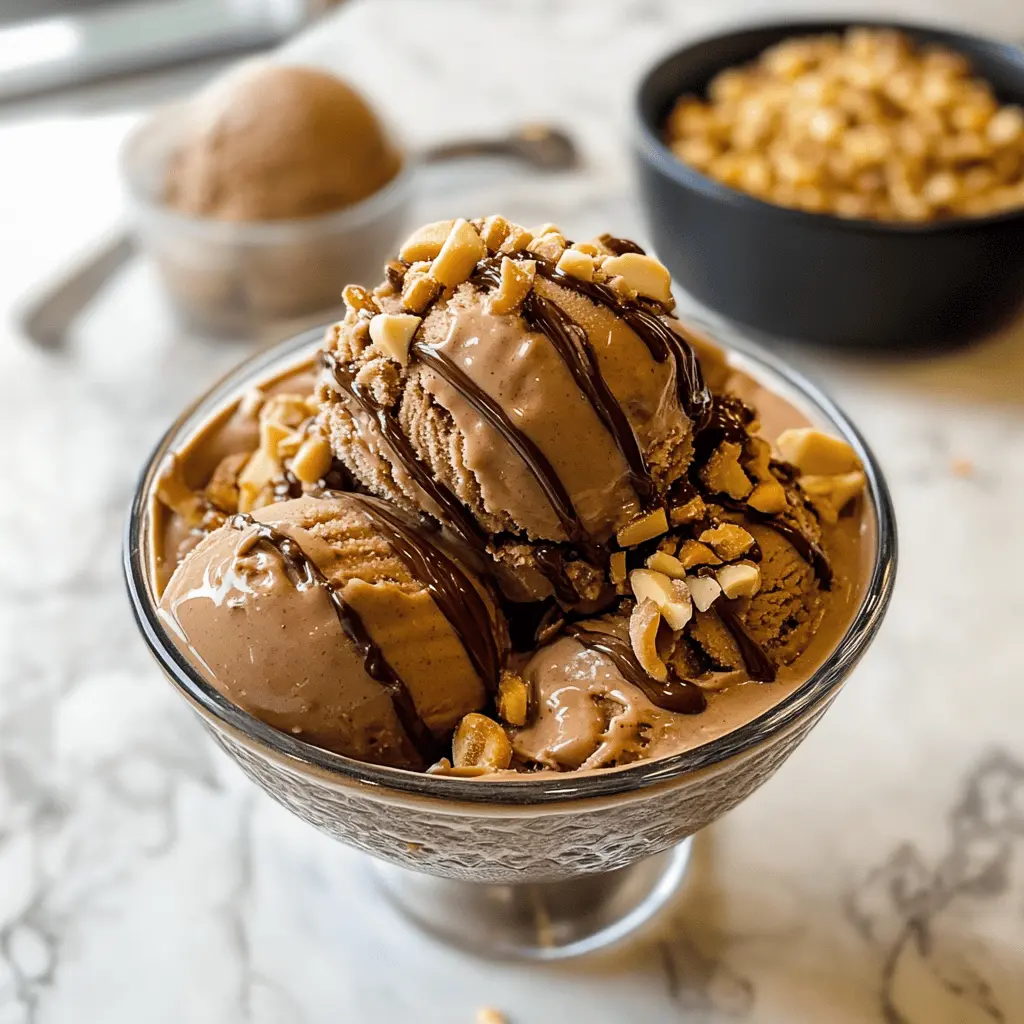
This Ninja Creami ice cream blends rich chocolate with creamy peanut butter for a tasty treat. It’s a simple recipe that churns up smooth and refreshing scoops.
Who can resist the classic combo of chocolate and peanut butter? I love sneaking in a spoonful when no one is looking—it’s that good! 😋
Making this ice cream is a breeze! Just mix, freeze, and let the Ninja Creami do its magic. I usually serve it with a drizzle of extra peanut butter for that added yum!
Key Ingredients & Substitutions
Heavy Cream: This adds richness and creaminess to your ice cream. If you’re looking for a lower-fat option, you can use half-and-half or a non-dairy cream alternative like coconut cream, but the texture may be less creamy.
Whole Milk: Whole milk provides a nice balance to the heavy cream. You could substitute with 2% milk if you wish, but avoid skim milk for this recipe to maintain a rich texture.
Granulated Sugar: Regular sugar sweetens the mix perfectly. If you prefer a healthier option, try using honey, agave syrup, or a sugar substitute like stevia, but adjust the quantity since they vary in sweetness.
Unsweetened Cocoa Powder: Dutch-processed cocoa gives a deeper flavor, but natural cocoa works as well. If you’re in a pinch, melted dark chocolate could also be a delicious substitute.
Creamy Peanut Butter: Choose a high-quality peanut butter for better flavor. If you prefer a nut-free version, sunflower seed butter is a tasty alternative, and it works similarly in texture and taste.
Mix-Ins: Chopped peanuts and chocolate chips add a nice crunch. You might also consider mini marshmallows or crushed cookies for fun variations!
How Do You Achieve the Perfect Ice Cream Texture?
Getting the right texture for your homemade ice cream can be tricky, but here’s how to nail it!
- After you mix all your ingredients, whisk until smooth to avoid clumps. This makes for a creamy base.
- Freezing the mixture for 24 hours is crucial. Ensure it’s frozen solid to achieve the best results in the Ninja Creami.
- When you take the container out of the freezer, let it sit for 5-10 minutes. This slight softening helps when processing the ice cream.
- If the finished ice cream is crumbly, simply use the “Re-spin” function on your Ninja Creami to get a smoother texture.
- For a soft-serve experience, serve immediately. To enjoy it firmer later, store in an airtight container in the freezer!
How to Make Ninja Creami Chocolate Peanut Butter Ice Cream
Ingredients You’ll Need:
- 2 cups heavy cream
- 1 cup whole milk
- 3/4 cup granulated sugar
- 1/4 cup unsweetened cocoa powder
- 1/2 cup creamy peanut butter
- 1 tsp vanilla extract
- Pinch of salt
- Optional: chopped peanuts or chocolate chips for mix-ins
How Much Time Will You Need?
This delicious ice cream takes about 15 minutes to prepare, but you’ll need to allow at least 24 hours for freezing. So, the total time is about a day, but the hands-on work is short and simple!
Step-by-Step Instructions:
1. Mix the Ingredients:
In a mixing bowl, add the heavy cream, whole milk, granulated sugar, unsweetened cocoa powder, creamy peanut butter, vanilla extract, and a pinch of salt. Use a whisk to combine everything until the mixture is smooth and fully blended. You want to see no lumps!
2. Freeze the Mixture:
Pour your smooth mixture into the Ninja Creami container and secure the lid tightly. Place the container in the freezer and let it freeze for at least 24 hours. Make sure it’s completely frozen solid before moving to the next step!
3. Process the Ice Cream:
Once the ice cream is frozen, take the container out of the freezer and let it sit at room temperature for about 5-10 minutes. This helps soften the ice cream a little. Then, insert the container into the Ninja Creami and select the “Ice Cream” function to process. If it turns out too crumbly or dry, you can use the “Re-spin” function until it reaches a creamy texture that you love.
4. Add Mix-Ins (Optional):
If you want to add some crunch or extra flavor, you can mix in chopped peanuts or chocolate chips during the re-spin process. Just pour them in and let it blend well!
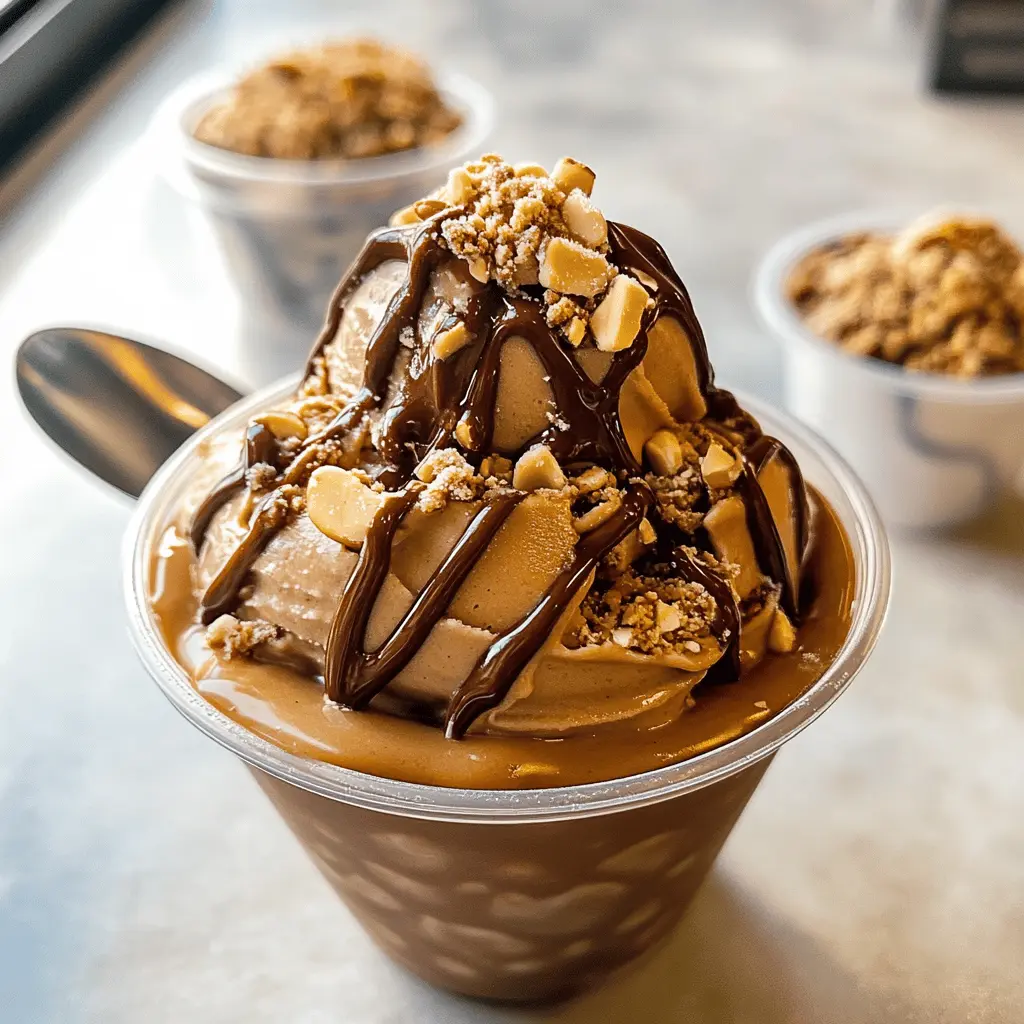
5. Serve and Enjoy:
Enjoy your ice cream straight away for a soft-serve texture! If you prefer it firmer, transfer the ice cream to an airtight container and freeze it for a couple more hours. When serving, consider drizzling some additional peanut butter on top for that extra yummy flavor. Enjoy every scoop!
Can I Use Low-Fat Dairy Options Instead?
While you can use low-fat milk or cream, keep in mind that the texture may not be as creamy and rich. For the best results, stick to heavy cream and whole milk. If you’re looking for a lighter version, you could try half-and-half as a compromise!
What Can I Substitute for Granulated Sugar?
If you prefer a sugar substitute, you can use stevia or erythritol. Make sure to check the conversion ratio, as they can be sweeter than regular sugar. Start with a smaller amount and adjust to taste to ensure a balanced sweetness.
How Long Can I Store the Ice Cream?
Your Ninja Creami Chocolate Peanut Butter Ice Cream can be stored in an airtight container in the freezer for up to 2 weeks. When ready to serve, let it sit at room temperature for a few minutes to soften slightly before scooping.
Can I Add Other Mix-Ins?
Absolutely! Feel free to add other mix-ins like crushed cookies, marshmallows, or sprinkles during the re-spin process. Just remember not to overload the mixture to maintain a smooth texture!