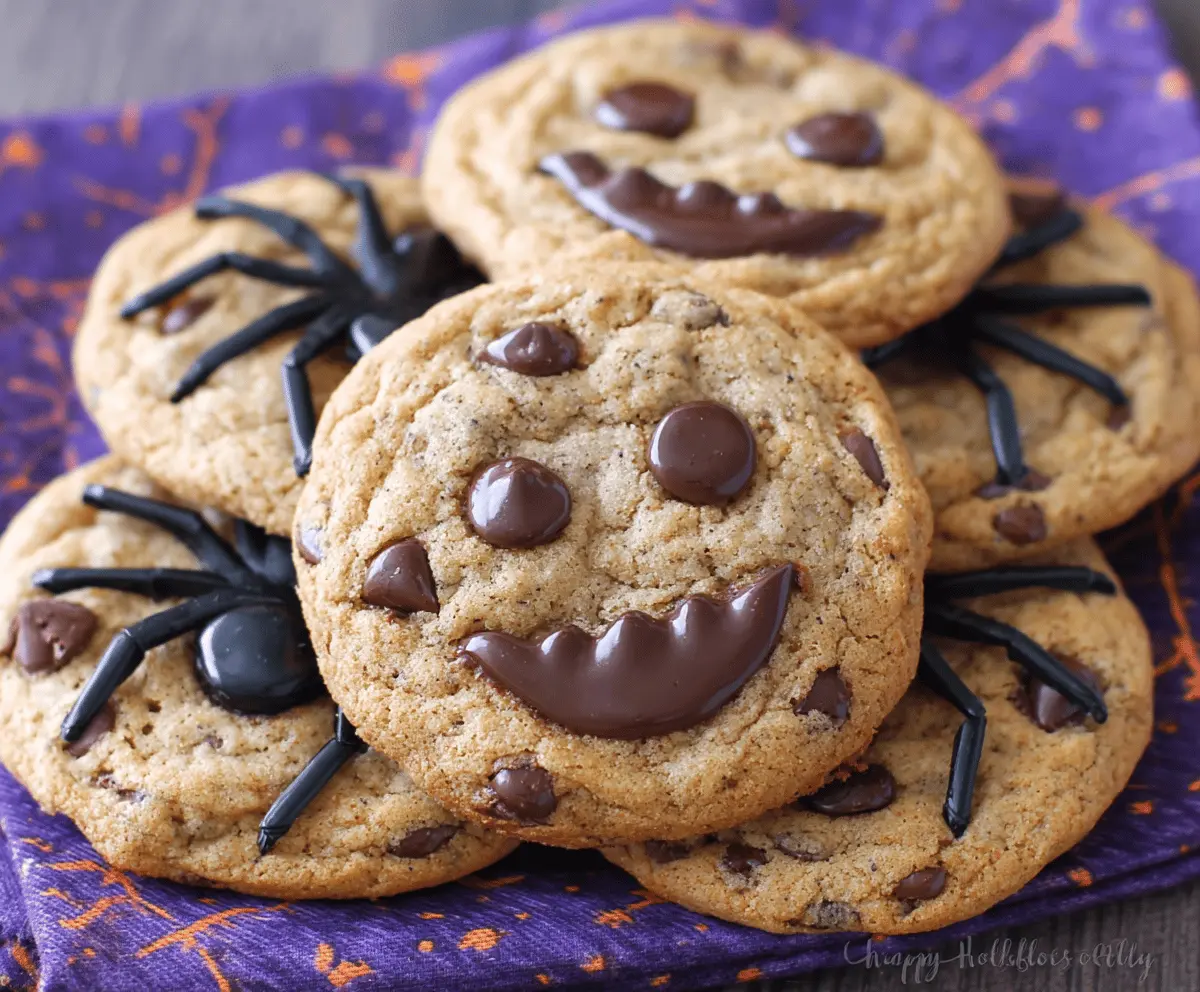
These Halloween chocolate chip cookies are a fun treat, loaded with gooey chocolate chips and a hint of spooky charm! Perfect for sharing with friends and family.
Who can resist a warm cookie fresh out of the oven? I love to add colorful sprinkles to make them extra festive. Let’s be real, they won’t last long on the plate! 🎃
Key Ingredients & Substitutions
Butter: Unsalted butter is best for controlling the salt level. If you’re out of butter, try using coconut oil or margarine. Just remember that coconut oil adds a slight coconut flavor, which can be fun!
Sugars: A mix of granulated and brown sugar gives the cookies a chewy texture and rich flavor. Instead of brown sugar, you can use coconut sugar or maple sugar, but it may alter the taste slightly.
Chocolate Chips: I love semisweet chocolate chips for balance, but feel free to use dark, milk, or even white chocolate chips. Different chips can change the whole vibe of the cookie!
Eggs: If you’re looking for a vegan option, use flax eggs (1 tbsp flaxseed meal + 2.5 tbsp water per egg) or applesauce (1/4 cup per egg) instead. This will keep your cookies moist!
How Do You Get the Perfect Cookie Texture?
Getting that ideal balance of soft and chewy can be tricky. Here are some tips:
- Don’t overmix the dough after adding the flour. Mix until just combined to keep the cookies tender.
- Chilling the dough for at least 30 minutes can help the cookies hold their shape and enhance the flavors.
- Watch the baking time closely. Taking cookies out when they look slightly underdone can help them stay soft as they cool.
With these tips and personal tweaks, you’re set to make deliciously spooky Halloween cookies! Enjoy baking and happy Halloween!
Halloween Chocolate Chip Cookies
Ingredients You’ll Need:
- 1 cup (226g) unsalted butter, softened
- 1 cup (200g) granulated sugar
- 1 cup (220g) packed brown sugar
- 2 large eggs
- 2 teaspoons vanilla extract
- 3 cups (375g) all-purpose flour
- 1 teaspoon baking soda
- 1/2 teaspoon baking powder
- 1/2 teaspoon salt
- 2 cups (340g) semisweet chocolate chips
- Optional: edible plastic spiders or Halloween-themed decorations for garnish
How Much Time Will You Need?
This Halloween chocolate chip cookie recipe takes about 15 minutes to prep and another 10-12 minutes to bake. Allow for a few extra minutes to cool before serving, totaling about 30-40 minutes before you can enjoy these spooky treats!
Step-by-Step Instructions:
1. Preheat and Prepare:
First, preheat your oven to 350°F (175°C). While it’s heating up, grab some baking sheets and line them with parchment paper. This will help your cookies bake evenly and prevent sticking.
2. Creaming the Sugars and Butter:
In a large bowl, cream together the softened butter, granulated sugar, and brown sugar. Use a hand mixer or a sturdy spoon to mix until the mixture is light and fluffy. This usually takes about 2-3 minutes.
3. Mixing in the Eggs and Vanilla:
Next, beat in the eggs one at a time. Make sure to mix well after each addition. Then, stir in the vanilla extract. This adds a lovely flavor to your cookies!
4. Whisking the Dry Ingredients:
In a separate bowl, whisk together the flour, baking soda, baking powder, and salt. This helps to evenly distribute the leavening agents throughout the flour.
5. Combining Wet and Dry Ingredients:
Gradually blend the dry ingredients into the wet ingredients. Mix just until everything is combined—overmixing can lead to tough cookies, and we want them to be soft and chewy!
6. Adding the Chocolate Chips:
Now comes the delicious part! Fold in the semisweet chocolate chips until they’re evenly dispersed throughout the dough. The more, the merrier!
7. Shaping the Cookies:
Using a spoon or a cookie scoop, drop rounded tablespoons of dough onto the prepared baking sheets. Make sure to space them about 2 inches apart so they have room to spread while baking.
8. Baking Time:
Bake in the preheated oven for 10-12 minutes. The cookies should be golden brown around the edges but still look slightly soft in the center. They will continue to cook a bit after you take them out, so don’t worry if they look a little underdone!
9. Cooling the Cookies:
Once baked, remove the cookies from the oven and let them cool on the baking sheet for about 5 minutes. Then, transfer them to a wire rack to cool completely.
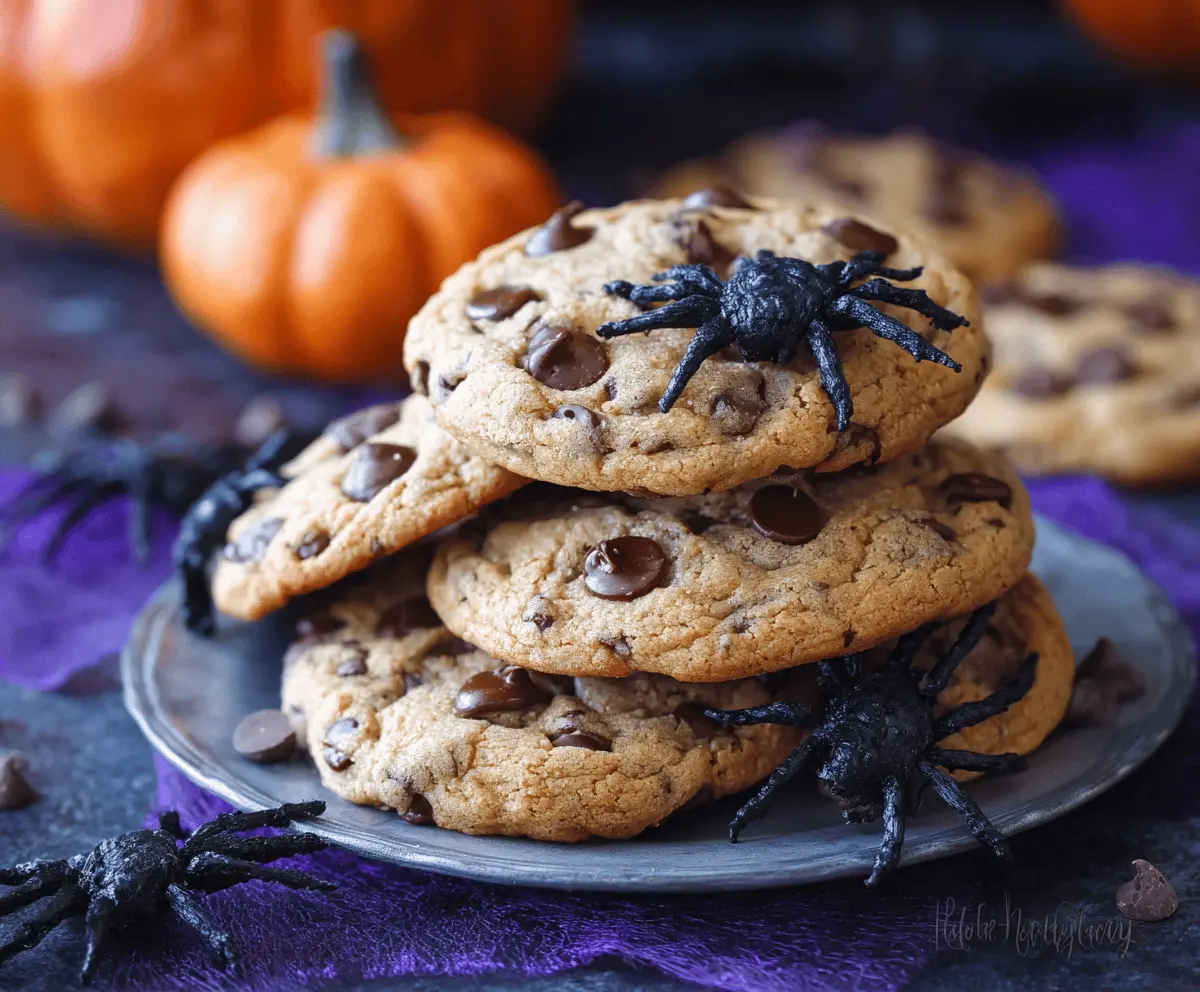
10. Decorate for Halloween:
When the cookies are cool, feel free to go wild with decorations! Place edible plastic spiders on top for a fun, spooky touch—this makes serving even more festive!
11. Time to Enjoy!
Now it’s time to serve and enjoy your Halloween chocolate chip cookies! They’re perfect for parties or as a sweet treat after school. Happy Halloween!
These cookies are not just delicious—they bring a fun flair to any Halloween gathering. Enjoy the soft, chewy cookie with melted chocolate goodness!
Can I Use Margarine Instead of Butter?
Yes, you can substitute margarine for unsalted butter in this recipe. Just make sure to use a margarine that’s suitable for baking. Keep in mind that this may slightly alter the flavor and texture of the cookies.
What if I Don’t Have Brown Sugar?
If you’re out of brown sugar, you can use granulated sugar instead, but your cookies may lack the depth of flavor and moisture that brown sugar provides. To make a quick substitute, mix 1 cup of granulated sugar with 1 tablespoon of molasses for a similar taste.
Can I Make the Dough Ahead of Time?
Absolutely! You can prepare the cookie dough in advance. Just shape it into balls and place them on a baking sheet. Freeze them for about an hour, then transfer the frozen dough balls to an airtight container or freezer bag. They will keep well for up to 3 months!
How Should I Store Leftover Cookies?
Store any leftover cookies in an airtight container at room temperature for up to 5 days. For longer storage, you can freeze them! Just make sure they’re completely cooled before sealing them in an airtight container or freezer bag. Thaw at room temperature when you’re ready to enjoy them again!