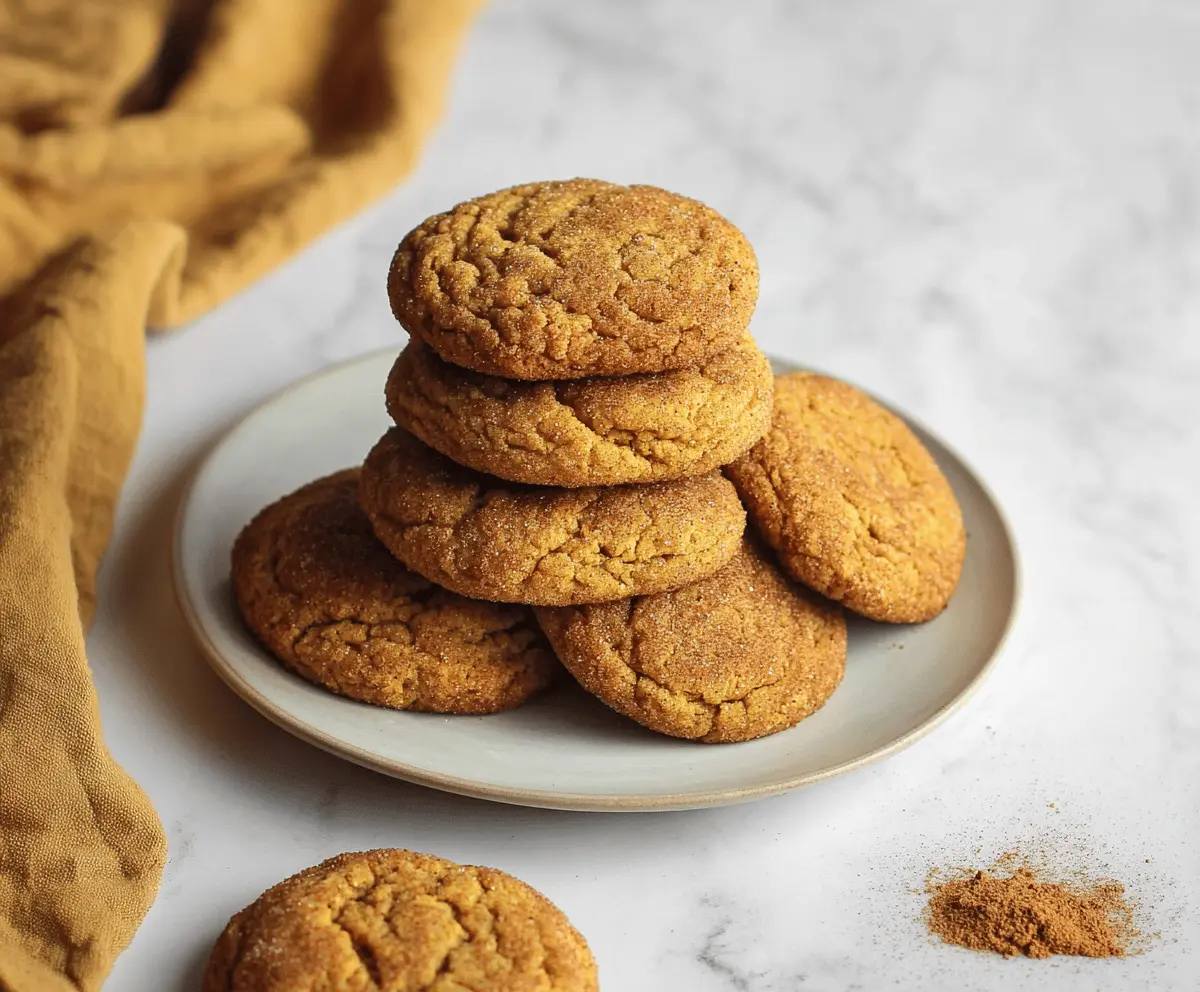
These Brown Butter Pumpkin Snickerdoodle Cookies are such a treat! With a cozy pumpkin flavor and a hint of warm spices, they are perfect for fall. The brown butter adds a delicious nutty touch!
Making these cookies is so much fun! I usually find myself sneaking a few off the cooling rack because the smell is just too tempting. Seriously, can you blame me? 🍪
With just a few simple ingredients, whipping these up is easy! They make great snacks or an exciting dessert to share with friends and family. Trust me, everyone will love them!
Key Ingredients & Substitutions
Unsalted Butter: Brown butter is key for this recipe. It adds a rich, nutty flavor. If you’re in a pinch, you could use regular butter, but the taste won’t be quite the same. Always stick to unsalted to control the salt in your cookies.
Pumpkin Puree: Be sure to use pure pumpkin puree, not pie filling. Canned pumpkin works great if you’re short on time. If you don’t have pumpkin, you can substitute unsweetened applesauce for a different flavor, though it won’t taste pumpkin-spiced.
Flour: All-purpose flour is used here, but you could try a gluten-free blend if needed. Just look for one that swaps 1:1 with regular flour.
Spices: The combination of cinnamon, nutmeg, and cloves gives these cookies their warm flavor. If you’re missing one, just use a bit more of another or a pumpkin spice blend. Don’t skip the spices; they make a big difference!
How Do I Brown Butter Without Burning It?
Brown butter is simple to make but needs your attention to prevent burning. Here’s how I do it:
- Use a light-colored saucepan. This helps you see the butter changing color.
- Start on medium heat and melt the butter completely.
- Swirl the pan occasionally. This keeps the butter moving and promotes even browning.
- Watch for a nutty aroma and tiny brown bits forming at the bottom. When it turns golden brown, remove it from the heat immediately.
- Let it cool briefly to prevent cooking the eggs when mixed in.
If you follow these steps, you’ll have perfect brown butter for your cookies!
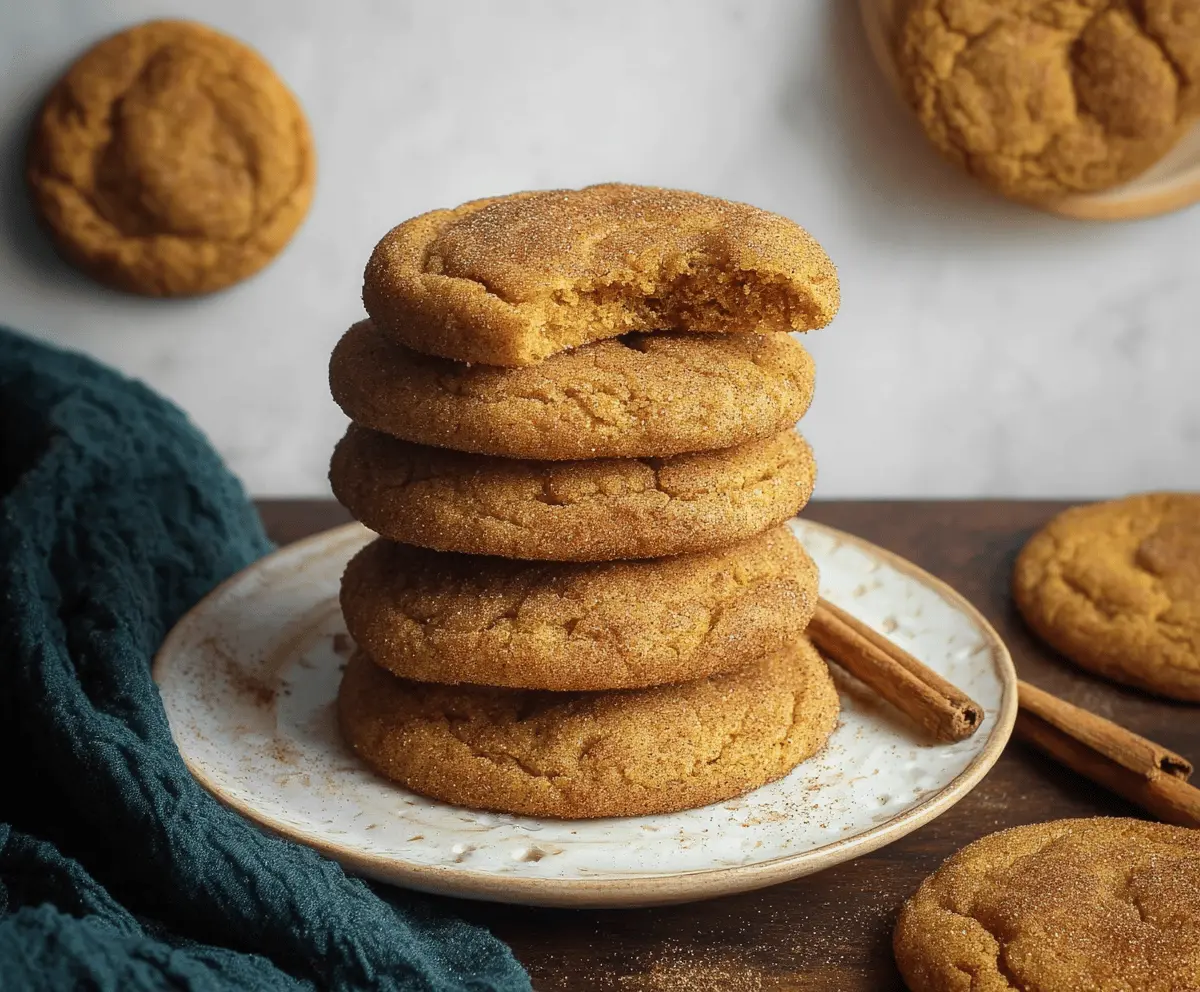
Brown Butter Pumpkin Snickerdoodle Cookies
Ingredients You’ll Need:
- 1 cup (2 sticks) unsalted butter
- 1 cup pumpkin puree (not pumpkin pie filling)
- 1 ½ cups granulated sugar, divided
- ½ cup light brown sugar, packed
- 2 large eggs
- 1 teaspoon vanilla extract
- 2 ¾ cups all-purpose flour
- 1 ½ teaspoons cream of tartar
- 1 teaspoon baking soda
- ½ teaspoon salt
- 2 teaspoons ground cinnamon
- ¼ teaspoon ground nutmeg
- ¼ teaspoon ground cloves (optional)
- Additional cinnamon and sugar for coating
How Much Time Will You Need?
This recipe will take about 15 minutes for prep and around 10-12 minutes for baking. Plus, you’ll want to let the cookies cool for a bit after baking. Overall, expect to spend about 30-40 minutes from start to finish, and then you can enjoy those sweet, spiced cookies!
Step-by-Step Instructions:
1. Preheat and Prepare
First, turn your oven to 350°F (175°C) and line your baking sheets with parchment paper or silicone mats so your cookies won’t stick.
2. Brown the Butter
In a medium saucepan over medium heat, melt the butter patiently. Keep swirling it occasionally until it turns golden brown and fills your kitchen with a nutty aroma—this should take about 5-7 minutes. Once it’s ready, remove it from the heat and let it cool a little.
3. Mix the Wet Ingredients
In a large bowl, whisk together the browned butter, pumpkin puree, 1 cup of granulated sugar, brown sugar, eggs, and vanilla extract until everything is smooth and well combined. You want it to be luscious and creamy!
4. Combine the Dry Ingredients
In another bowl, sift together the flour, cream of tartar, baking soda, salt, cinnamon, nutmeg, and optional cloves. This mix is the foundation of your cookies and will give them that delicious flavor!
5. Bring It All Together
Gradually add the sifted dry ingredients into the wet mix. Stir gently until just combined—be careful not to overmix, or your cookies might come out tough!
6. Prepare the Coating
In a small bowl, combine the remaining ½ cup of granulated sugar with 1 tablespoon of ground cinnamon. This mixture will give your cookies a delightful sweetness on the outside.
7. Shape the Cookies
Scoop out tablespoon-sized portions of dough and roll them into balls. Gently roll each dough ball in the cinnamon-sugar mixture until it’s well-coated.
8. Bake the Cookies
Place the coated dough balls about 2 inches apart on your prepared baking sheets. Bake them for 10-12 minutes. You’ll know they’re done when the edges are set, and the centers are still a little soft. Don’t worry—they’ll firm up as they cool!
9. Cool and Enjoy!
Let the cookies cool on the baking sheet for about 5 minutes before moving them to a wire rack to cool completely. After they’ve cooled, store your cookies in an airtight container at room temperature for up to 5 days (if they last that long!).
Enjoy your deliciously soft and warmly spiced Brown Butter Pumpkin Snickerdoodle Cookies! Happy baking!
Can I Use Canned Pumpkin for This Recipe?
Absolutely! Just make sure to use pure pumpkin puree, not pumpkin pie filling. Canned pumpkin is a great time-saver and will give you the perfect flavor for these cookies.
What Should I Do If I Don’t Have Cream of Tartar?
If you don’t have cream of tartar, you can substitute it with an equal amount of baking powder. Just use 1 ½ teaspoons of baking powder in place of the cream of tartar and baking soda together.
Can I Freeze These Cookies?
Yes, these cookies freeze wonderfully! Once cooled, place them in an airtight container or zip-top bag and keep them in the freezer for up to 3 months. When you’re ready to enjoy them, simply thaw at room temperature for a few hours.
How Can I Make These Cookies Chewy?
For chewier cookies, try slightly underbaking them—remove them from the oven while they still look soft in the center. They’ll continue to cook as they cool, giving you that perfect chewy texture!