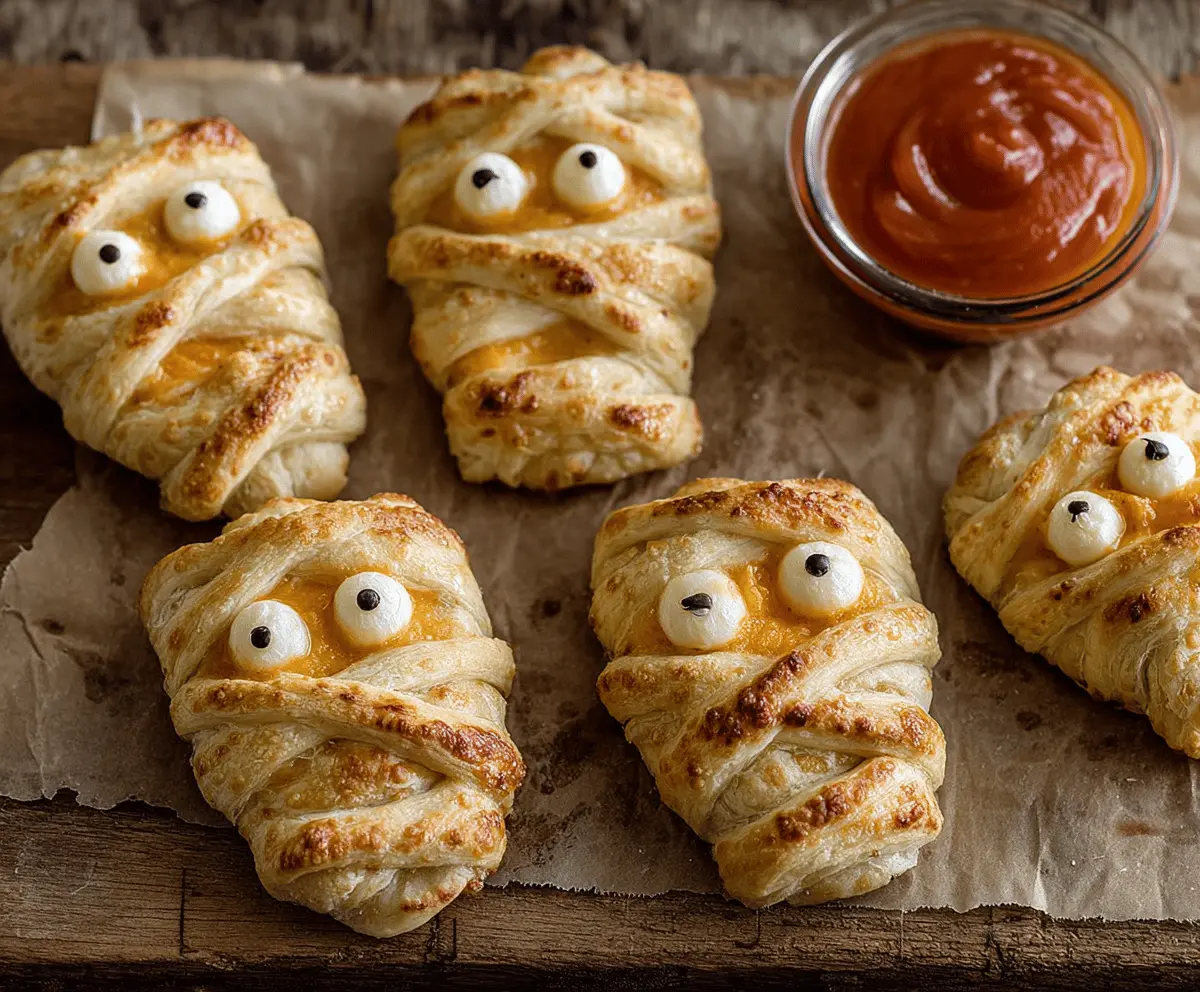
Baked Cheese Mummies are a fun twist on snacks that everyone will love! These delicious little treats wrap gooey cheese in flaky pastry, and they look just like mummies.
Perfect for parties or movie nights, these cheesy snacks bring a smile every time. I love serving them with a side of marinara sauce for dipping—yum! Plus, kids can help wrap them up, making it a spooky, creative activity!
Key Ingredients & Substitutions
Puff Pastry: This flaky base is essential for that tasty, crunchy texture. If you don’t have puff pastry, you can use crescent roll dough. It won’t puff up the same, but it will still be delicious!
Cheese: Choose your favorite melting cheese like cheddar or gouda. I love gouda for its creamy texture. If you’re dairy-free, try using vegan cheese that melts well, or even roasted vegetables for a tasty twist.
Candy Eyes: These little treats are perfect for decorating your mummies. If you can’t find them, you can make simple eyes using dots of cream cheese with a peppercorn or sesame seed in the center. They’ll still look adorable!
How Do I Make the Perfect Bandages for My Mummies?
The bandages, or pastry strips, are what makes these mummies look so fun! Here’s how to get them just right:
- Roll the puff pastry thin enough so it’s easy to cut, but not so thin that it tears.
- Using a sharp knife or pizza cutter, slice the pastry into thin strips, about ¼ inch wide. This allows them to wrap around the cheese nicely.
- Lay the strips down in a crisscross pattern, leaving some space for the eyes. Don’t worry about it being perfect—mummy bandages are supposed to look a bit messy!
Remember, the more strips you use, the more “bandage” effect you’ll create!
Baked Cheese Mummies
Ingredients You’ll Need:
- 1 sheet frozen puff pastry, thawed
- 8 small cheese blocks or slices (e.g., cheddar, gouda, or your favorite melty cheese)
- 1 egg, beaten (for egg wash)
- 16 small candy eyes or alternatively small dots of cream cheese with black sesame seeds or black food coloring for eyes
How Much Time Will You Need?
Get ready for some fun! This recipe takes about 15 minutes to prep and around 15-18 minutes to bake. So, you’ll wrap and create these spooky snacks in no time, making them ready for your guests in about 30-35 minutes!
Step-by-Step Instructions:
1. Preheat the Oven:
First things first, preheat your oven to 375°F (190°C). It’s important to get it nice and hot for that golden brown finish! Line a baking sheet with parchment paper to prevent sticking.
2. Prepare the Puff Pastry:
Unroll the thawed puff pastry on a lightly floured surface. Using a knife or pizza cutter, cut the pastry into small rectangles, about 3 x 2 inches. These will be just the right size to wrap around your cheese blocks.
3. Add the Cheese:
Next, place one piece of cheese in the center of each pastry rectangle. This is where all that delicious melty goodness will come from!
4. Create the Mummy Bandages:
Now, slice the remaining puff pastry into thin strips, about ¼ inch wide. Lay these strips across the cheese blocks diagonally and horizontally to look like mummy bandages. Leave a small area at the top open for the “face”!
5. Brush with Egg Wash:
Grab your beaten egg and brush it over the exposed pastry strips. This will give your mummies a lovely golden color when baked. It’s like giving them a little bath to look extra delicious!
6. Bake the Mummies:
Carefully transfer the wrapped cheese mummies onto your prepared baking sheet. Pop them in the oven and bake for about 15-18 minutes or until the pastry is puffed and golden brown.
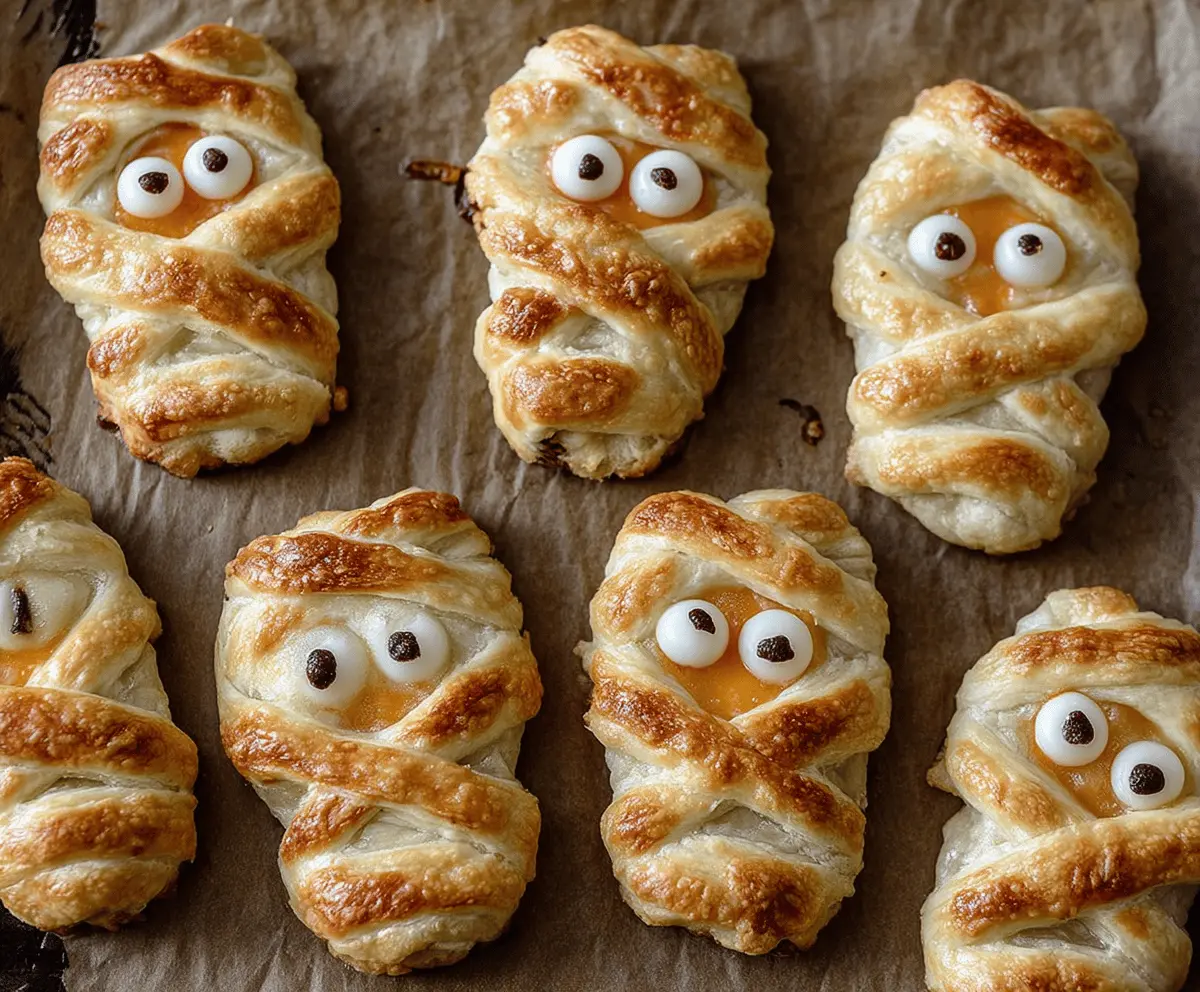
7. Decorate the Mummies:
As soon as they come out of the oven, place two candy eyes on the uncovered part of each mummy to give them that cute, spooky look. If you’re using DIY eyes, you can lightly pipe small dots of cream cheese and top them with a sesame seed or dot of black food coloring.
8. Serve and Enjoy:
Let your Baked Cheese Mummies cool for just a few moments before serving them warm. They make for a perfect party treat, especially when dipped in marinara sauce or your favorite dipping sauce. Enjoy these spooky delights!
Can I Use Different Types of Cheese?
Absolutely! Feel free to use any meltable cheese you enjoy, such as mozzarella, swiss, or pepper jack for a kick. Just make sure it’s a cheese that melts well for the best gooey results!
Can I Freeze These Mummies Before Baking?
Yes, you can! Prepare the mummies and wrap them in plastic wrap or store them in an airtight container. Freeze them before baking, and when you’re ready, bake them straight from the freezer, adding a few extra minutes to the baking time.
What’s the Best Way to Store Leftovers?
Store any leftover Baked Cheese Mummies in an airtight container in the fridge for up to 2 days. To reheat, place them in a preheated oven at 350°F (175°C) for about 10 minutes to restore their crispiness.
How Can I Make Them Healthier?
If you’d like a healthier version, consider using whole wheat pastry or phyllo dough instead of puff pastry. You can also use low-fat cheese options or fill them with vegetables for a fun twist!