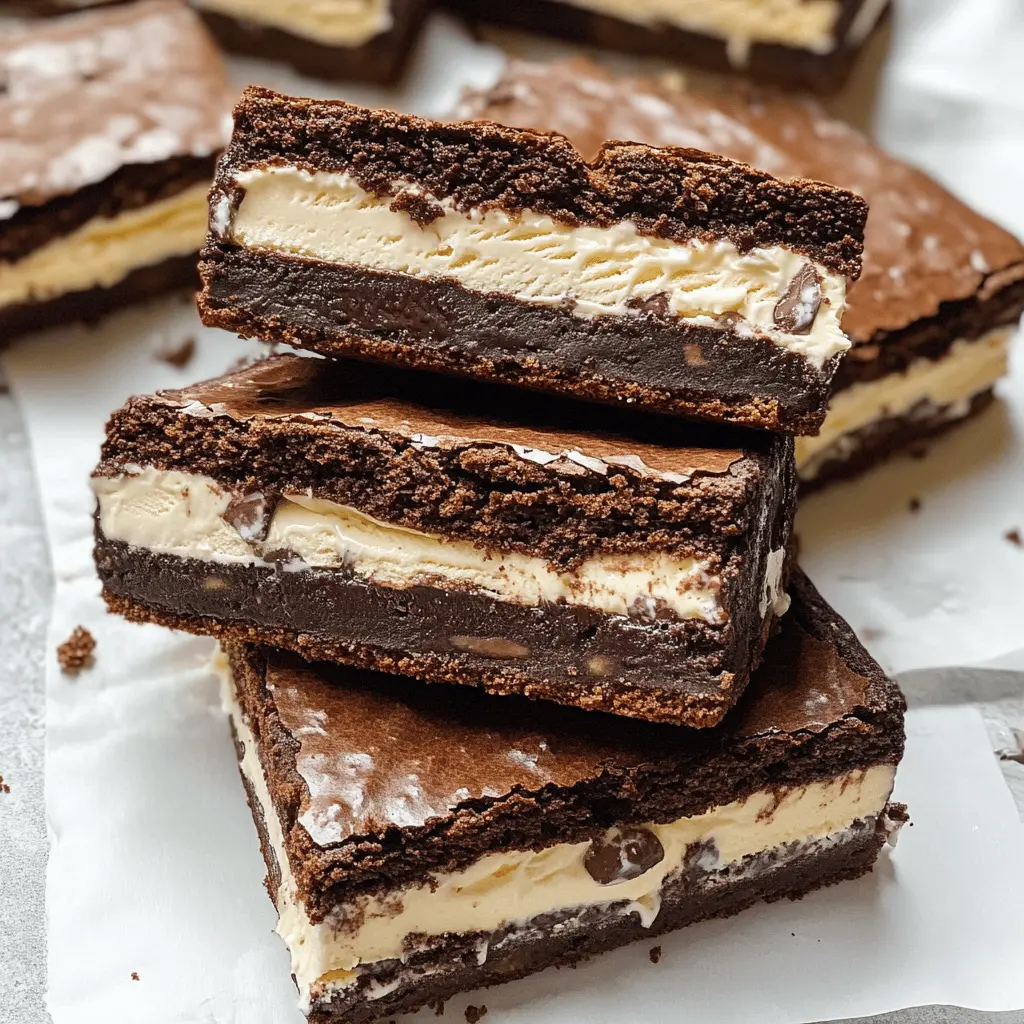
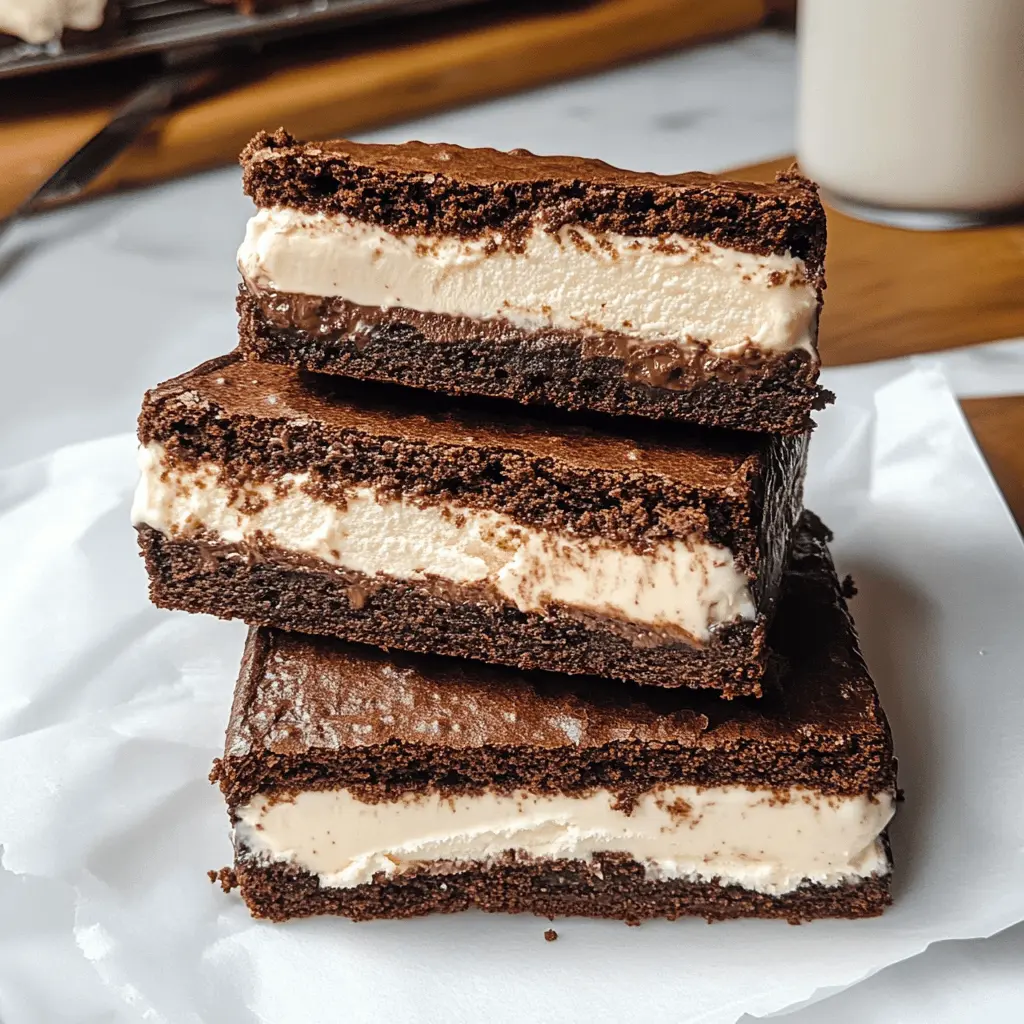
Brownie ice cream sandwiches are a fun treat! They pair chewy, chocolatey brownies with creamy ice cream, creating a perfect match of textures and flavors.
Honestly, who could resist these? They’re like a hug in dessert form! I love making them for parties or just to enjoy on a warm day—quick and a total crowd-pleaser!
Ingredients & Substitutions
Unsalted Butter: I always opt for unsalted butter to control the salt amount in recipes. If you’re out, margarine or coconut oil can work as substitutes, though they may slightly alter the taste.
Granulated & Brown Sugar: Both sugars add sweetness and moisture. If you prefer, you can use coconut sugar or a sugar substitute suitable for baking, like erythritol. Just be aware of the differences in sweetness levels!
Eggs: If you want to make these brownies vegan or have an egg allergy, try using flax eggs (1 tablespoon ground flaxseed mixed with 2.5 tablespoons water per egg) or unsweetened applesauce.
Cocoa Powder: Dutch-process cocoa gives a richer flavor, but regular unsweetened cocoa works too. In a pinch, consider carob powder as a caffeine-free alternative.
Chocolate Chips: These are optional, but they add extra chocolatey goodness. You can swap for white chocolate chips, or even mix in chopped nuts for a different texture.
How Do You Ensure Perfectly Baked Brownies?
Baking brownies might seem simple, but there are a few tips to keep in mind for the best results. Pay special attention to baking time and doneness.
- Preheat your oven properly and double-check the temperature with an oven thermometer—oven temps can vary!
- Always use the toothpick test: insert it in the center. It should come out with a few moist crumbs—if it’s clean, you may have overbaked them!
- Let the brownies cool completely before cutting. This helps achieve clean, neat edges and lets them set correctly.
Delicious Brownie Ice Cream Sandwiches
Ingredients You’ll Need:
For the Brownies:
- 1 cup unsalted butter, melted
- 2 cups granulated sugar
- 1 cup brown sugar, packed
- 4 large eggs
- 1 teaspoon vanilla extract
- 1 cup all-purpose flour
- 1 cup unsweetened cocoa powder
- 1 teaspoon baking powder
- 1/2 teaspoon salt
- 1 cup chocolate chips (optional)
For the Ice Cream:
- 1 pint ice cream (your choice of flavor, softened)
How Much Time Will You Need?
This recipe will take about 15 minutes to prep and 25-30 minutes to bake the brownies. After cooling, you will need an additional 2-3 hours in the freezer to set the sandwiches. So, you can have yummy brownie ice cream sandwiches ready in about 3 hours and 45 minutes including chilling time!
Step-by-Step Instructions:
1. Prepping the Oven and Pan:
First, preheat your oven to 350°F (175°C). Then, take a 9×13 inch baking pan and grease it lightly. For easy removal, line the pan with parchment paper, letting some paper hang over the edges.
2. Making the Brownie Batter:
In a large bowl, whisk together the melted butter, granulated sugar, and brown sugar until everything is smooth. Next, add the eggs one by one, mixing well after each addition. Stir in the vanilla extract until combined.
3. Combining Dry Ingredients:
In another bowl, sift together the flour, cocoa powder, baking powder, and salt. Now, slowly add this dry mixture to the wet ingredients. Stir until just combined, and if you’d like some extra chocolatey goodness, fold in the chocolate chips.
4. Baking the Brownies:
Pour the brownie batter into your prepared baking pan and spread it evenly with a spatula. Bake in the preheated oven for 25-30 minutes. To check if they’re done, insert a toothpick in the center; it should come out with a few moist crumbs but not wet batter.
5. Cooling the Brownies:
After baking, let the brownies cool completely in the pan on a wire rack. Once they have cooled down, gently lift them out using the parchment paper overhang and place them on a cutting board.
6. Cutting the Brownies:
Using a sharp knife, cut the brownies into rectangles that will fit your ice cream sandwiches perfectly. You can decide how big or small you want them!
7. Assembling the Sandwiches:
Take one brownie rectangle and spread a generous layer of softened ice cream on top. Then, place a second brownie rectangle on top to create a sandwich. Repeat this with the remaining brownies and ice cream until they are all assembled.
8. Freezing the Sandwiches:
Wrap each sandwich individually in plastic wrap or place them in an airtight container. Pop them in the freezer and let them set for at least 2-3 hours, so they become nice and firm.
9. Enjoy Your Treat!
Once they’re frozen, you’re ready to enjoy these tasty brownie ice cream sandwiches! Take them straight from the freezer and feel free to slice them into smaller portions if you like. Enjoy each delicious bite!
Can I Use a Different Type of Sugar?
Absolutely! You can substitute half of the granulated sugar with coconut sugar or another sweetener of your choice. Just keep in mind that using a different sugar type may slightly alter the texture and flavor of the brownies.
What If I Don’t Have Cocoa Powder?
If you’re out of cocoa powder, you can make the brownies using unsweetened baking chocolate instead. Use 1 ounce of baking chocolate for every 3 tablespoons of cocoa powder, melting it together with the butter. Just adjust your sugar to make up for the extra richness!
How to Store Leftover Brownie Ice Cream Sandwiches?
These delicious sandwiches can be stored wrapped in plastic wrap or in an airtight container in the freezer for up to 2 weeks. Just make sure they are well-wrapped to prevent freezer burn!
Can I Make Gluten-Free Brownie Ice Cream Sandwiches?
Yes! Simply swap out the all-purpose flour for a gluten-free flour blend that measures cup-for-cup. Just be sure to check that your cocoa powder and any ice cream you’re using are also gluten-free to keep it safe for those with gluten sensitivities.